Render values from front to back
-
I was looking at various renders including my own, and noticed that many (all of mine) seemed flat, lacking a sense of dimension from front to back. I thought about how I would have handle this in hand rendering, and realized that one method is to adjust the values of the materials so that they changed from front to back.
Modeling with textures results in the same color for that material no matter where it is in the model. This is contrary to the way the eye sees a material's color value in the real world relative to distance.
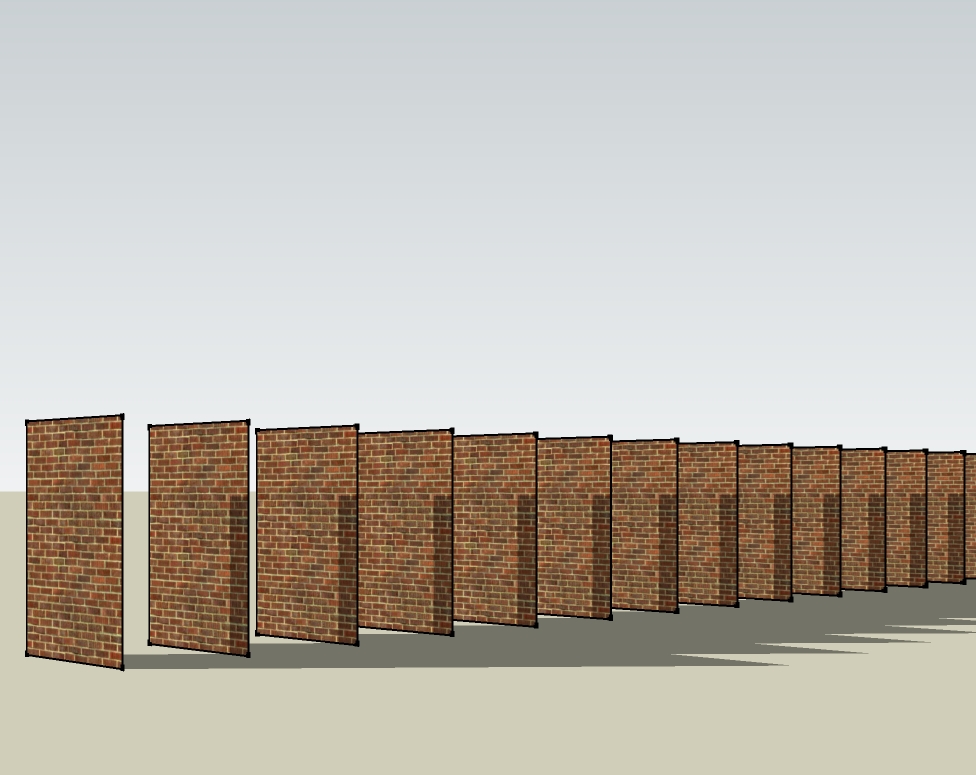
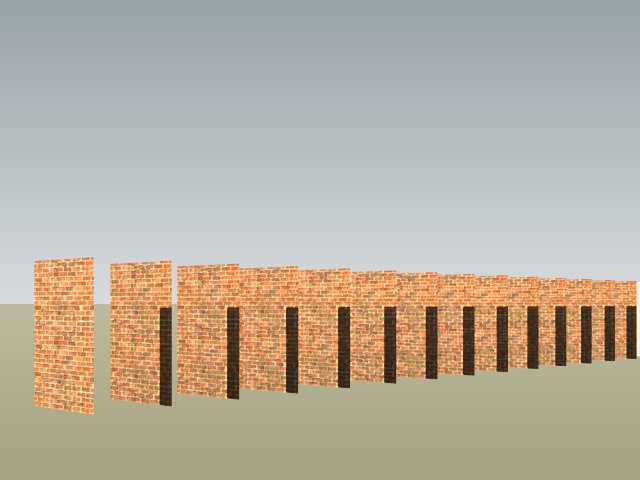
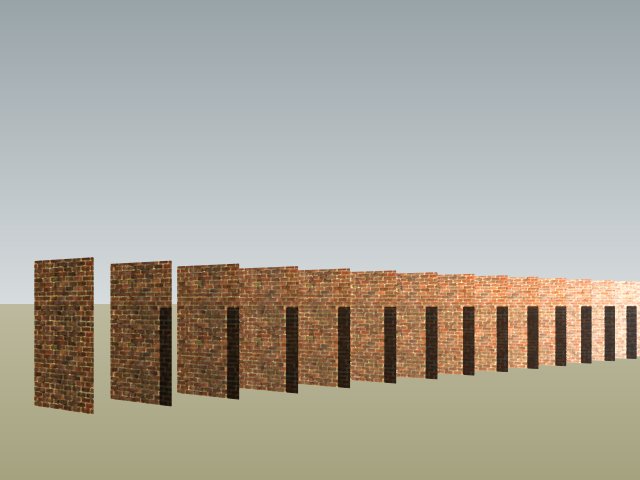
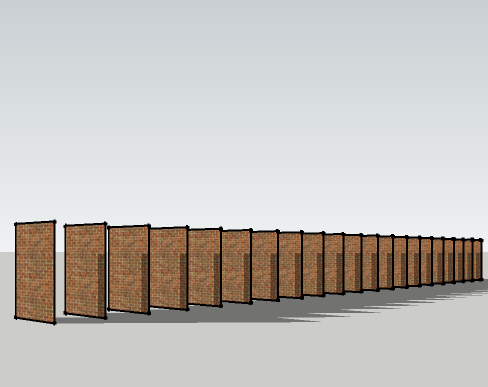
So I did the attached set of images to illustrate. The first image is pure SU, the second a simple render, and the third a render with SU's, HLS value L stepped up by 4 for each face from front to back. While more tweaking should be done to create a better render, the point is made, that a better sense of dimension can be inferred by adjusting the value of the faces from front to back.
Perhaps it's the limitation of the render application I use. Do other applications have adjustments for this? If not, although the model would be changed, it may not be too hard to write a plugin that can adjust the colors automatically for a given point of view.
-
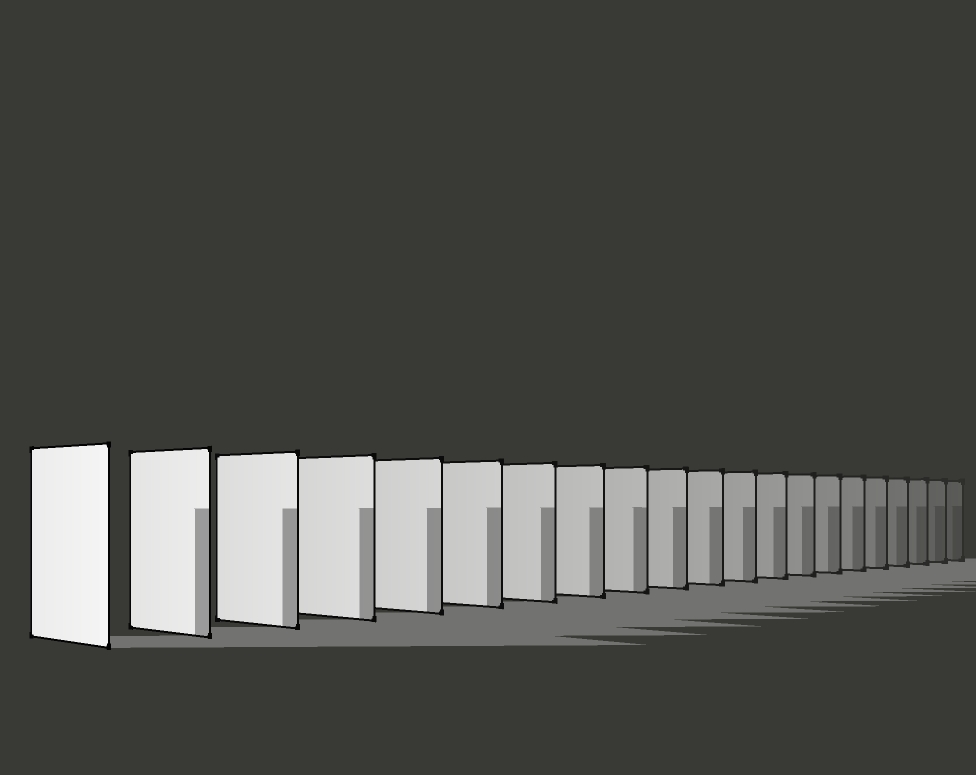
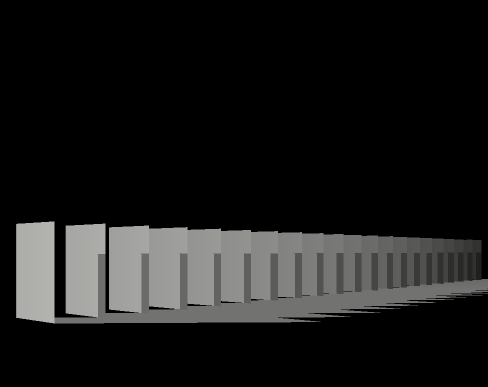
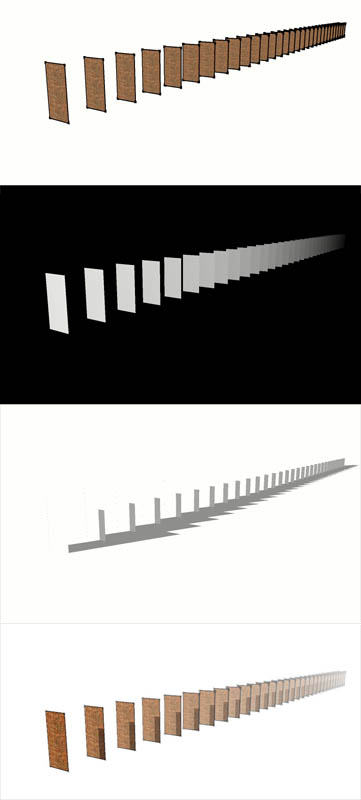
One method I have used it to create a duplicate copy of a scene with a style set to hidden line so faces are all white, and lines are near white (turning them off created issues). I then turn fog on and set it to black.
This scene when exported serves as a depth mask for your original scene. You can use it is an image mask in Photoshop to blend two source renderings. This can be used to alter contrast, brightness or other characteristics of the model as you get further away from the camera.
-
Fog ?

-
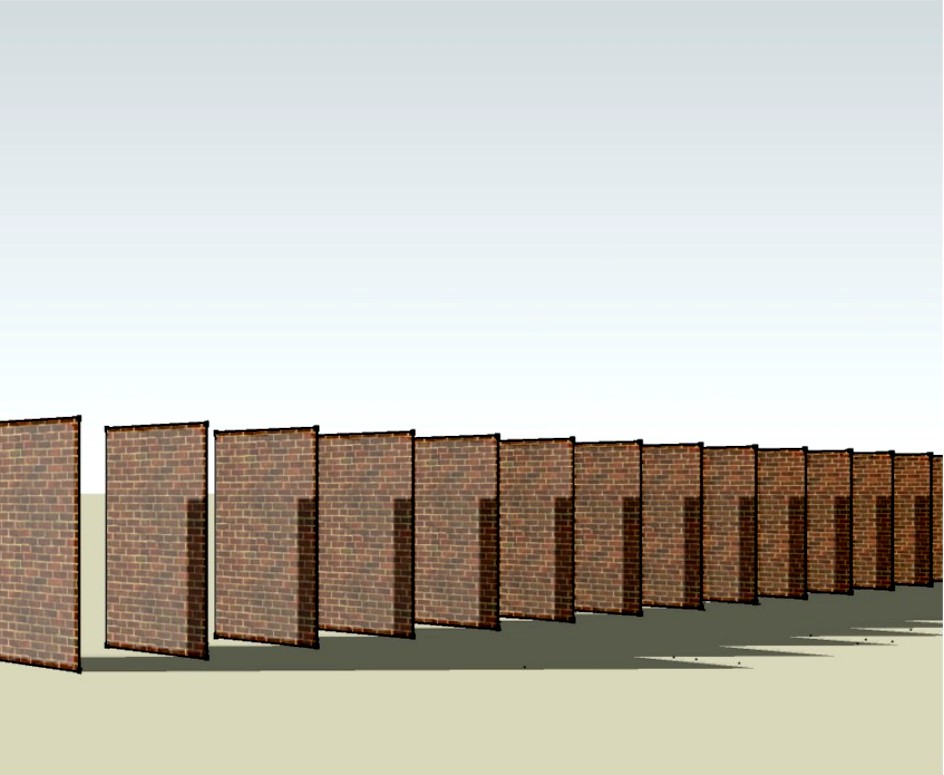
David, Your way may be the only way to go. I just realized that a single textured wall receding to the vanishing point will not render from dark to light, at least with the application I use. Any one else?
-
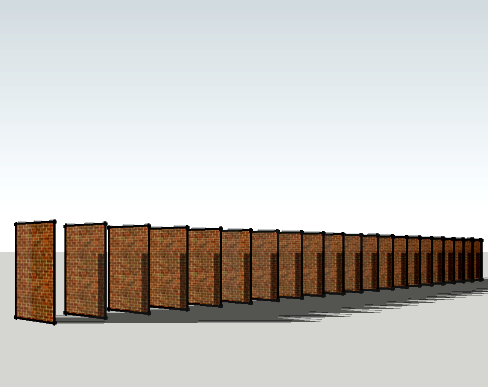
See SU menu for window > fog (set values), and View > Fog (on/off). Not with a rendered image, in reverse (light to dark), but will resolve receding wall, my current effort below. Maybe latter tonight I will tackle dark to light, and a rendered image.
-
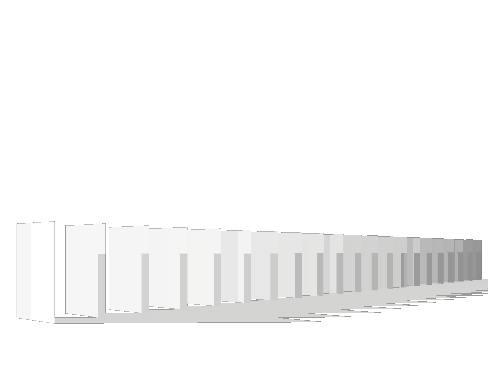
So here is a quick mockup. I set fog to black, play with fog sliders to get full grayscale range over depth of model. I also show shadows as their own exported image. I do this on my elevations so that I can set "use sun for shading" to off and get consistent materials colors from one elevation to the next, and then overlay shadows in another photoshop layer (set to multiply" The fog layer is used as a mask to mix two variations of the basic fog and shadow free rendering. You could alter saturation, contrast, and blur in based on depth, whatever you want. You can also use curves in Photoshop to make the changes less linear.
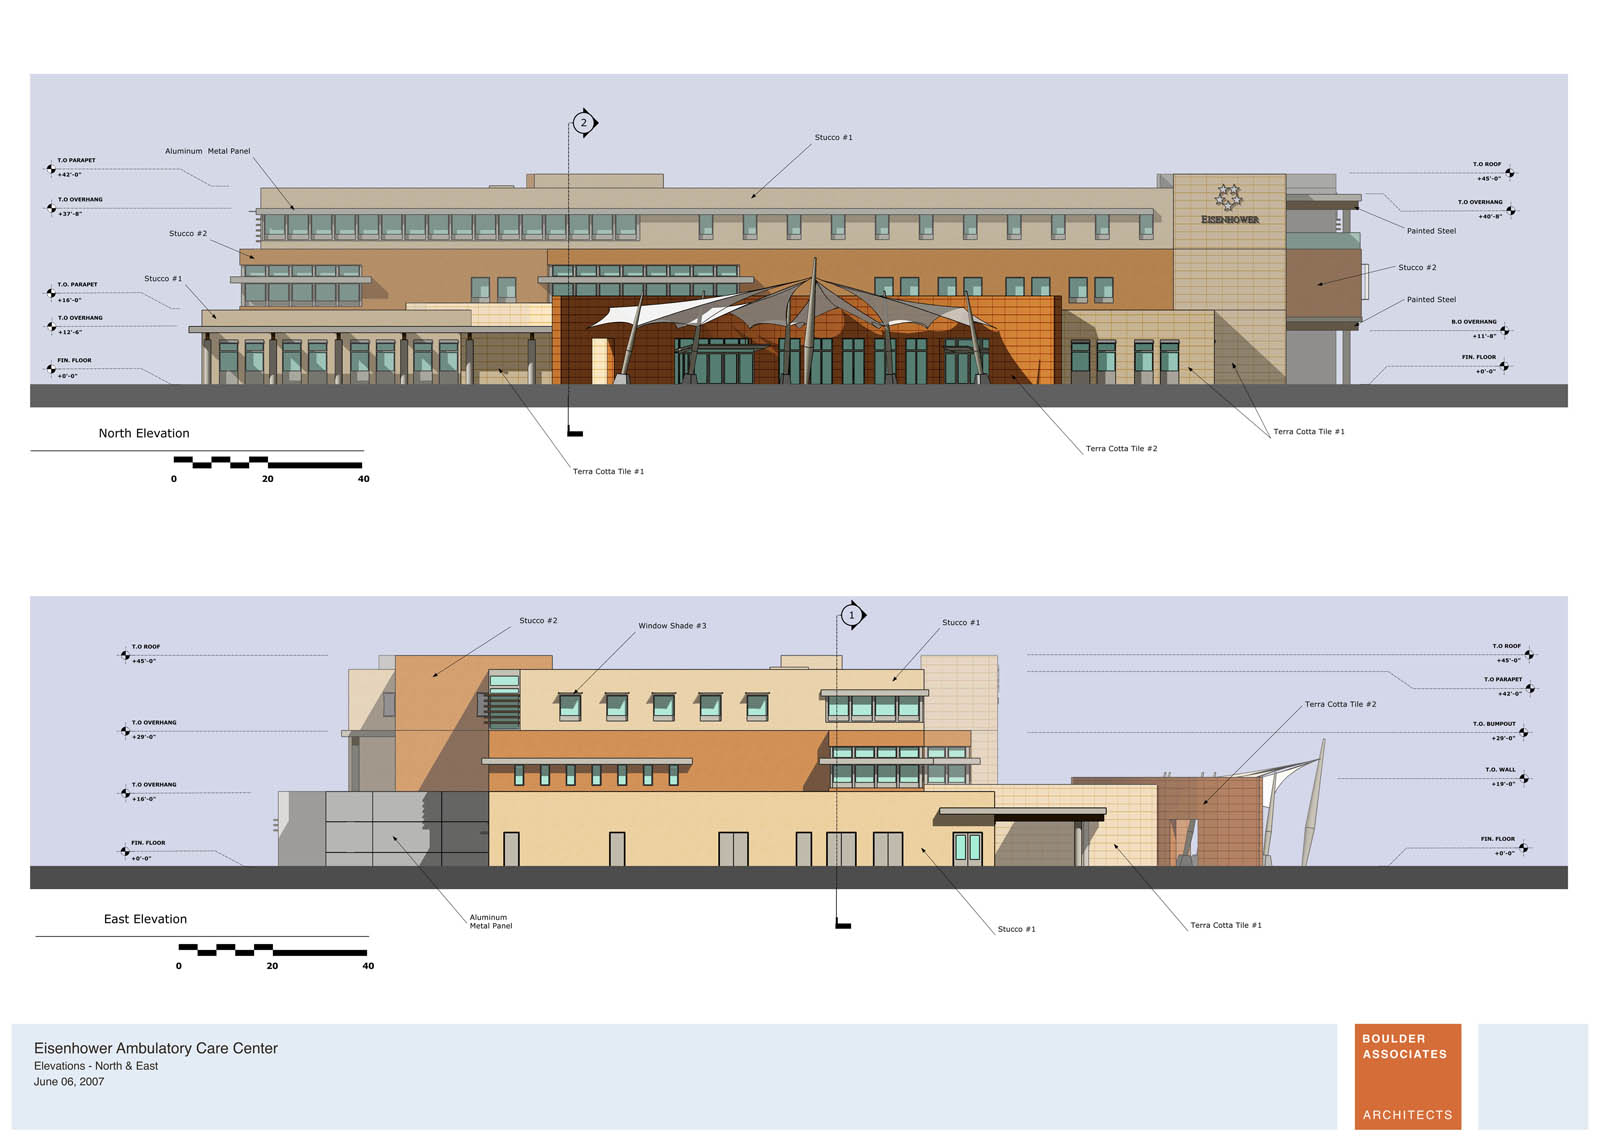
The last image is a practical example of this used for an old elevation of mine. The effect is more subtle than the mockup, but a big time saver when quickly making changes and not wanting to re-tweak Photshop files.
-
Couldn't attach two files, Here is the sample elevation using fog to fade building elements further away from the camera. Pretty subtle effect but still visible.
-
David, Thanks. Haven't time to correct what I previously did, but will begin to apply it to my work.
-
Set your background color to white or to black to get the fog effect to vary, as these examples...
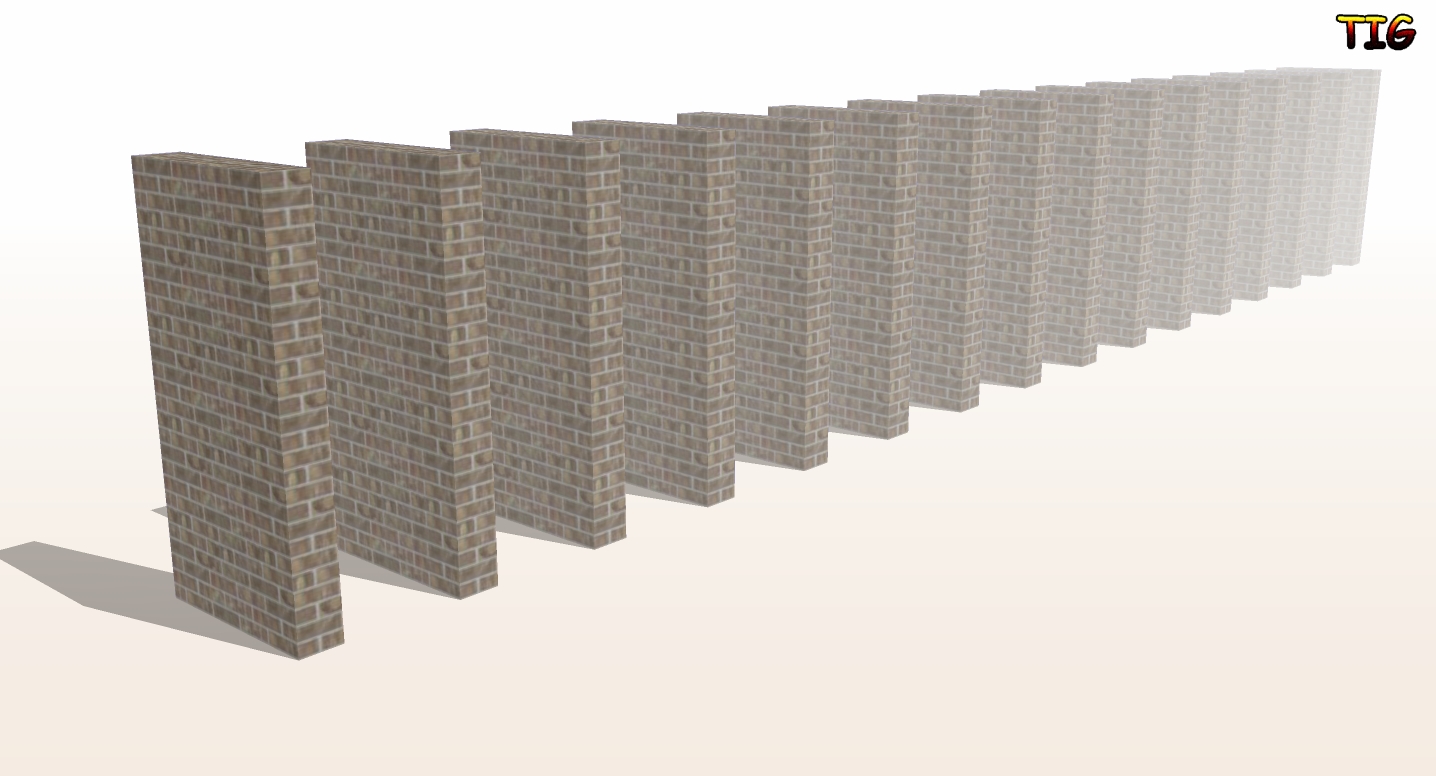
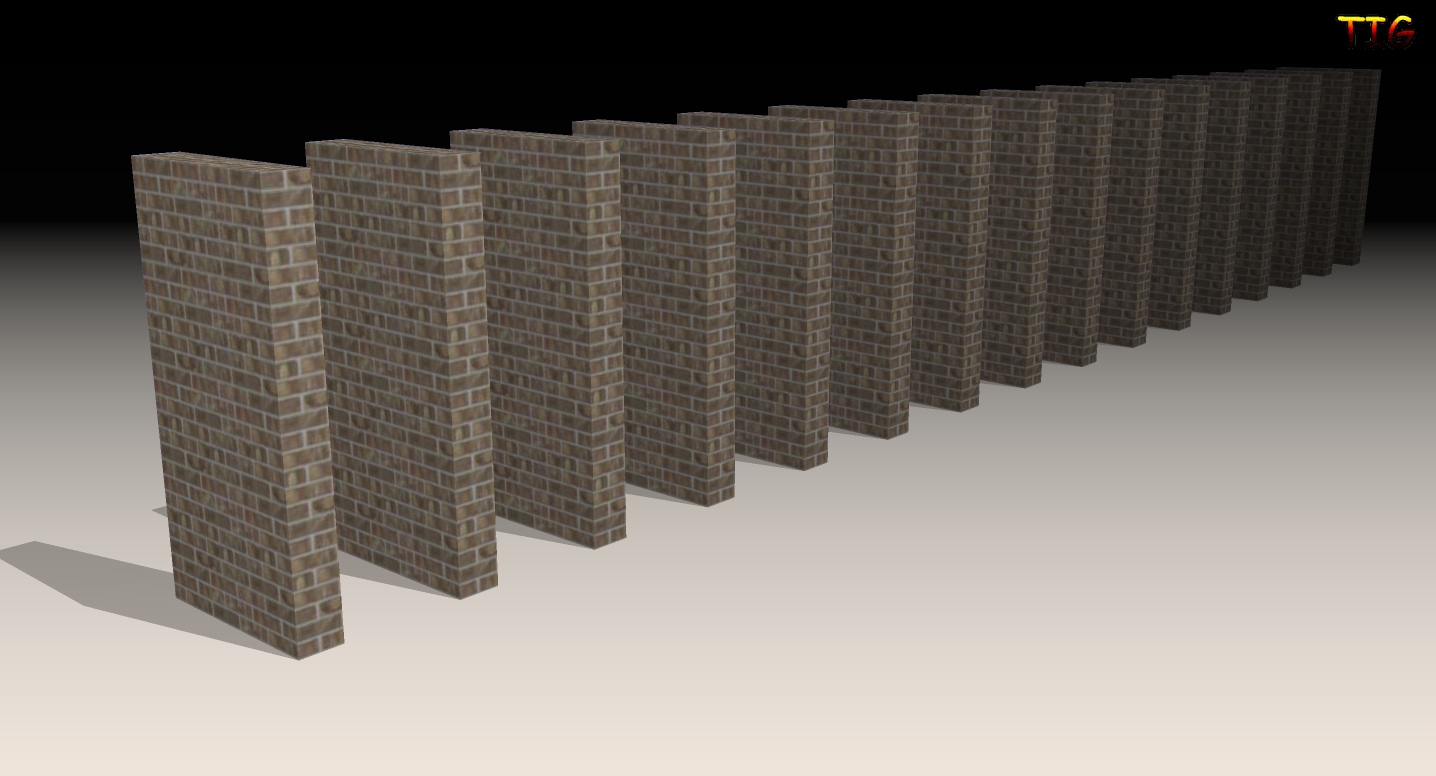 Omit the 'ground/sky' and/or 'shadows' as desired...
 -
TIG, true, white fog can work in many cases. For my elevations I want to keep a blue sky, and if I use a white fog my sky disappears. If I use a blue fog to keep my sky, I get a blue color cast on my elevations.
Another technique I use is to create a rendering of my building as a png with sky and ground off so I can get a mask of the building itself. Then I can drop a sky in with Photoshop using the profile mask made from the png; but the reason I favor rendering out a fog vs. building mask is that I can get more control over the effects of depth and can also use curves or levels in Photoshop to manipulate the distance falloff effect.
Hello! It looks like you're interested in this conversation, but you don't have an account yet.
Getting fed up of having to scroll through the same posts each visit? When you register for an account, you'll always come back to exactly where you were before, and choose to be notified of new replies (either via email, or push notification). You'll also be able to save bookmarks and upvote posts to show your appreciation to other community members.
With your input, this post could be even better 💗
Register LoginAdvertisement


