Blender Information / Advice Thread
-
Hey dedmin
Thanks much for the links. Found them useful.
Remember, guys, feel free to post shots of your work here too!
-
Hi
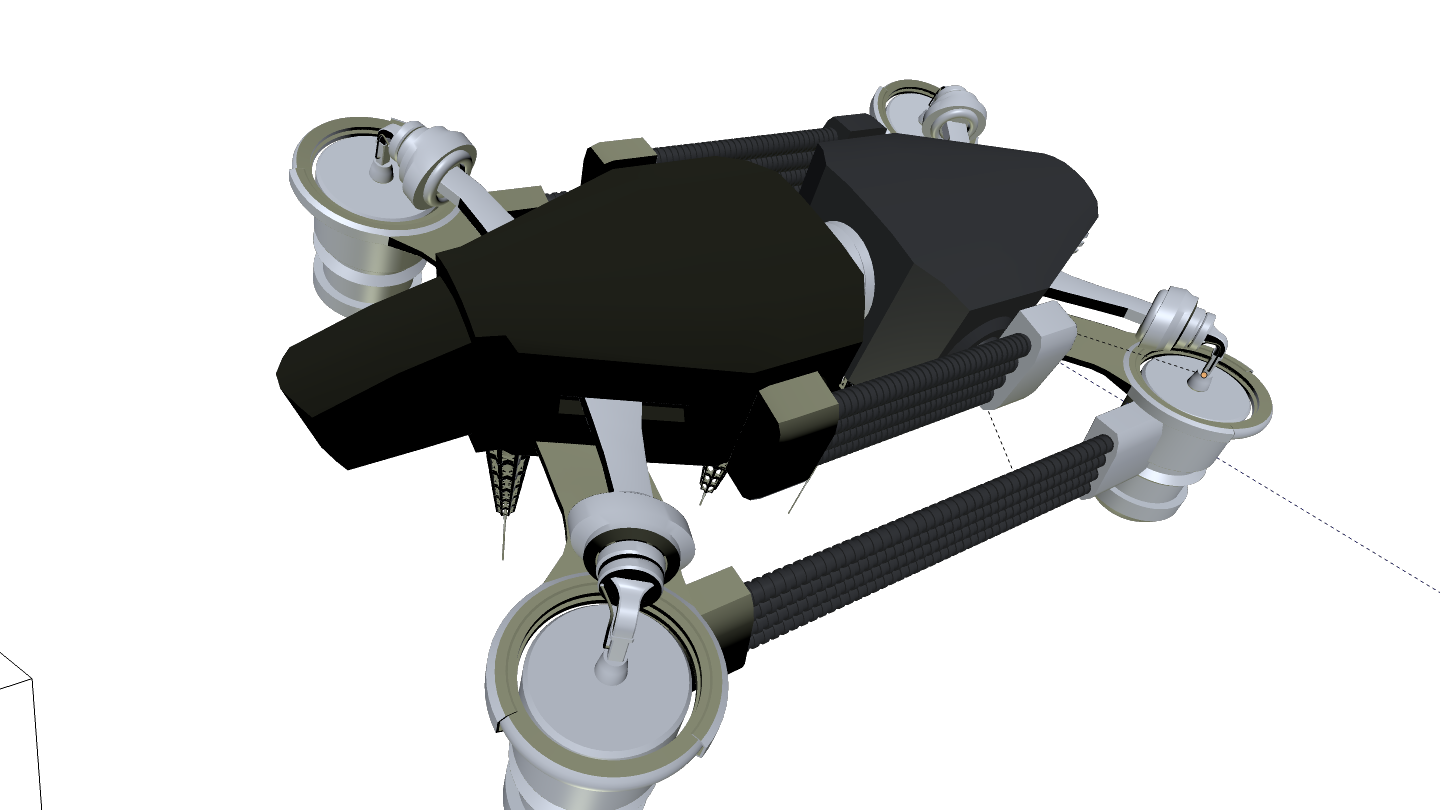
Here it is.
Something done and rendered with Blender 2.5
Cheers
-
That I remember of the interest of internal Blender render engine for owner as me of very old computer(more 8 years old) is that
SU pluging render = 3 minutes
Blender render = 7 seconds!
From the Solo NPR Light House -
Nice work there REGIS and Pilou! The house looked very nice, maybe add some depth of field or something
As for the lighthouse, very artistic. But not realistic, but I don't think that's what you were aiming for, so good job as well!
-
Hi
@ ~GoldenFrog~
Thanks !
Glad you liked itYou're right, it's more artistic render than photo realistic render ! Some details are missing here and there and I think I've lot of things to learn to get nice photorealistic result too but I'm happy with this render.
This one is my first architectural project done in Blender.
It do the job nicely, at the same time, it's a real project that started about two months ago and I'm dealing with the Kitchen now.Perhaps I go with Yafaray for interior render.
Let's see
Cheers
-
@regis said:
I'm dealing with the Kitchen now
Hey REGIS, might wanna check out Blenderguru. He has a tutorial for realistic kitchens. Link: http://www.blenderguru.com/create-a-realistic-kitchen-part-1-of-2/ This is part one of two, the second part deals with rendering.
-
Hi
Indeed, I know Blenderguru's tutorials.
I'm dealing with designing the kitchen, modeling is not so difficult.
Cheers
-
HALLO GOLDENFROG! Here is that blrender i promised on my rating of your 300th model! I tried uploading it here via computer xD
Youtube Video -
Hey m' mate! Very very nice render. I like it a lot. Nice work, I like the material settings you have there. Possibly make the sim higher res (Not the picture size, but the fluid res) because I can see the polygons Nice work again though
-
Thanks! I made the bowl aswell, its on my channel. Thanks! Ill keep that in mind! Maybe Ill do a subsurf on the Fluid and rerender it. I just dont like the fact that blender doesnt have a "line" tool XD
-
Lol, yeah me neither. Maybe Ton thought it too "primative"... :S
-
Right now I'm workin on some fire. Ill show some pics when it's done.
-
A-a-and...Here it is!
-
Oh, and NOLA, I have just the thing for you! http://www.blenderguru.com/introduction-to-the-fluid-simulator/ The guy who does BlenderGuru is awesome, and timely for that matter! XD
-
I must say, I'm incredibly impressed by Blender. After downloading it a couple of years back, Blender's interface completely baffled me- actually it still does confuse me somewhat now and then, but considering Blender is free, I think that is a small price to pay.
I'm posting this to help keep an eye on the developments going down here on SCF. I've also been following some tutorials on...ahem...BlendUcation (!), but there's some good stuff there as well. This was the best beginners tutorial I've found yet;
Tom
-
Cool Goldenfrog! How did you do that? Id love to know XD. Oh, and Tom, thanks for the link, i will definitely check it out!
-
Thanks Nola, I'll write up a text doc in a minute.
-
I'll assume you know how to do smoke in Blender. If not, I can tell you. Anyway, I assume you know that you need a domain and a flow object. Set the domain resolution to 80, and if you want, check "Dissolve" and change the time. (The time is measured in frames). Then, go to Smoke High Resolution and change that res setting to 2. Change noise to FFT. Then go on over to Smoke Cache, and hit "Bake All Dynamics". This will take a while.
After that, save your model. Now you can hit ALT+A, and watch the animation. Esc. stops the anim. Now, your smoke won't show up in the render. So you need to add some material settings. Add a new material (Not texture yet) and set the type to Volume. It's above the preview of the material. Turn the density to 0. Under Shading, turn Scattering to 6, and Density scale to 6 as well. Also turn the step size (It's the last thing on the page) to .01.
Then add a new texture. Change the type to Voxel Data. Under Influence, check Density. Under the Domain Object, select your domain. Then, add a new texture. Do this by by hitting the checkerboard below your current texture. (The topmost window on this page.) Call it Fire to avoid confusion. Also set this to Voxel Data. Go to Colors, and check Ramp. Make a white core, remembering that the right part of the color band represents the bottom of your fire. Then, make a color band, that ends in an alpha value of zero. Again, set the domain object to your domain. Under Influence, check Emission, and set it to 5. (Youll need to type that in; the slider won't let you go past 1.) Do not confuse Emission with Emission Color.
Now onto the compositing. Go over to the Node Editor (Found on the bottomm toolbar where a picture of a white cube is. Click on that white cube and you'll find an option called Node Editor. Select that. So now you are in the compositor. You'll see three small buttons at the bottom of the screen. Select the one with a pic of a cylinder and a sphere. Then hit "use Nodes". Now, let's get one thing straight. The output of a node is on it's right side, and it's input is on it's left. Now. You'll see a node called "Render Layer". It's name is pretty self-explanatory. Hit Shift+A. Add a RGB curve. Then, and a glare node. Connect the glare's input to the output of the RGB node. Oh! Also, make a steep S bend on your RGB curve. Use CTRL+Clicking, to add some...I guess we'll call 'em "bend points". Move these around till you get an S shape.
Ok. So where were we? Ah, yes we were connectng the glare's input to the RGB's output. Also add a blur node. Change the type to Fast Gaussian, and change the X and Y values to 10. This makes a blur 10 pixels wide.
Cnnect the blur's output to yet another glare node. Make the type of this glare a Fog Glow. Change the size to 9, and threshold to 0. Now. Lets go back to our RGB's output. This already has your blurs input connected to it. Now, make a forked connection, and connect this to your OTHER glare node. Make this type be streaks. Keep all the settings, except for the threshold. Change to 0. Ok. Now add a mix node. Connect the output of both your glare nodes to it's input. Then hook up a composition node and fork your connection and add a view node. Hook that up to your mix's output. Ok.
If I've lost you anywhere, feel free to ask me, or ask me to upload the .blend and you can rip it apart and see how it works.
Wow. I've typed alot. This is amazing. Made even more amazing considering that I have a cold at the moment. Whoa. Ok! Talk to you soon.
-
Well thanks! Ill try that when i get a sec I assume you mean 3D smoke? Because i watched a tutorial on that. But anyway, thanks! Ill tell you if i need any more help Oh and i will upload my result later XD
-
Yep, it's 3d. Cant wait to see what you do! Oh, and remember the concept of initial velocity. If you create a particle system, you can make the smoke particles inherit the particles velocity.
Advertisement