Window with trim, sizeable static component
-
Like many, I'm confronted with creating and placing somewhat schematically modelled windows and doors, with trim. Doing this very efficiently has confounded me until now!! I humbly submit for your gentle comment this little static component.
Its use is basically as follows:-
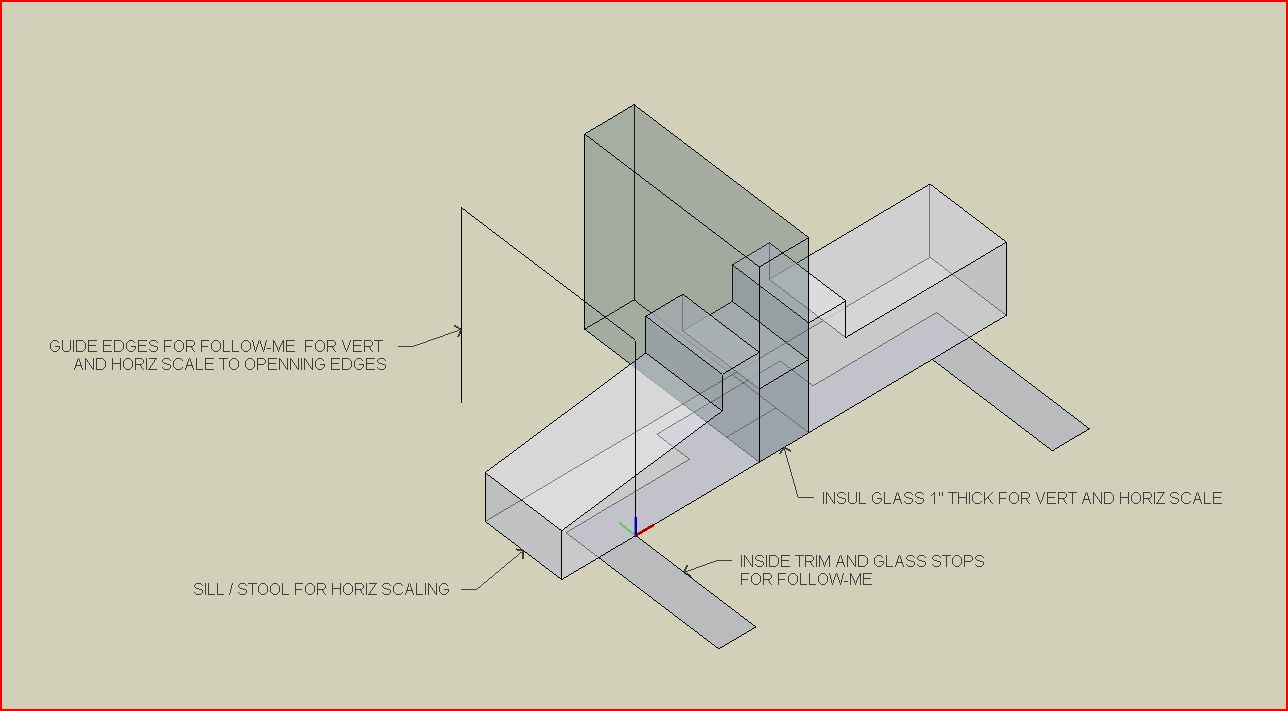
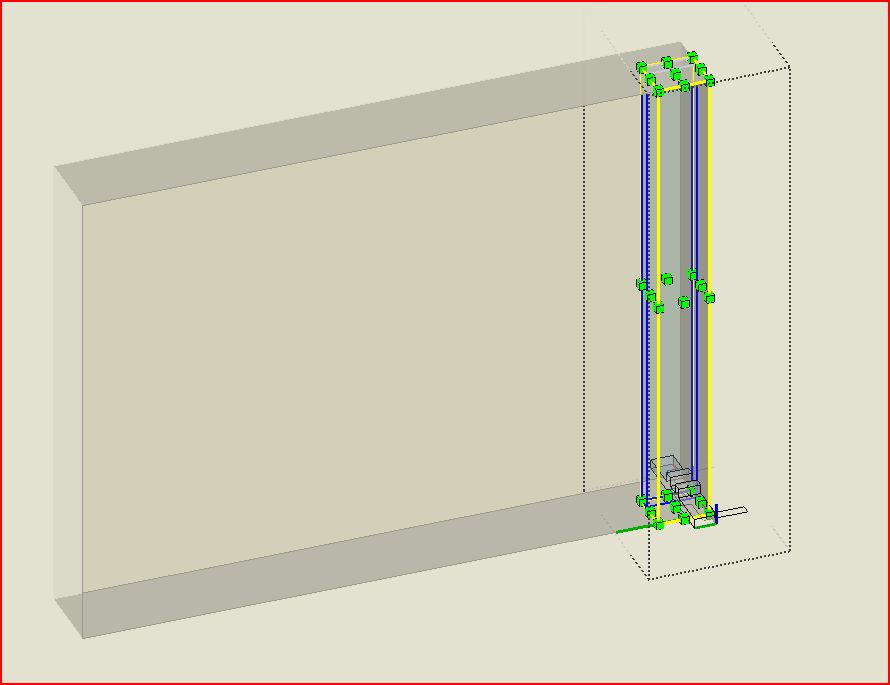
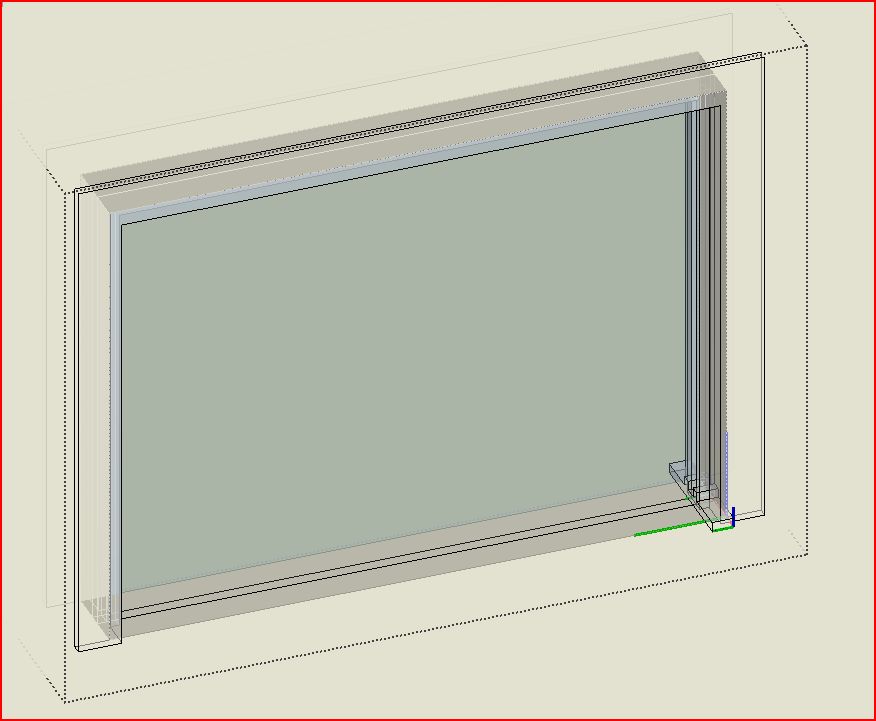
On one face of a double faced wall draw a rectangle of the appropriate size. Push/pull the created face to oblivion.
-
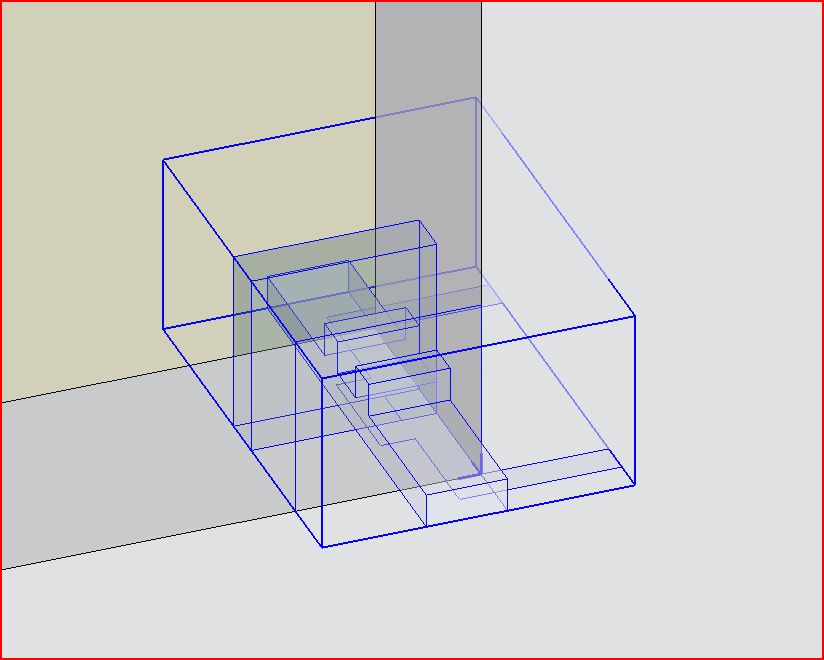
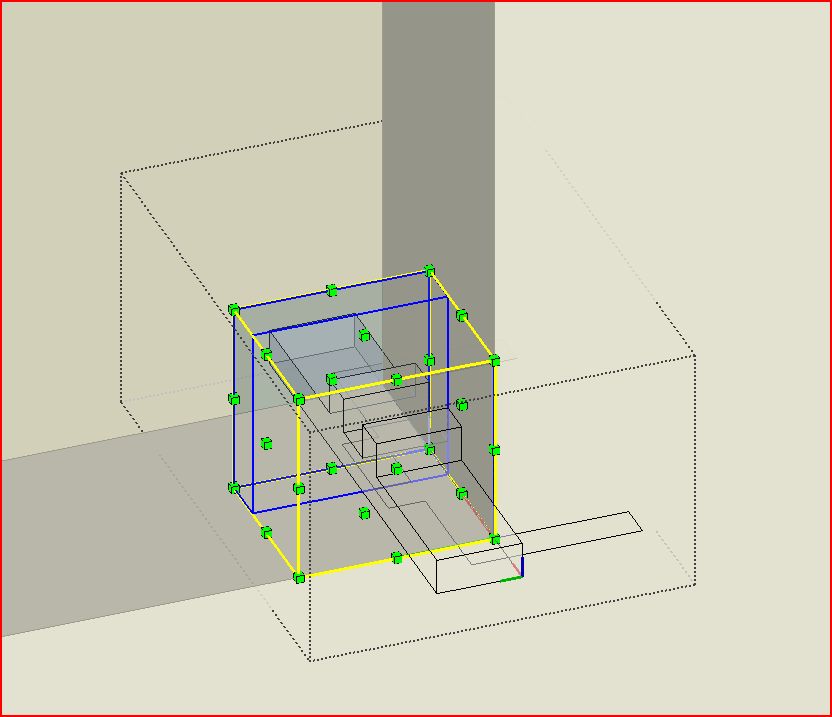
Place the component in the corner of the opening. with its axis at the lower right outside corner.
-
Make the component unique for window/doors of this size so others will not be affected by changes happening next. Edit it.
-
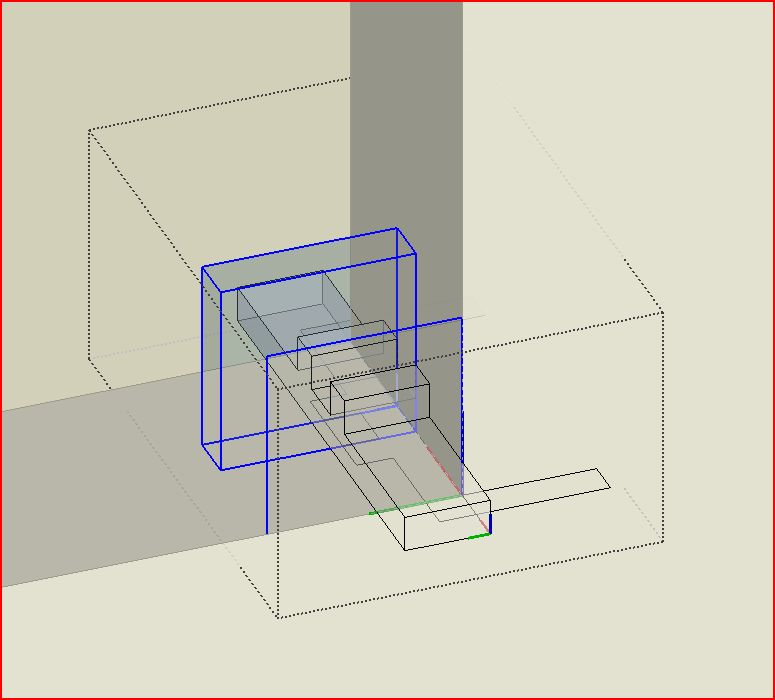
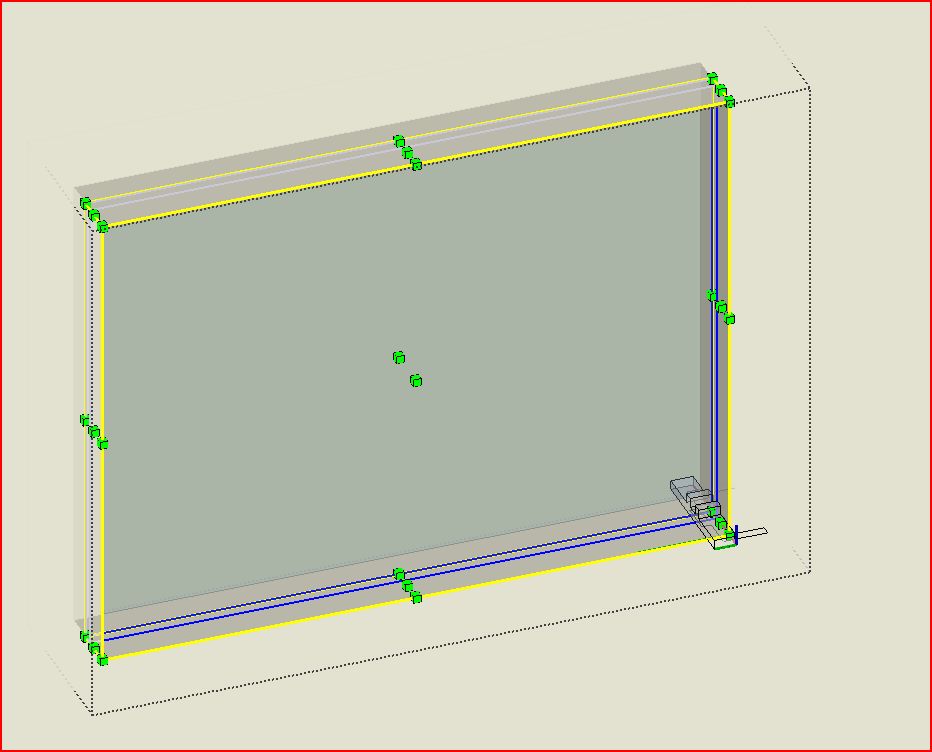
Scale the 1" thick glass and same sized parallel edges to fit the opening (just snap to endpoints).
-
Follow-me the trim face around the just scaled edges to create the trim and glass stops around the sides and top of the glass.
-
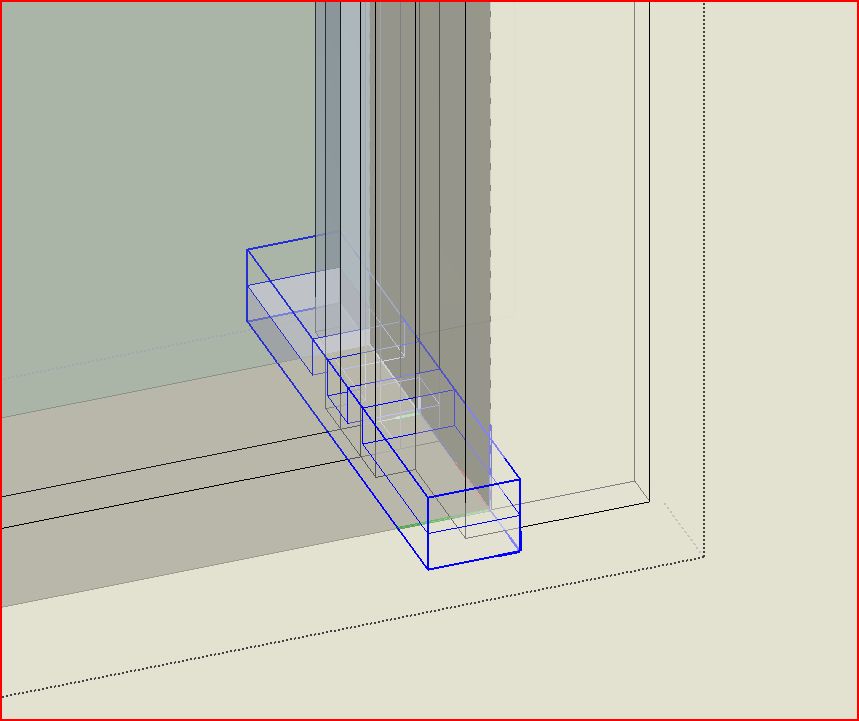
Scale the sill/stool piece horizontally to the opposite side, snapping to the corresponnding endpoint.
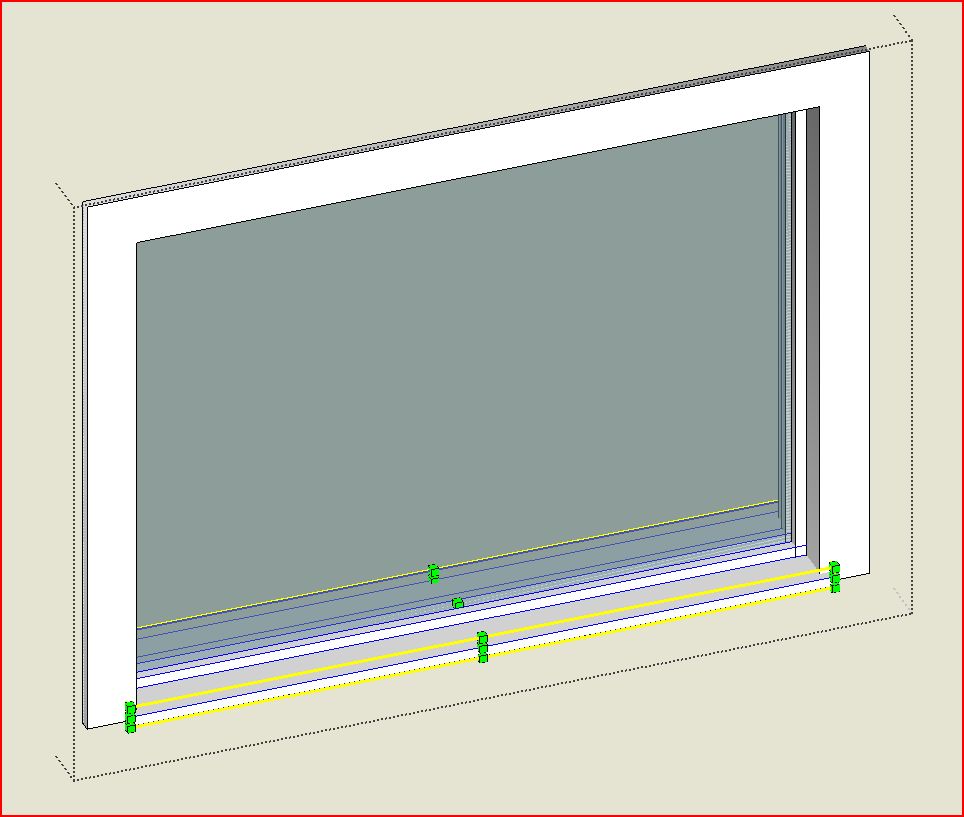
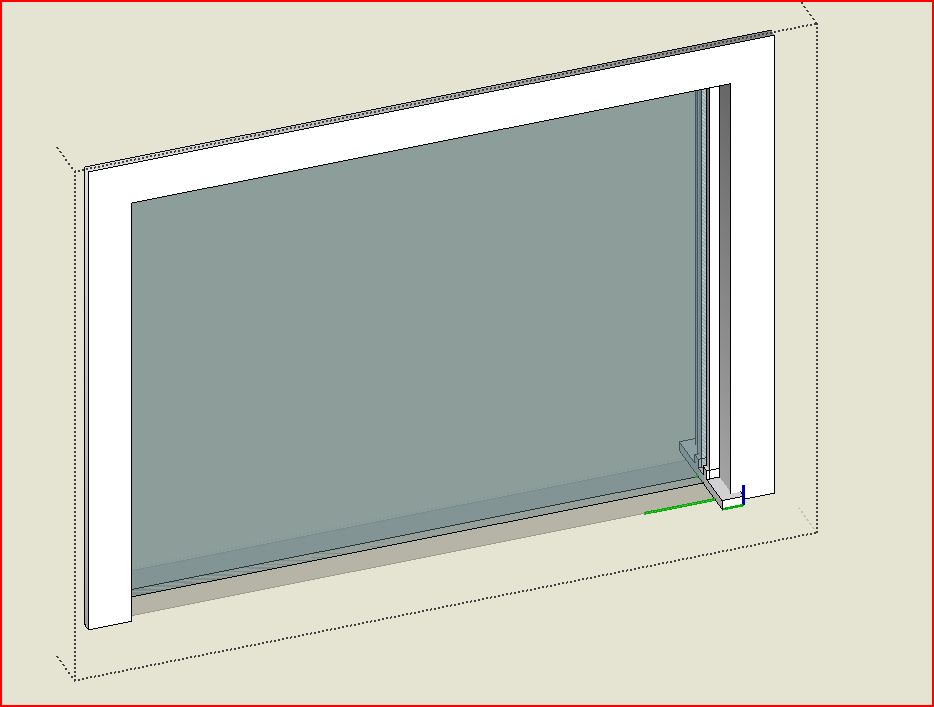
You are done. Once you make the opening and place the component it is a 3 step edit and quite quick.
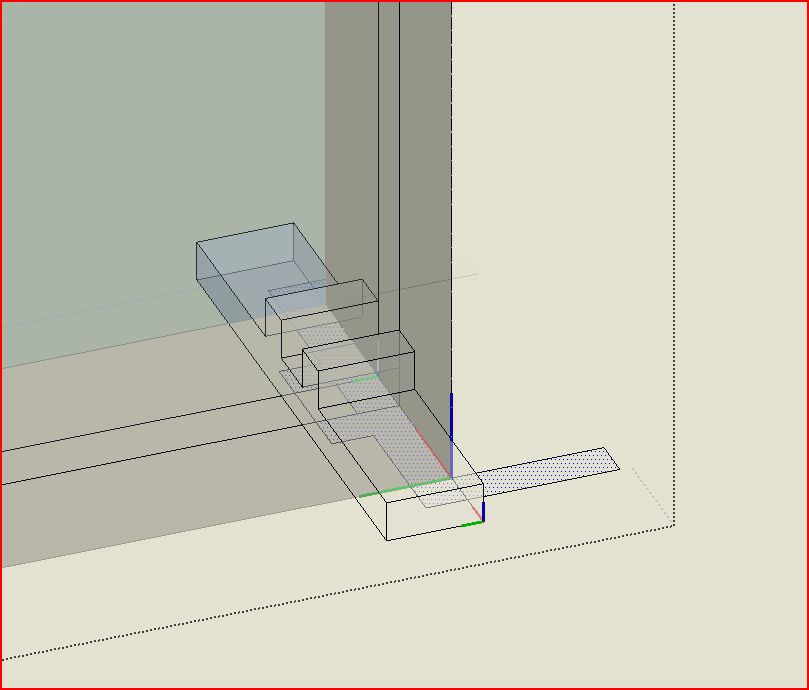
In the pics, the sill/stool is flat; I've since thickened and sloped it, but this is obviously not for detail drawings.
Feel free to let me know that, sorry, I have wasted my time: there is a much easier way to do this.
-
-
Added the model.
-
That's clever

I normally use FredoScale on a regular window component so the trim isn't distorted...is there an advantage of this way vs. using FredoScale?
-
@d12dozr said:
I normally use FredoScale on a regular window component so the trim isn't distorted...is there an advantage of this way vs. using FredoScale?
I'll have to try that. Which component would you recommend? Maybe F-scaling one produced by this process?
-
It occurred to me at four in the morning, when I am not usually awake for long, that this might be an OK candidate for a plugin, which could begin at the beginning, just before one draws the rectangle (input on wall depth needed?), or directly after that with a pick of edges of the cut face, to automate the rest of the process.
-
@brookefox said:
@d12dozr said:
I normally use FredoScale on a regular window component so the trim isn't distorted...is there an advantage of this way vs. using FredoScale?
I'll have to try that. Which component would you recommend? Maybe F-scaling one produced by this process?
I think I see: with the 'stretch' tool of F-scale. It doesn't work on components produced by my little thingy, because of the embedded groups, I guess, though it looks like that could be fixed to work. Pros / cons either way? EDIT: simply exploding the two internal groups didn't facilitate F-scale's working on this component, but likely it could be edited to do so.
The smoothing evident in the trim sometimes seems to result from the fact that the follow-me is performed on welded line segments. But why does it happen only sometimes, and how can it be prevented?
-
@brookefox said:
Which component would you recommend?
I usually just use simple windows like the ones in Sketchup 6 bonus pack.
@brookefox said:
It occurred to me at four in the morning, when I am not usually awake for long, that this might be an OK candidate for a plugin, which could begin at the beginning, just before one draws the rectangle (input on wall depth needed?), or directly after that with a pick of edges of the cut face, to automate the rest of the process.
Have you seen Windowizer 4? I haven't tried it but it looks like it may do what you want.
@brookefox said:
I think I see: with the 'stretch' tool of F-scale. It doesn't work on components produced by my little thingy, because of the embedded groups, I guess, though it looks like that could be fixed to work. Pros / cons either way? EDIT: simply exploding the two internal groups didn't facilitate F-scale's working on this component, but likely it could be edited to do so.
I can't understand why FredoScale's Stretching doesn't work with your window, normally embedded components/groups stretch just fine, like this cabinet for example.
@unknownuser said:
The smoothing evident in the trim sometimes seems to result from the fact that the follow-me is performed on welded line segments. But why does it happen only sometimes, and how can it be prevented?
Do you have an example?
-
@d12dozr said:
@brookefox said:
Which component would you recommend?
I usually just use simple windows like the ones in Sketchup 6 bonus pack.
@brookefox said:
It occurred to me at four in the morning, when I am not usually awake for long, that this might be an OK candidate for a plugin, which could begin at the beginning, just before one draws the rectangle (input on wall depth needed?), or directly after that with a pick of edges of the cut face, to automate the rest of the process.
Have you seen Windowizer 4? I haven't tried it but it looks like it may do what you want.
Yes, that one looks good, if not free. I'm trying to learn as I go and remain free.
@unknownuser said:
@brookefox said:
I think I see: with the 'stretch' tool of F-scale. It doesn't work on components produced by my little thingy, because of the embedded groups, I guess, though it looks like that could be fixed to work. Pros / cons either way? EDIT: simply exploding the two internal groups didn't facilitate F-scale's working on this component, but likely it could be edited to do so.
I can't understand why FredoScale's Stretching doesn't work with your window, normally embedded components/groups stretch just fine, like this cabinet for example.
Those cabinets are dynamic components. I think my thingy creates sticky edges and faces, which may be fixable. LATER: I exploded the internal groups and deleted redundant geometry that that created and FS worked almost, then I made the sill ortho with the rest and exploded the straight edged curve I had used for the follow-me but had forgotten and FS worked OK.
@unknownuser said:
The smoothing evident in the trim sometimes seems to result from the fact that the follow-me is performed on welded line segments. But why does it happen only sometimes, and how can it be prevented?
@unknownuser said:
Do you have an example?
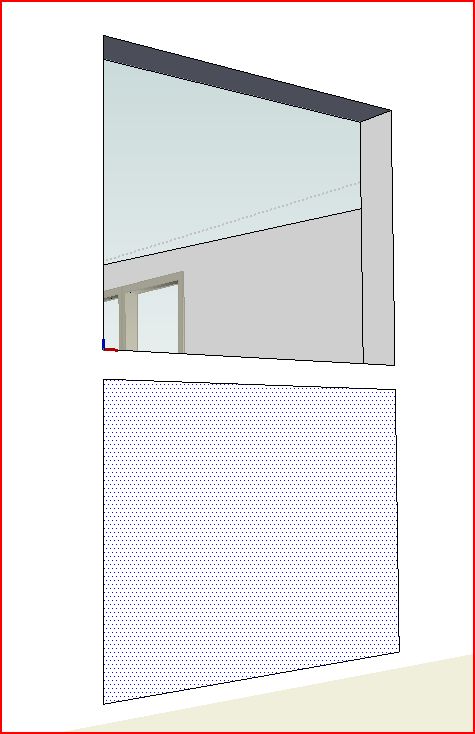
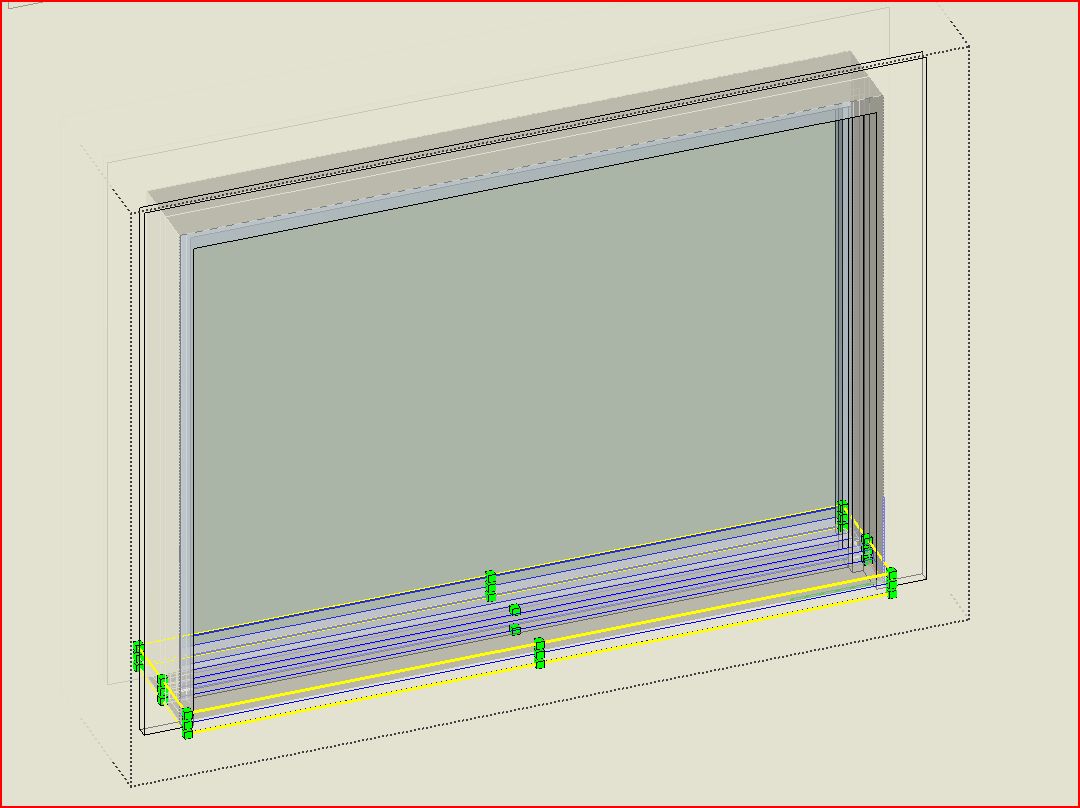
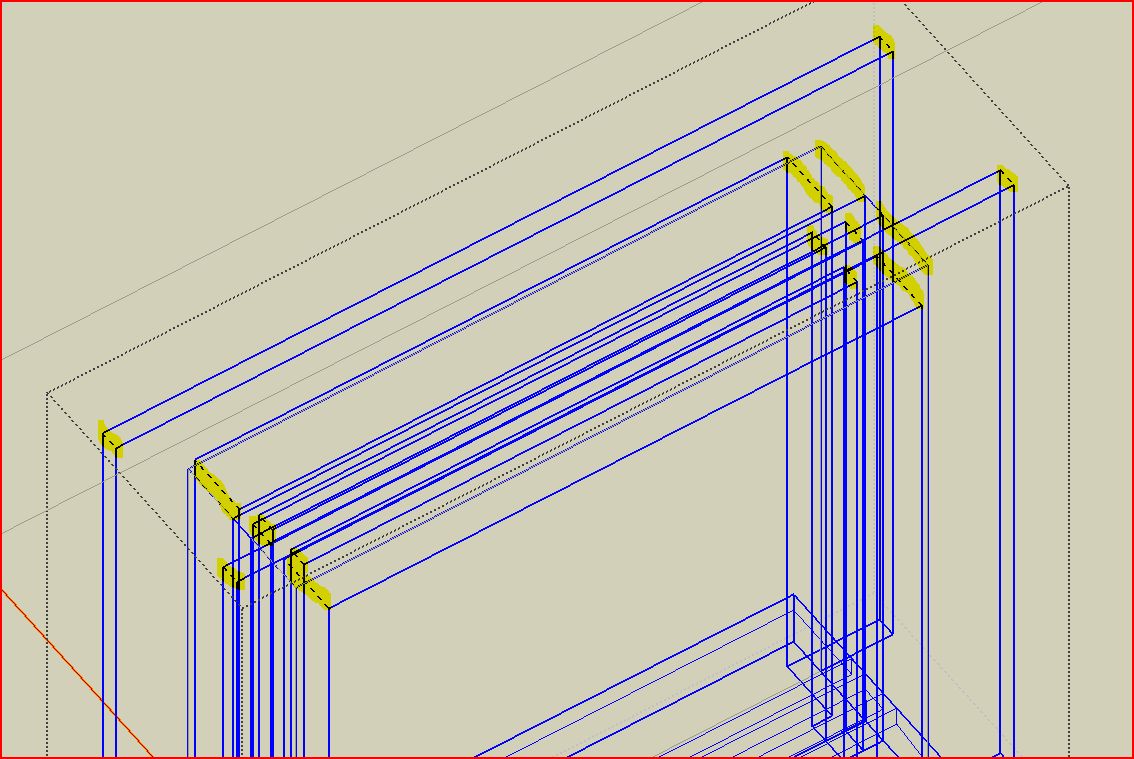
Yes, please see below.
-
@unknownuser said:
Yes, that one looks good, if not free. I'm trying to learn as I go and remain free.
There is Windowizer 3 that is free but not as robust.
As far as the smoothing, welding line segments will always make geometry smoothed AFAIK, I don't know why it would only happen sometimes, maybe somebody else knows?
-
@d12dozr said:
@unknownuser said:
Yes, that one looks good, if not free. I'm trying to learn as I go and remain free.
There is Windowizer 3 that is free but not as robust.
Yes, I've tried it, but prefer what my thing yields: trim on both sides, insul glass, sloped sill, etc., admittedly with a little more effort. Using Fredo scale (stretch) on a simplified profile may be a good compromise but it still takes editing and I think cannot have sloped surfaces, which will stretch incorrectly.
Anyway, thanks for hanging with me on this and for your help.
-
@unknownuser said:
I can't understand why FredoScale's Stretching doesn't work with your window, normally embedded components/groups stretch just fine, like this cabinet for example.
I find exactly the problem referred to. Often embedded components do not respond well to FredoScale stretching. But I think you are talking about two methods. This current component looks like a good tool to make a window, but once you've made it and added all the trim you want for your project. It is perhaps easier to explode and re-component it with strategic insertion point/axes. Then place in each remaining opening, make unique, and resize with FredoScale.
I don't think you'd have a problem stretching your finished window if there are no embedded components. The beauty of Fredoscale box stretching is it stretches from a center plane in the object, leaving sills and such moved but otherwise untouched. At the center of your window there are only perpendicular planes. It also has a target mode so it is easier to hit opening size.
oops...just realized this is an old thread. I saw Jul. 5 and... I was searching on a particular subject when I ran across this.

-
Old but still relevant? I need to look into Fredoscale, didn't know it worked like that.
As for the OP the current method I use is to create a template window component to a known size e.g. 2' x 2', then make a "unique" copy which i then edit by "Moving" the sides & head ideally to a known dimension, but it can also be pulled to inference with the opening lines if editing in place. This also works with any sub divisions that can be moved individually.
Hello! It looks like you're interested in this conversation, but you don't have an account yet.
Getting fed up of having to scroll through the same posts each visit? When you register for an account, you'll always come back to exactly where you were before, and choose to be notified of new replies (either via email, or push notification). You'll also be able to save bookmarks and upvote posts to show your appreciation to other community members.
With your input, this post could be even better 💗
Register Login


Advertisement