Creating a leather padded wall with SketchUp ... help!
-
Hi,
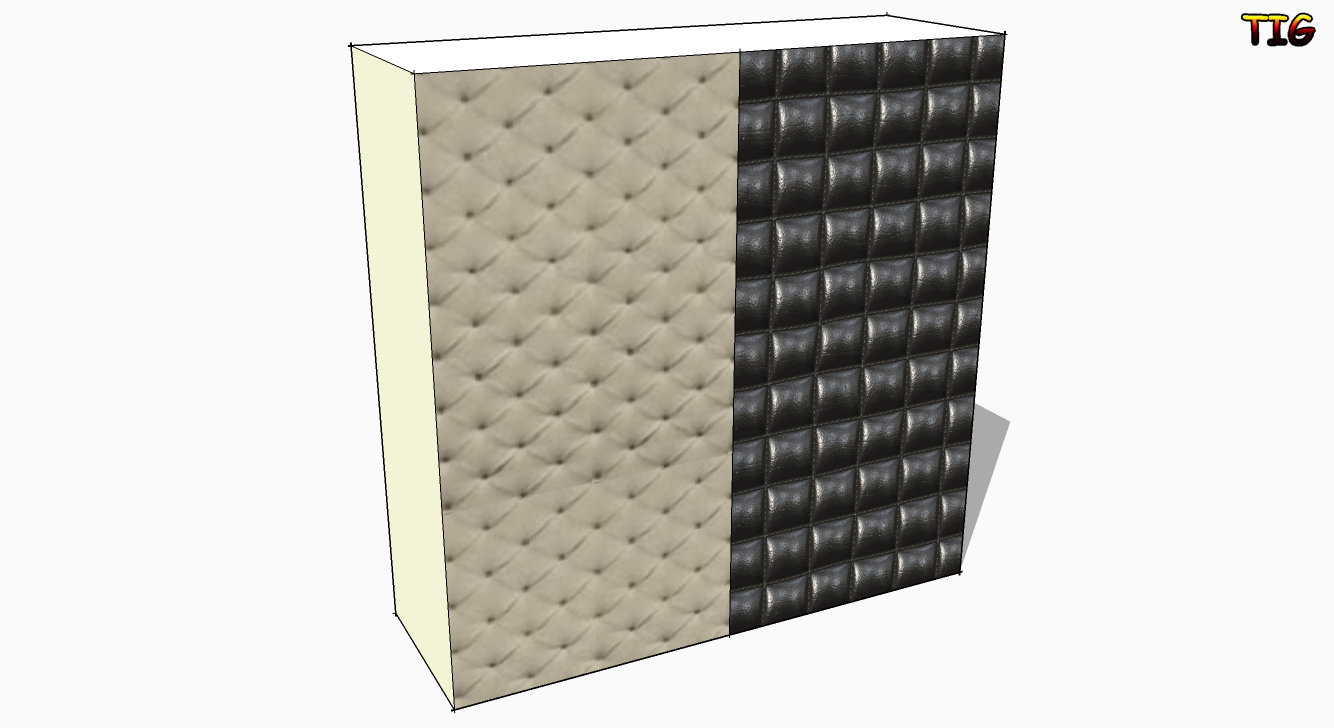
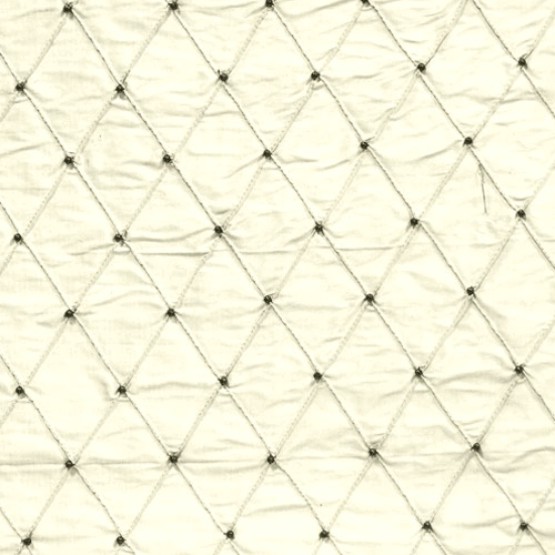
I'm trying to create a leather padded wall as per the attached photo... any ideas?
I don't know how to extrude a round surface. Is it possible?
Thanks
Penny

-
-
Do you really need a 3D complex shape, you could make it flat and apply a textured material over it ? There are plenty on the web, some need no work to get to tile at all - like these two...
-
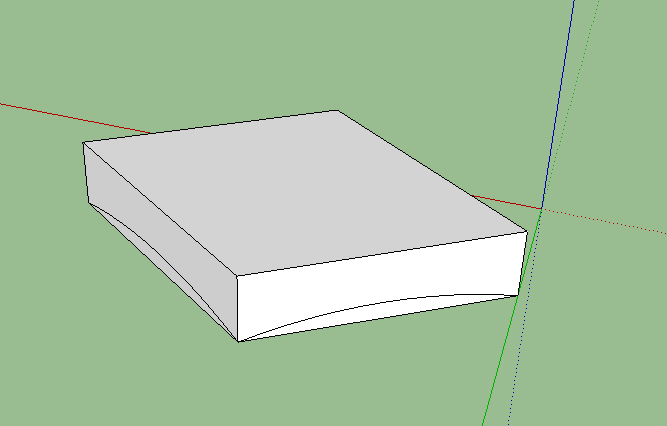
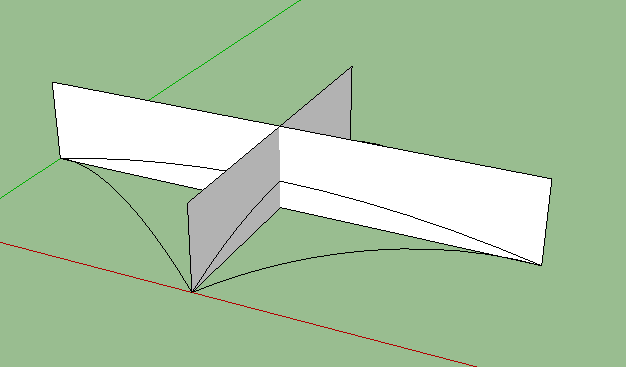
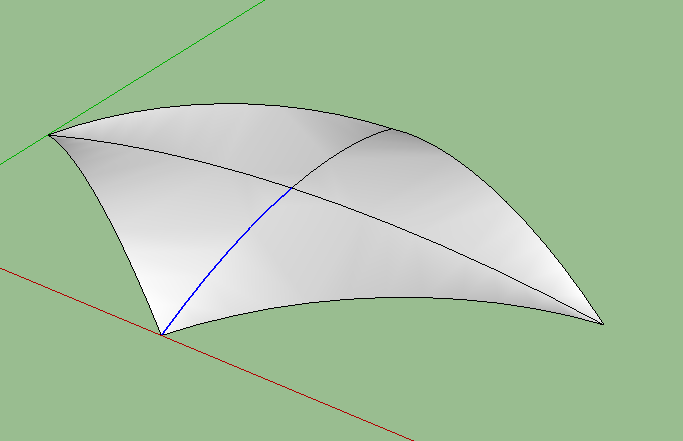
I tend to agree with TIG, but as an exercise in modeling here you go. If you build yourself a diamond of the dimensions of the lofted fabric, and pushpull it up. Then using the arc tool draw an arc with the same loft on each side of the box. Delete all of the box except the loft lines, and draw another set of rectangles that form a cross between your loft lines, and draw the same height arc on each of these. Erase all but the lines. Select all these lines. Under the draw dropdown menu go to "sandbox/ from contours".
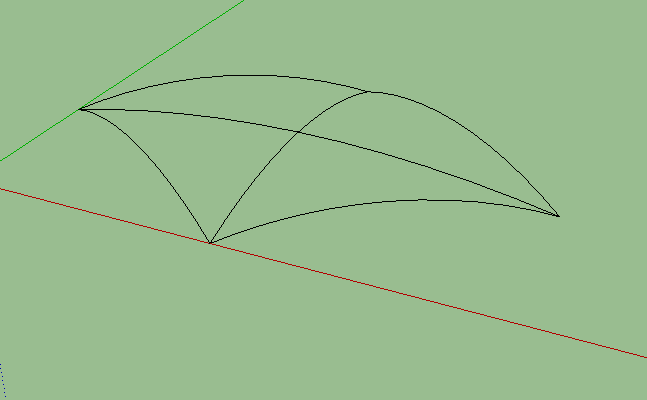
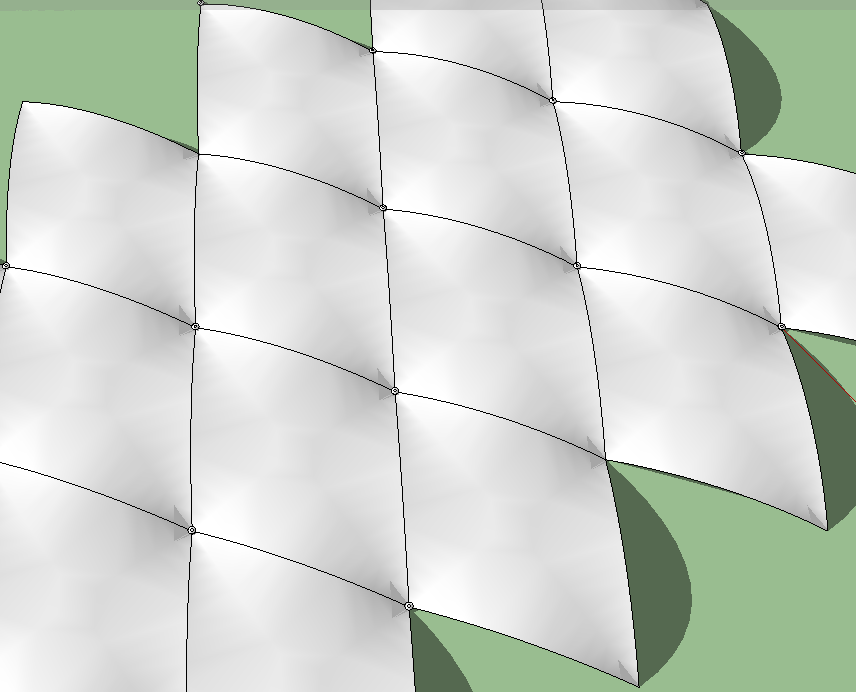
Once sandbox has crated the surface, and erase the middle cross lines, it will be a group which you can copy and move to make into your full pattern. Create and add the button and that's about it. It takes longer to write out than do.
Hope this helps. Oh and I have a feeling that there are probably one or two other ways of doing it using rubies, this was just a quick one to get you going.
Hope this helps.
-
My ExtrudeEdgesByRails ruby [or EEbyEdges and others] would do what you want - simply draw/copy the 'arcs' for the sides and let it go to make the mesh 'bump' for you - however each 'bump' will have dozens of facets and edges: placed together you'll have an enormous amount of geometry to clog up the model - and it'll be looking only a little better that a quickly applied texture image, as I first suggested. If the aim is to make something that way the quickest, if it's an exercise in modeling 3D geometry make it by hand so you understand what's happening or use a ruby...
-
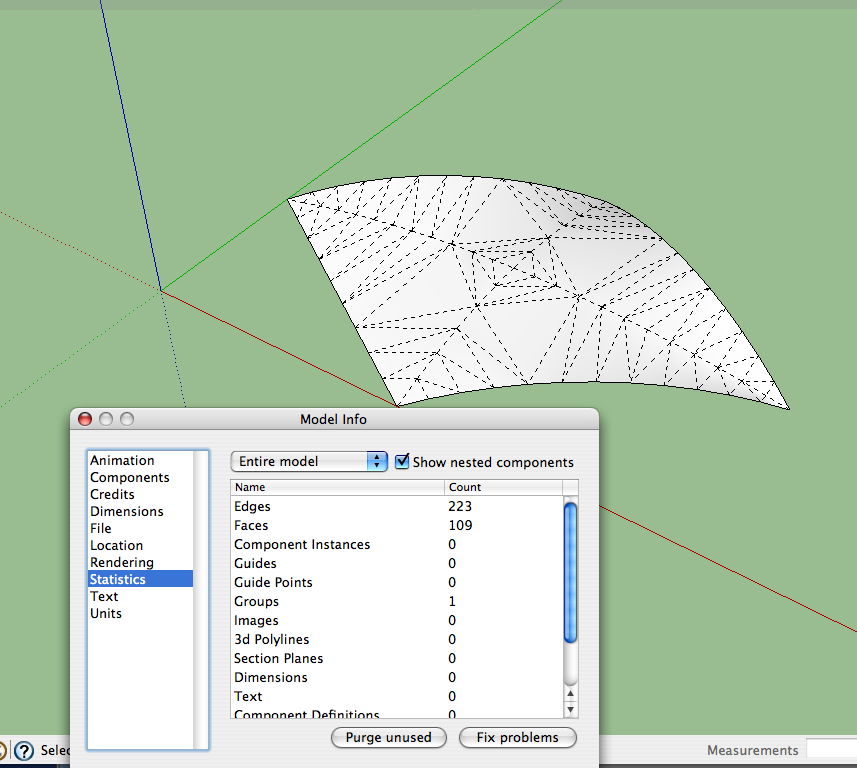
Tig is right. In the example given above there are 223 edges and 109 faces per diamond loft. That would quickly add up in a wall sized space.
-
@tig said:
My ExtrudeEdgesByRails ruby [or EEbyEdges and others] would do what you want - simply draw/copy the 'arcs' for the sides and let it go to make the mesh 'bump' for you - however each 'bump' will have dozens of facets and edges: placed together you'll have an enormous amount of geometry to clog up the model - and it'll be looking only a little better that a quickly applied texture image, as I first suggested. If the aim is to make something that way the quickest, if it's an exercise in modeling 3D geometry make it by hand so you understand what's happening or use a ruby...
In the link above Dave did exactly that - he made a texture from the model.
-
Many thanks all.
It's for a work presentation. Time is of the essence so i'll give the texture a go. I'm no expert with SketchUp so a lot of your advice has gone over my head but when i get the time i'll try building the padded wall with your instructions.
Thanks again
-
@tig said:
Do you really need a 3D complex shape, you could make it flat and apply a textured material over it ? There are plenty on the web, some need no work to get to tile at all - like these two...[attachment=0:18gy2hax]<!-- ia0 -->PaddedWallTexture.png<!-- ia0 -->[/attachment:18gy2hax]
TIG, this topic is being really helpful to me, but Iam not finding a good texture to use, the one in the left of your model seems to be exactly what i need, could you share it with me? i would be really greatful.
-
There are millions of images available that you can then use as textures fro SUP material/SKM files https://www.google.co.uk/search?q=padded+upholstery+texture&source=lnms&tbm=isch&sa=X&ei=X74dUuGjKaKV0AXLtYHQBA&ved=0CAcQ_AUoAQ&biw=1440&bih=763
Here's a quick example [poor since its tiling is off]...
Hello! It looks like you're interested in this conversation, but you don't have an account yet.
Getting fed up of having to scroll through the same posts each visit? When you register for an account, you'll always come back to exactly where you were before, and choose to be notified of new replies (either via email, or push notification). You'll also be able to save bookmarks and upvote posts to show your appreciation to other community members.
With your input, this post could be even better 💗
Register Login


Advertisement