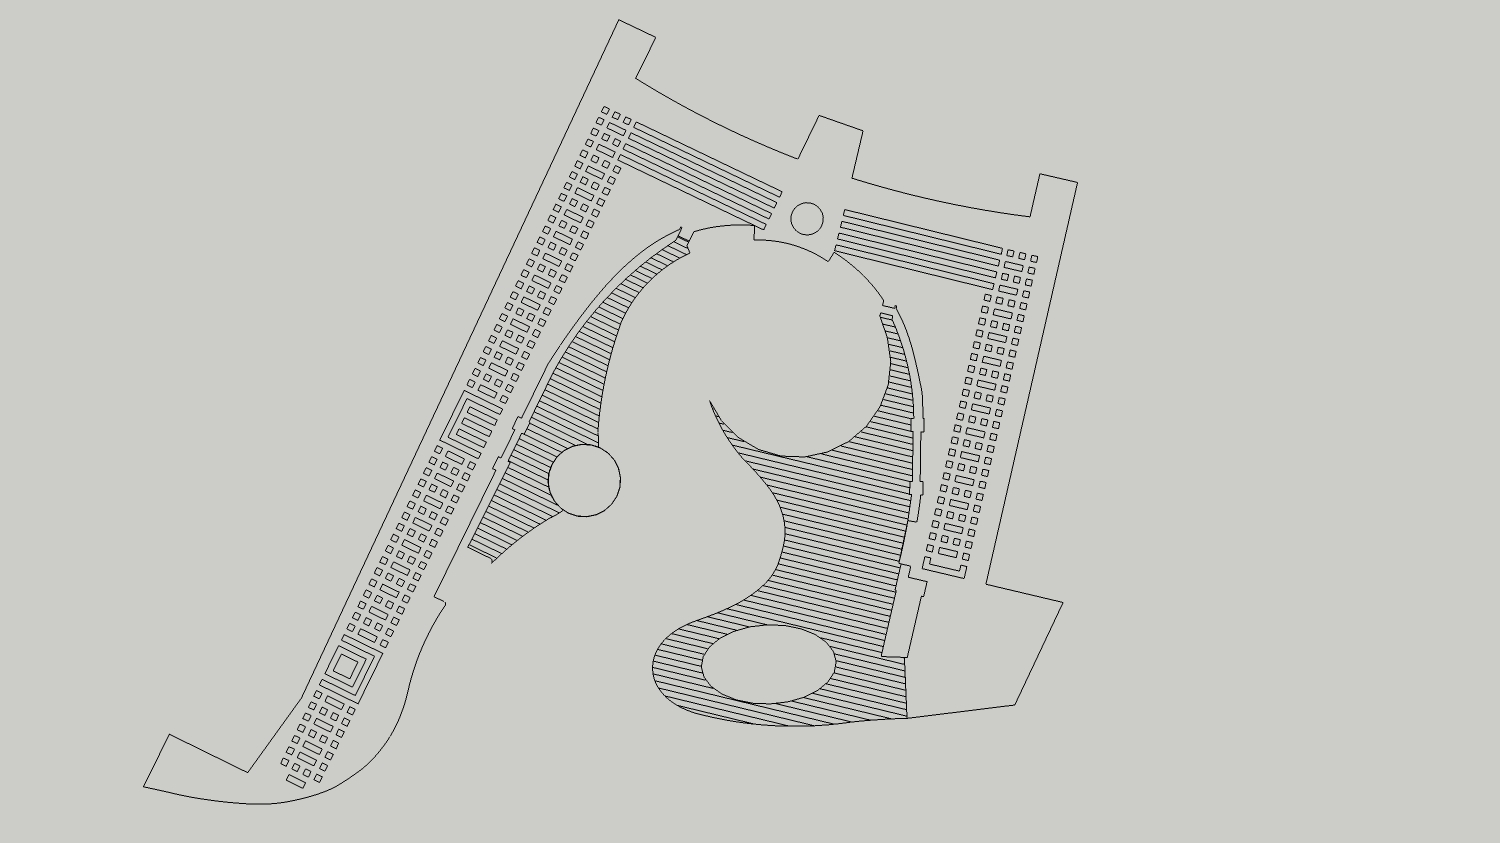
Issues using "Make Faces" Ruby - layers 10+ faces
-
Hi all,
One more annoying problem with this infernal project.... I'm trying to create a tile pattern on my courtyard floor. I've imported the tile plan as a block and exploded it on the face of my floor. When I use the Make Faces Ruby, it simply layers many copies of the floor area face on top of each other without turning the floor pattern itself into faces. I've tried to draw on top of the unexploded block to make new faces but it simply layers the face of the pattern on top of the floor area face so when you move around in 3D you can see the two on top of each other. I've tried making faces of just the pattern and then triangulating it with the outline of the floor area to fill in the gaps so to speak, but that wasn't working either.
The reason that I need to make the floor pattern into faces is because there are three tile colours and I need to be able to render it later.
I should also mention that this file has been giving me a lot of face issues. If I make a simple square outside the confines of my model, it will often layer 2-5 faces on top of each other. Its very frustrating.
Any ideas Sketchup gurus?
Thank you in advance.....

-
Upload the SKP file so we can mess with it...
-
I'd suspect some hidden layers here and there but as TIG says, the model (or a piece of it at least) would be helpful to see the problem.
-
Try making a plane and drape the lines onto the plane. Then delete the unwanted portions and you should be left with individual faces which can be painted.
-
The problem is that all the tiles are slightly raised above the level of the ground plane.
You could either try running this first: http://www.smustard.com/script/Flatten or use perks drape method.
-
I agree without a SKP we're shooting in the dark, the image looks OK !
Here's how I'd usually approach it...
Set the current style to show end-points and profiles clearly.
Lift up the entire set of edges in question.
Draw a larger flat face/mesh below it and drape it onto that, using the sandbox tools.
All lines will now be coplanar - some might not still form full loops and face (what should be 'inner' faces will shown with heavier profile lines instead of the thinner dividing edges since the main face will carry on beneath them without splitting).
Zoom into the ends of any such edges heal the gaps by either by drawing bits of lines (not recommended if you might later pushpull etc) or by using move-tool on a vertex and snapping it to the adjacent one, that's probably only a fraction of a mm away and therefore splitting the loop. You could also use K-tools L or T tool to do this but it's probably a bit over the top for this level of problem...
Keep using the make-faces tool or temporary triangulating lines across areas until it's all fixed... -
theres an skp attached under the image...
-
There is NOW ! Heather snuck it in and didn't tell us ...
-
Here's a fixed version.
Draped it onto a surface to make sure it was flat.
The main things wrong were the parallel lines didn't often meet the faceted curve - fixed by copying a long line at the centres drawn multiple times, overlaying existing lines and auto-cutting curve's edges, then deleting unwanted bits (v7 auto cuts intersecting edges). A few unconnected vertices and strange overlaps didn't help.
Make Faces was not needed that much once that was fixed...
There are still a few messy bits around the circular shape - suggest you might redraw that over the top [in a group], then erase the unwanted mess and then explode group to insert the good circle etc ?
Note this version is stripped down - no layers, materials etc...
Advertisement


