Apples ( play whit UV ruby
-
i understand the wrapping but how does the "top" of the apple wrap at the the top of the mesh. If you open the map in PS you'll see a image skin in width and the top of the apple somewhere at the left
-
@rombout said:
i understand the wrapping but how does the "top" of the apple wrap at the the top of the mesh. If you open the map in PS you'll see a image skin in width and the top of the apple somewhere at the left
It is all about good texturing . I've made a mini tutorial and shared it at previos page . it's name is "MIZ2" . please take a closer look at it. i guess it'd help you
-
@majid said:
@rombout said:
i understand the wrapping but how does the "top" of the apple wrap at the the top of the mesh. If you open the map in PS you'll see a image skin in width and the top of the apple somewhere at the left
It is all about good texturing . I've made a mini tutorial and shared it at previos page . it's name is "MIZ2" . please take a closer look at it. i guess it'd help you
oke oke oke...
you dont get it.... atleast i dont get it... i understand everytihing about making a map and so... but if you have your mesh and you apply your map. How do you get the top of the apple at the correct place and the side at the side. You need to apply a map to the mesh unwrap this with a different application and than put your mapping to that unwrapped image. but this is not written in the tut -
UVTool v1.0 is very simlpe . it doesnt unwrap , but simply it adds 2 new commands to your right-click menu that lets you to have "spherical" or "cilinderical" mapping to your mesh, it desn't undersyand which mesh you have selected, but remaps it as a sphere or a cilinder. it desnt separate mesh parts
-
oke i think i need to explain it better. you had your apple mesh how did the map got applied so perfect to the apple.
cause if copy the apple delete the map and remap it within SU. Than how do you place the map perfect around the apple so the top is at the top and the bottom at the bottom. I understand the plugin. I want to know how apply the image perfect to your mesh. -
Rombout,
Make a vertical grouped plane next to the apple which is exactly the same height (a simple method is to pushpull a grouped box so that it is fits around the apple, then move it to one side). Import your image, scale it to the same height as the plane, explode it and then apply the map using UVTool. The same principle applies for applying an exact sized texture to any geometry.
-
@jackson said:
Rombout,
Make a vertical grouped plane next to the apple which is exactly the same height (a simple method is to pushpull a grouped box so that it is fits around the apple, then move it to one side). Import your image, scale it to the same height as the plane, explode it and then apply the map using UVTool. The same principle applies for applying an exact sized texture to any geometry.
great jackson,
thank you very much. that was what i meant. I thought i saw a different map of the apple in here. where it has a separate top and bottom view. This mapping trick is real handy.
-
Rombout,
If you had only taken some time to read some of the postings made in the [Plugin] UVTools v0.1 thread, I'm sure you would have figured things out...

-
hahahaha.. sorry! my BAD, just a graphic designer in a hurry

-
rombout,
It works for the apple just the same as it does for a sphere. Sadly I tested the cylindrical UV wrap and it doesn't work for bananas!


-
me again,
is there a way to get this text mapped nice around this object. Ive tried to tilted the text. making it in a circle. I thought i needed to tilt the text a bit so it matches the angel of the border. That didnt worked out properly
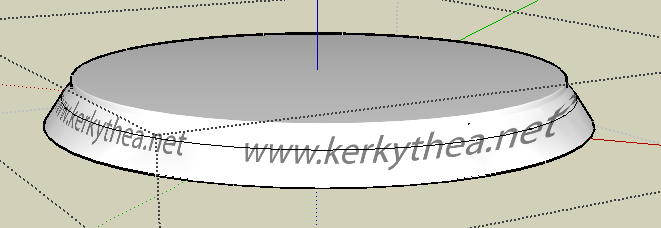
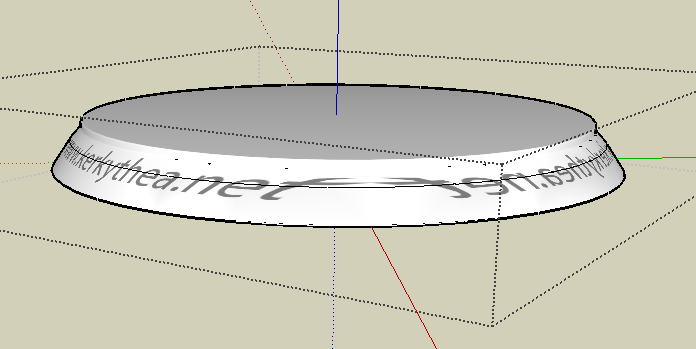
-
dear rombout, you have projected the texture, but if you install uvtool you can do a right-click over the same material and the adjust is as cilynderical textureing. maybe then you need to adjust material size using material editor.
-
@majid said:
dear rombout, you have projected the texture, but if you install uvtool you can do a right-click over the same material and the adjust is as cilynderical textureing. maybe then you need to adjust material size using material editor.
wow what a work... and this is just a simple text. after a lot of trial error i could adjust the so it fits nice. now i need to copy it over around the circel. I was a lot of scaling done in Illustrator
How can i close gaps in a small model? i made this at a bigger scale a reduced it than. But the gaps keep coming back
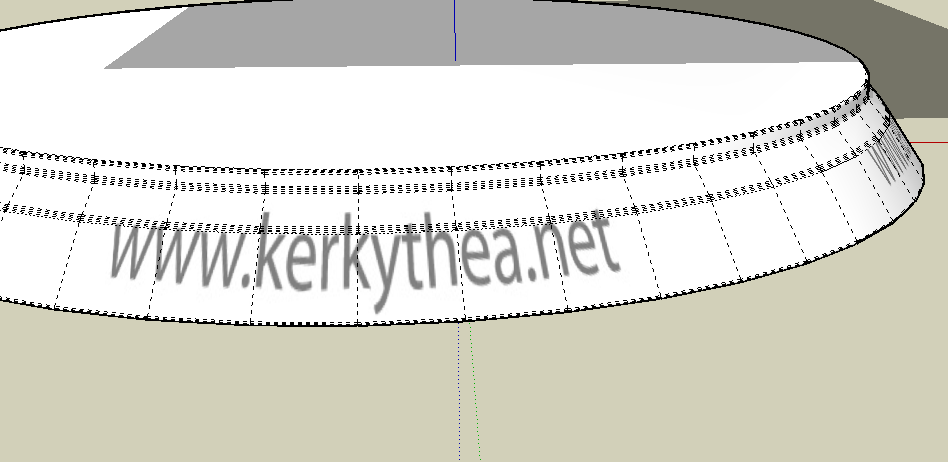
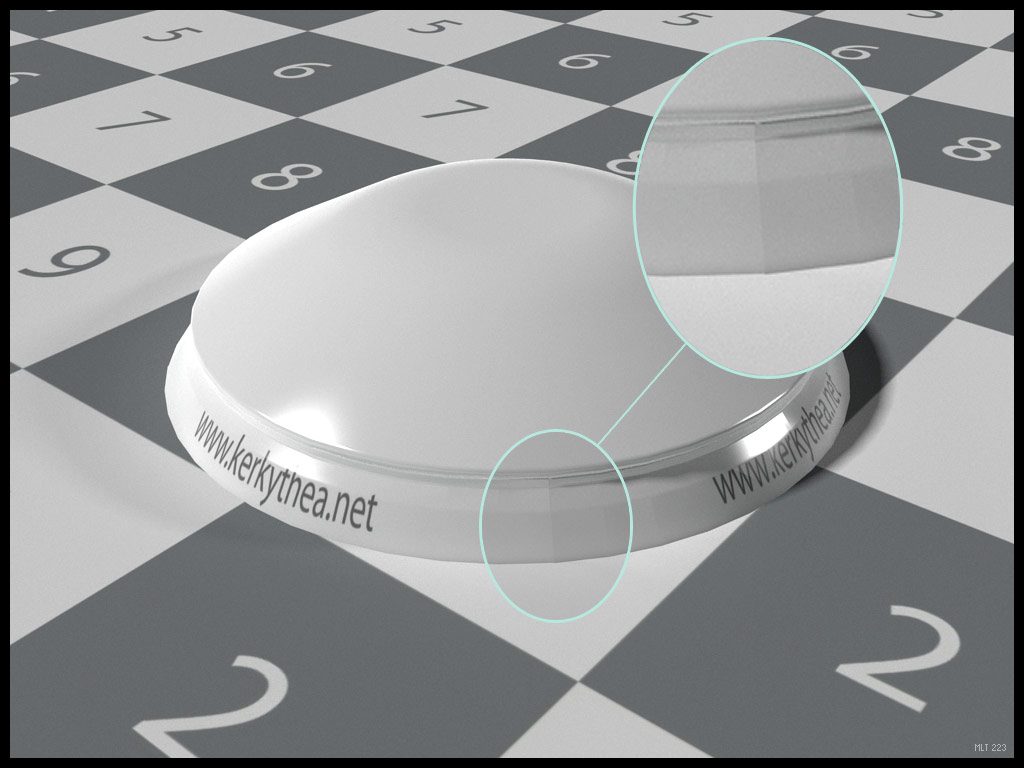
-
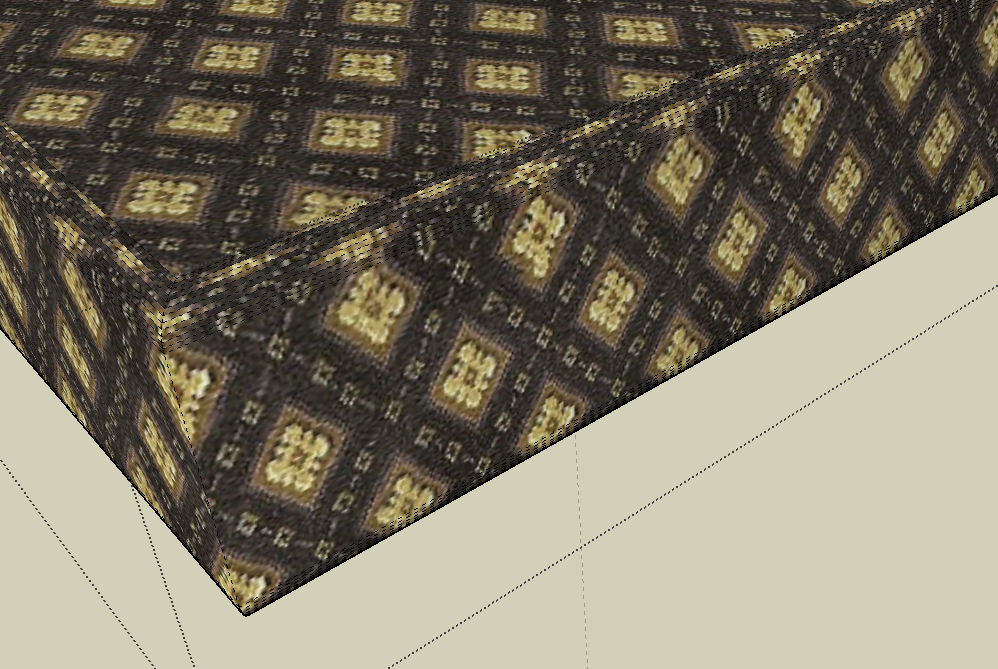
oke me again... another mapping issue, did tried all the tricks but i cant seem to get it right. started to learn blender to learn some UVmapping
Hello! It looks like you're interested in this conversation, but you don't have an account yet.
Getting fed up of having to scroll through the same posts each visit? When you register for an account, you'll always come back to exactly where you were before, and choose to be notified of new replies (either via email, or push notification). You'll also be able to save bookmarks and upvote posts to show your appreciation to other community members.
With your input, this post could be even better 💗
Register LoginAdvertisement


