Rogue's W.I.P's!
-
Good job

Would be neat to see a rendered version.

-
Thanks guys! I would like to do some renders, but came to the realisation a long time ago that setting up renders isn't my forte
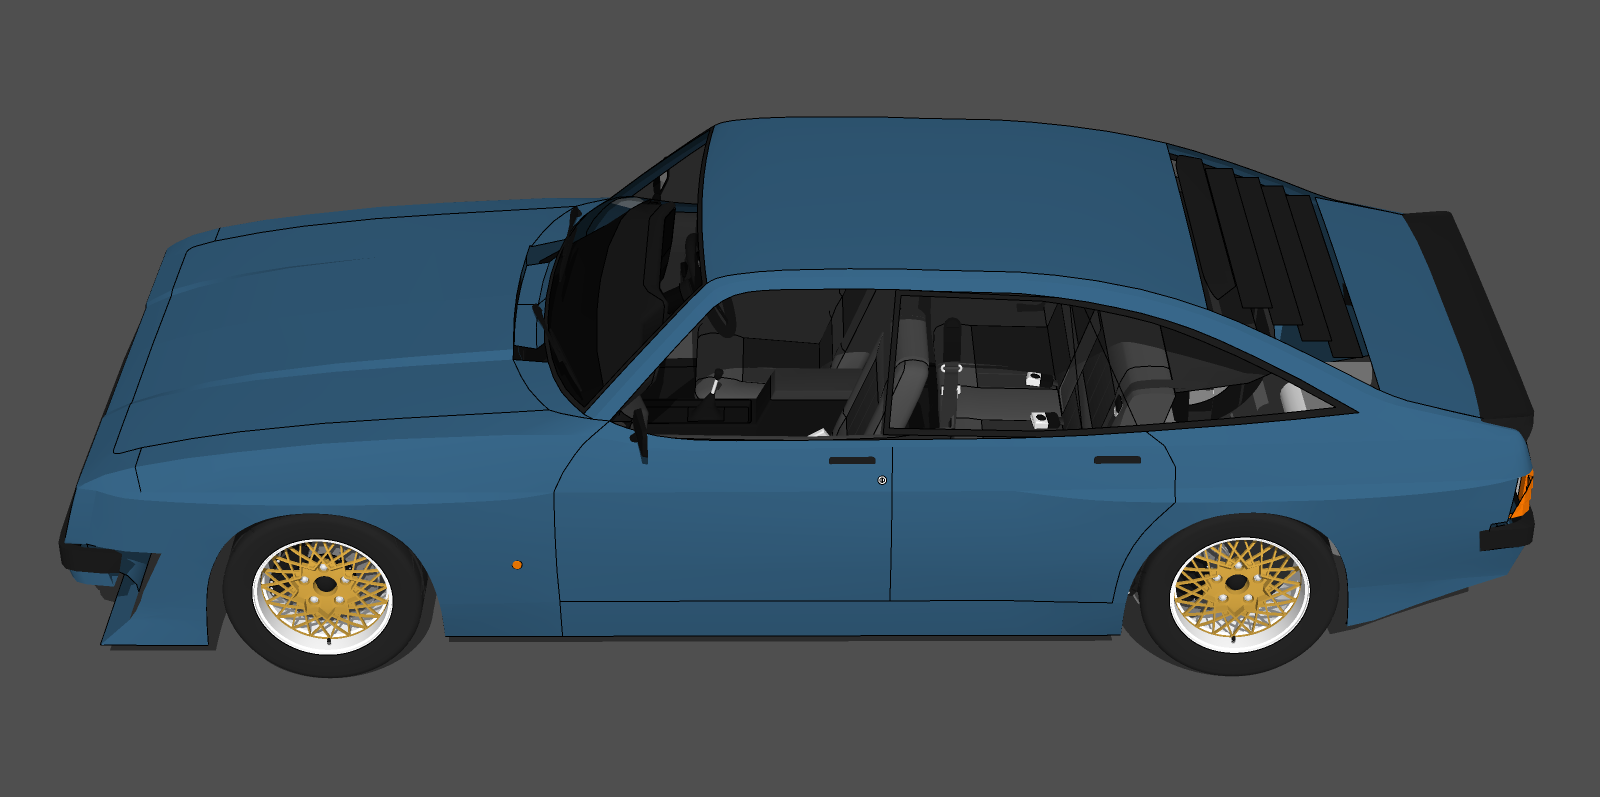
So, I just had to play with this idea, which actually works quite well! Rover SD1 anyone?
-
While I am no expert (by any stretch of my imagination), I think Twilight Render is fairly easy to learn (and they have a hobby version) and they also have a couple of great support guys who give really good assistance/advice.
I think rendering is a skill set that really brings models to life.

-
The motors are great, rendering is easier when you have a good 'studio' setup and Twilight v2 pretty neat tbh. An SD-1, not simple imho but a stylish motor. Better by far in the looks stakes would be a P5-B coupe 4 door as was used by Maggie Thatcher in the day.
-
4 door eh? Looks very natural!
-
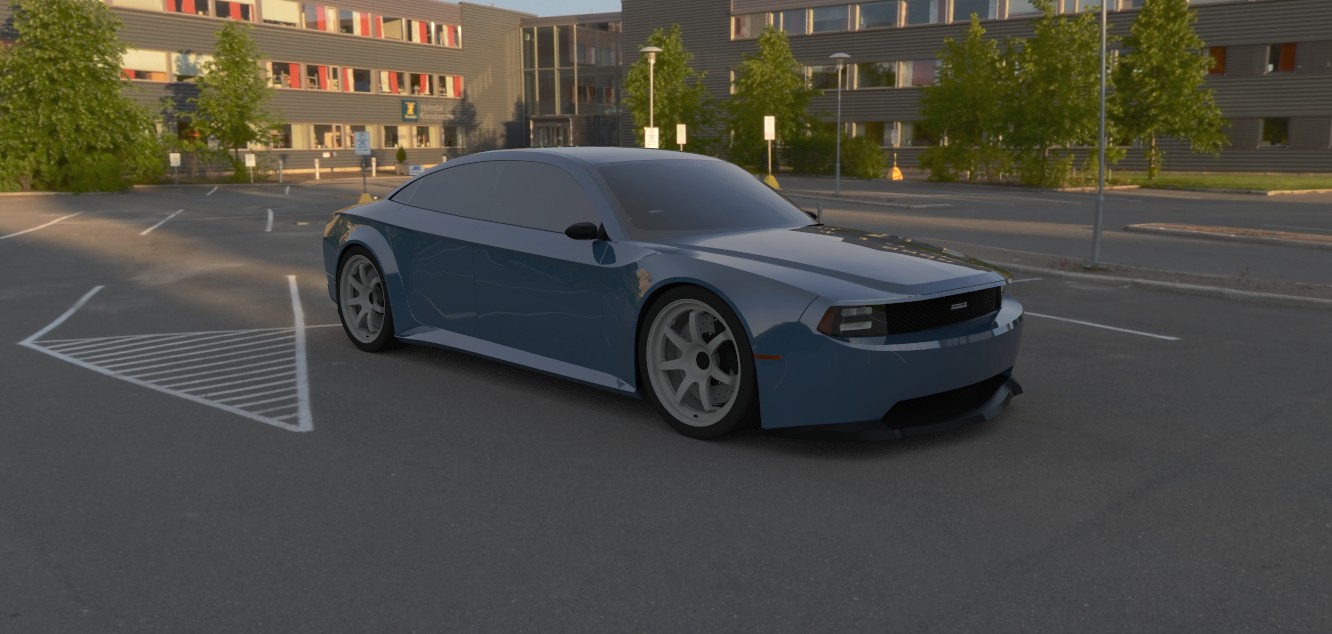
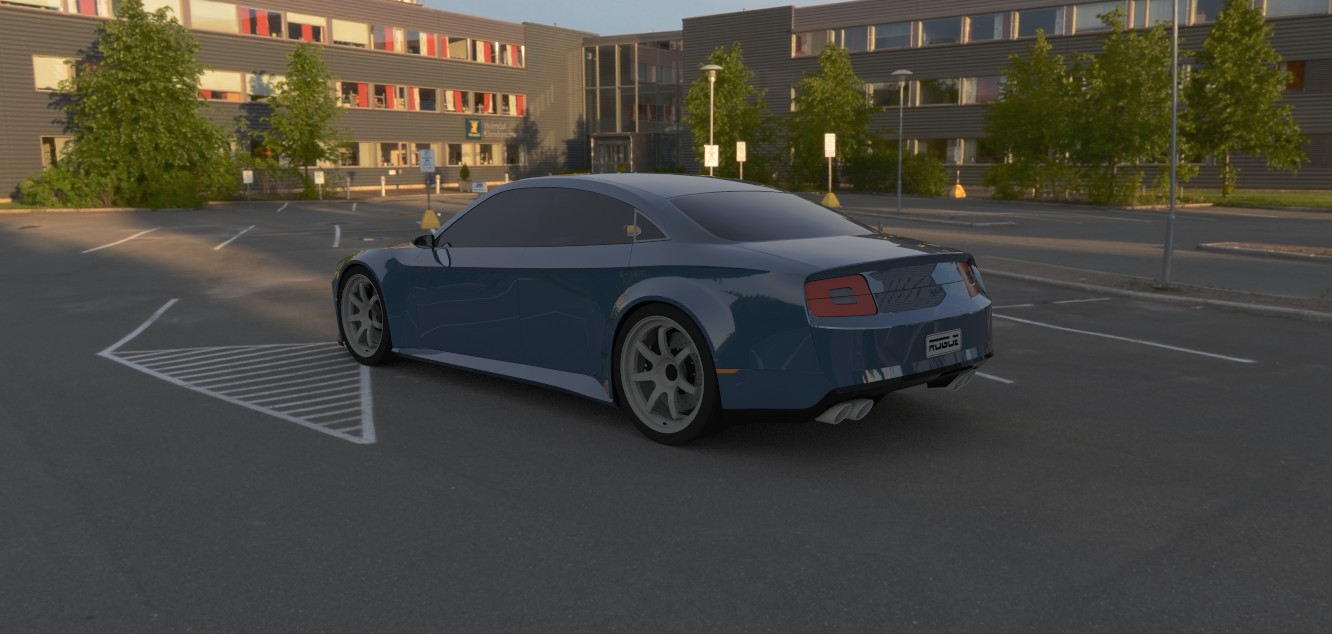
With Ben's permission, renders.
Raylectron.
-
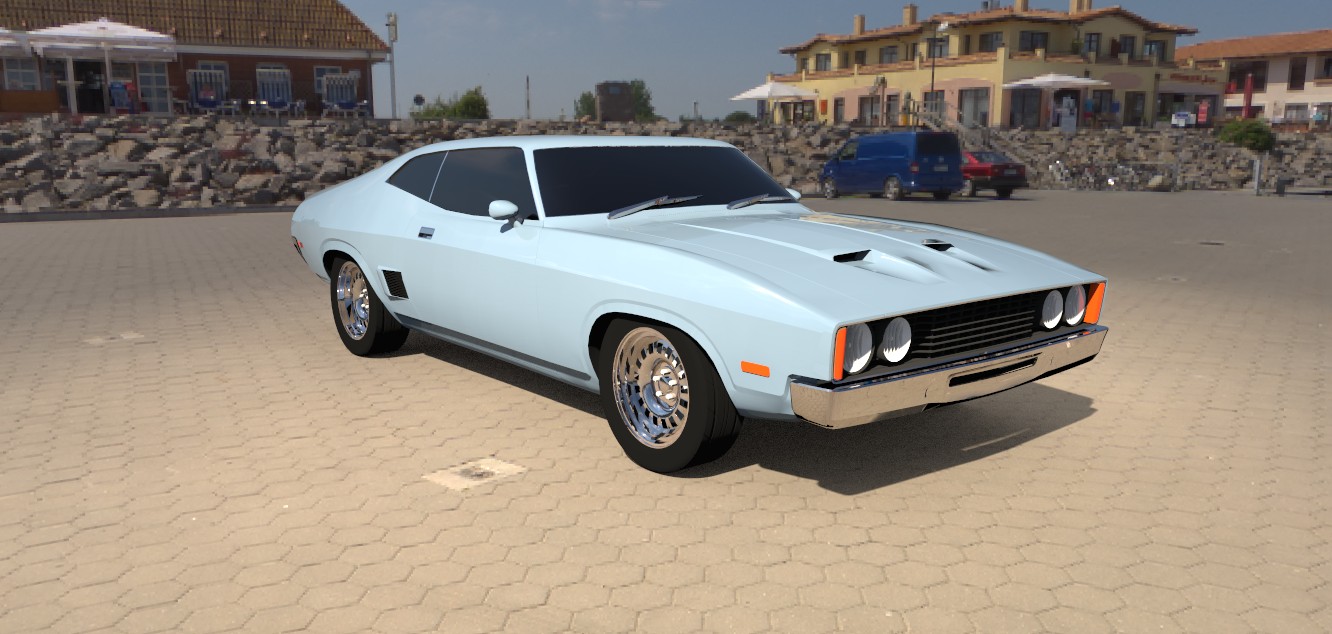
I thought I would try another of his models.
-
I particularly like the Falcon XC one, nice work! I've only ever done a few renders, but I can't remember the name of the software I used. I might try and find it again...
-
Bryan, I really like these model and think that the renders really bring the "alive".

-
@ntxdave said:
Bryan, I really like these model and think that the renders really bring the "alive".

Thanks Dave.
Ben makes some great models so it was both inspiring and easy to do the renders for him.
Like I said, I wish I had a larger library of HDRIs.
-
@unknownuser said:
I particularly like the Falcon XC one, nice work! I've only ever done a few renders, but I can't remember the name of the software I used. I might try and find it again...
Thanks Ben.
I was trying two different types of lighting. One in the shade and one in direct sunlight.
The Falcon is more of a "glamour / studio set" shot and the Milano is more of natural, "from a phone cam" shot.
-
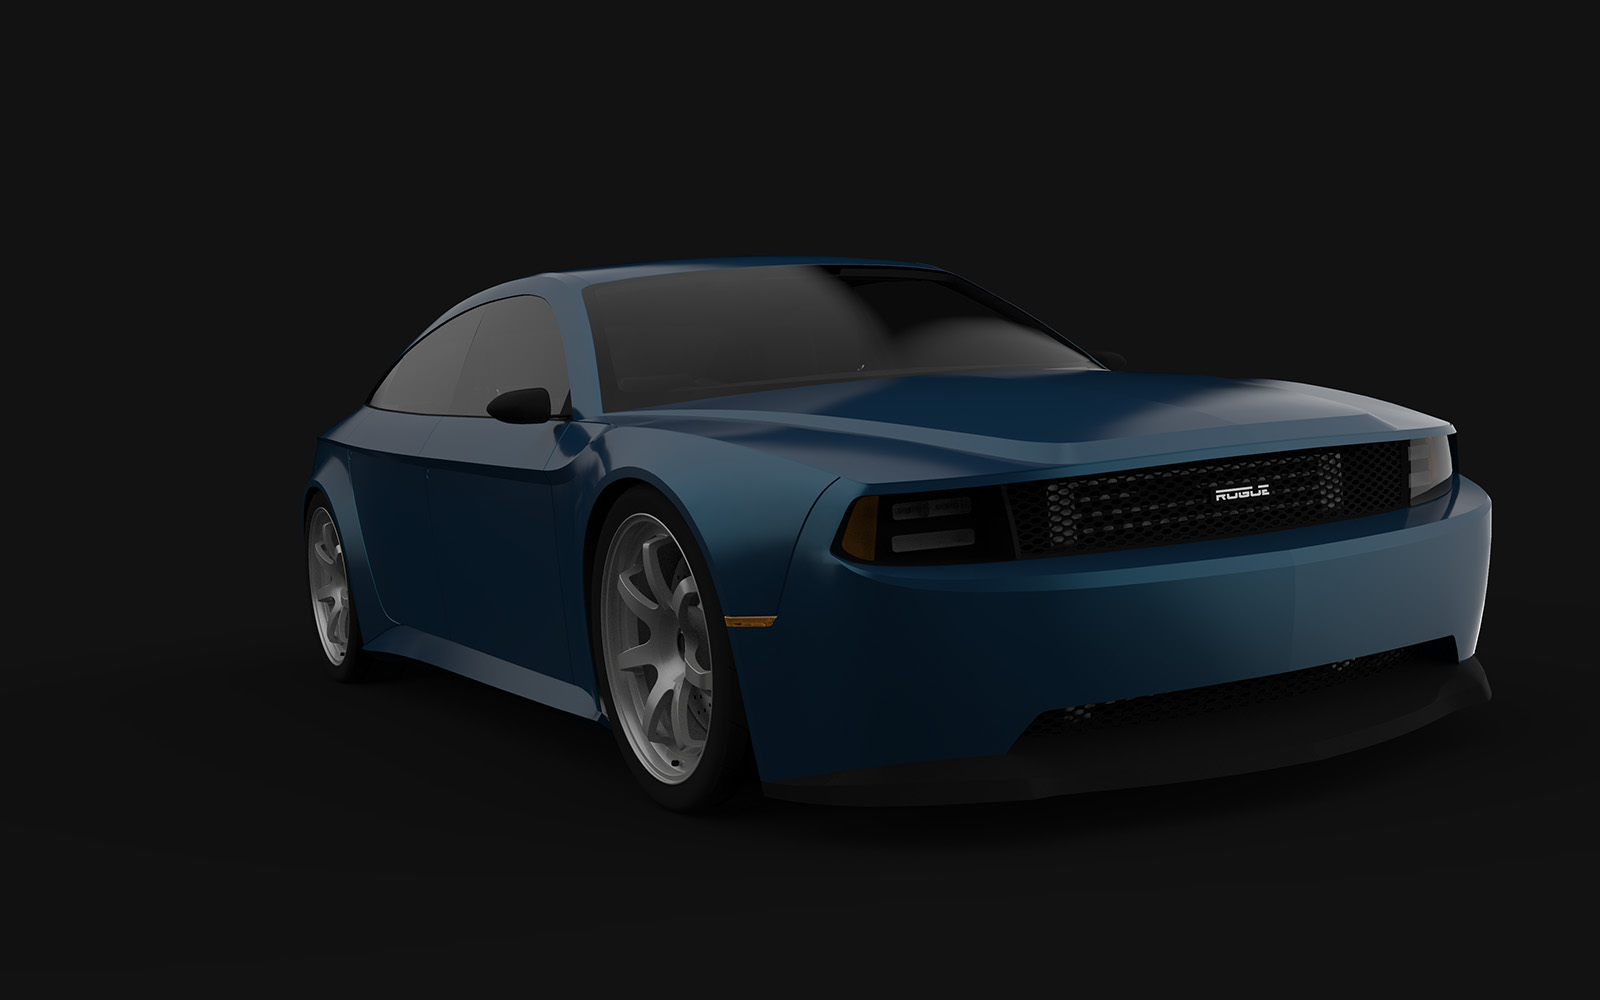
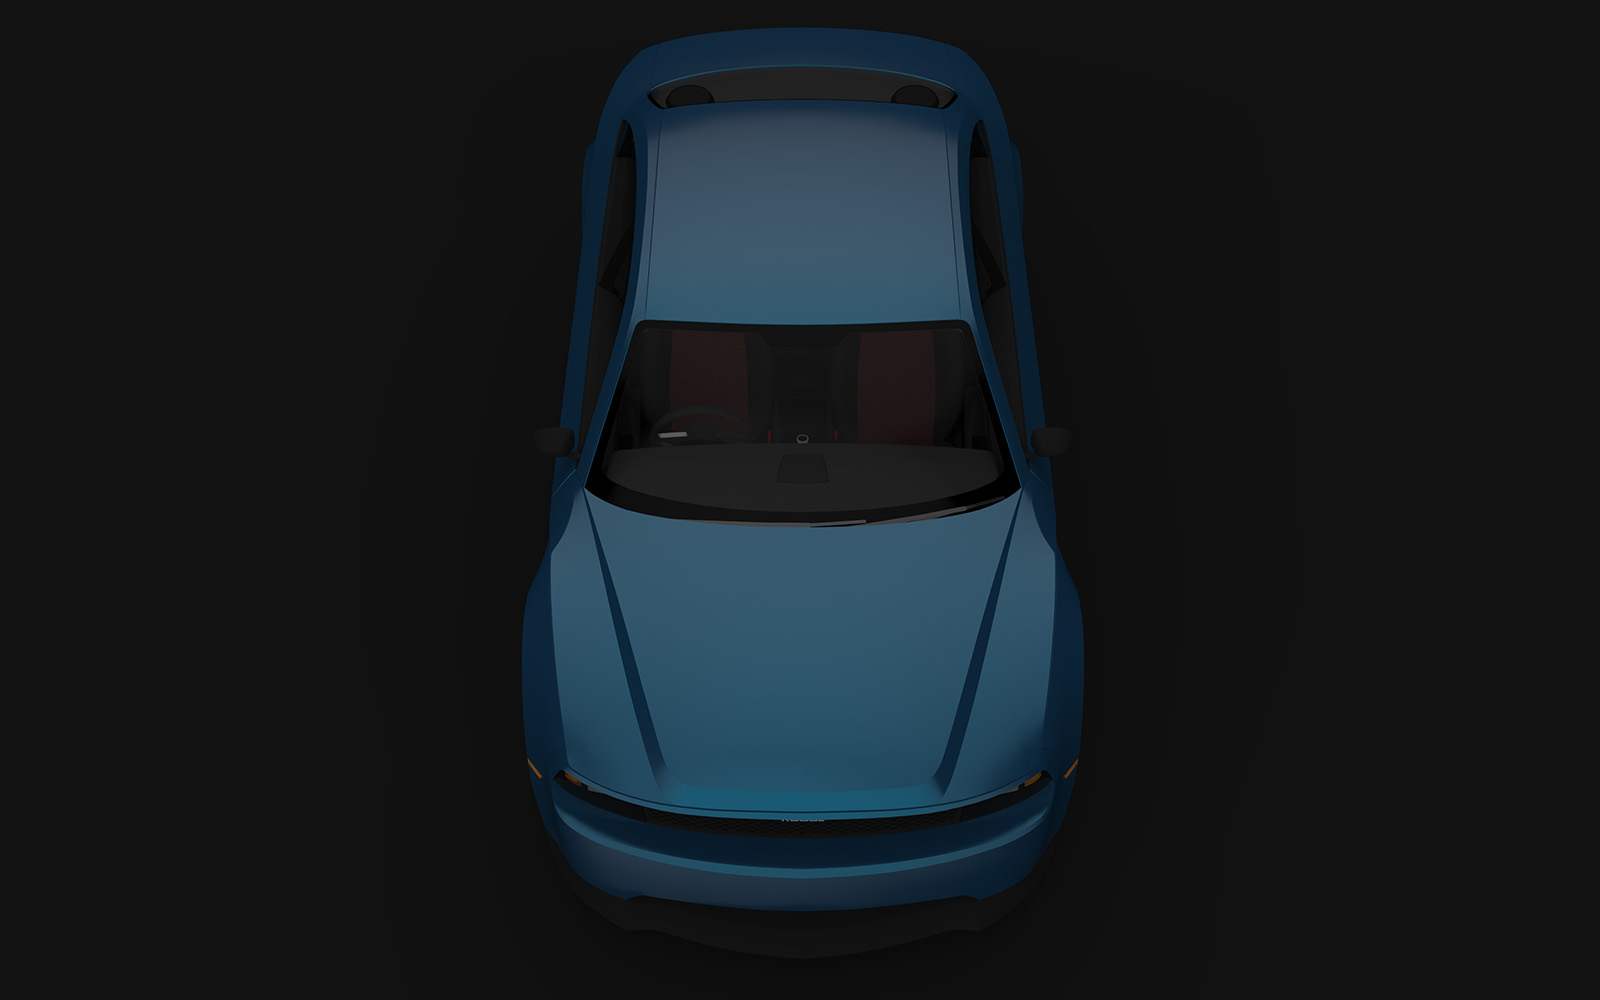
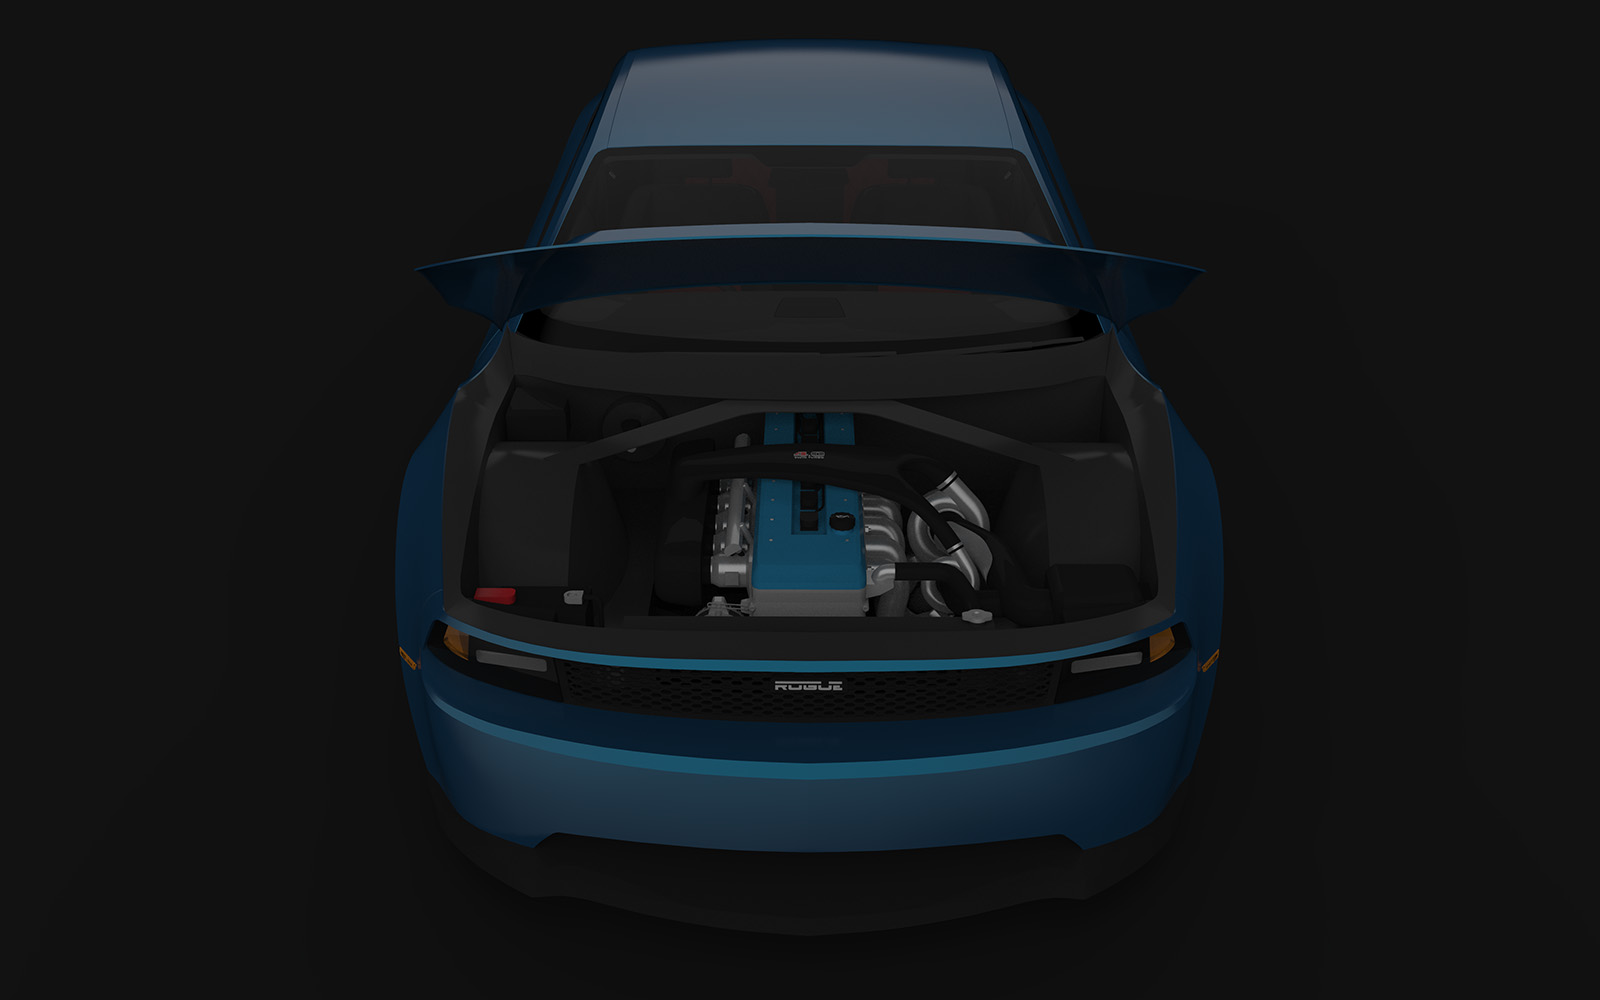
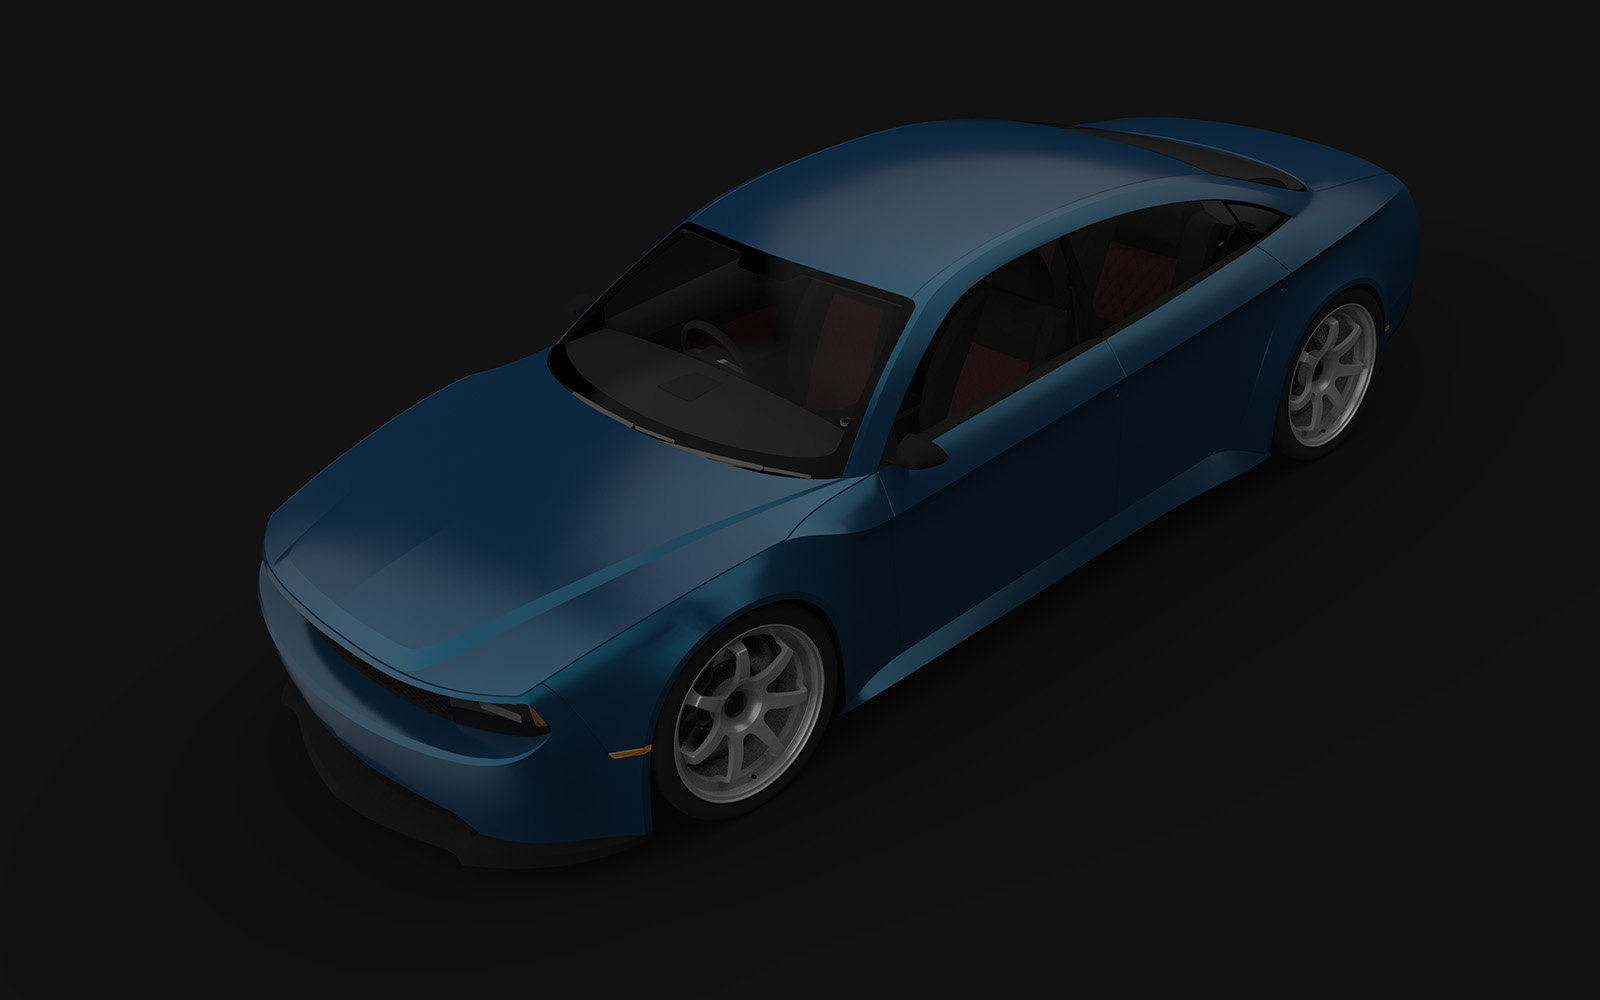
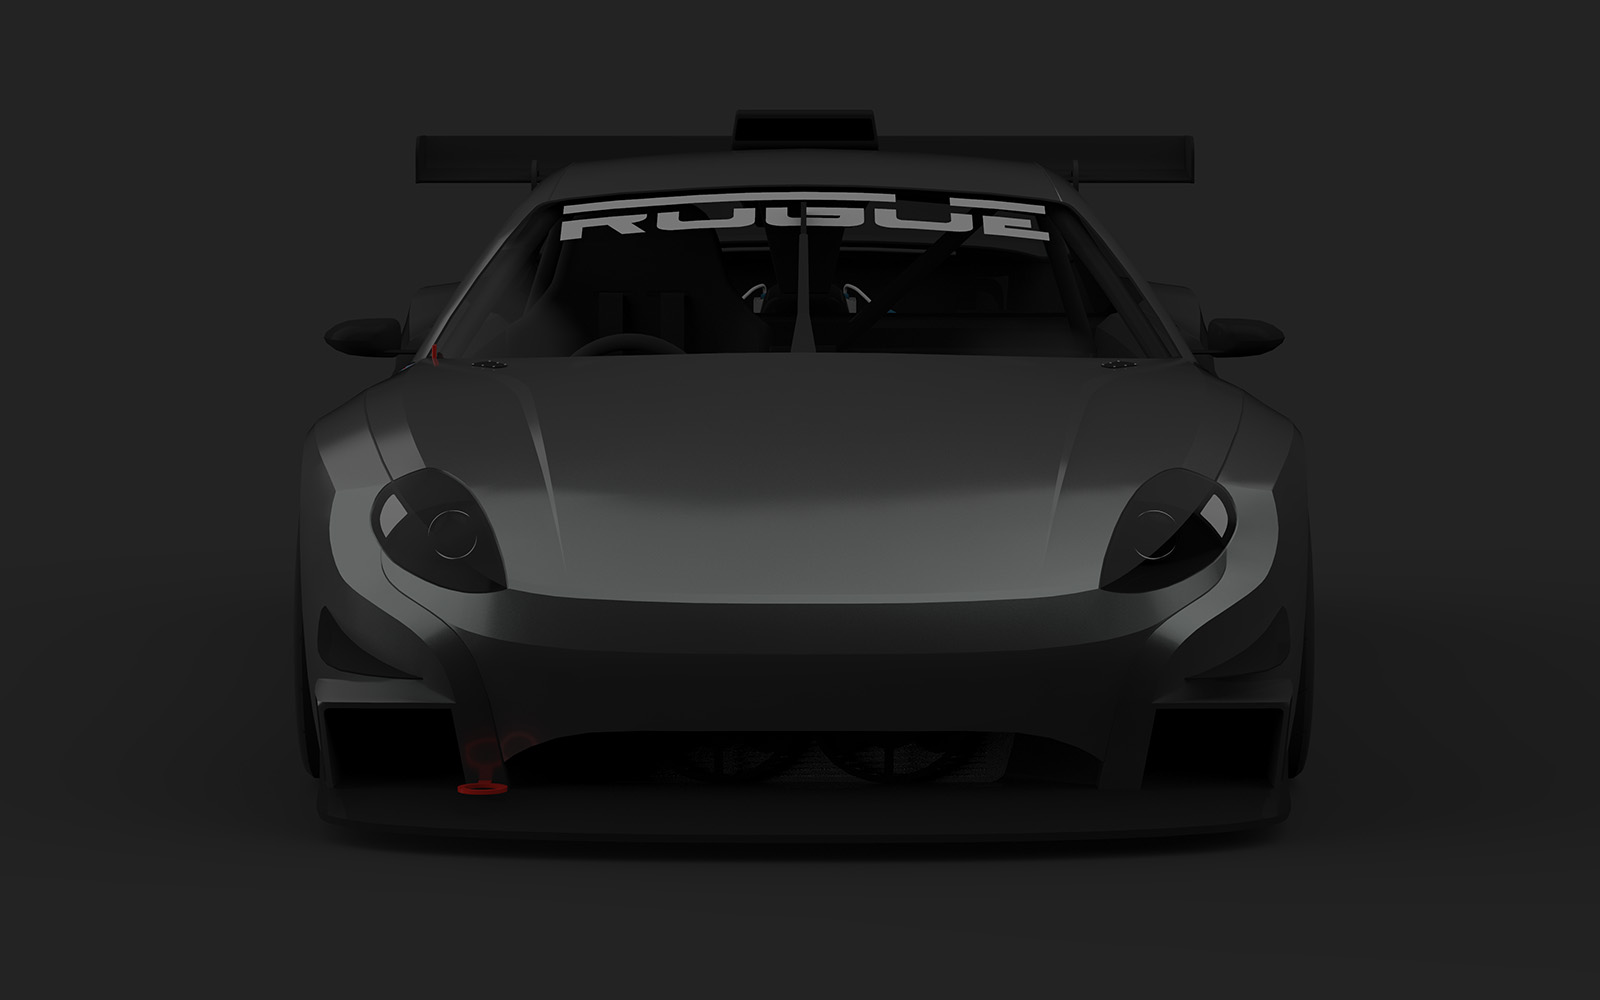
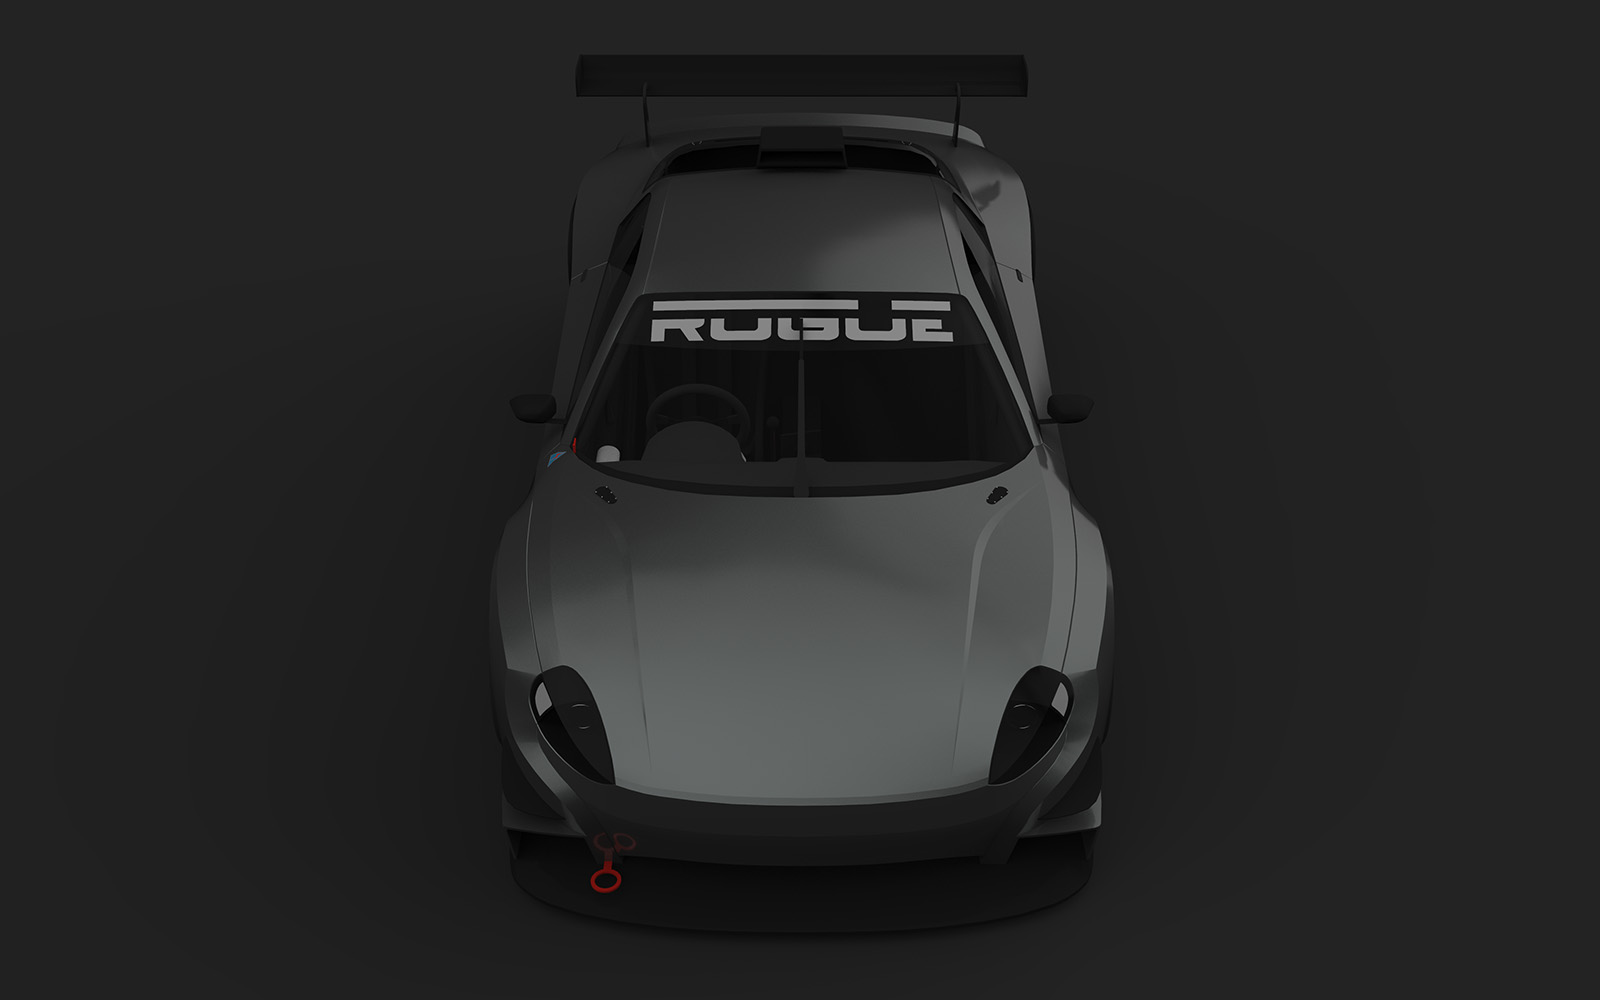
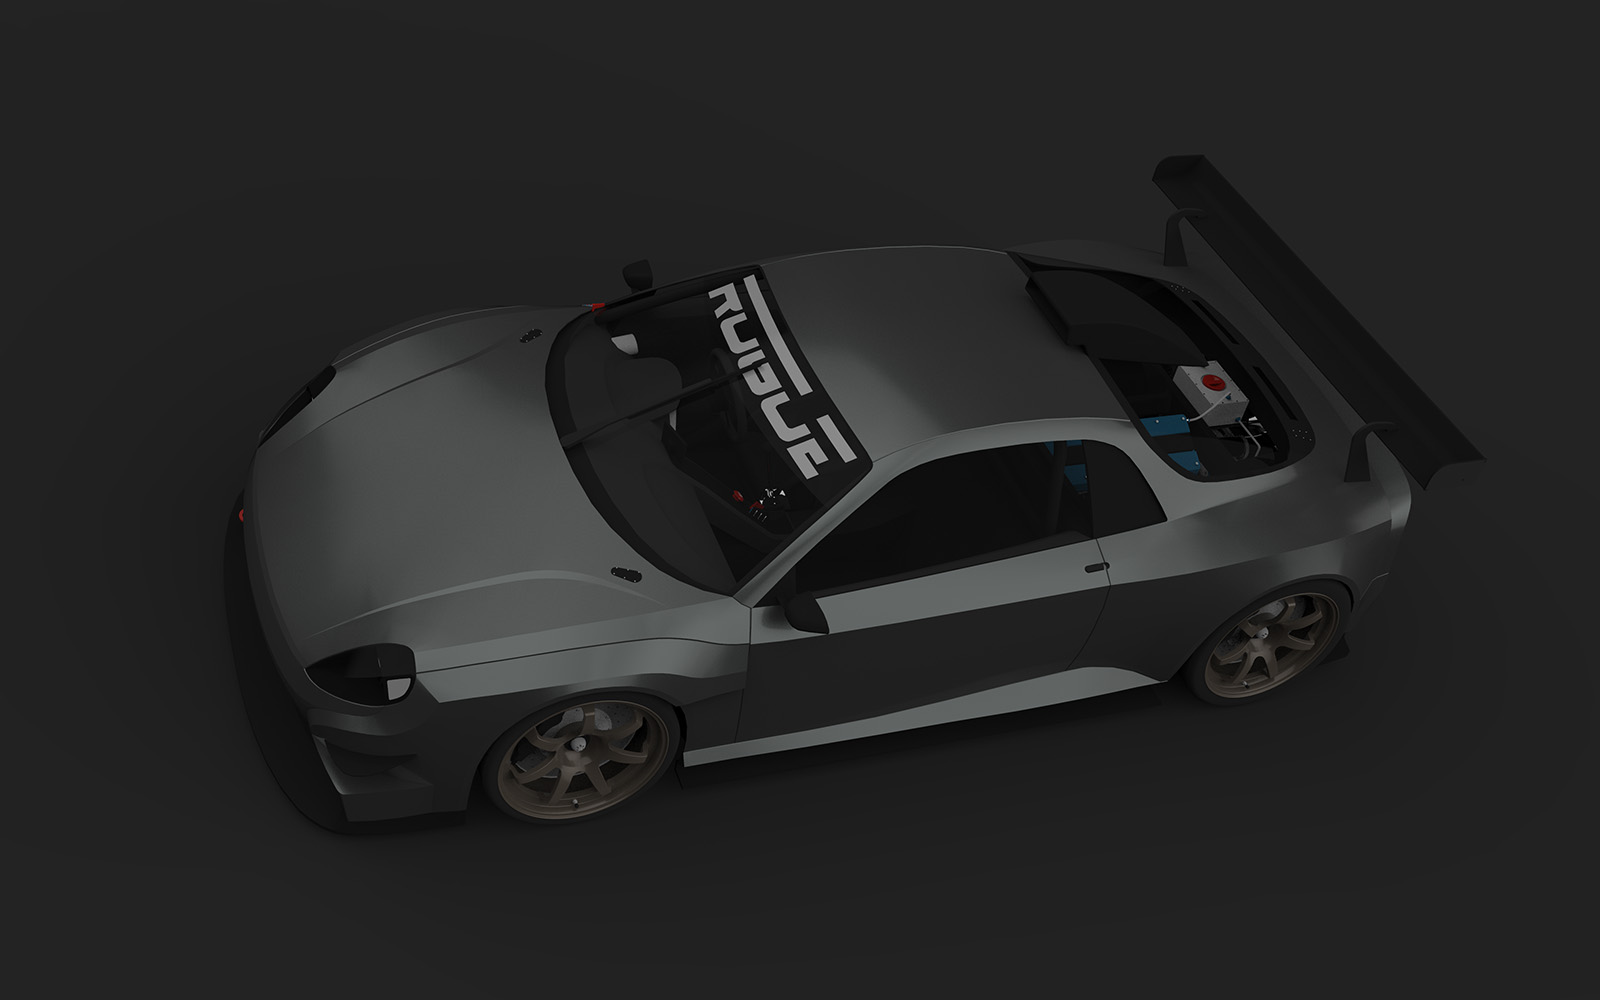
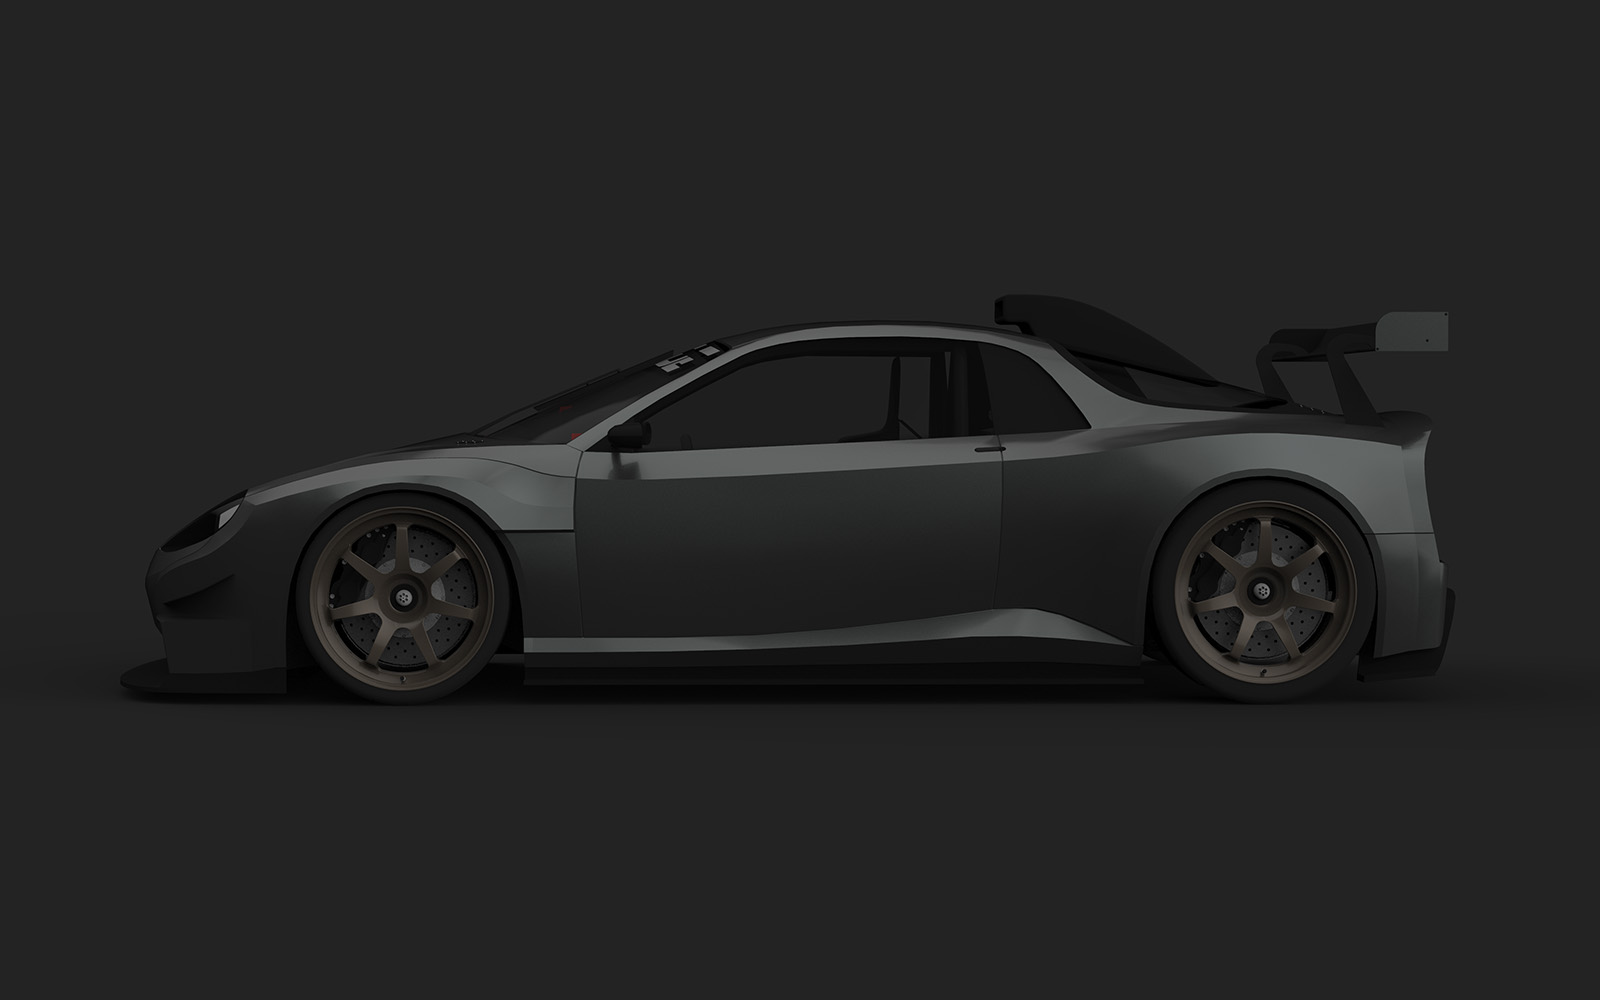
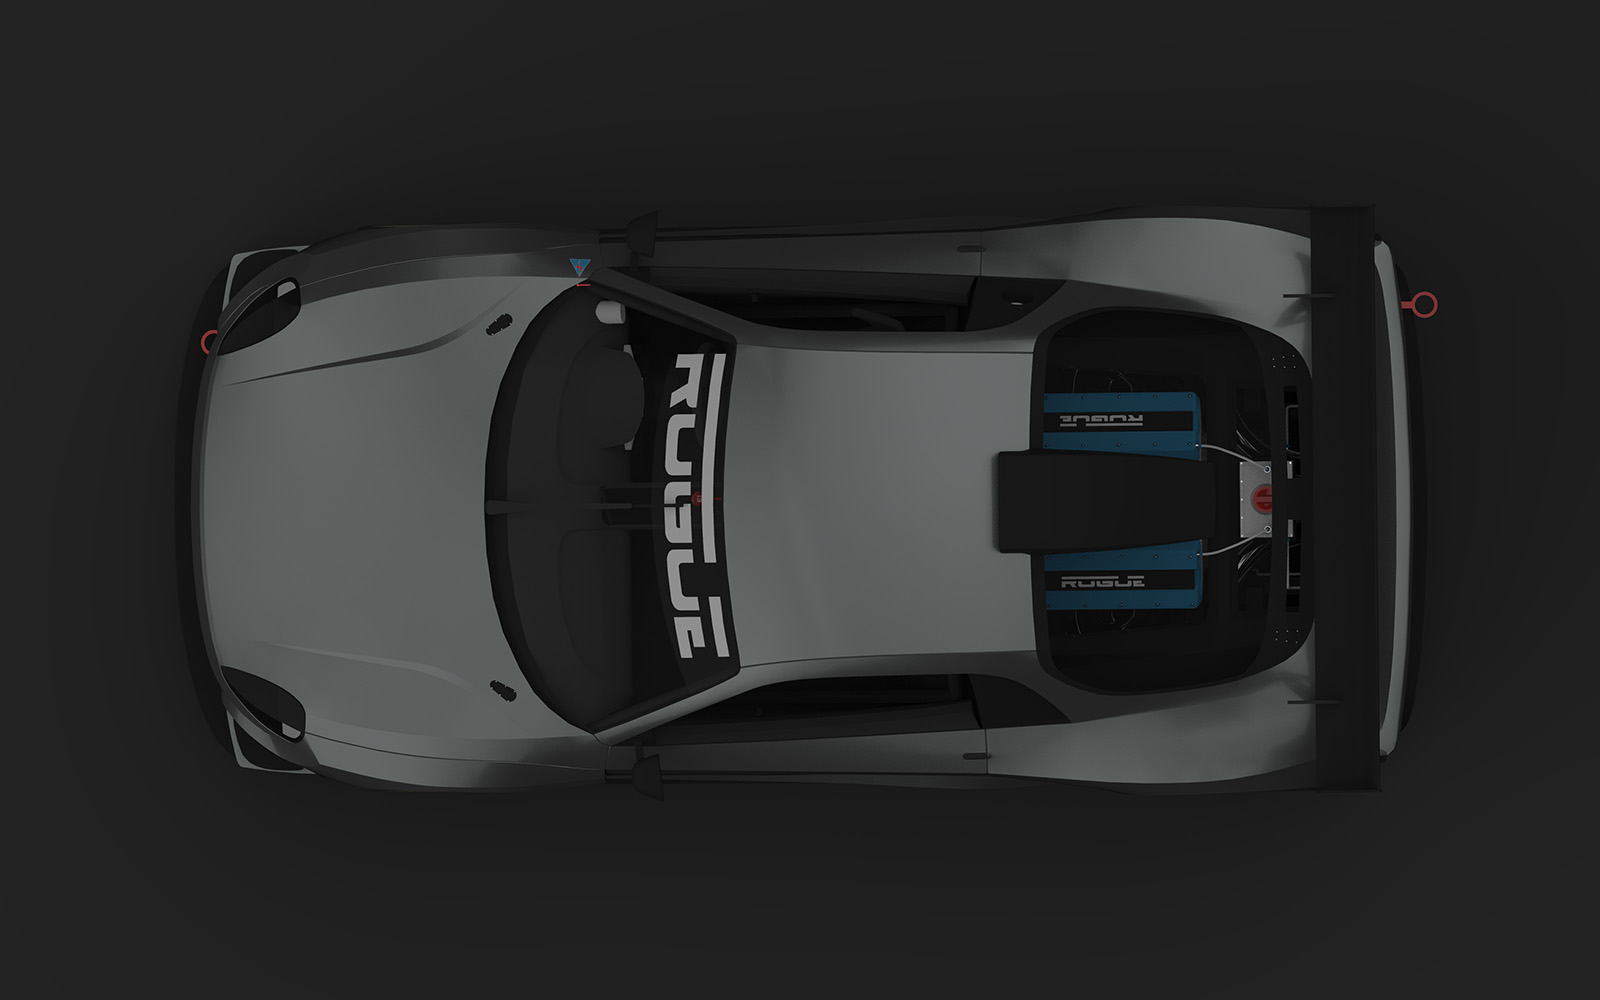
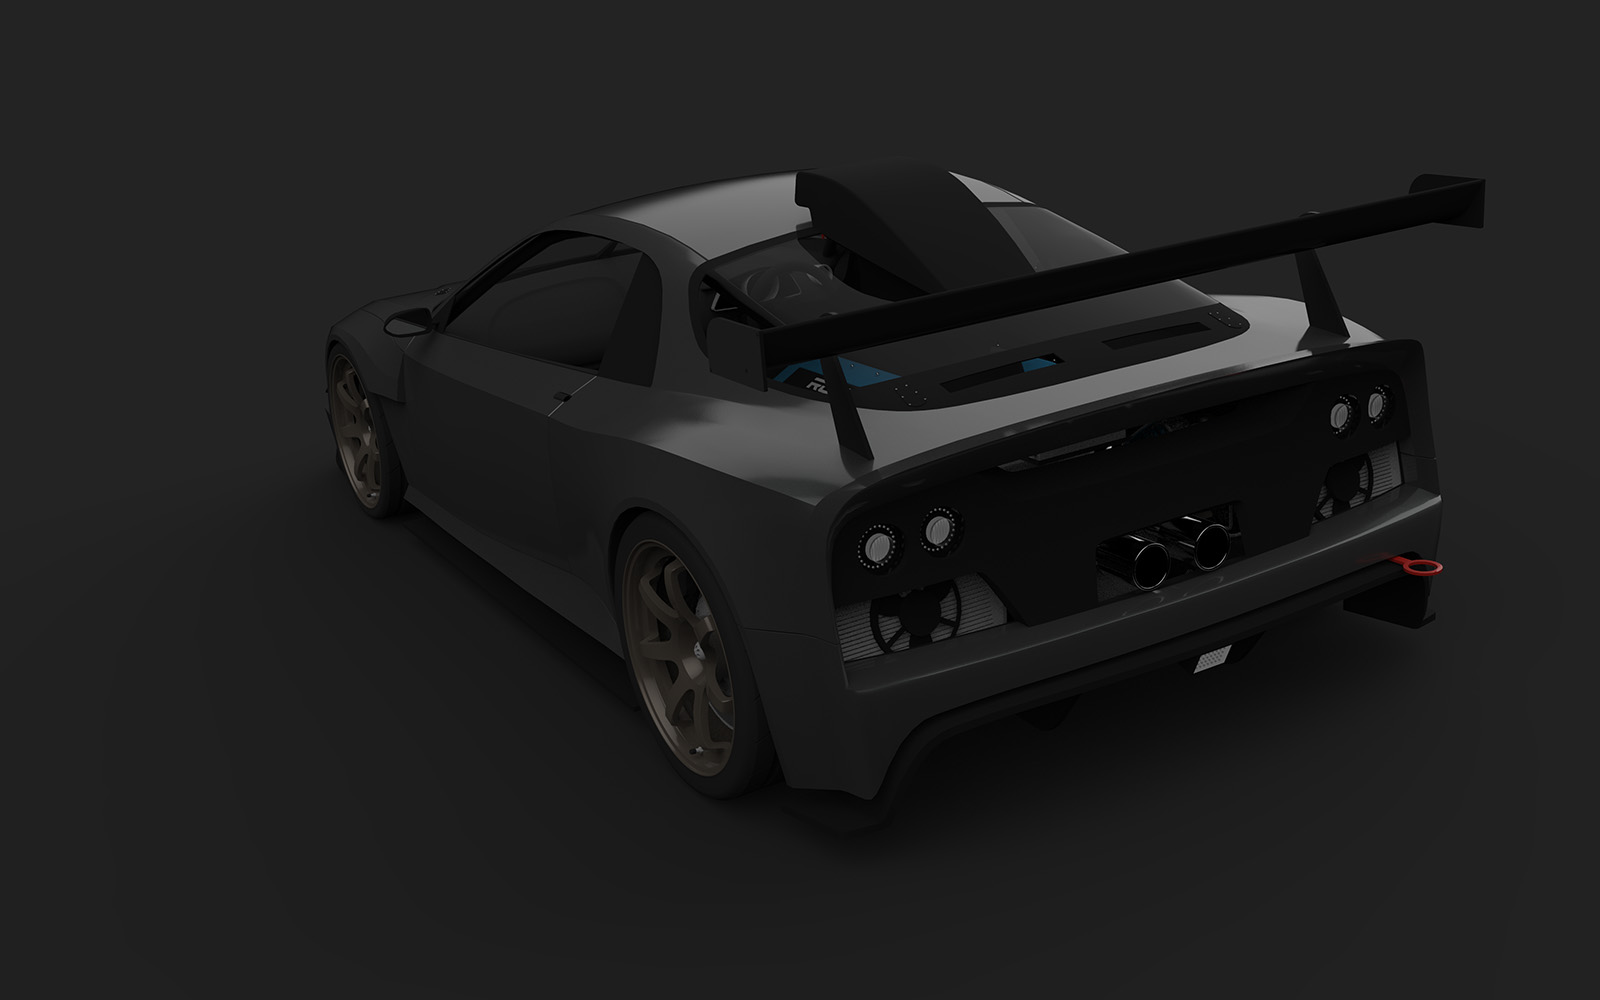
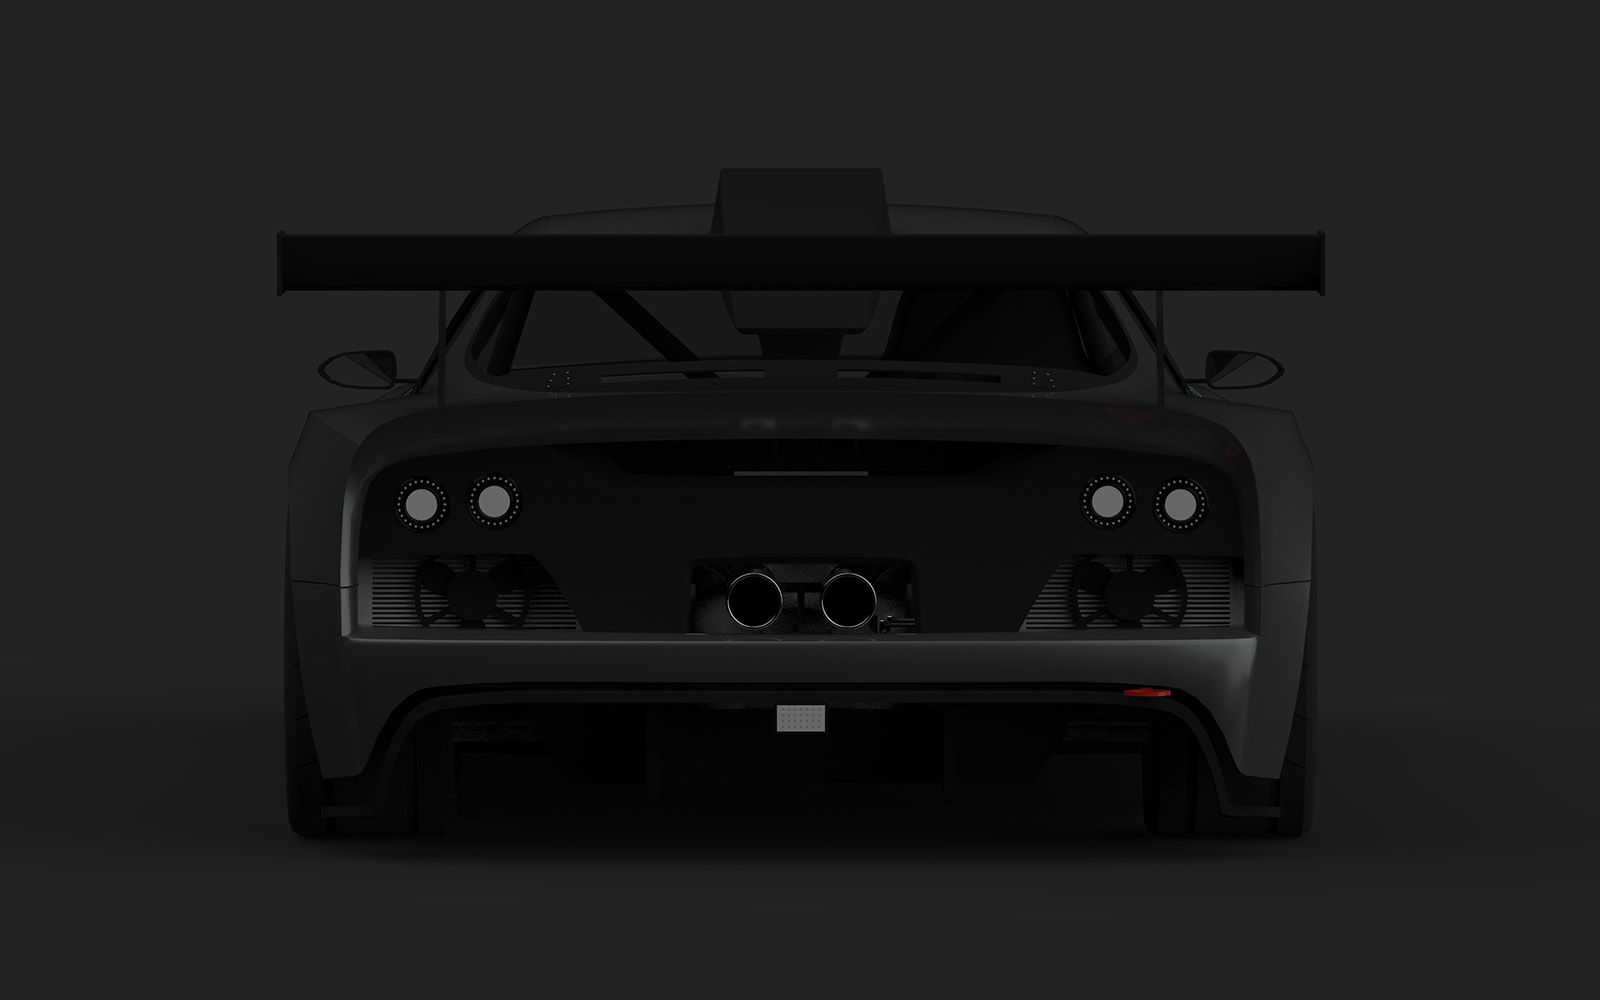
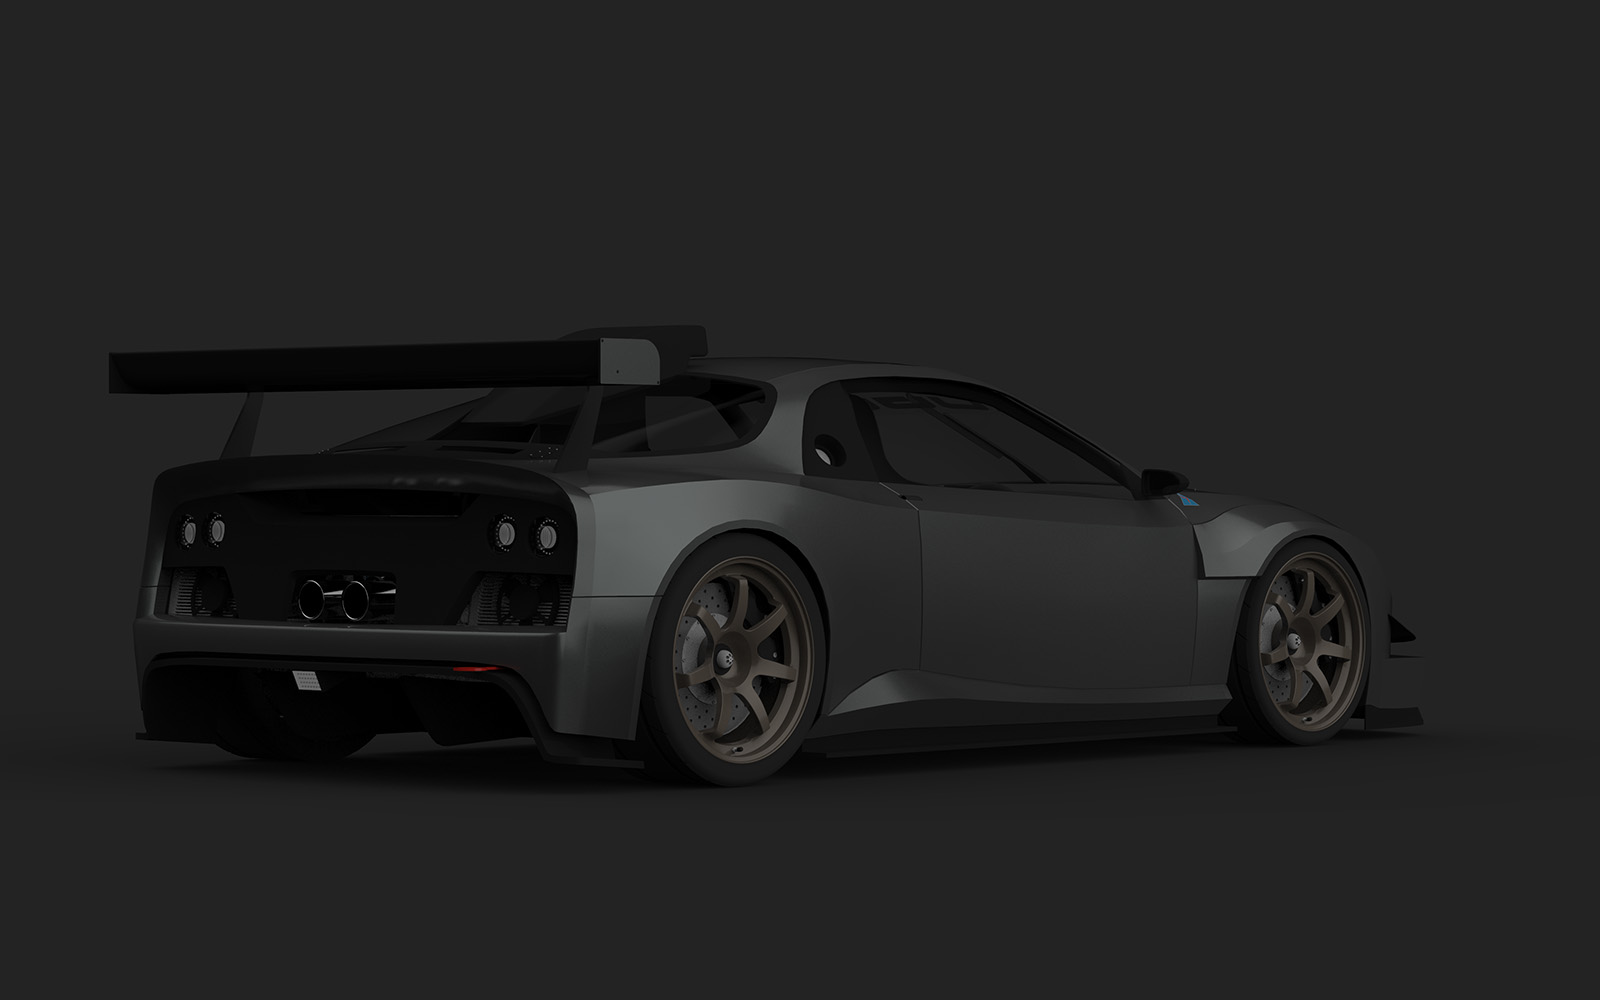
Well, I found my old licence for KeyShot and reinstalled to play with some renders. I've spent the best part of 6 hours playing with textures and lighting. It's not perfect, they're a little dark, but I'm happy enough with the results. It doesn't hurt that my new models are significantly more well optimised for rendering and that my PC is dozens of times more powerful than my old laptop. Renders at 1080p would have taken me an hour before, but these took me about 2-3 min each...
First set is of some of the Milano Sedan set, I'll upload more as I play around a bit more
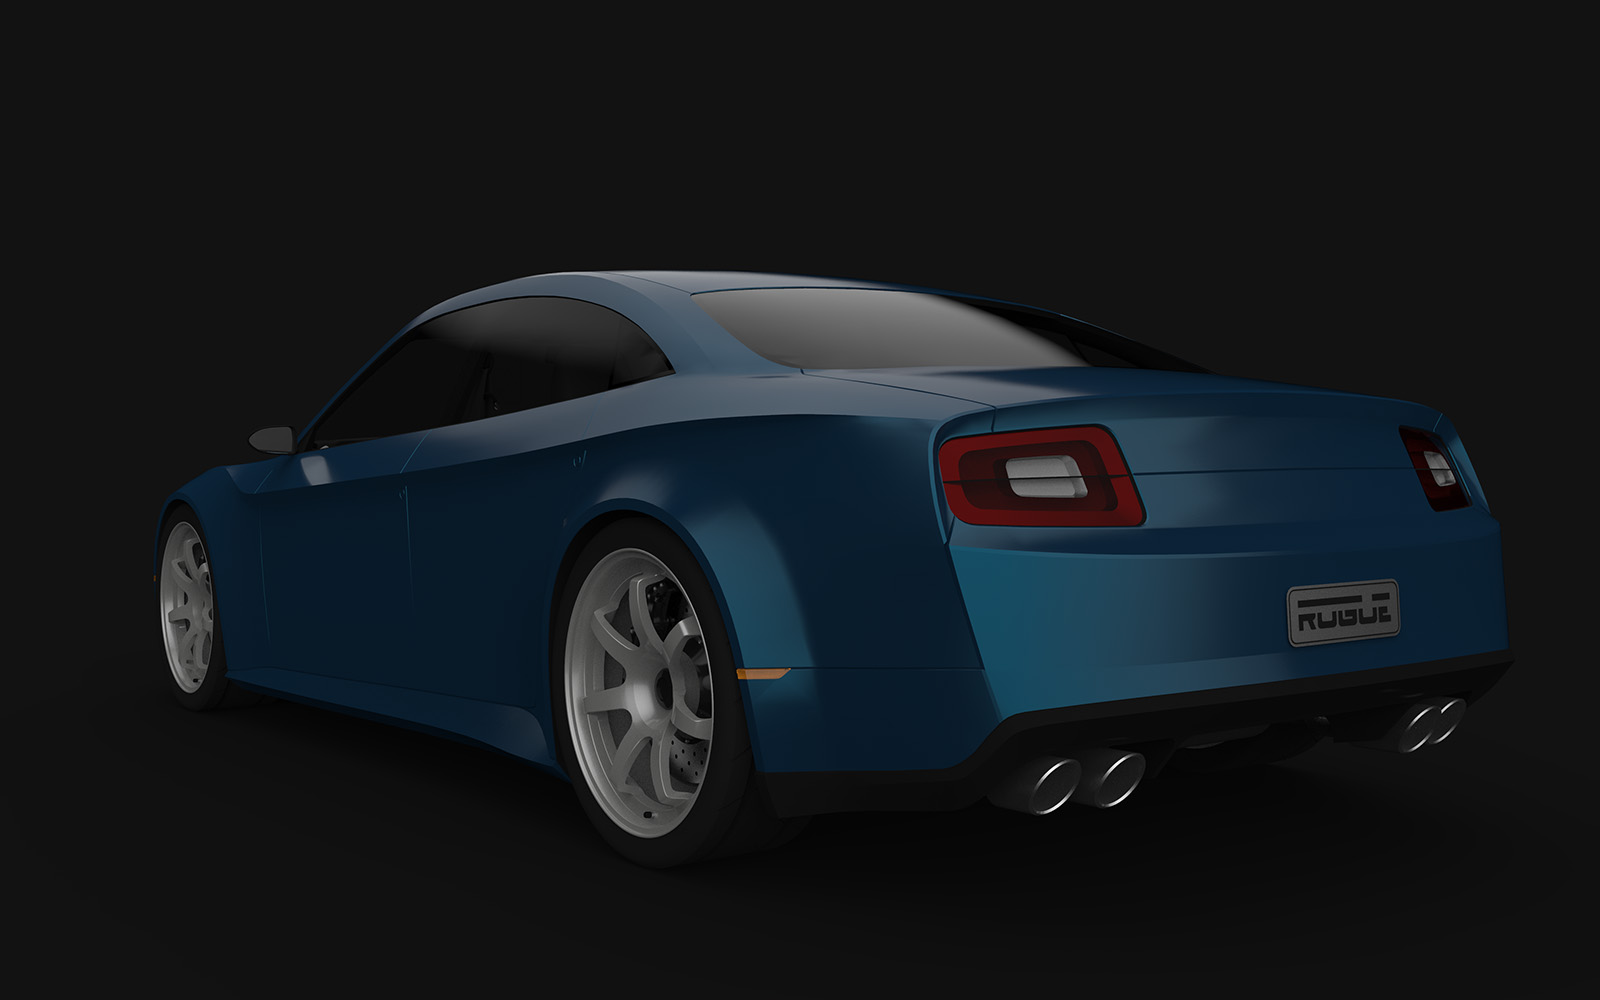
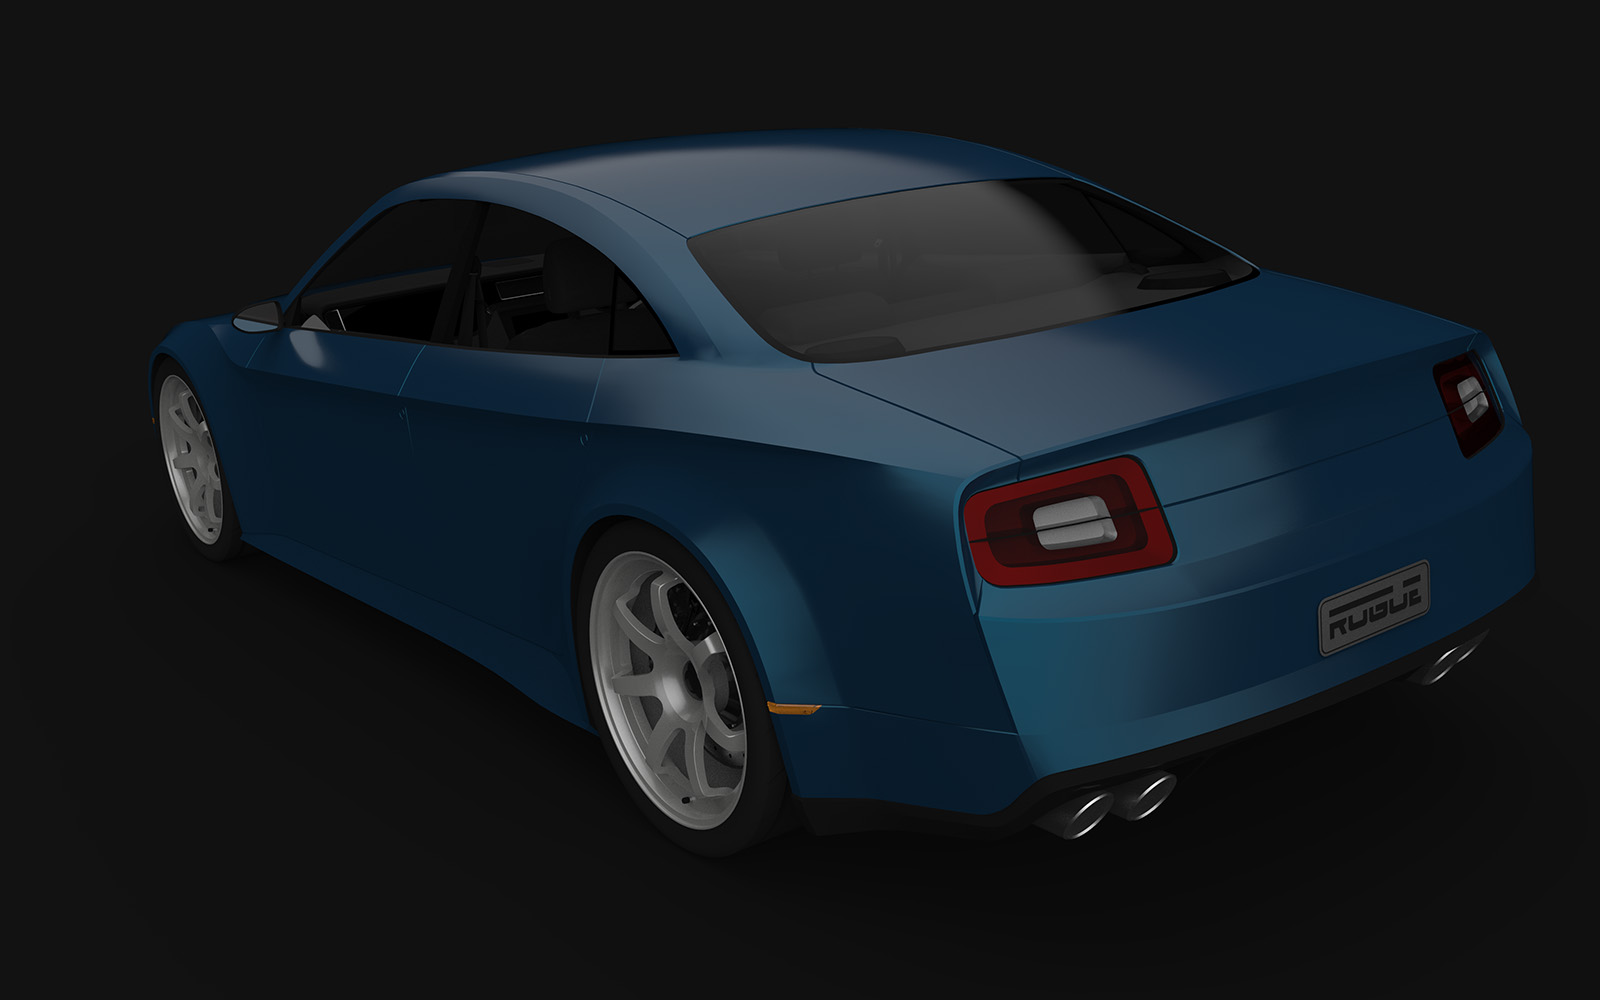
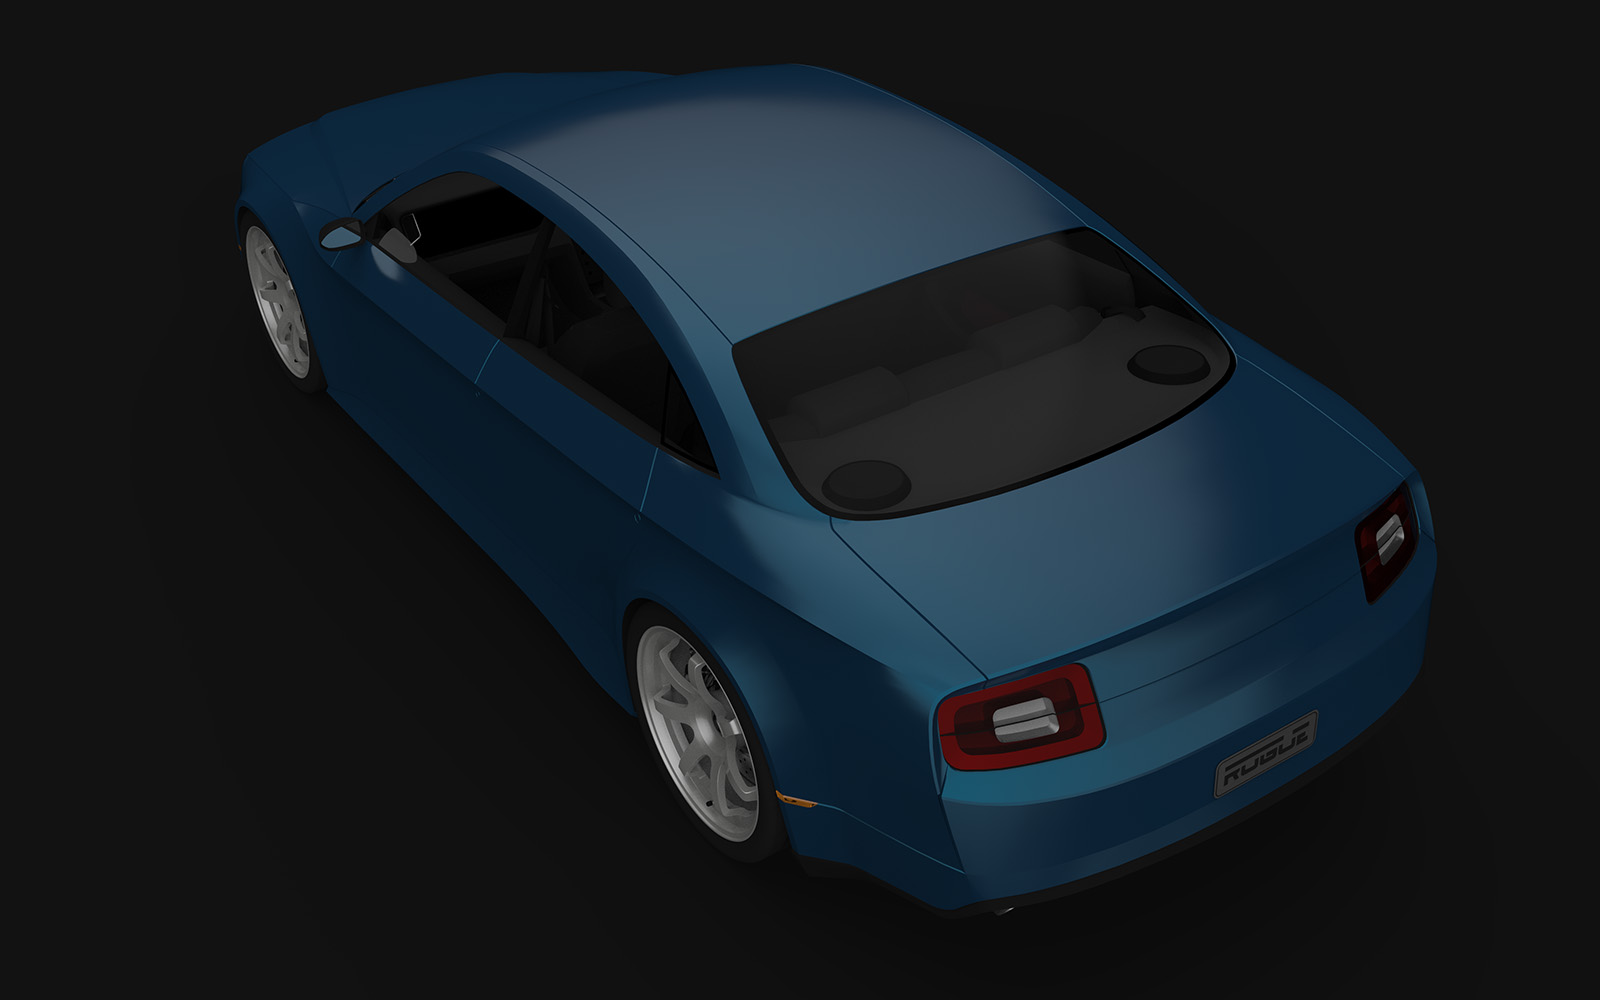
-
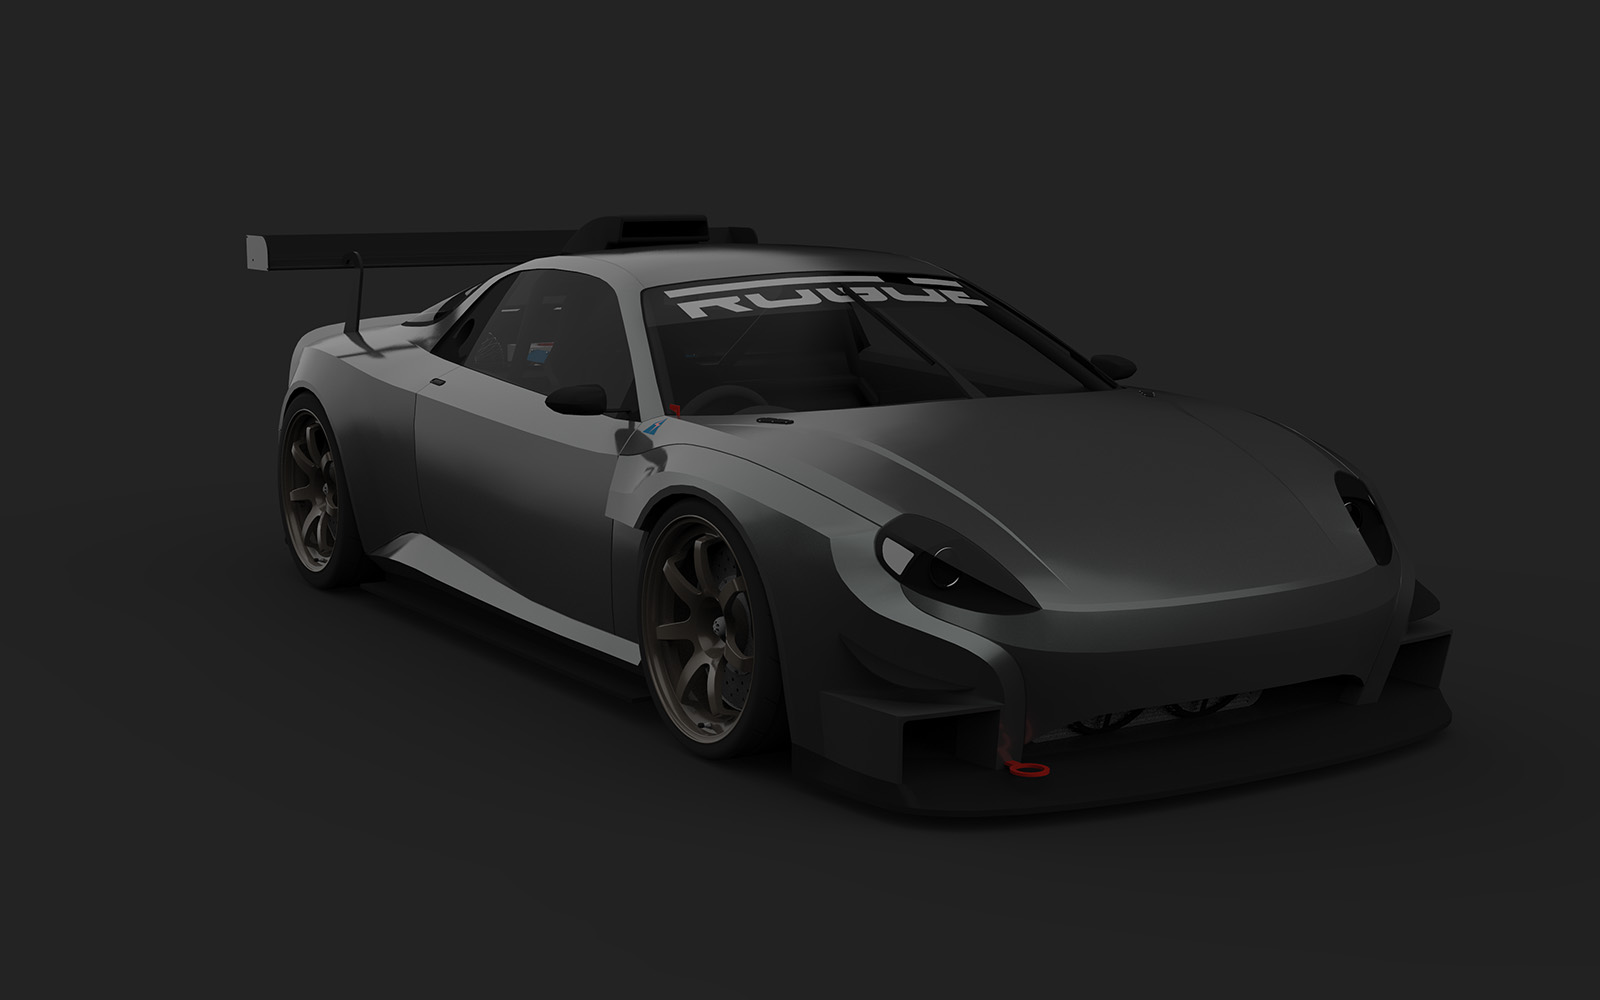
Here is the Azione R-Spec. It sort of disappears into the background, but I liked the colour too much
-
Very nice!
-
Ben, I noticed when I was rendering your models that you used some kind of subdivide on you models. Could you explain your work flow? The subdivide seems to be the key to making smooth curved surfaces, but when I try using Artisan I get very crude and unusable results.
-
I do occasionally use a tool called 'Subdivide and Smooth'. I've an older (paid?) version which isn't fully compatible with SU anymore but still subdivides fine. I only usually use it when I really can't be bothered adding detail to smooth out the poly lines on an edge, for example; a wheel arch curve.
I typically group off only a section of mesh (a single surface of a panel or just around the area where the line is I want to smooth), use sub-smooth, copy the edge that's been subdivided, back up a few steps, delete the old mesh in that area, paste the line in place and then manually stitch it in. I do this because the resulting sub-smoothed can be quite messy and I really just want the clean/ smooth edge that would be more accurate than what I can create by eyeing it.
A lot of subdivision I do manually, just by filling in extra lines into the mesh and moving them into place to smooth out a surface or edge. I'm rather envious of the tools in blender than can cleanly turn a fairly low detail mesh into a very clean subdivided one, but I really can't get my head around all the tools in Blender and find it much easier to do most of it manually.
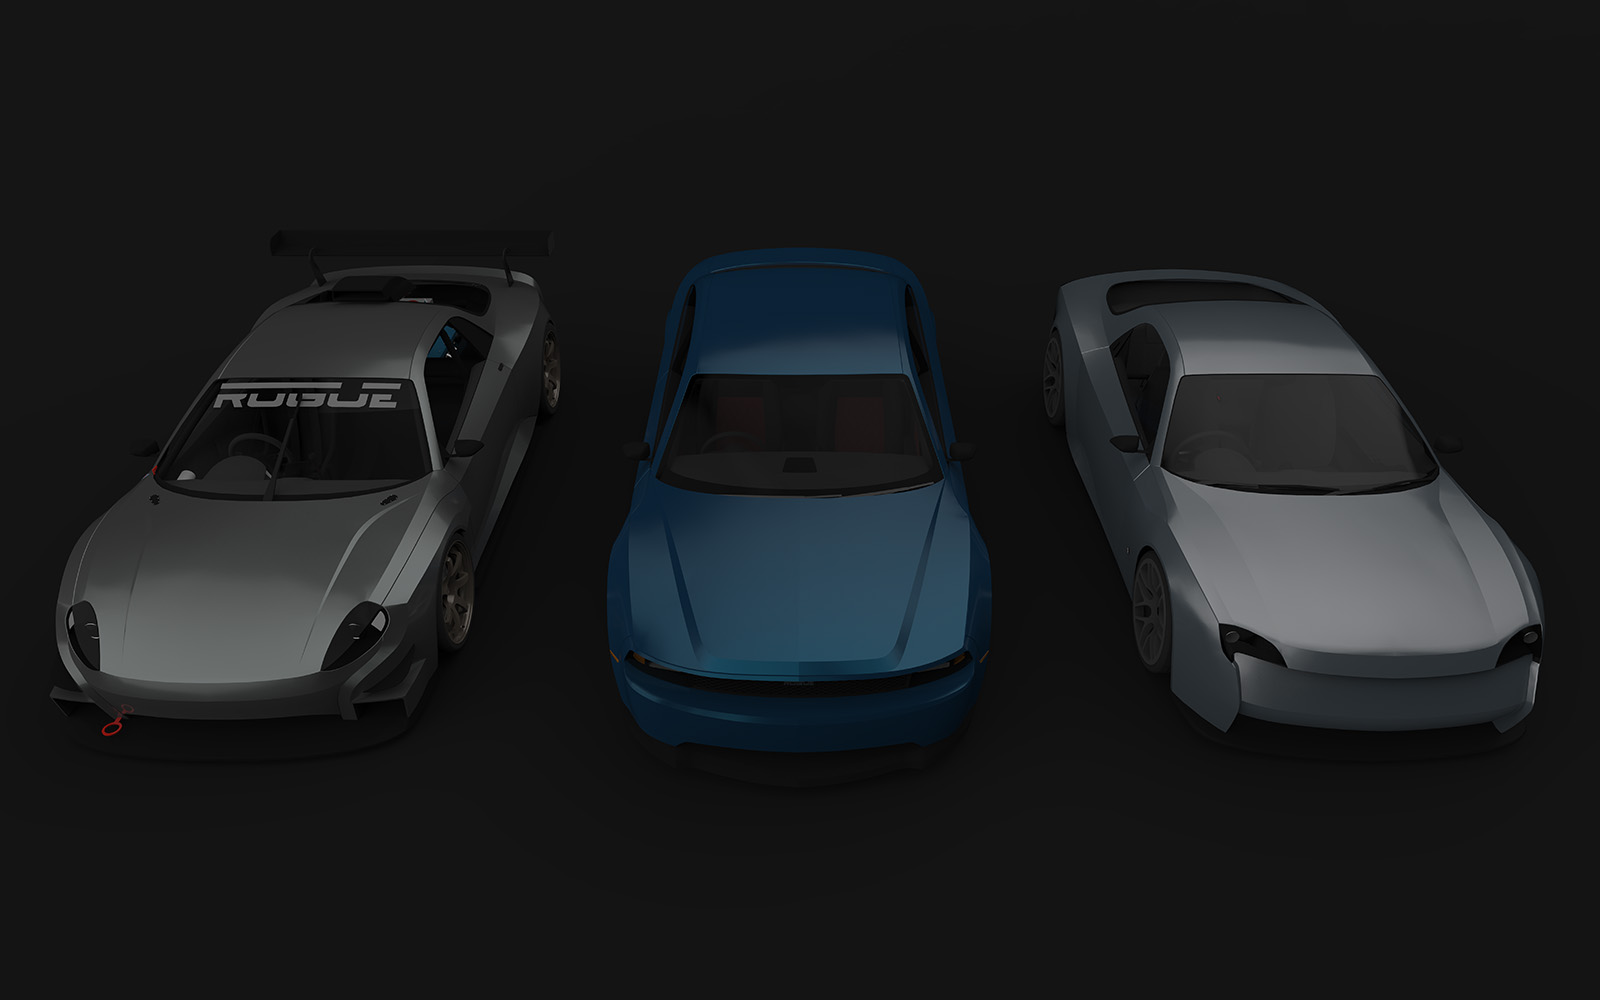
Also, felt like adding my latest render. This is my new desktop background
-
Thanks.
Artisan has a Subdivide and Smooth function but it sometime feels crude. Mostly likely it is me not using it right.
Could I ask you to post a small example of how you do it?
That said, nice renders!
-
No problem Bryan. I've attached a small example of how to do it how I do. This is a round-about method because I prefer to have a cleaner mesh, so I do it by hand. I've saved it as SU 2016 format for compatibility reasons, just in case someone is using an older version and still wants to access it
Switch tabs to see the different steps, or just pan to the right
SDS Example (2016 format).skp -
Thanks Ben! I really do appreciate it.
-
So, did that explain it sufficiently Bryan?
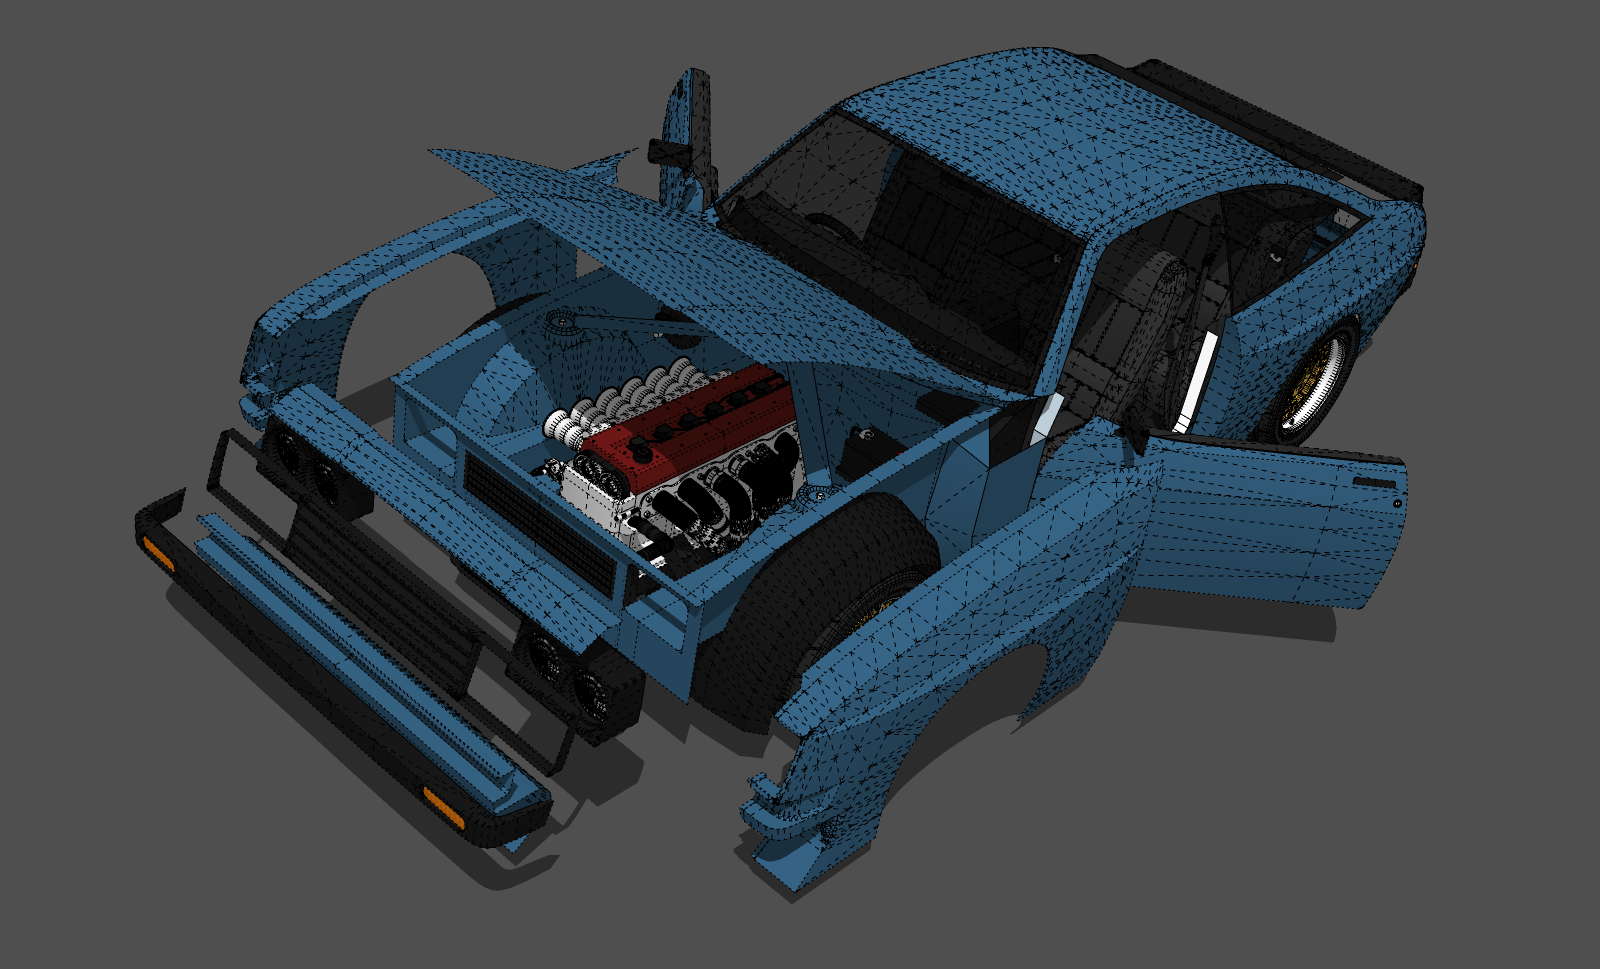
Here is another update. Have been trying something a little different with the panel gap, in trying to make it look a lot more realistic, while not going all out on poly count. So far I can say that the results are fairly good, but it requires a lot of work and likely won't be done for future models.
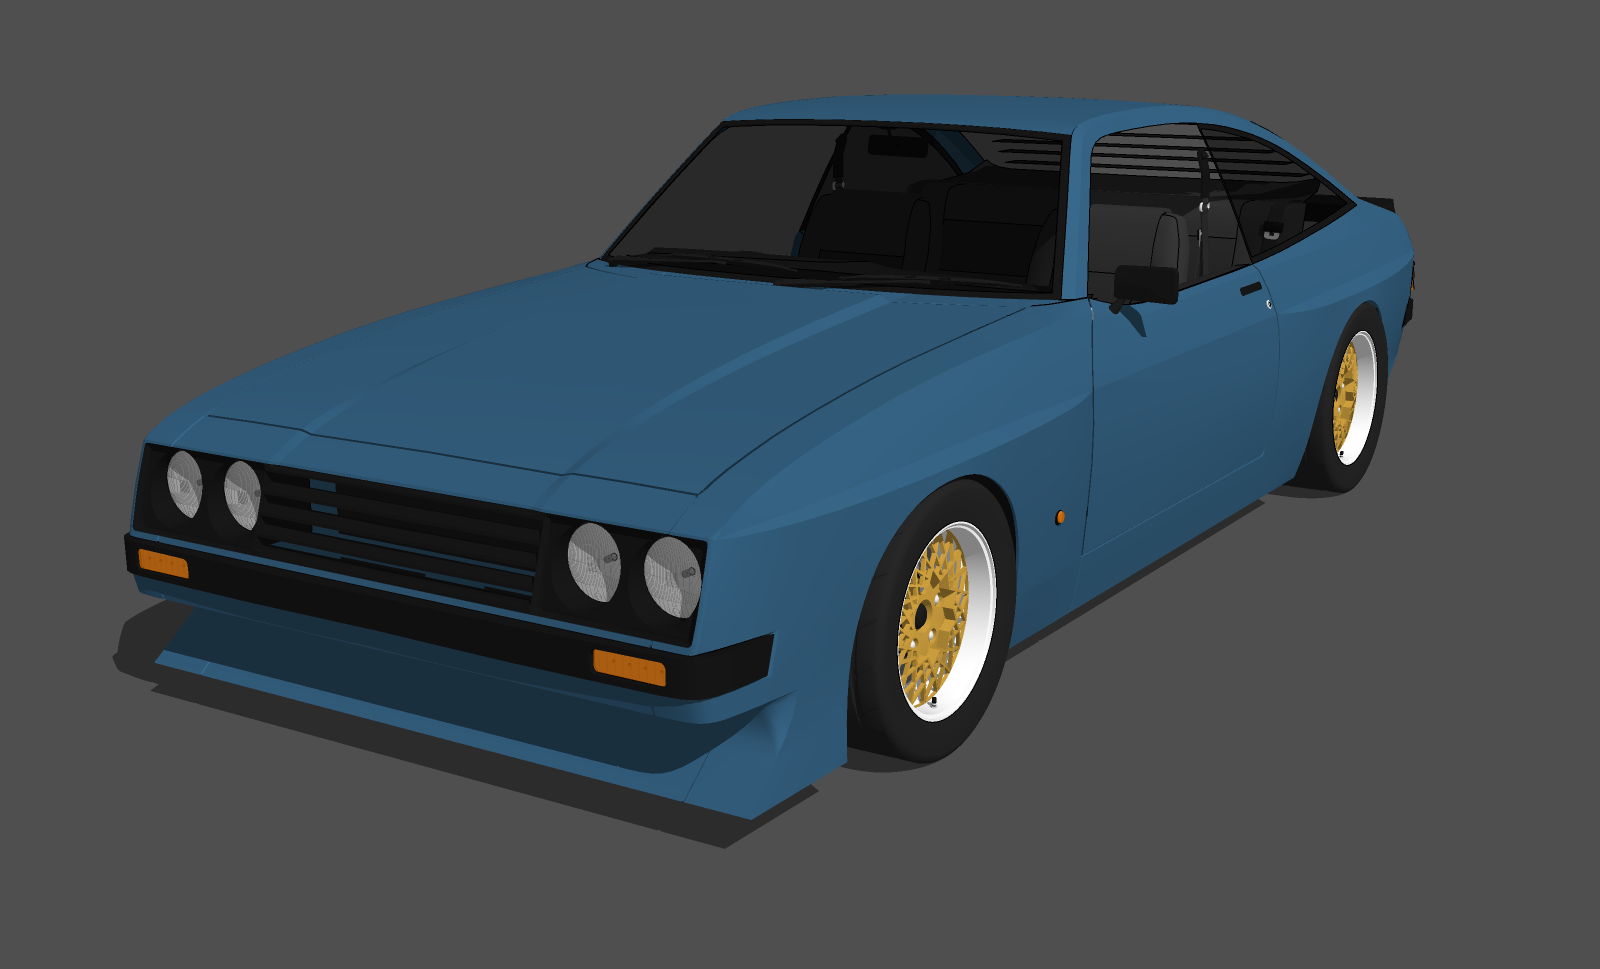
I also want to do something like the Zakspeed Capri

Advertisement


