SDS & FFD Abstract Sculptures with Interesting Textures
-
Fred, a little question:
How do you texture these shapes?
My freeforms have screwed up uv's all the time.I have a headache trying to get a brick texture or other tiling texture on them....

Damn sketchup! -
@kwistenbiebel said:
Fred, a little question:
How do you texture these shapes?biebel, (I'll just rotate through the various name permutations)
Nothing to the texturing I'm doing. I just import an image, explode it, size and orient it as needed, sample it with the paint tool (by holding down the Command key), then select the surface I want to project upon, and paint it with the texture. With transparent areas in the texture you need to do the same steps on the inside surface as well. I just show hidden geometry, delete a triangle, double click on the inner surface, paint, then paste in place the deleted triangle.
Fred
-
Thanks Fred,
That is the same 'projeting' technique I use, but it is very limited.
I was hoping there were some advanced tricks I am not aware of. -
Fred, these look awesome I especially like the mesh textured one's. One solution to the shadows would be to make the mesh a clip-map or alpha map and render it, this would give you the correct shadows.
-
Chris... I agree about the limitations being a pain, I just try to work within/around them.
Pete... I really, really, really need to find the time to learn how to do rendering.

Some new ones. I've got to stop this.


-
no! dont stop! these are awsome. i especialy like those last ones, they remind me of glass with stripes of colored glass inlayed with it.
and if you cant find the time to learn how to render stuff, just use podium. its as intuitive and easy to learn as SU. plus its pretty dang fast.
i serriously need to get this pluggin. -
Those last ones are very cool fred, i look forward to you learning to render, i tihnk we could have some interestign stuff being posted

-
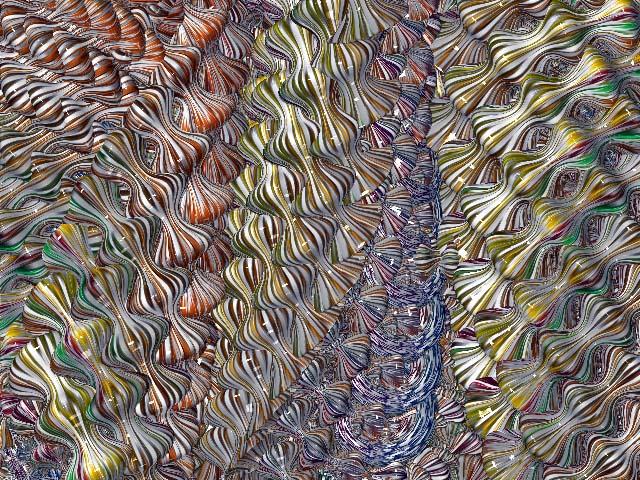
Can you use some texture like this or must it be tiling seamless?
(here Zbrush doodling)you can find some on my "Speedy galerie" free to you to use them
-
Great stuff Fred, your posts never disappoint and always entertain.
-
Great images Fred don't stop posting please!
-
Thanks all, for the kind comments. One more experiment.


-
oooh! that looks like one of the deep ocean creatures from the BBC Planet earth series.
-
Love'em !
-
Just a couple more. One, a final export from last night in which I removed the screen "shadow" shapes, and the other from a quick experiment using follow-me to create the proxy shape to feed into SdS. Quite a bit of potential there I think. (Chris.. btw, I enjoyed your original pre self-censored comment.

 )
)

-
@fbartels said:
Just a couple more. One, a final export from last night in which I removed the screen "shadow" shapes, and the other from a quick experiment using follow-me to create the proxy shape to feed into SdS. Quite a bit of potential there I think. (Chris.. btw, I enjoyed your original pre self-censored comment.

 )
)


I have a litte question, how do you paint the map on your model ??? -
Hi _olo,
The steps to project a texture are...
-
Bring an image into your model and position it as you want relative to your geometry. Be aware that after sampling, the image in essence projects out at 90 degrees from the plane of the image surface.
-
Once you have the image where you want it relative to the geometry you want to paint then select the paint bucket tool while holding down the Command key (on a Mac) and click on the image. This samples the image. (If you haven't already exploded the image you will need to do this.)
-
Then let go of the Command key (or Windows equivalent) and click on the geometry you want to paint. If the geometry is grouped, or a component, then you want to enter the group/component and select everything you want to paint before painting with the bucket tool.
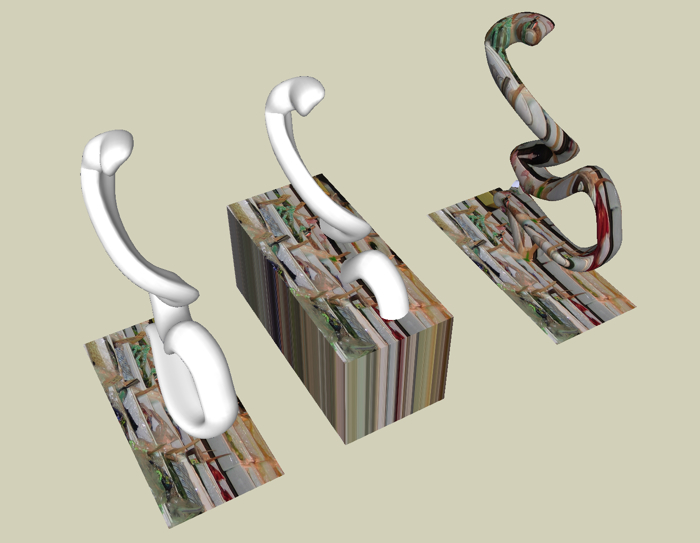
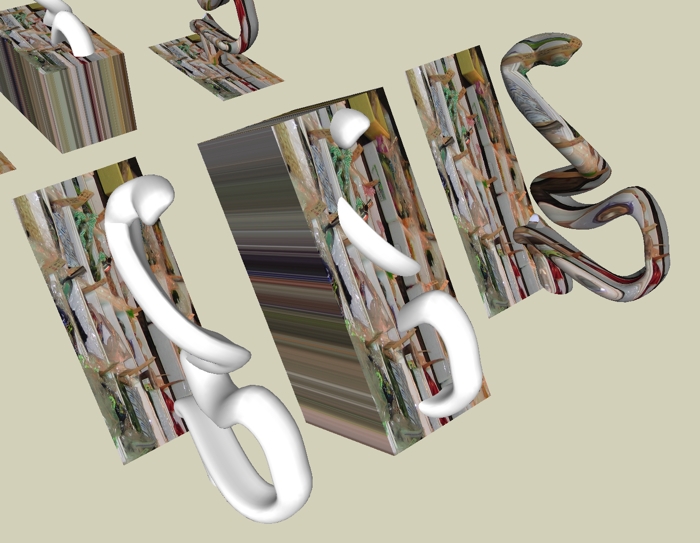
A trick I use is to extrude the image to make sure it completely covers the geometry I want to paint. If it doesn't, use the Scale tool to resize the entire extruded box until it encloses the geometry. The two images below should help make this clearer. The SU file used to make the images, which it too large to upload here, is available at the bottom of this page.
-
-
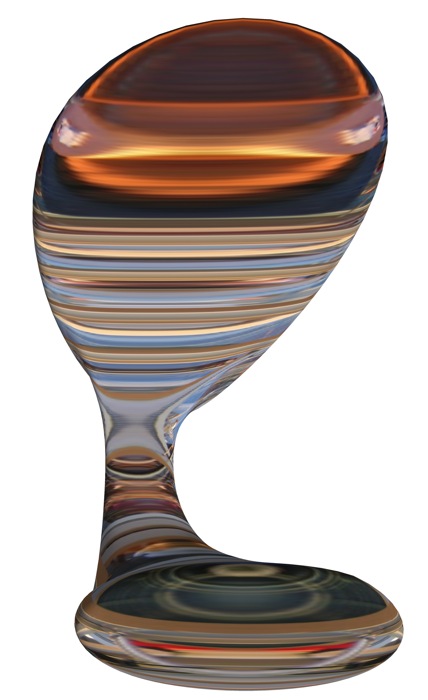
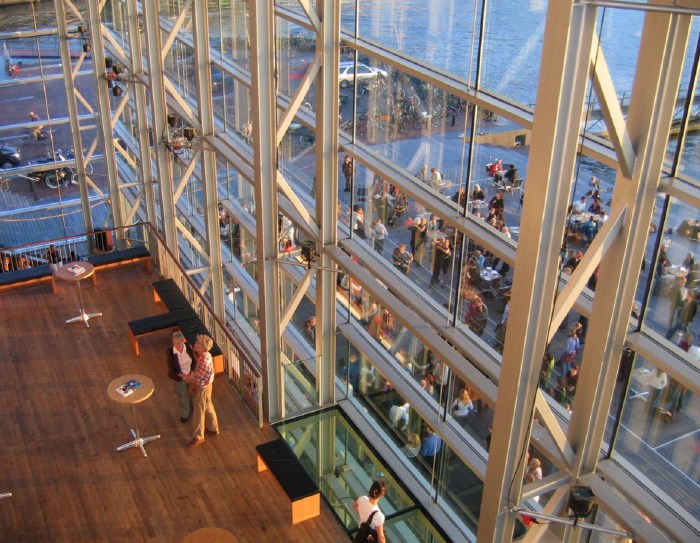
This one turned out looking quite glassy. Kinda cool. Some of you in Holland may recognize the place in the image that I used for the texture.
-
@fbartels said:
A trick I use is to extrude the image to make sure it completely covers the geometry I want to paint. If it doesn't, use the Scale tool to resize the entire extruded box until it encloses the geometry. The two images below should help make this clearer. The SU file used to make the images, which it too large to upload here, is available at the bottom of this page.
[attachment=1:1qnq3rb6]<!-- ia1 -->ex 1.jpg<!-- ia1 -->[/attachment:1qnq3rb6]
[attachment=0:1qnq3rb6]<!-- ia0 -->projection example 2 .jpg<!-- ia0 -->[/attachment:1qnq3rb6]
Fred,
I downloaded your SU file and tried it. I guess I still don't understand what you did.- How do you apply the texture to the object when it inside the extruded texture image?
- When I extruded the image, the sides of the box were just parallel stripes (as Normal)so that when I tried to paint them on my object (a cylindar) all I got was the same stripes.
Thanks in advance,
Tom -
Tom,
I made a quick video tutorial which should make this all crystal clear.
It is fairly large and will take a few moments to download.
It is located here.
Fred
-
Cool video

Are you the cousin of Niki de Saint Phalle?

Advertisement


