Modeling of a driver helmet with Artisan2, QFT, VT, SubD
-
Hello all
I'm so happy to add Artisan2 (A2) to my quad modeling toolbox!
This is a little case study for the modeling of a Tamiya Hotshot driver helmet.
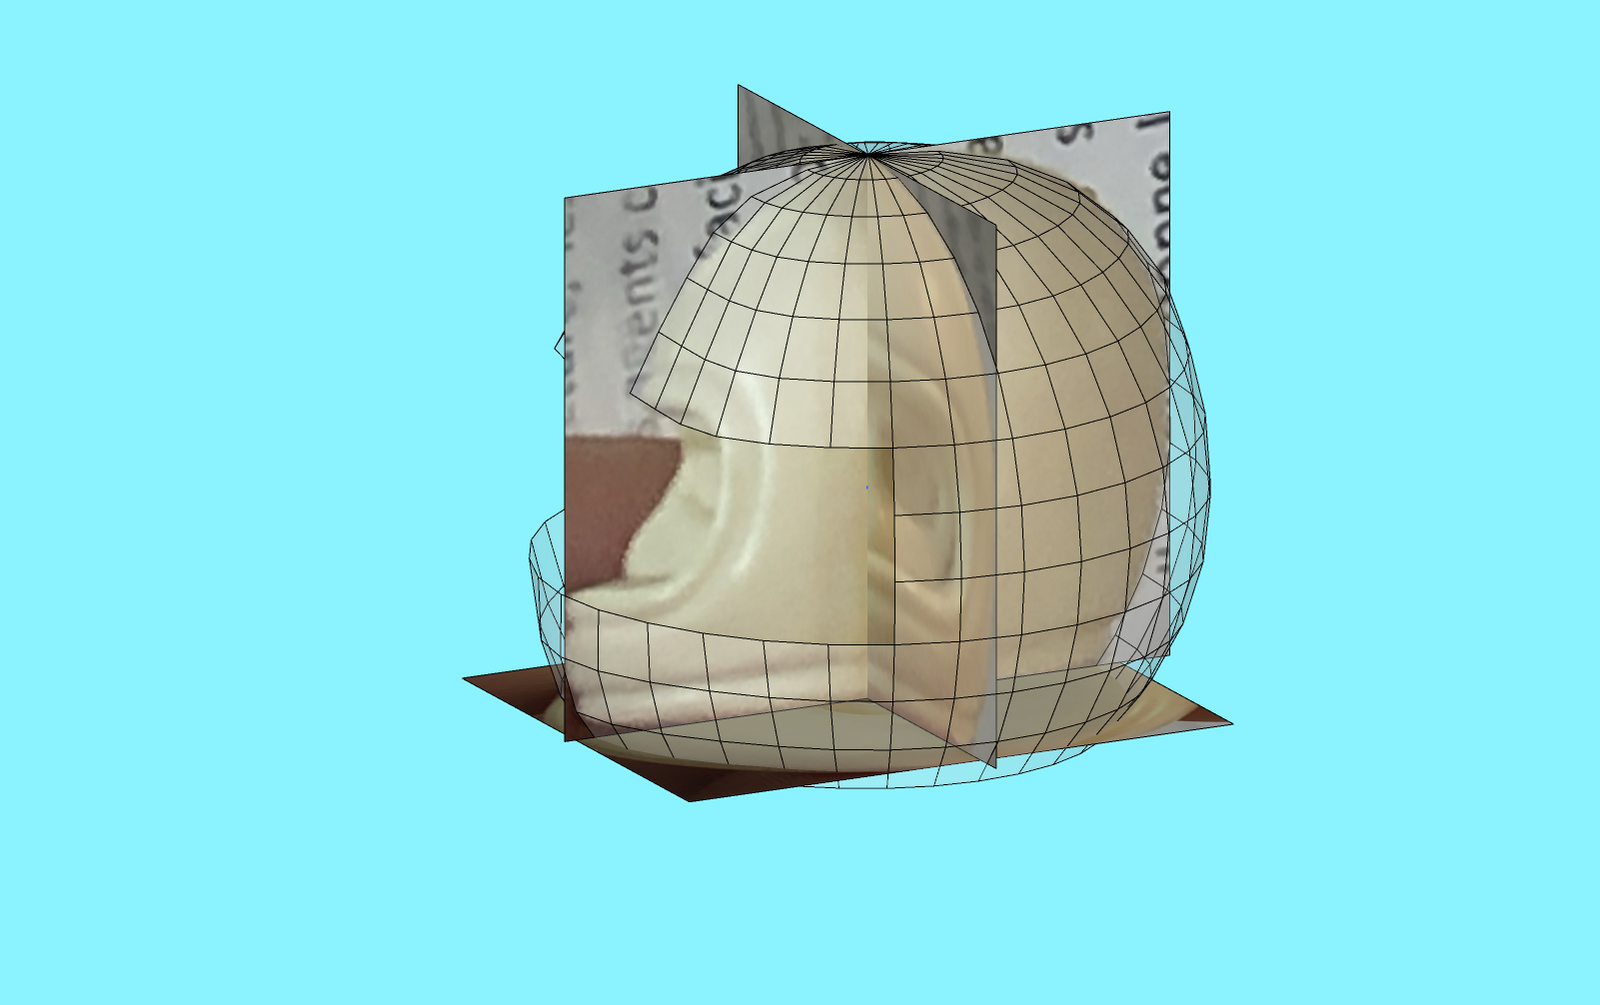
I used to model with Quadface Tools (QFT), Vertex tools (VT) and SubD (SD) but now with Artisan2 (A2), a lot of operations are much easier and faster!I have a real model that I try to replicate in 3D. Usually I measure the width, depth and height and draw rectangles. Then I apply textures of photographs in them.
The best way is in fact to use images instead of textures when using photographs because the images don't disappear when entering groups/components editing mode but here I was lazy and used textures because it's easier to adjust and scale. The drawback is that I need to model in the root level (no grouping) to see the photographs.
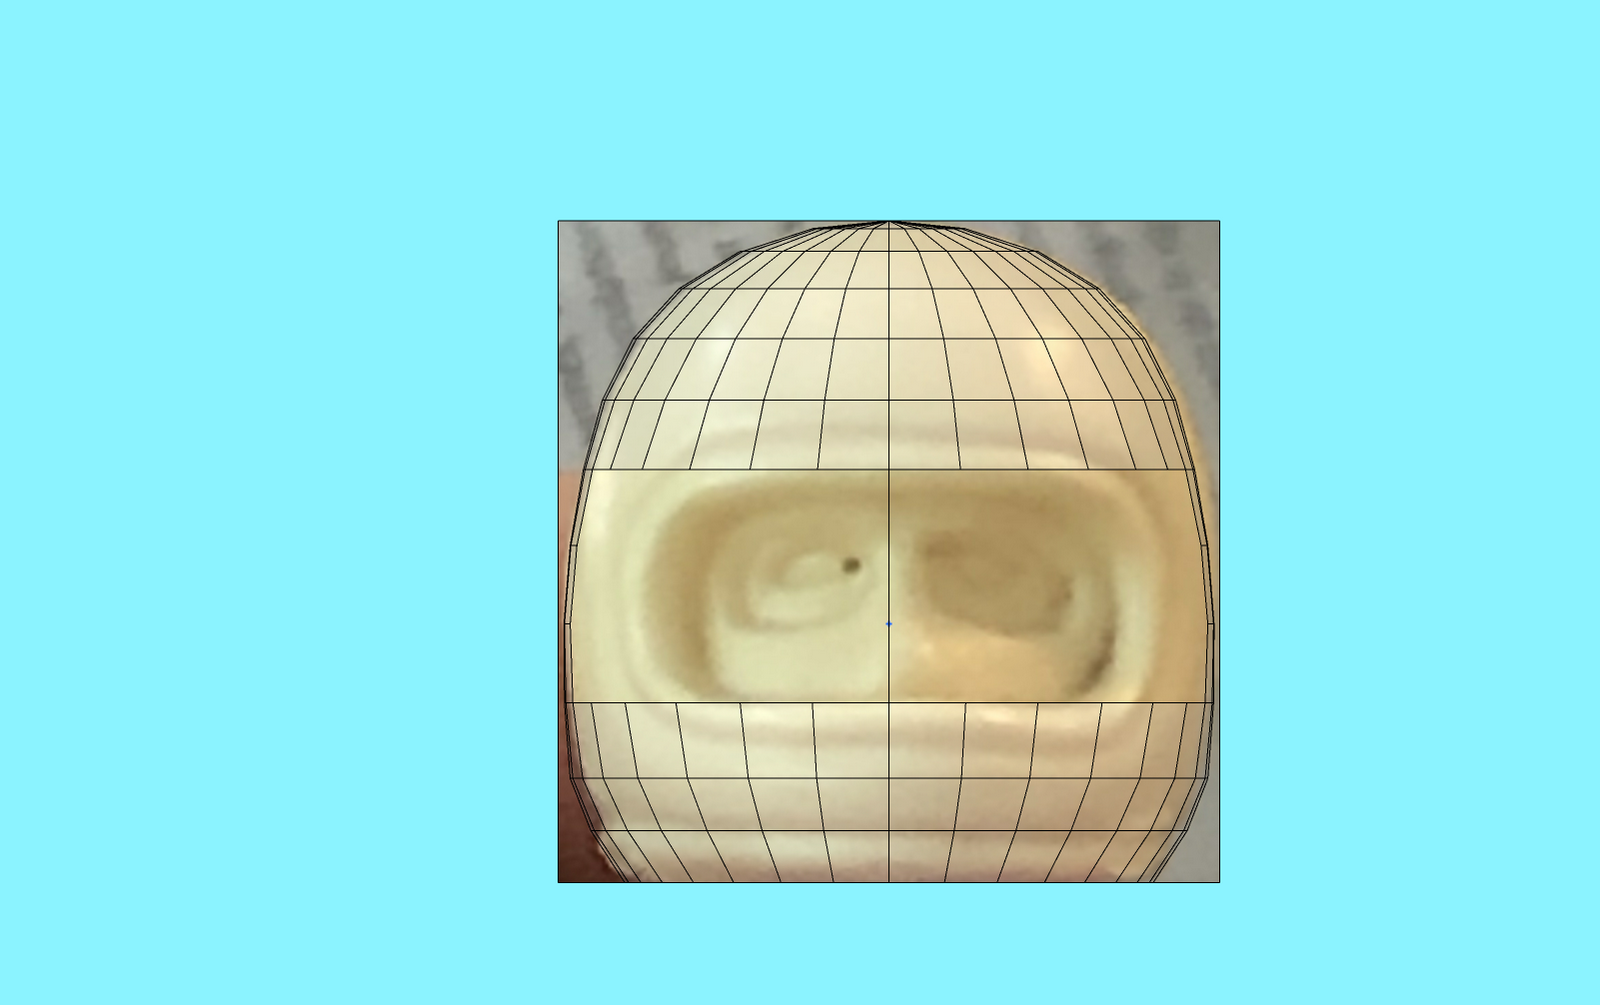
-
I started modeling by placing a sphere (SketchPlus > Draw > Sphere or as_shapestoolbar > place sphere or the hard way, draw 2 circles in perpendicular plans with the same origin, select a circle rim and use follow me on the other circle surface).
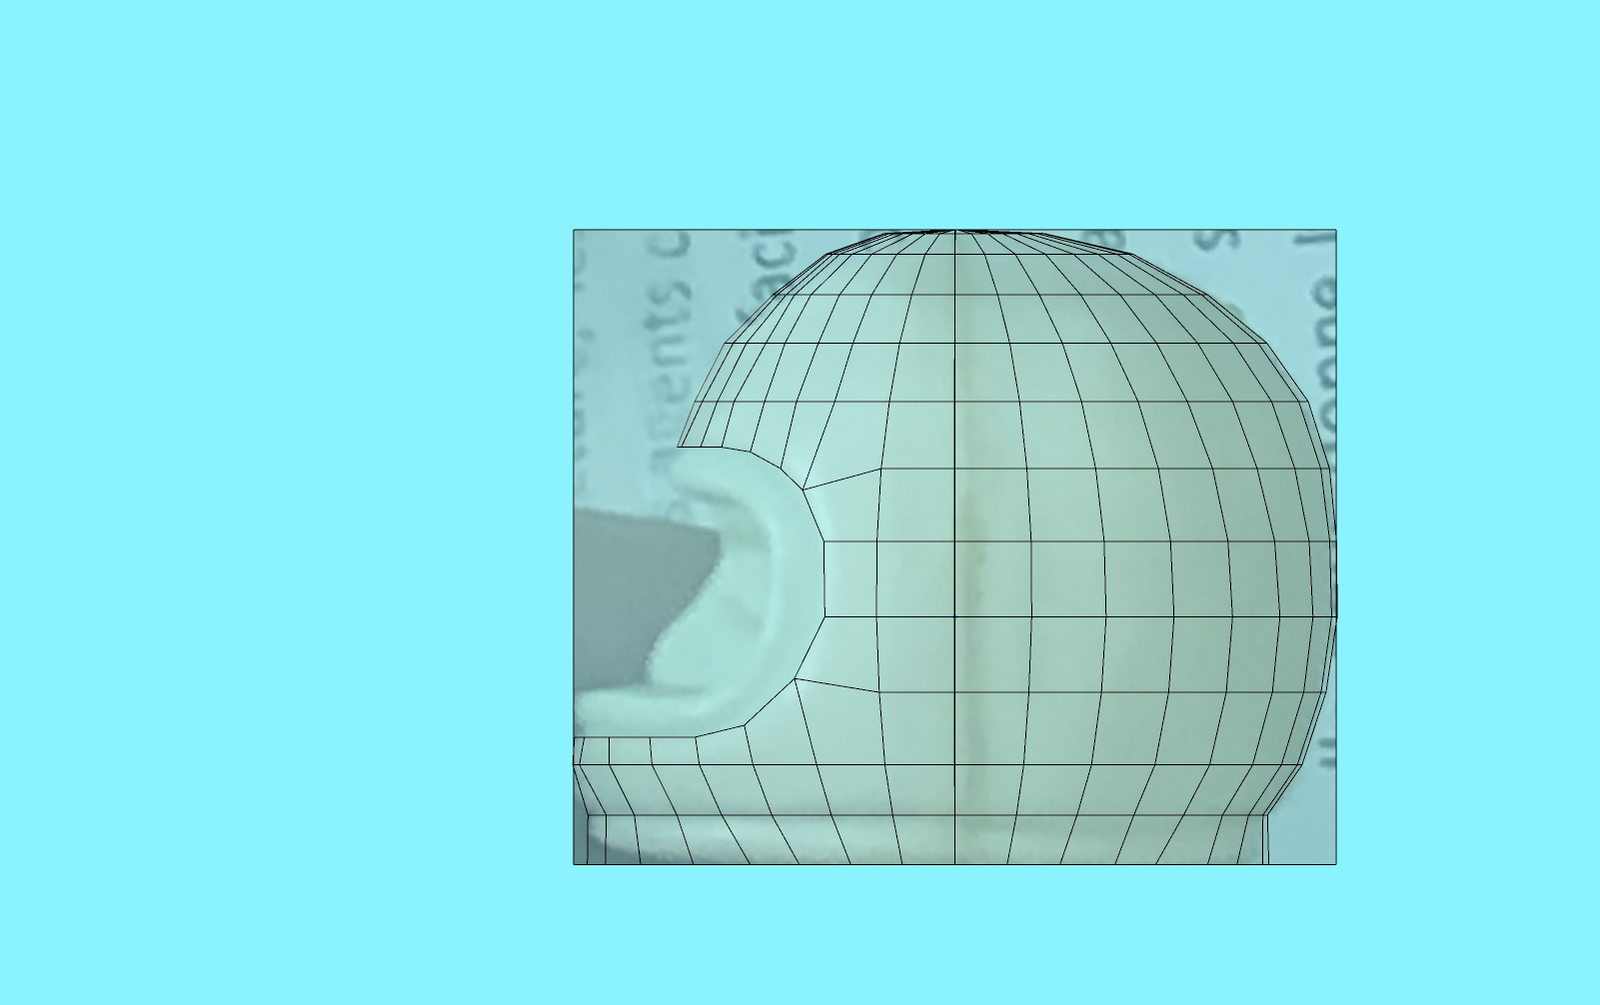
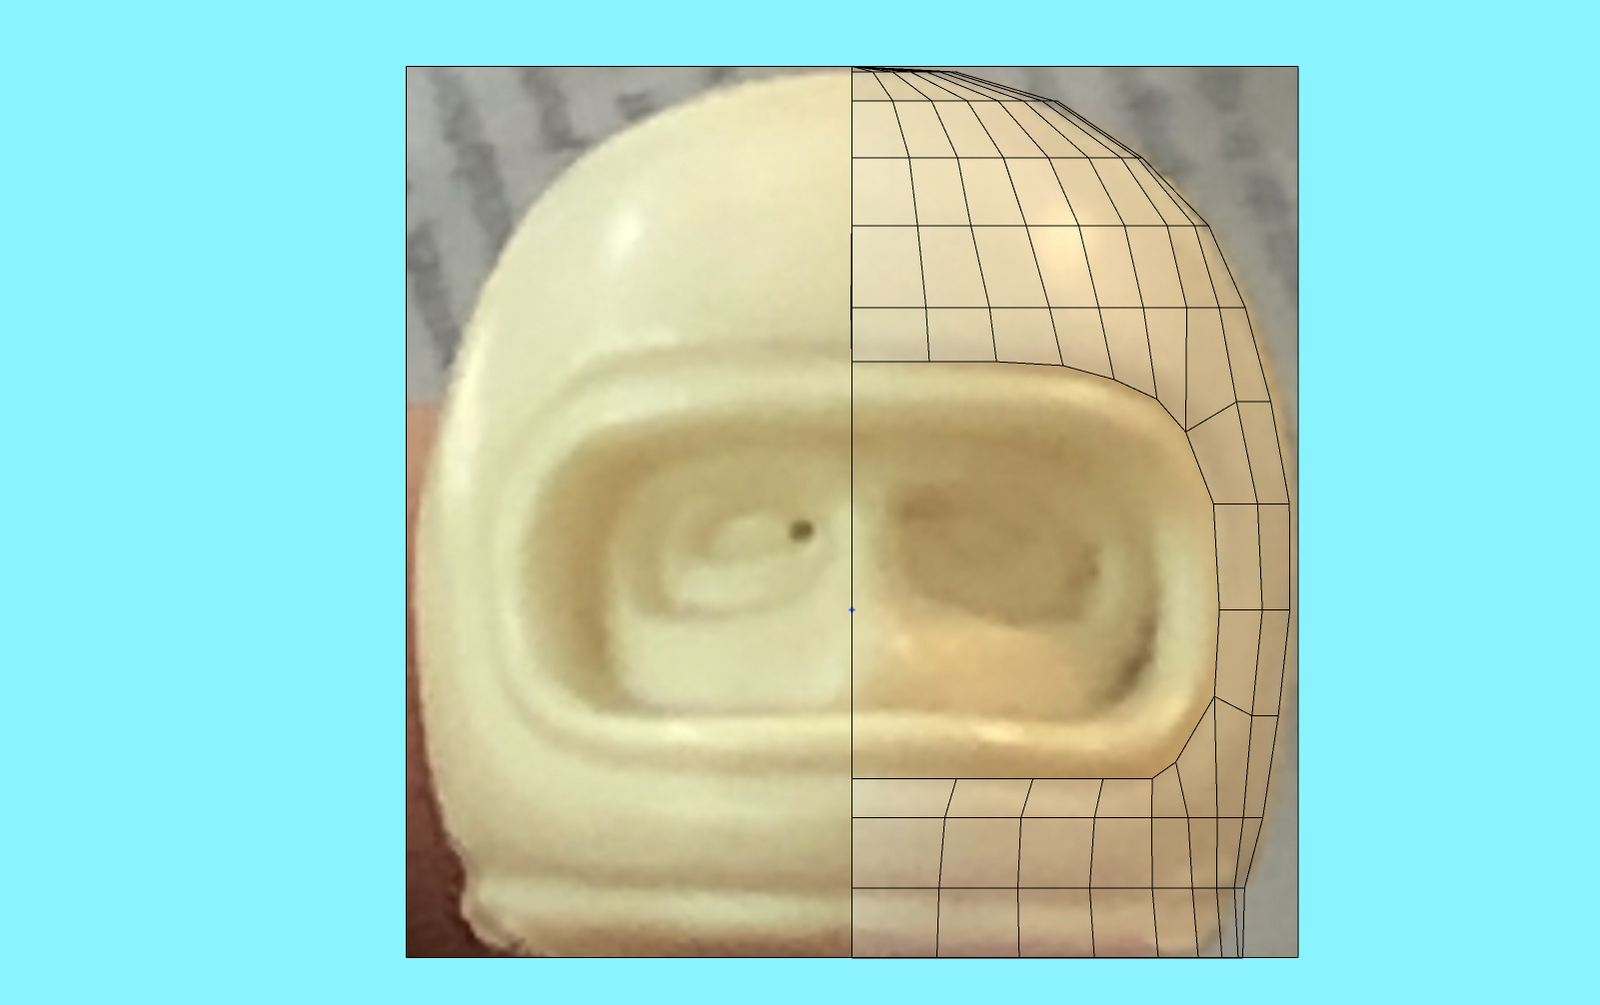
Then with the new A2 edit tools, I squashed loosely the sphere to conform to the front and side view.
Each time I edit a vertice, I verify in both views.
-
And here's the A2 magic, with EXTRUDE EDGES!
I select a rim loop and extrude the helmet,
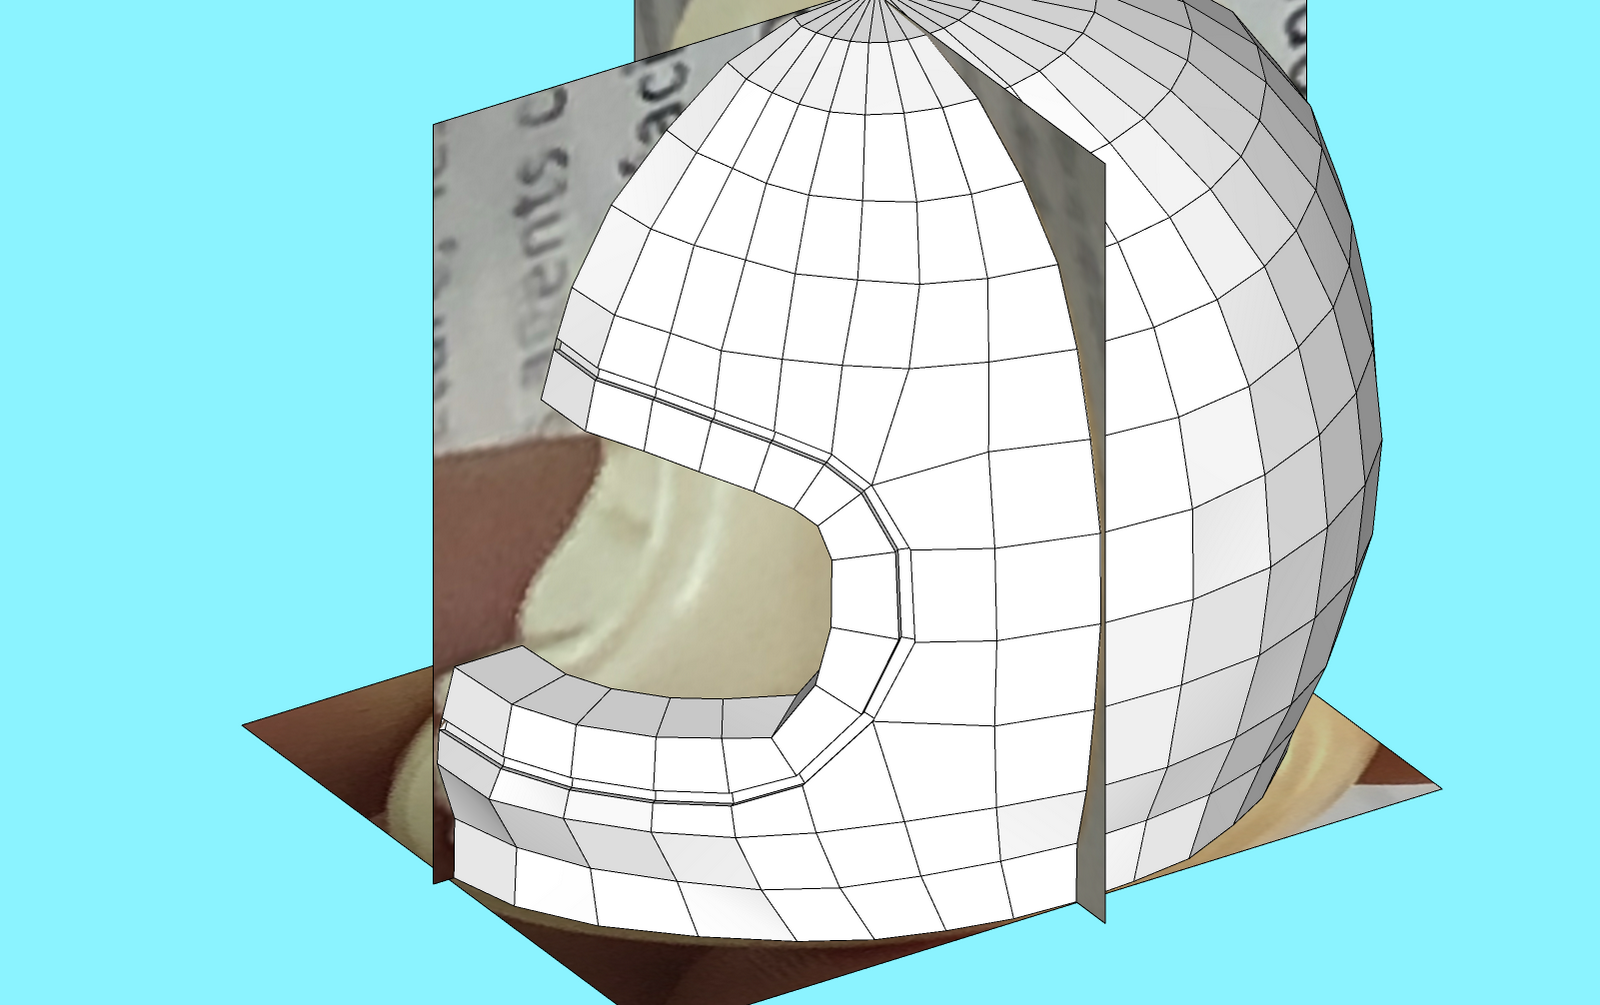
and then use the fantastic LOOP TOOL to quickly draw a loop that will serve to make a hollow joint by just selecting quad ring and extruding it.
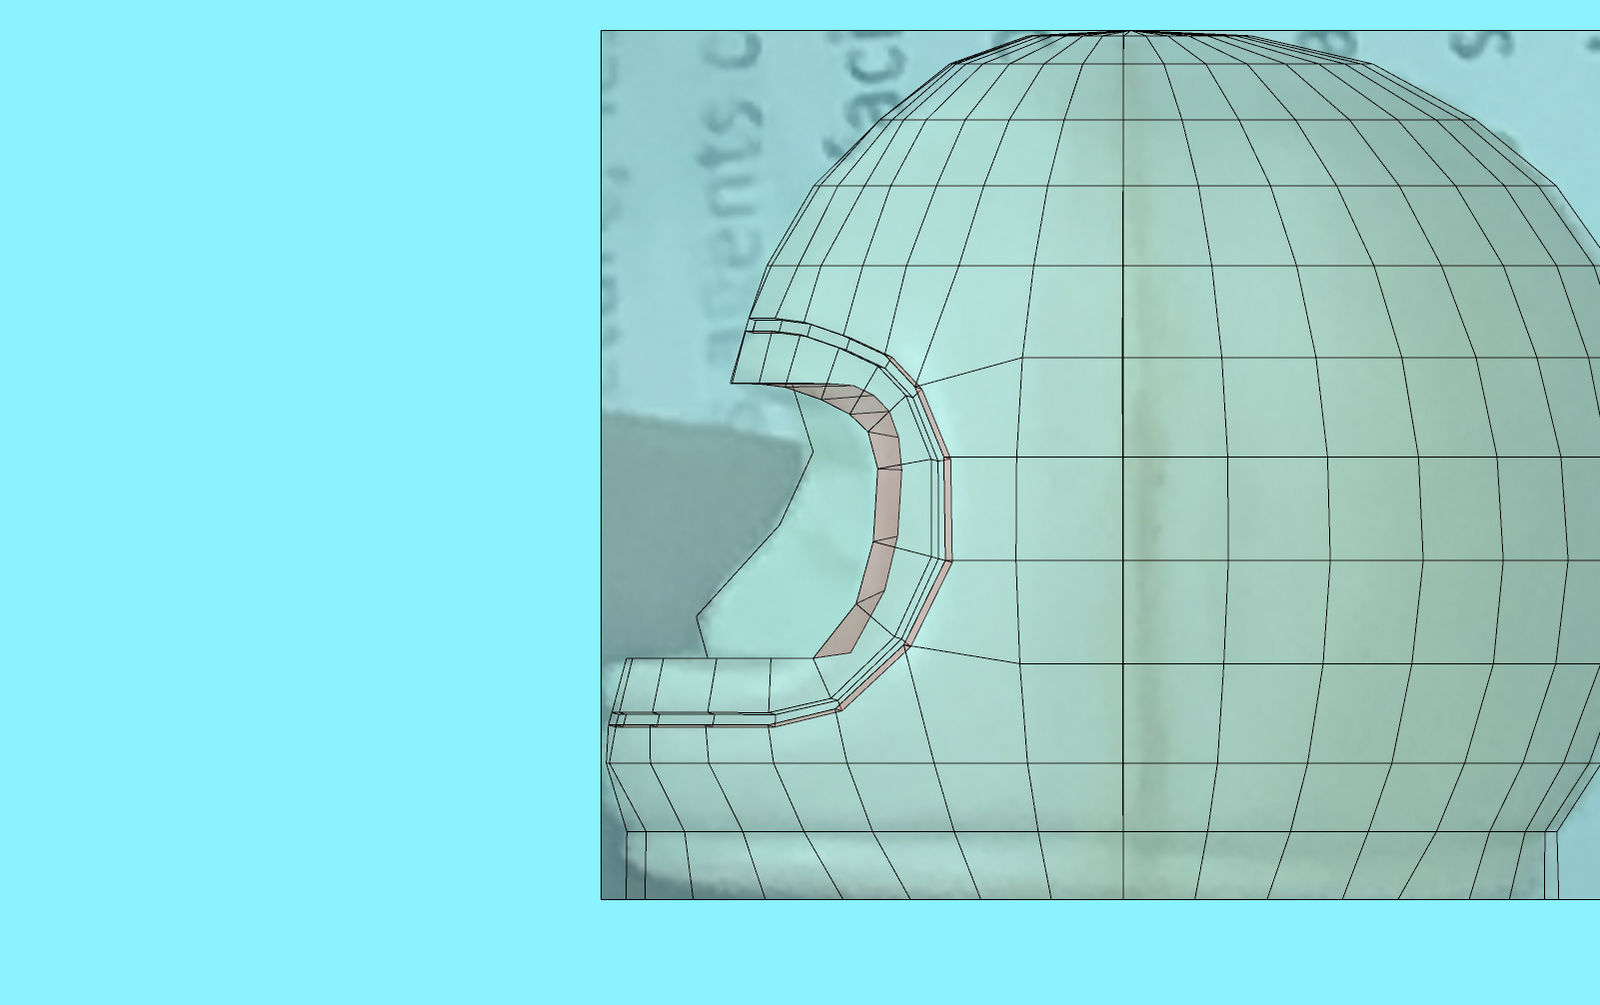
-
Now I start to model the face. This is the trickiest part but I try to follow the photograph and start by the nose profile and then extend toward the edges by creating a loop around the eyes.
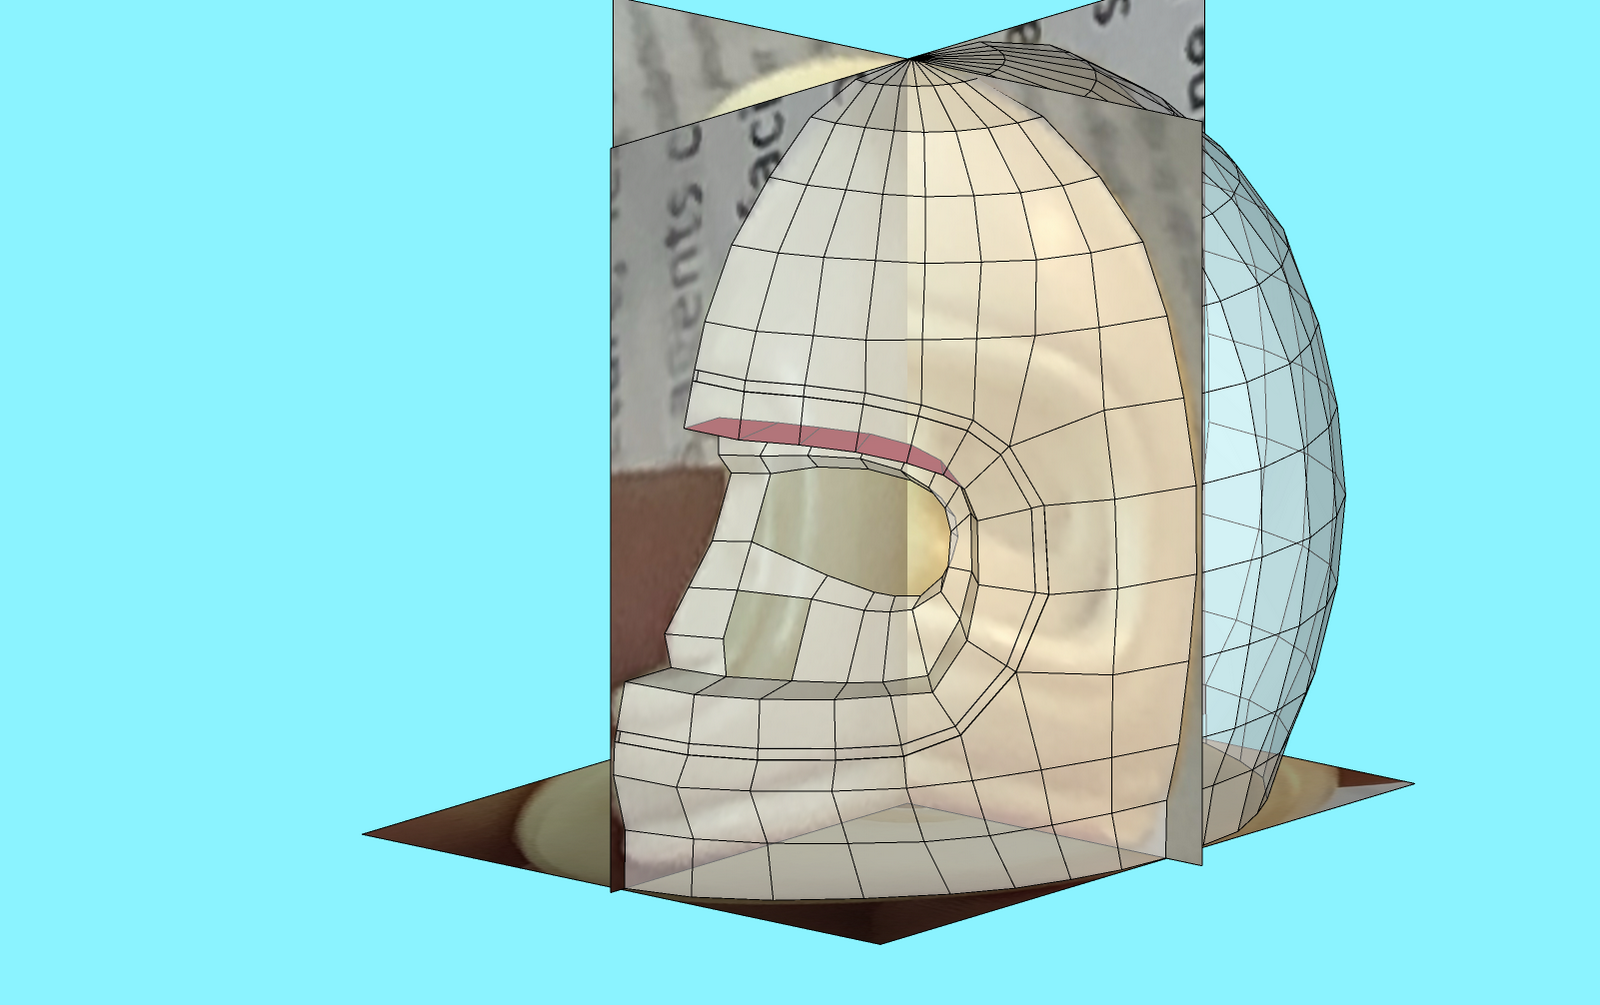
I quickly created a group with select all and tried a SubD.
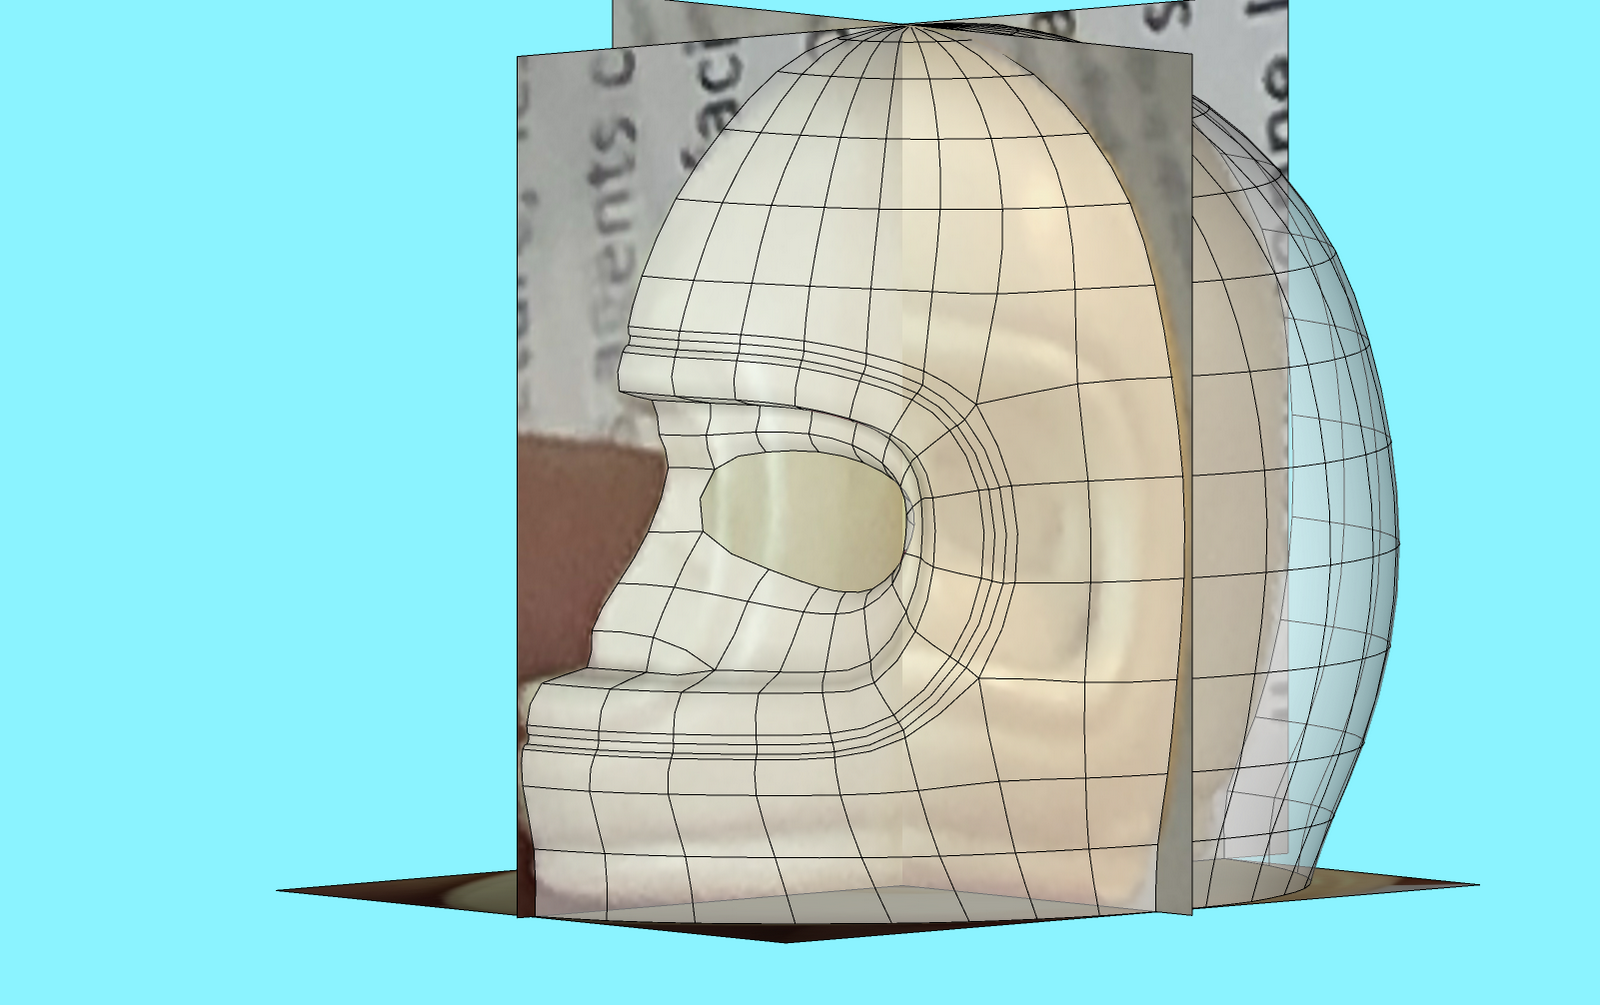
-
Then add more detail around the eye.
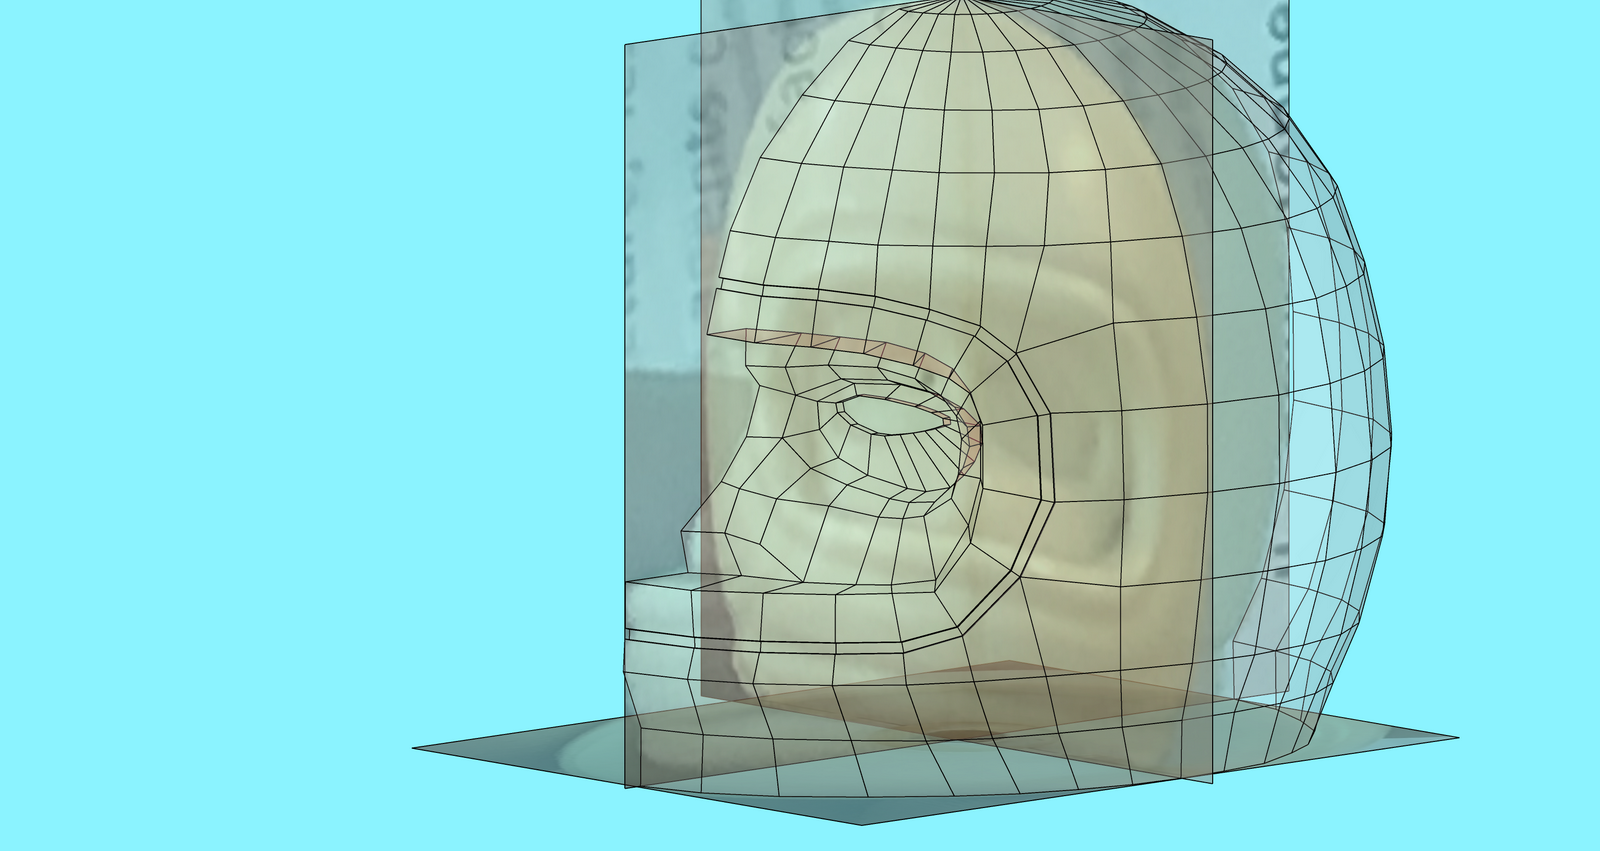
With SubD
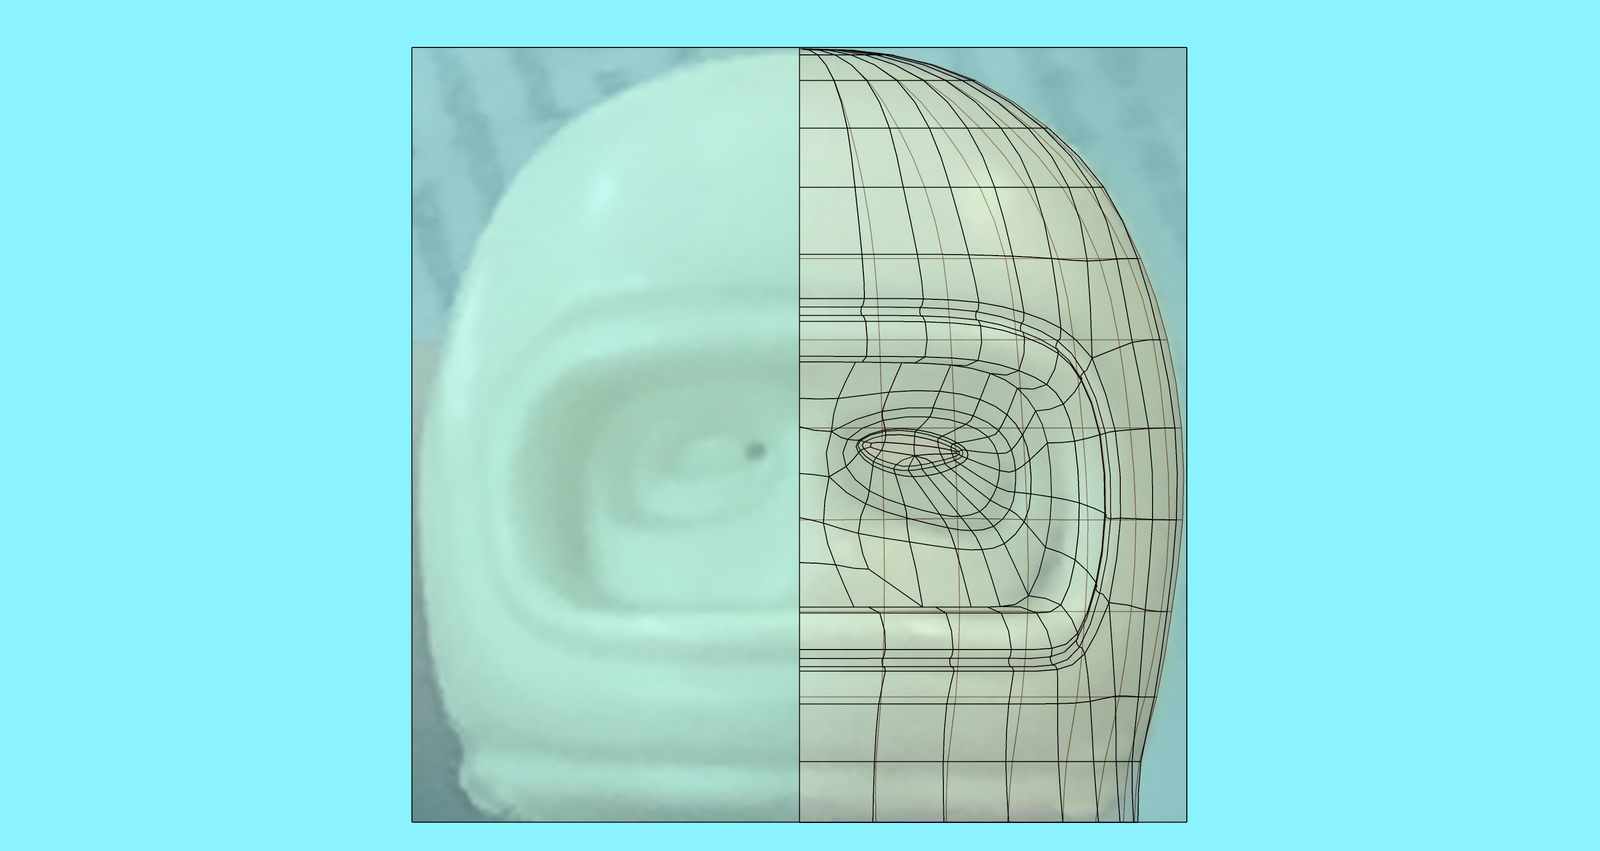
-
And duplicate the mirrored part (I use wether A2 Make Symmetrical or SU4you Mirror - I still haven't intalled SU 2023
 )
)
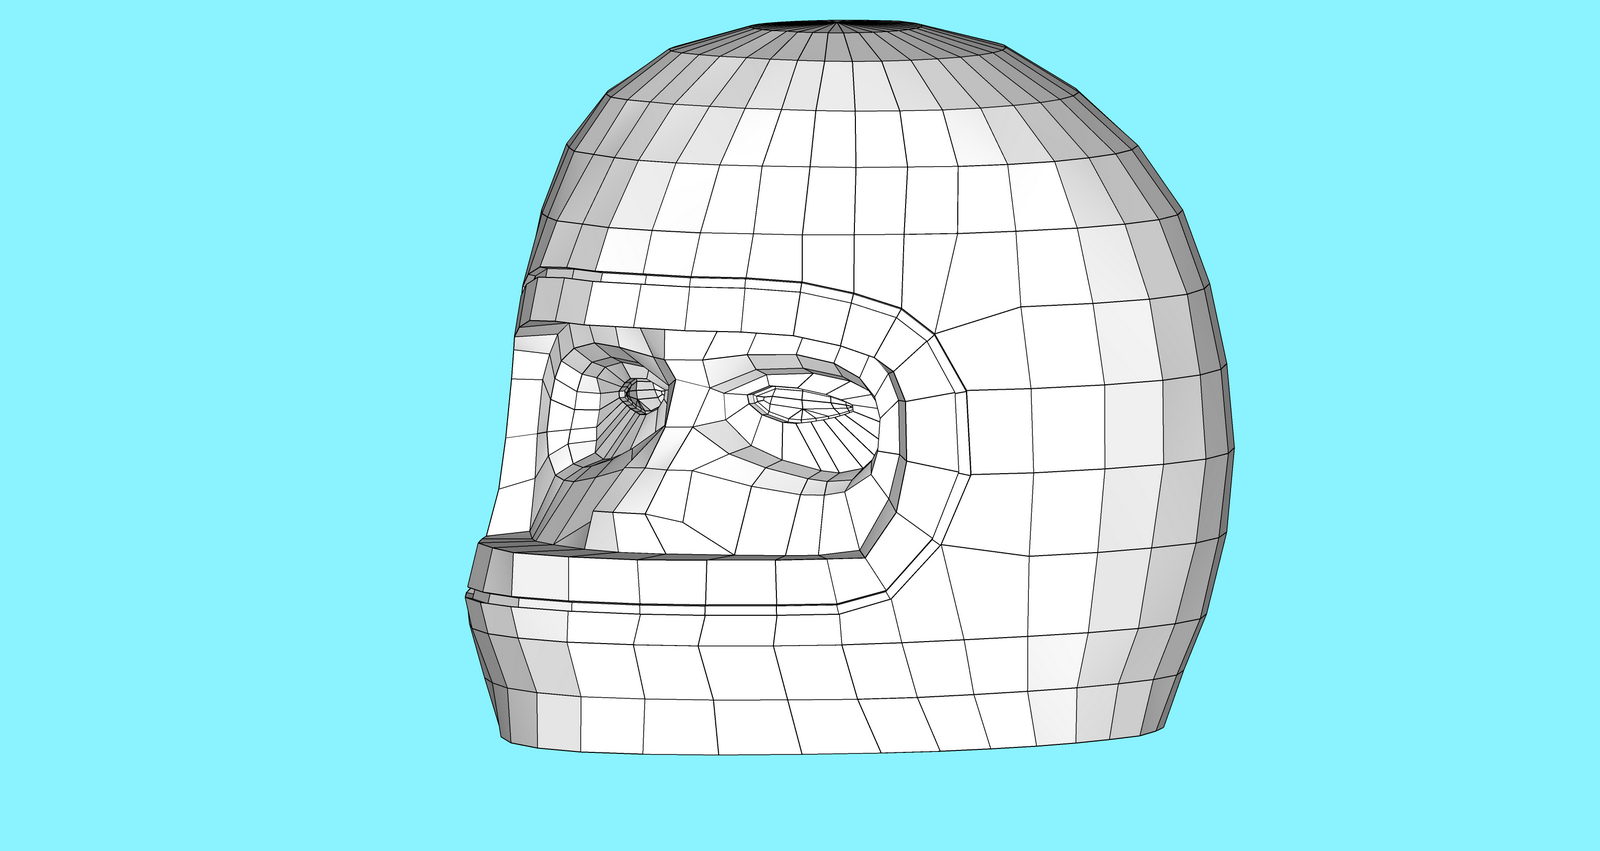
with SubD
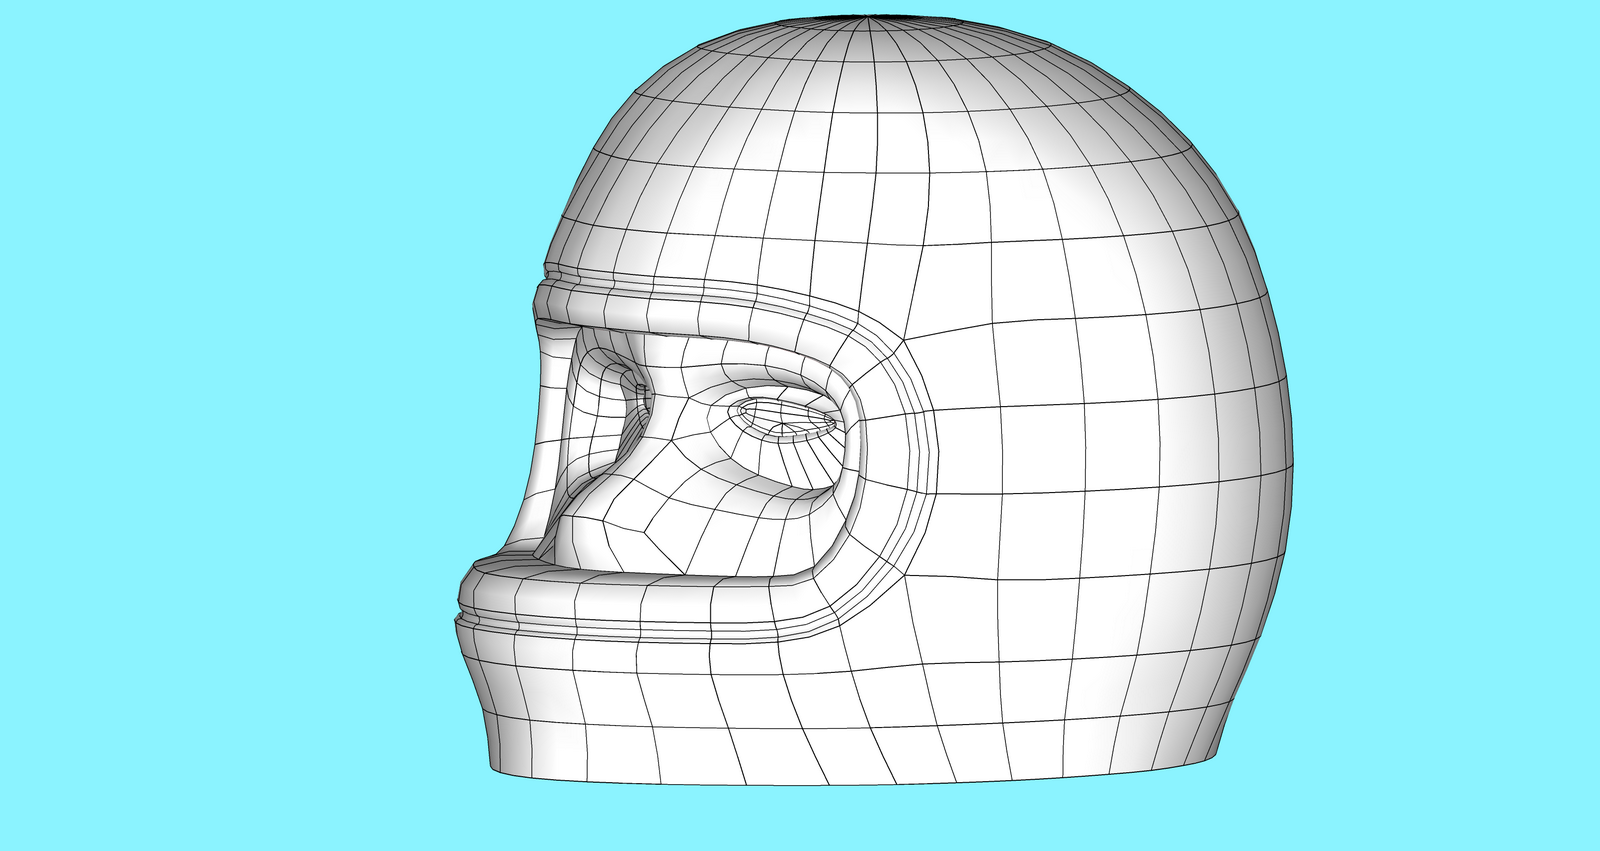
-
And finally added a joint around the neck.
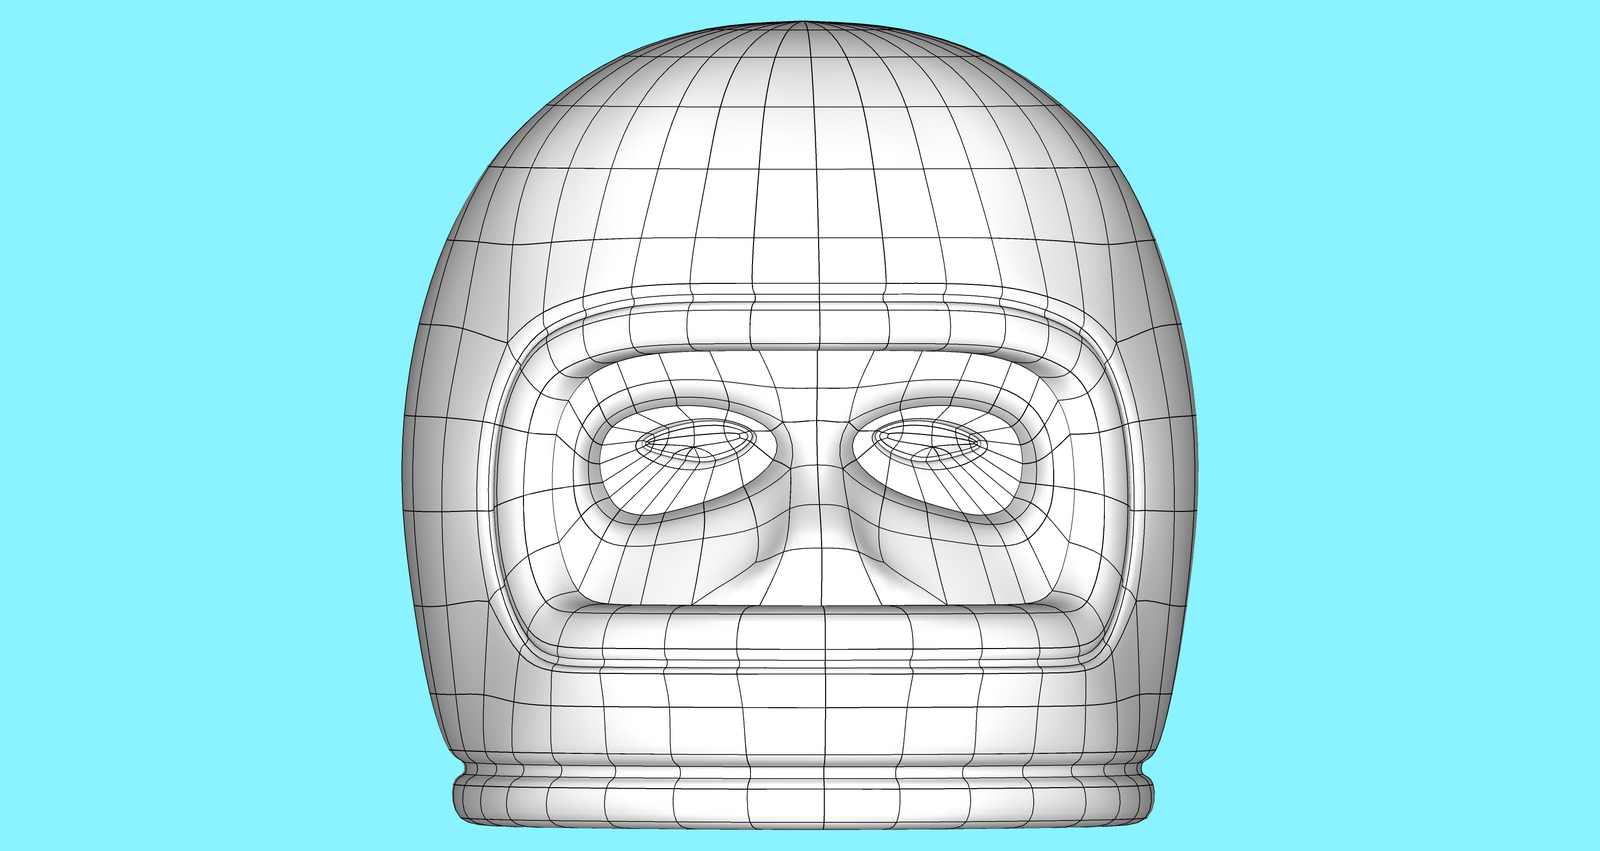
Voilà! it only took several minutes, way faster than using Blender or 3dsmax for me as I'm used to SU's UI. This is only the beginning; I'm sure we wil see many splendid works made possible with the combination of Su's poly modeling tools.
-
By the way, this is the reason I modeled the head.
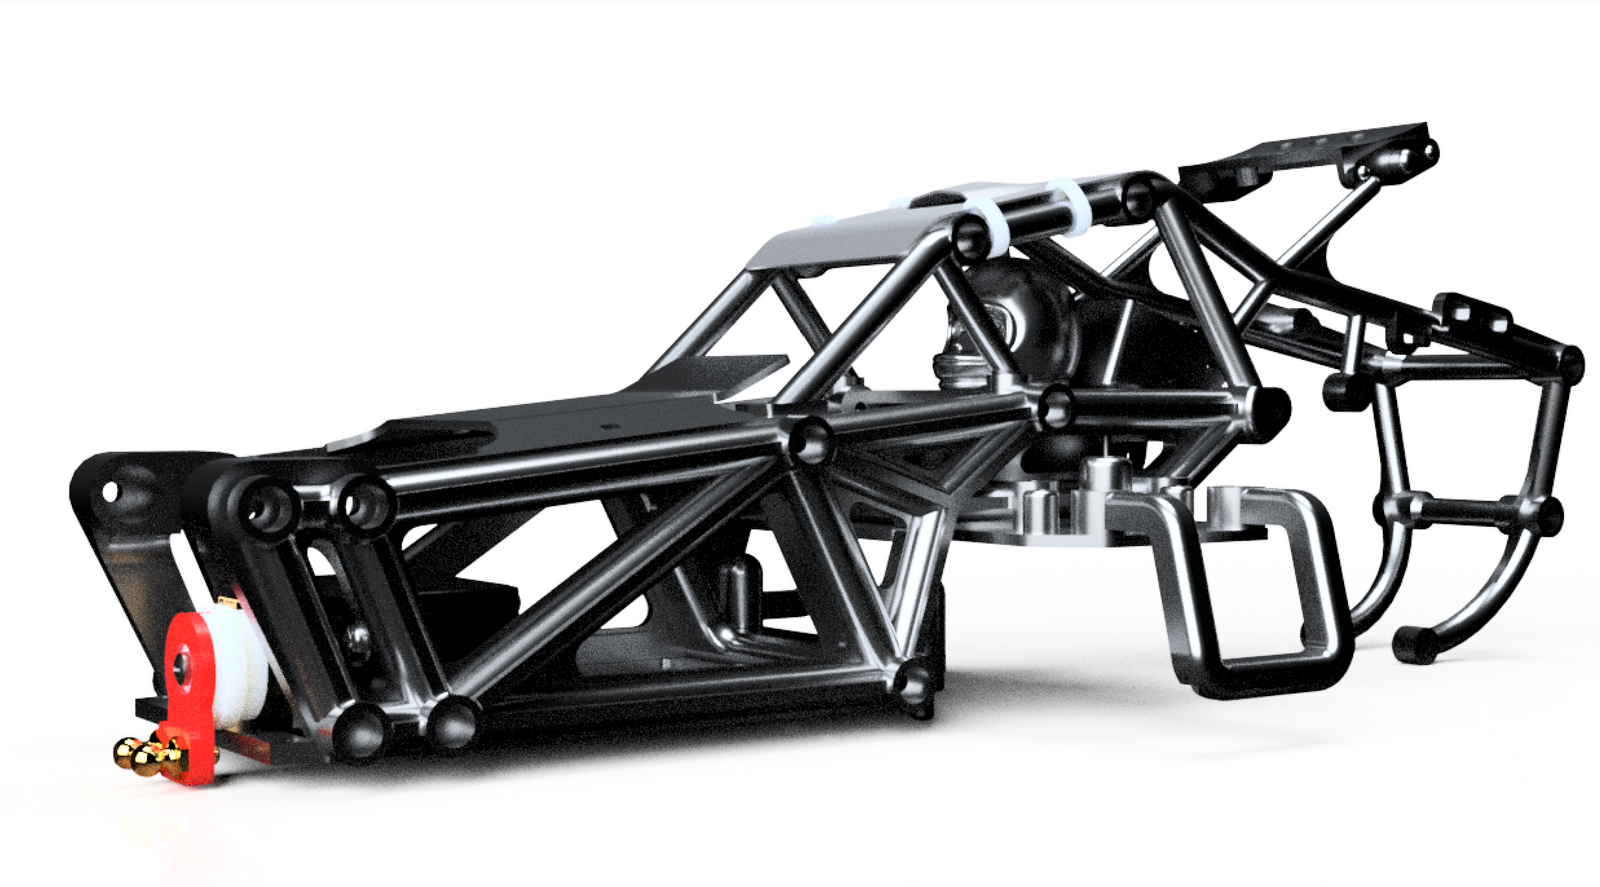
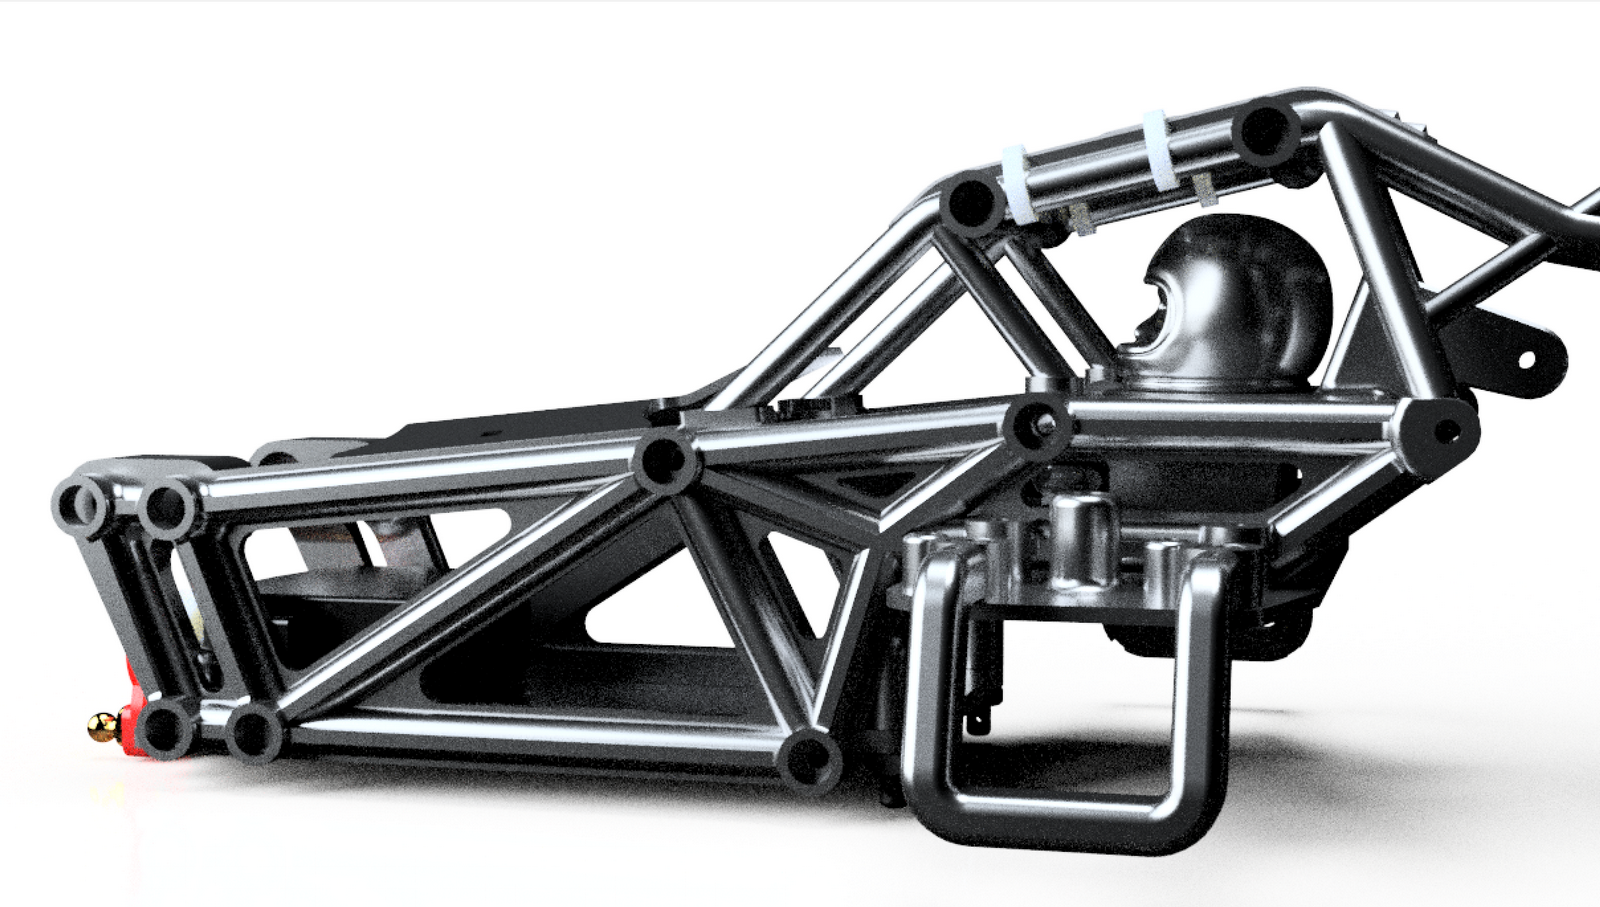
-

 klasse !
 -
Looks like A2 is pretty good (at that price one would hope so)
Why model the helmet and face as one mesh?
-

-
@solo said:
Looks like A2 is pretty good (at that price one would hope so)
Why model the helmet and face as one mesh?
Hello Solo!
Good question.
I did it by habit as anyway I love quad puzzles but it can be modeled as separate meshes of course. That said, it will be used to be 3D printed and reimported into Fusion360 I'd need the mesh to be 100% watertight so I probably judged it was safer to model as one entity.In the past I used to model the helmet in Fusion360 and the face in Blender but I ended with holes between the 2 parts so I take the habit of modeling as one mesh... Now with A2 it's a thing from the past.

-
-
You plan to 3d print it, makes sense why one mesh now, good luck, keep up updated
-
Advertisement


