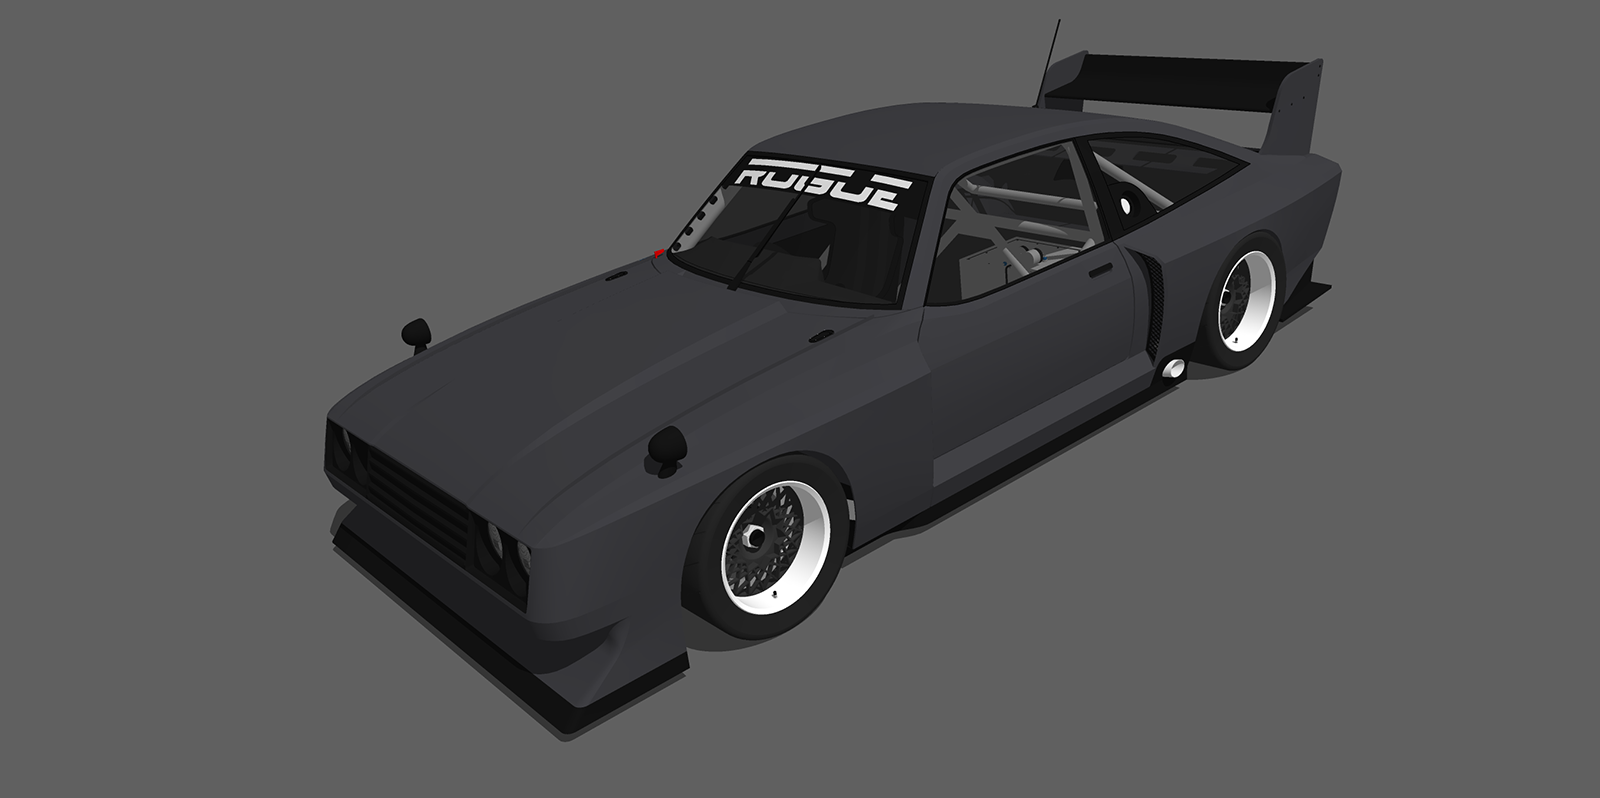
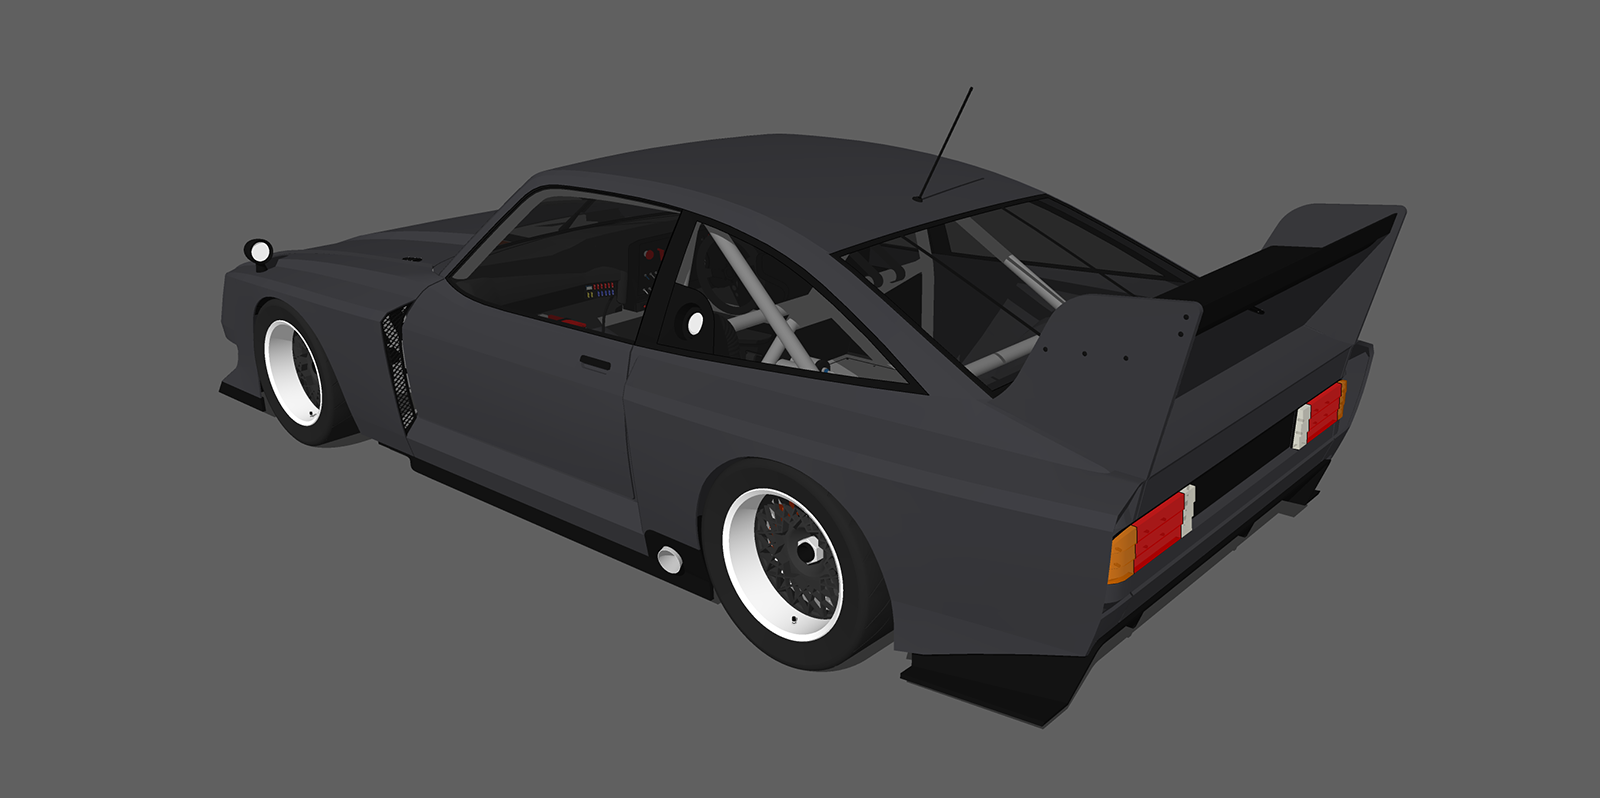
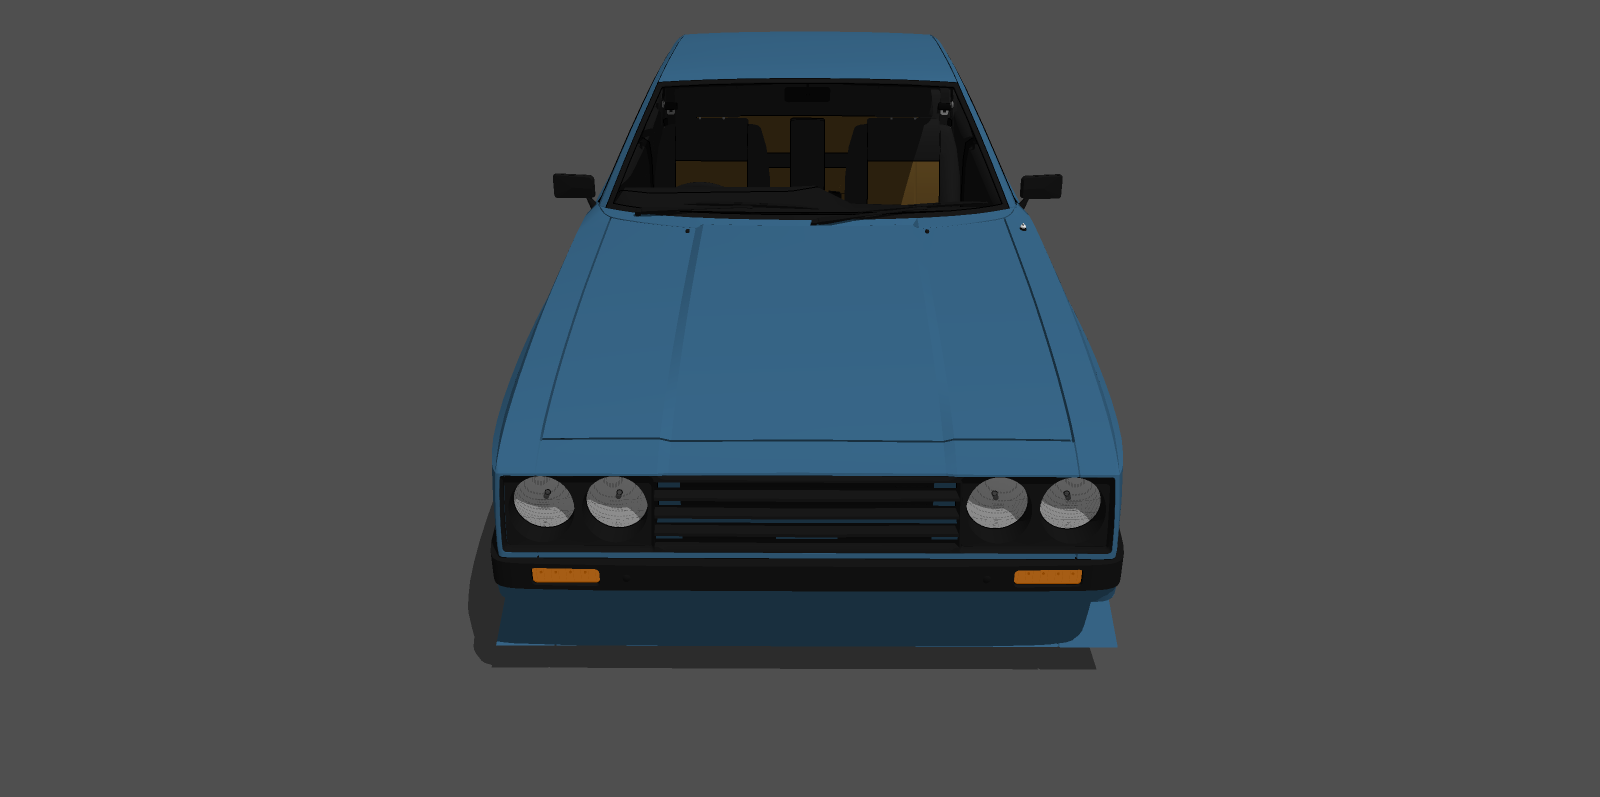
Rogue's W.I.P's!
-
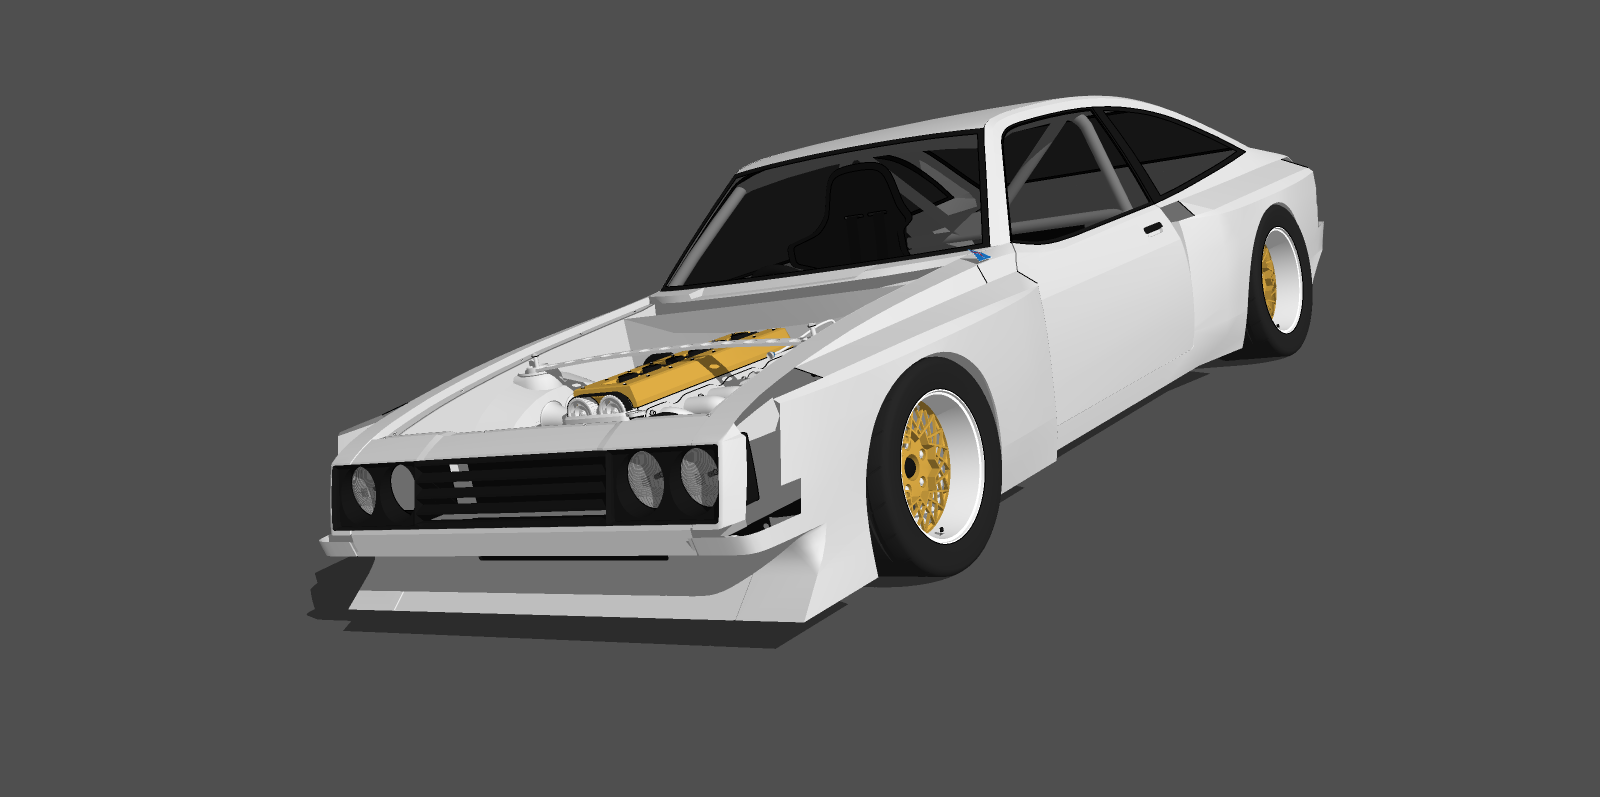
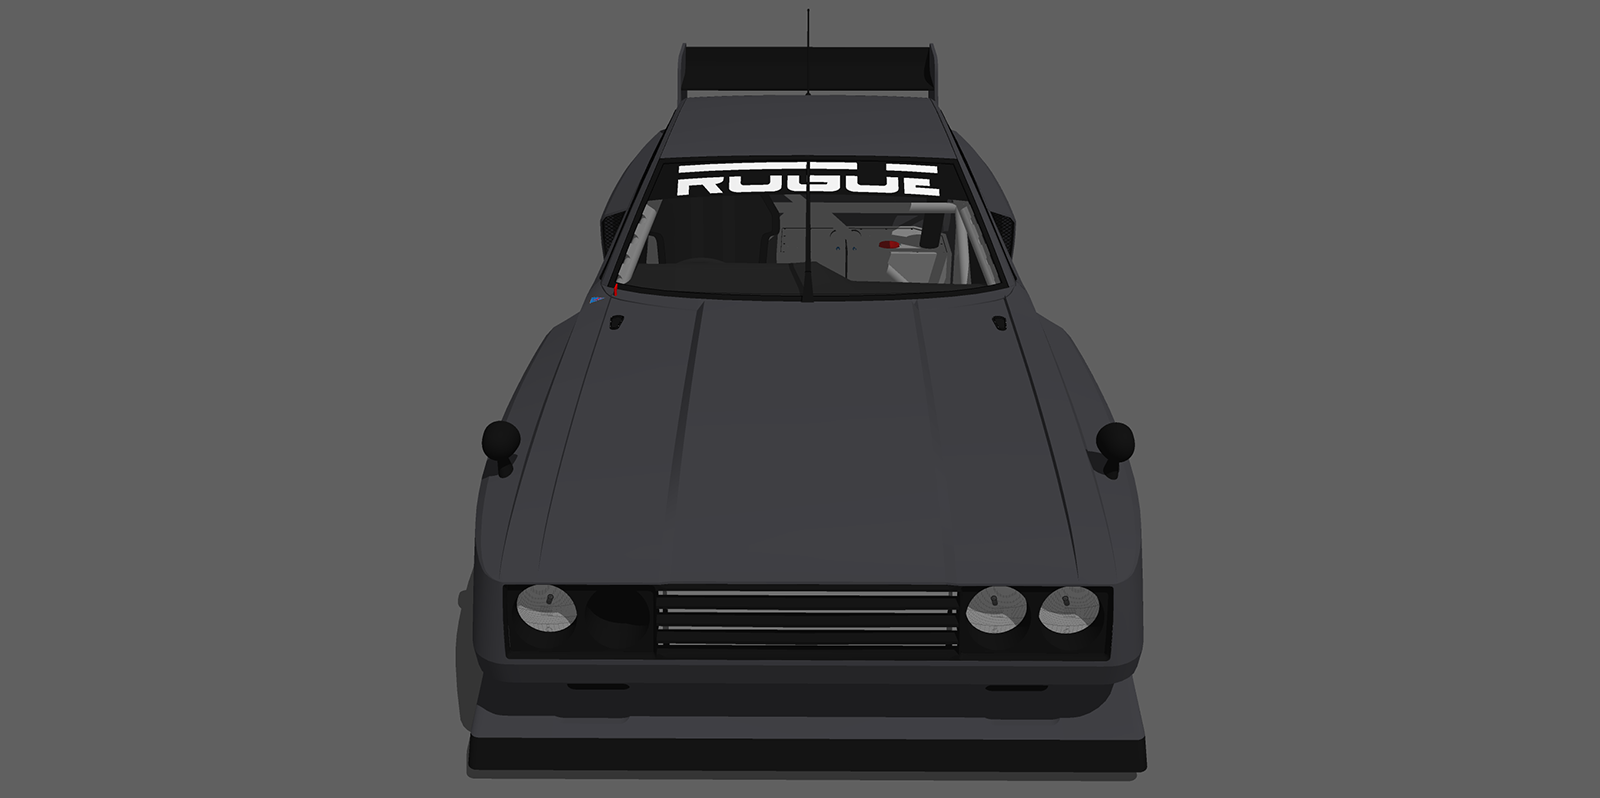
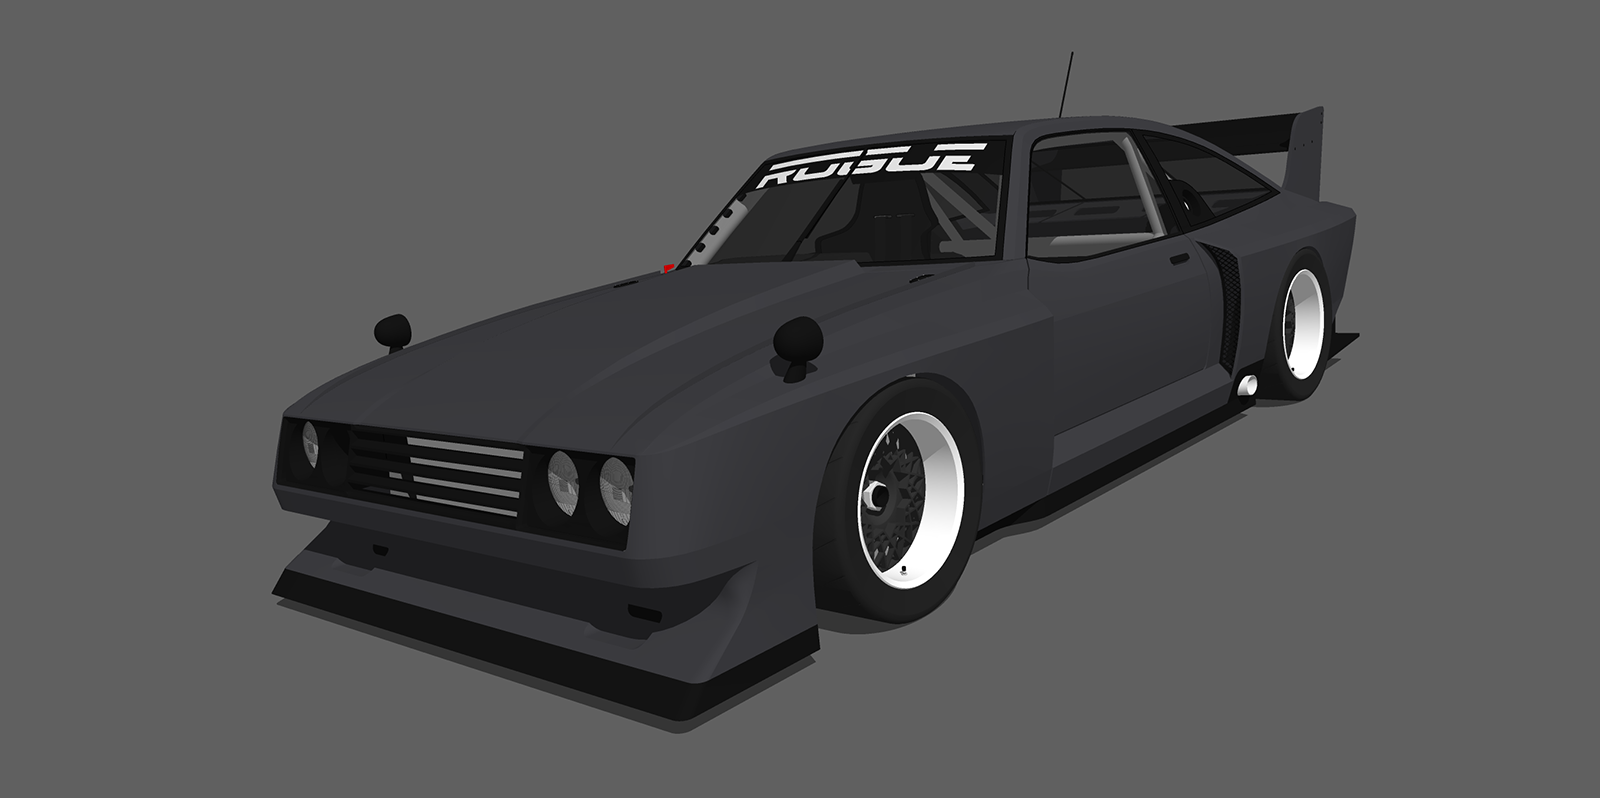
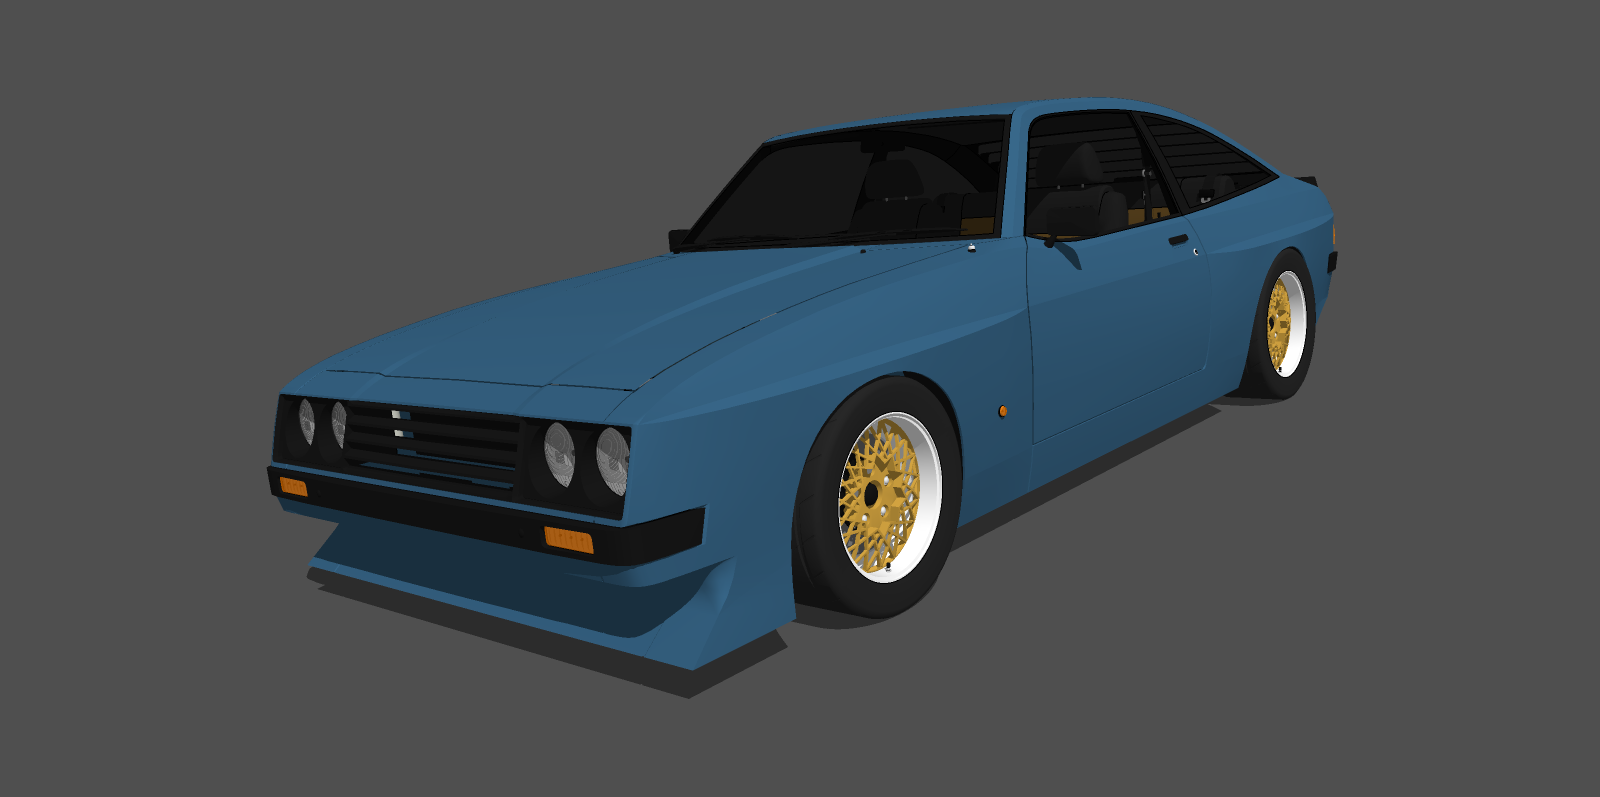
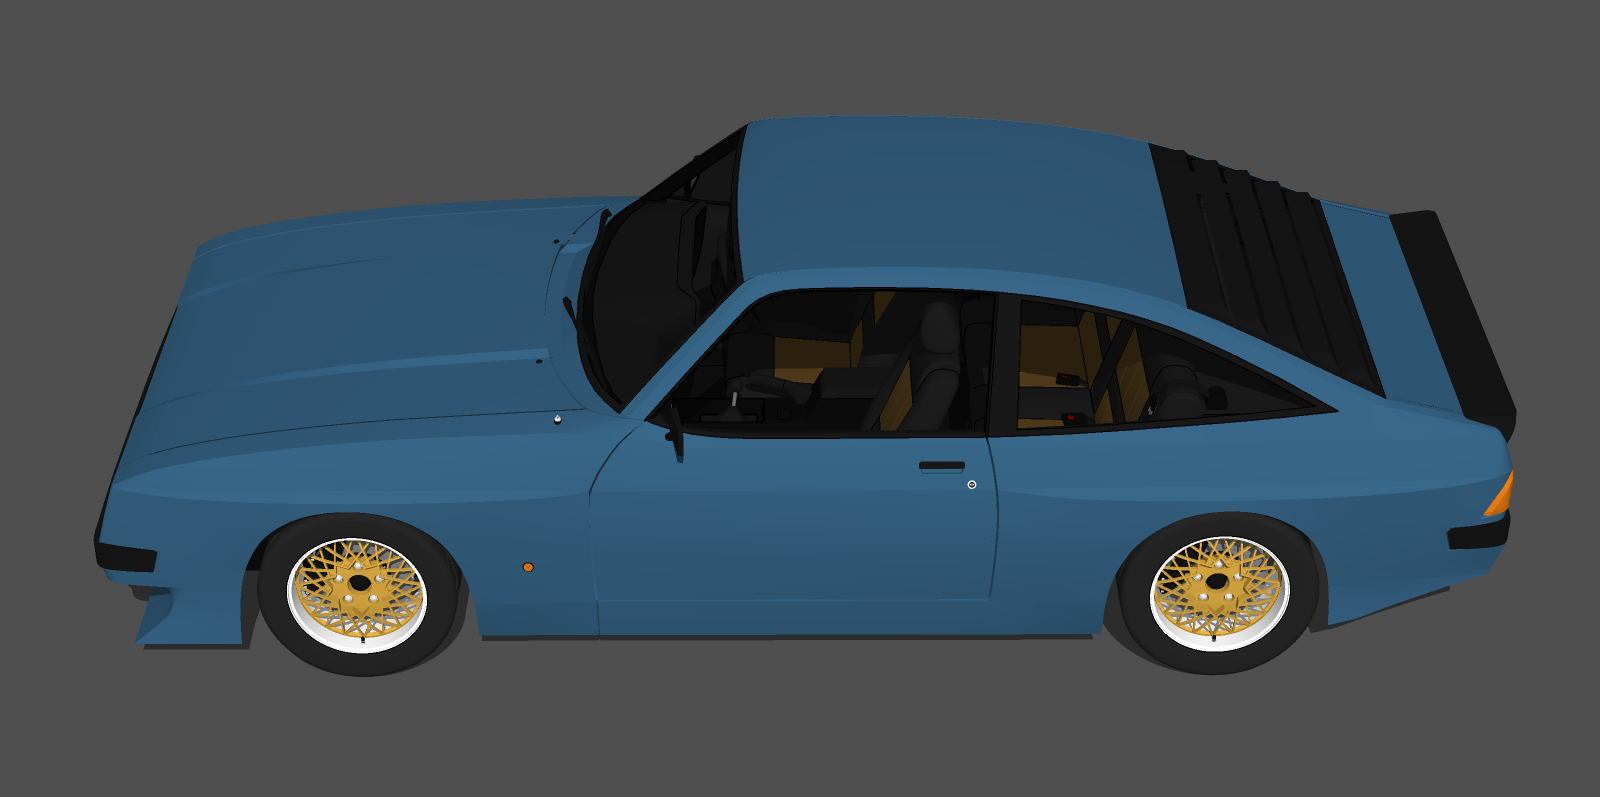
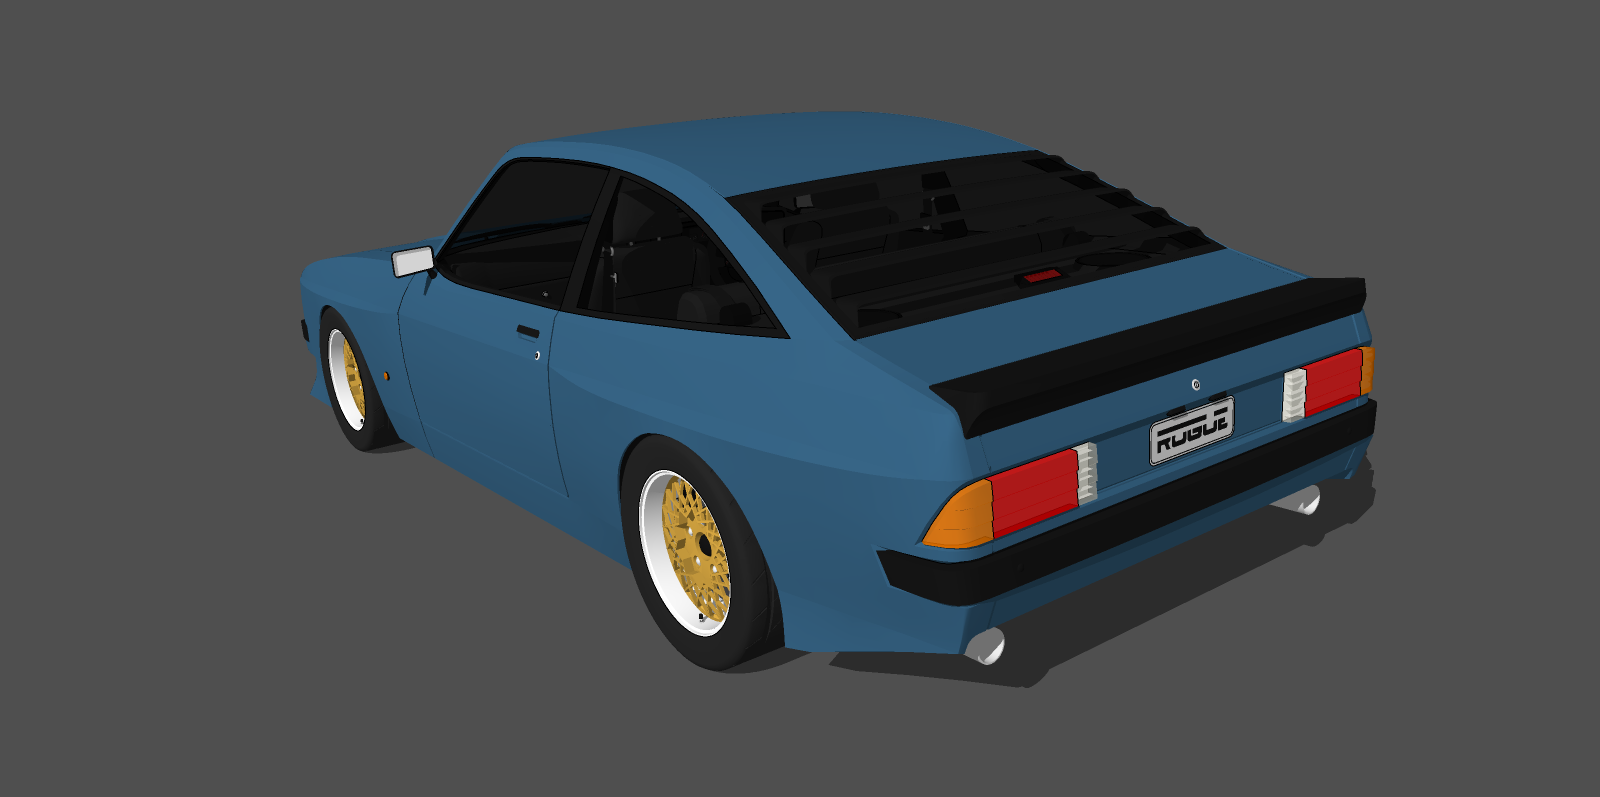
Here is the Azione R-Spec. It sort of disappears into the background, but I liked the colour too much
-
Very nice!
-
Ben, I noticed when I was rendering your models that you used some kind of subdivide on you models. Could you explain your work flow? The subdivide seems to be the key to making smooth curved surfaces, but when I try using Artisan I get very crude and unusable results.
-
I do occasionally use a tool called 'Subdivide and Smooth'. I've an older (paid?) version which isn't fully compatible with SU anymore but still subdivides fine. I only usually use it when I really can't be bothered adding detail to smooth out the poly lines on an edge, for example; a wheel arch curve.
I typically group off only a section of mesh (a single surface of a panel or just around the area where the line is I want to smooth), use sub-smooth, copy the edge that's been subdivided, back up a few steps, delete the old mesh in that area, paste the line in place and then manually stitch it in. I do this because the resulting sub-smoothed can be quite messy and I really just want the clean/ smooth edge that would be more accurate than what I can create by eyeing it.
A lot of subdivision I do manually, just by filling in extra lines into the mesh and moving them into place to smooth out a surface or edge. I'm rather envious of the tools in blender than can cleanly turn a fairly low detail mesh into a very clean subdivided one, but I really can't get my head around all the tools in Blender and find it much easier to do most of it manually.
Also, felt like adding my latest render. This is my new desktop background
-
Thanks.
Artisan has a Subdivide and Smooth function but it sometime feels crude. Mostly likely it is me not using it right.
Could I ask you to post a small example of how you do it?
That said, nice renders!
-
No problem Bryan. I've attached a small example of how to do it how I do. This is a round-about method because I prefer to have a cleaner mesh, so I do it by hand. I've saved it as SU 2016 format for compatibility reasons, just in case someone is using an older version and still wants to access it
Switch tabs to see the different steps, or just pan to the right
SDS Example (2016 format).skp -
Thanks Ben! I really do appreciate it.
-
So, did that explain it sufficiently Bryan?
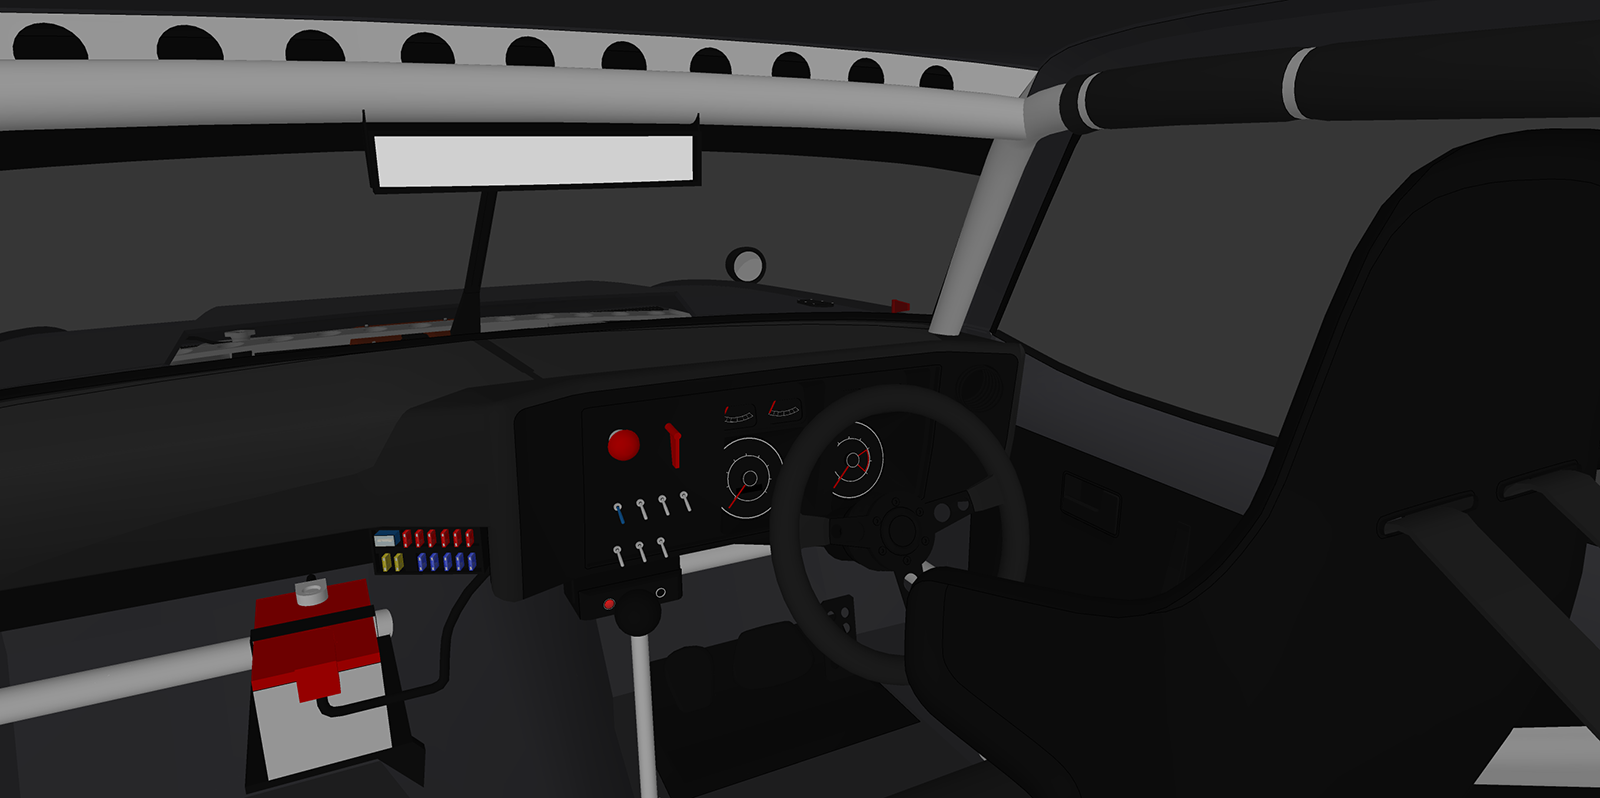
Here is another update. Have been trying something a little different with the panel gap, in trying to make it look a lot more realistic, while not going all out on poly count. So far I can say that the results are fairly good, but it requires a lot of work and likely won't be done for future models.
I also want to do something like the Zakspeed Capri
-
Thanks Ben.
Yes, sort of. I am experimenting now with the current WIP.
2 days later I was able to recreate the technique and it's work great.
Thanks again!
-
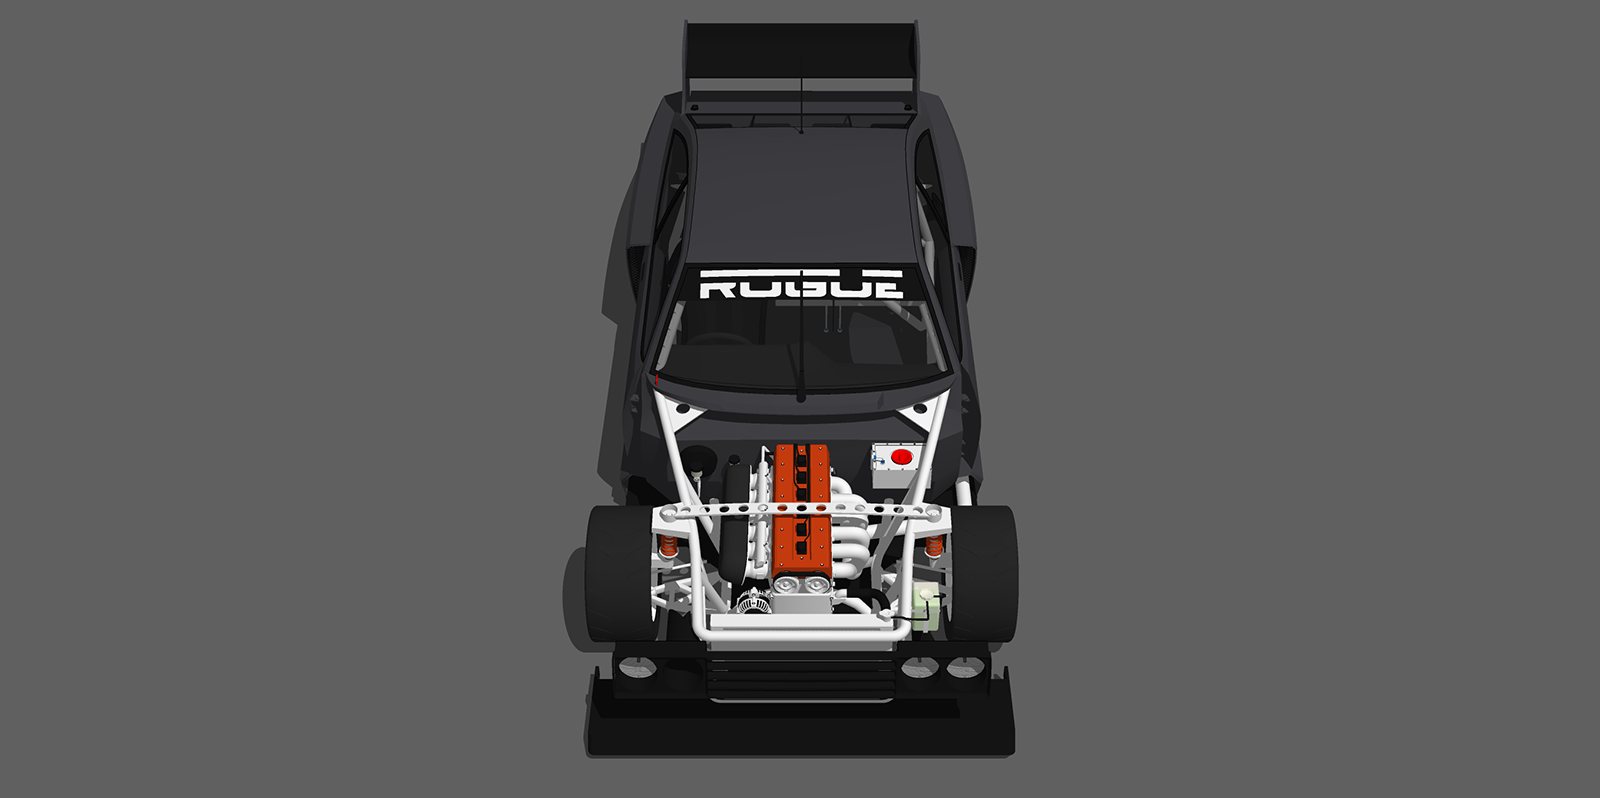
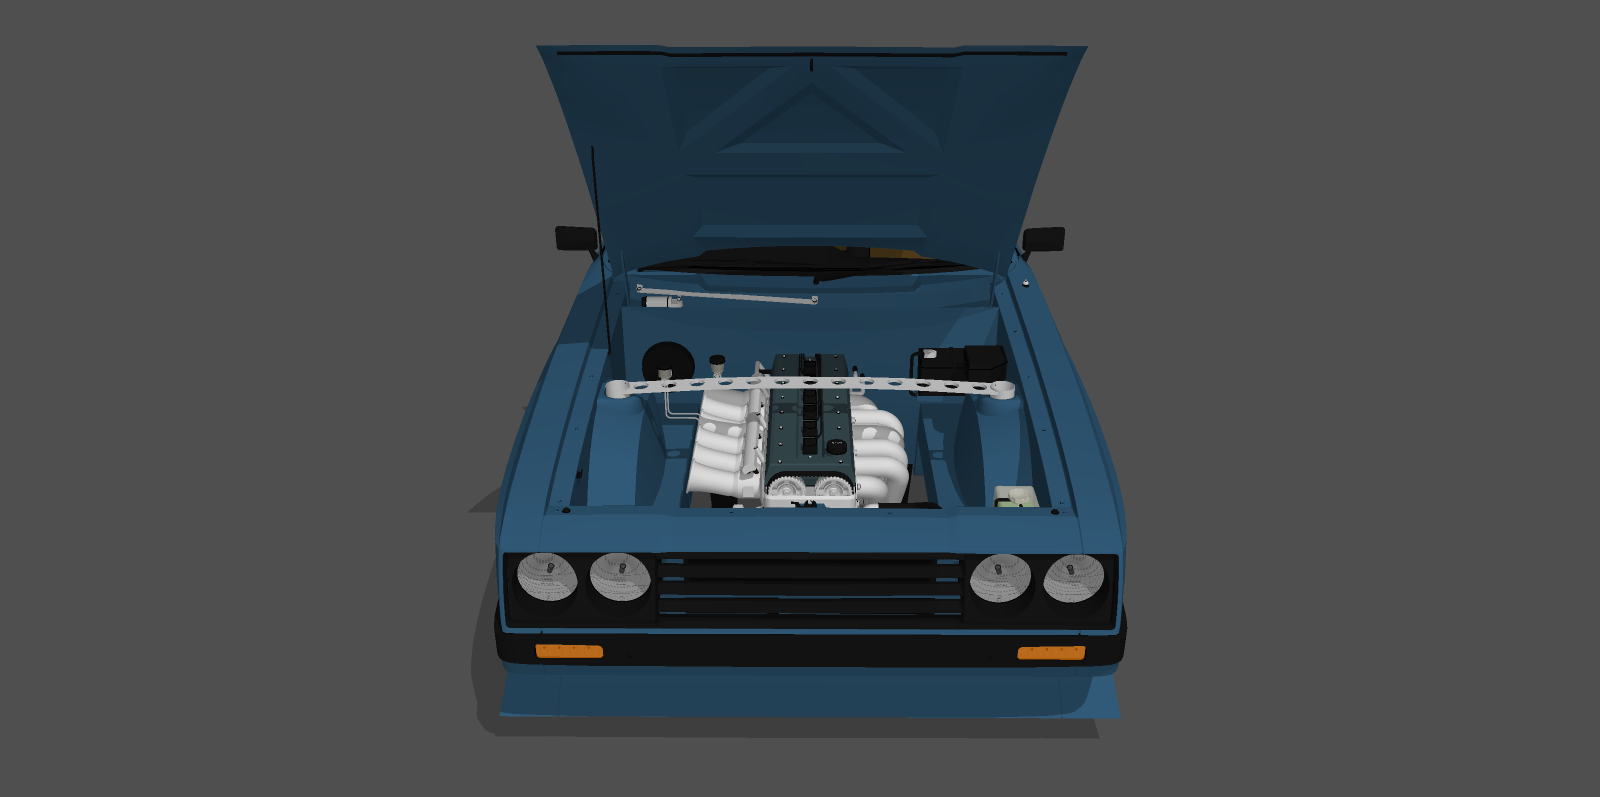
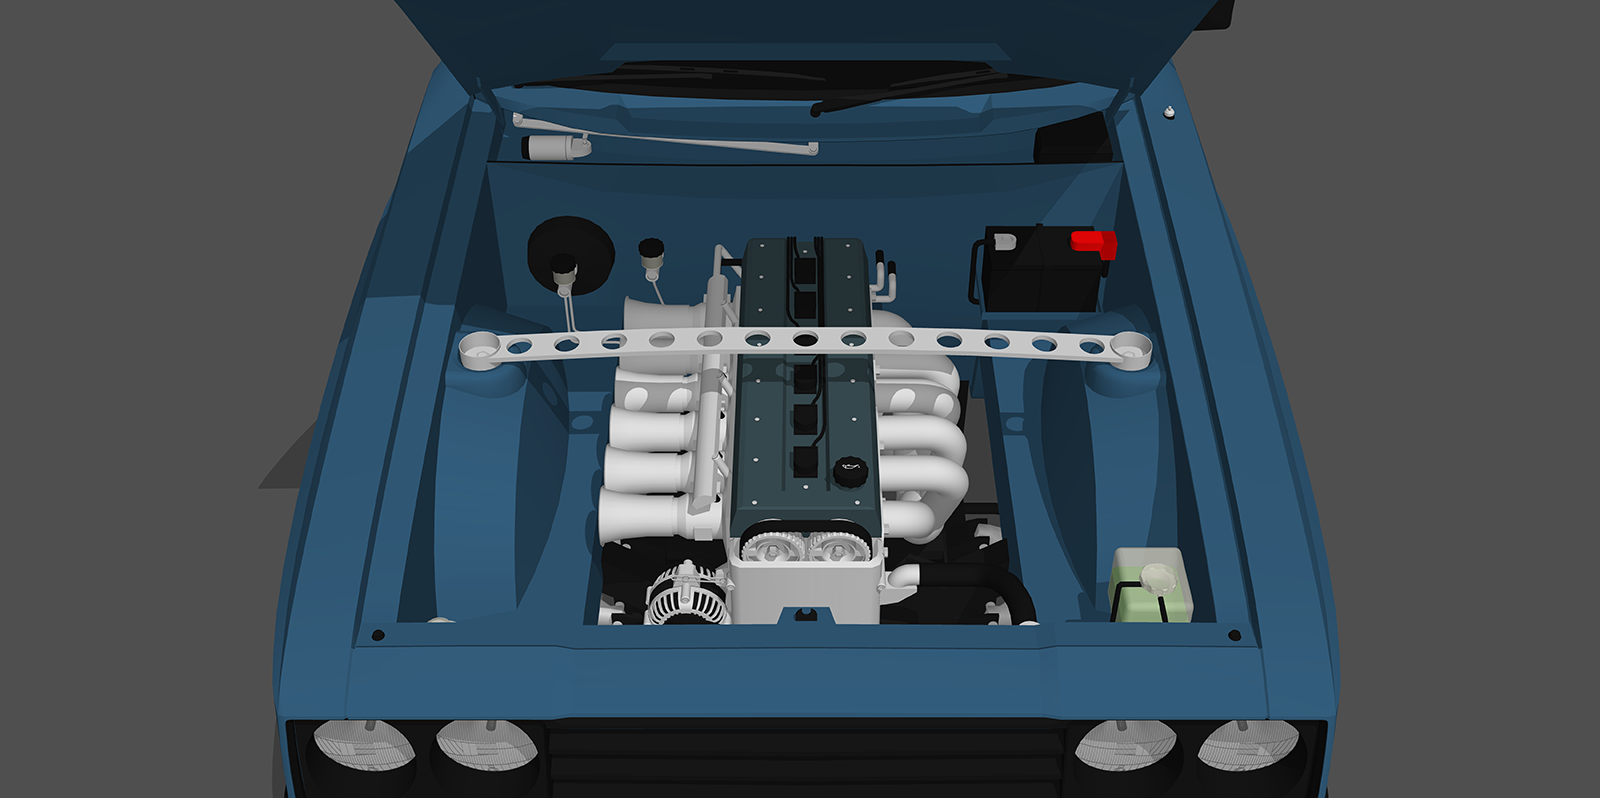
Here is an update on the engine bay, which is quickly becoming my most detailed yet
-
Looking good!
-
-
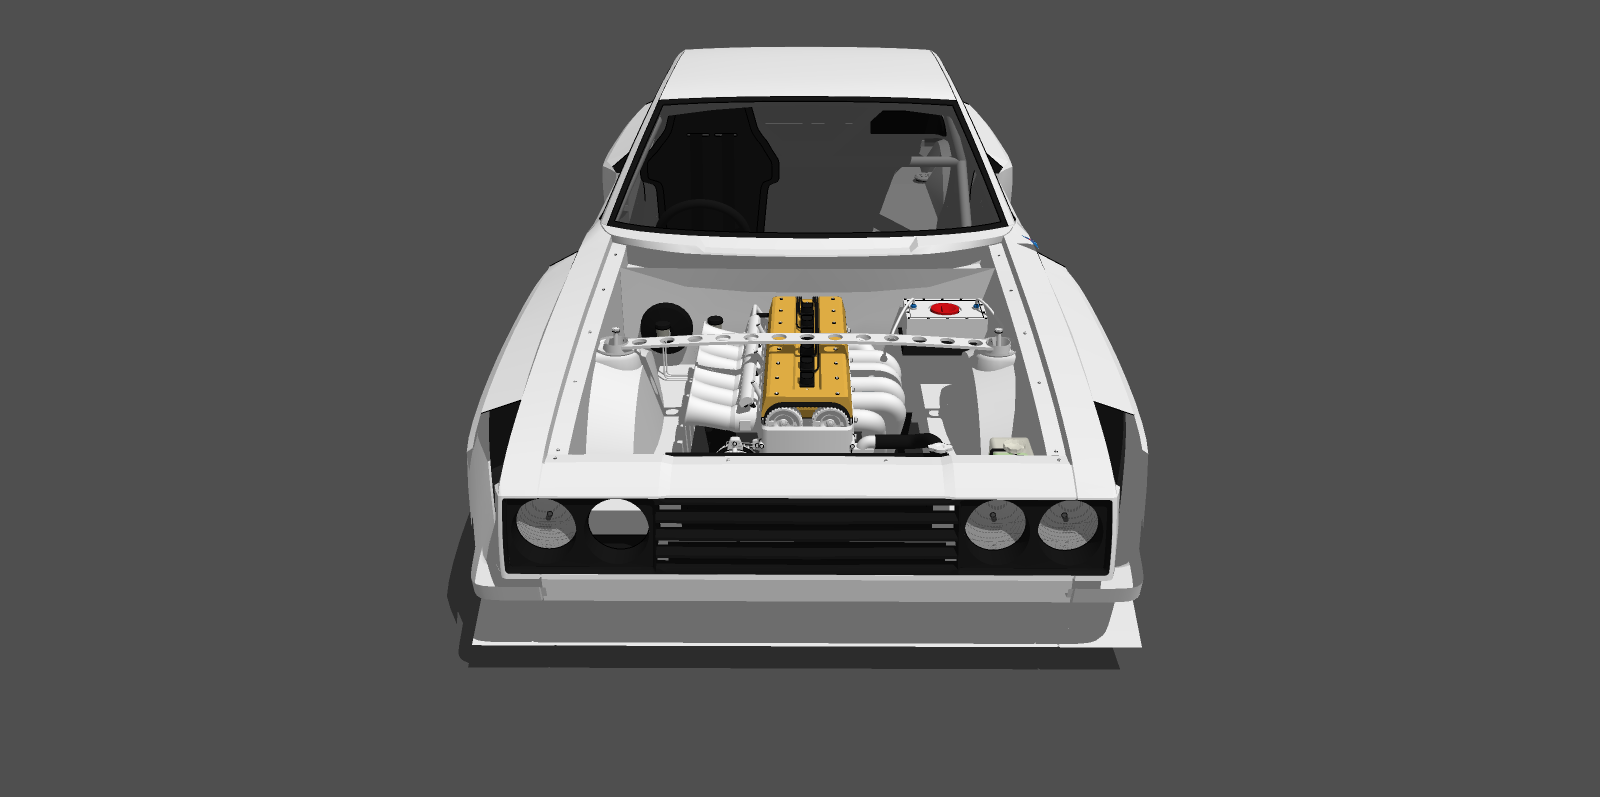
Started work on the race version
-
Wow! That's looking great!
-
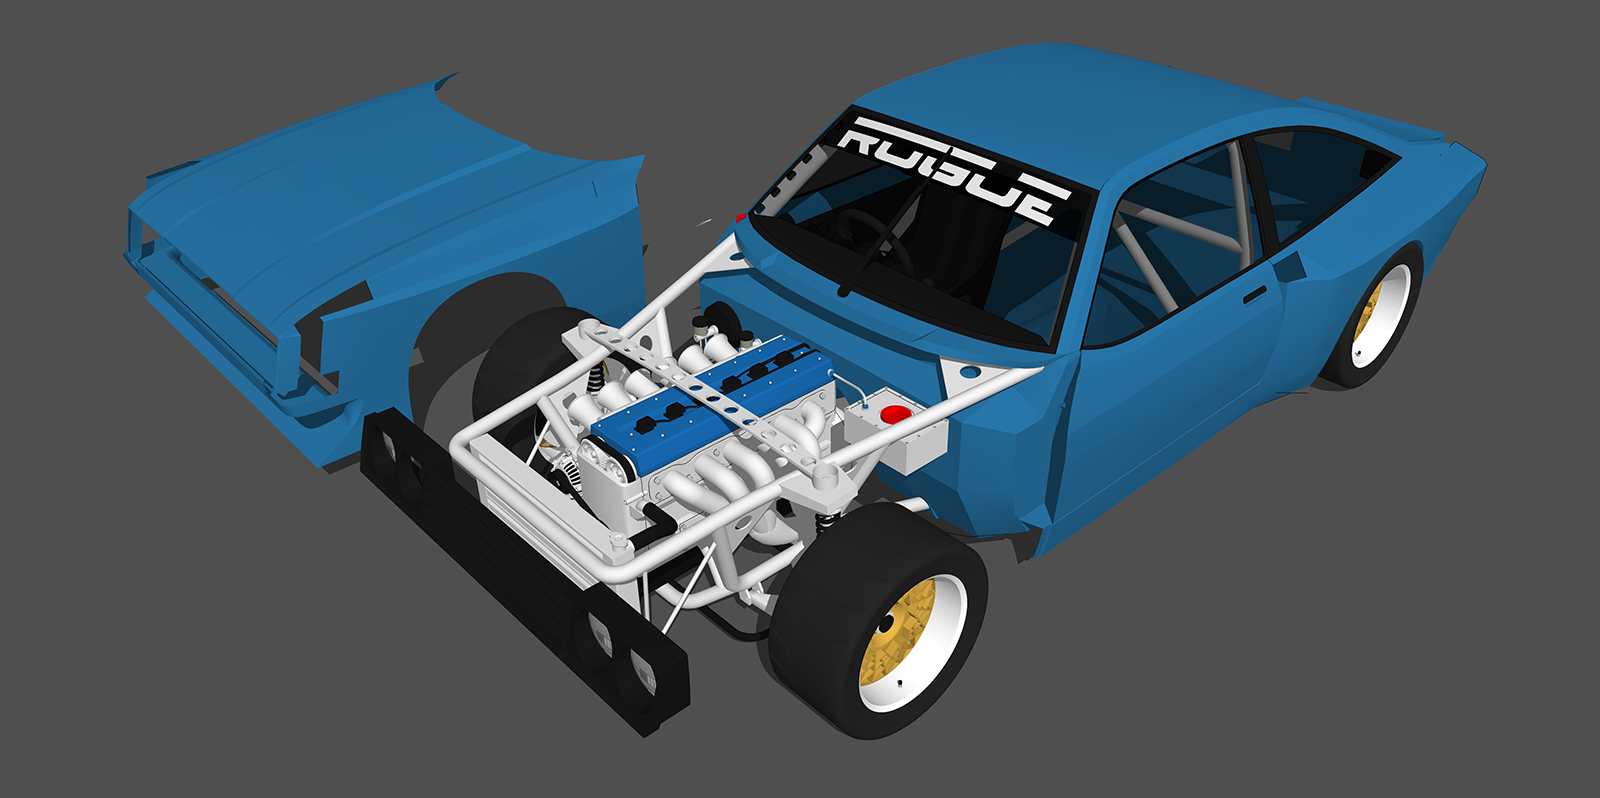
Front tube-frame basically complete
-
Nice!
-
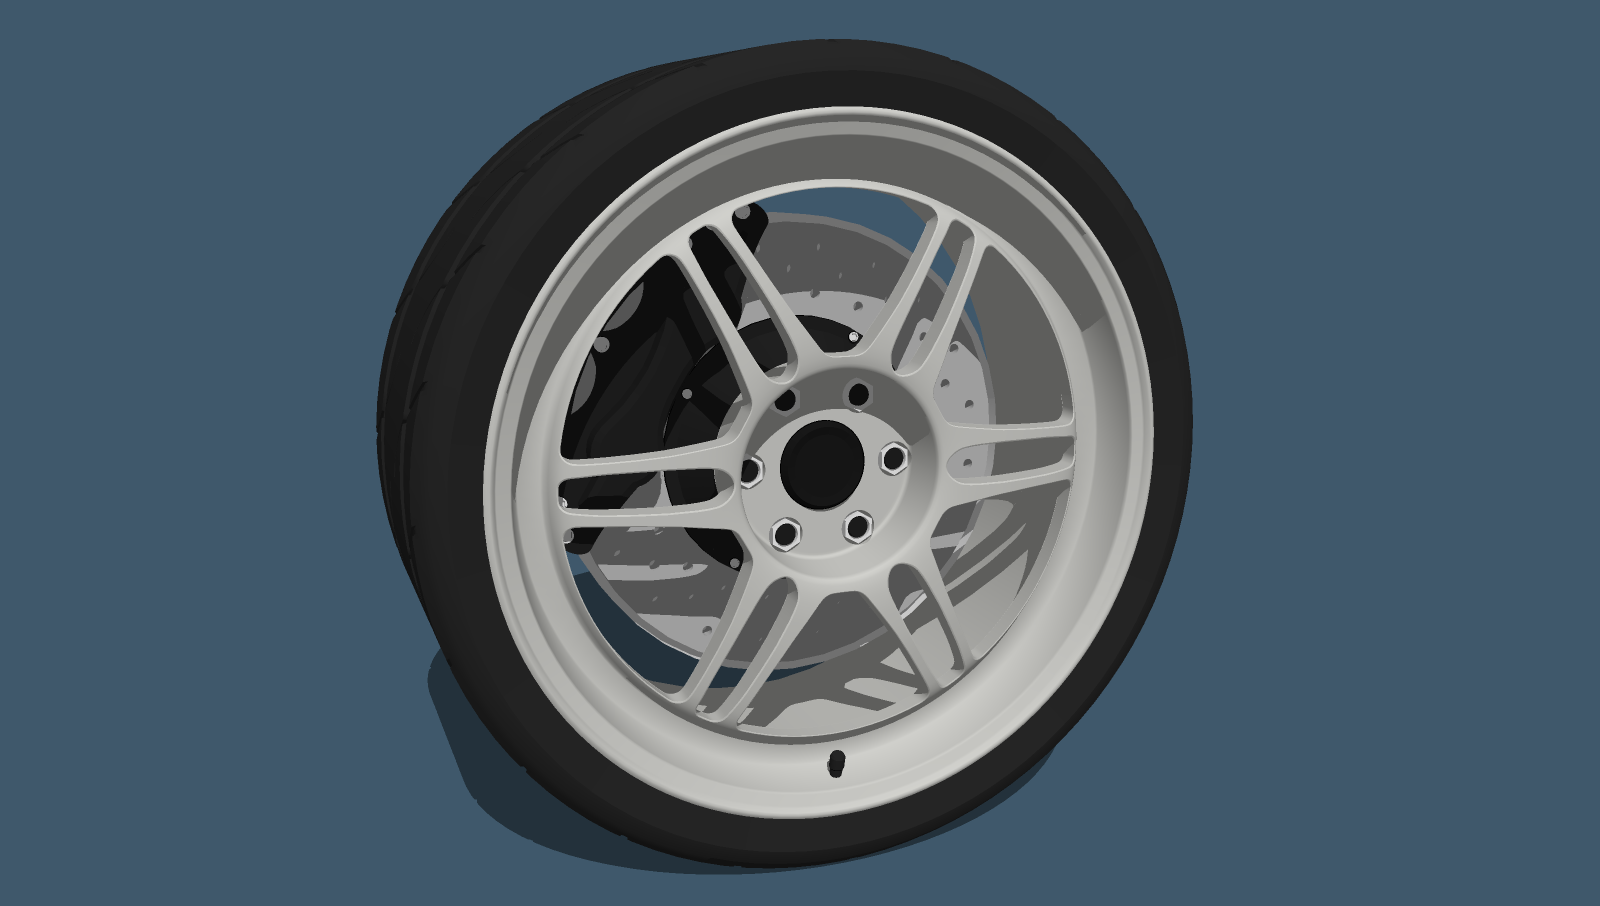
Uploaded a 'new wheel', it's a rebuild of my D-011
https://3dwarehouse.sketchup.com/model/50325f50-4567-4796-af31-d15168372230/Rogue-D-045
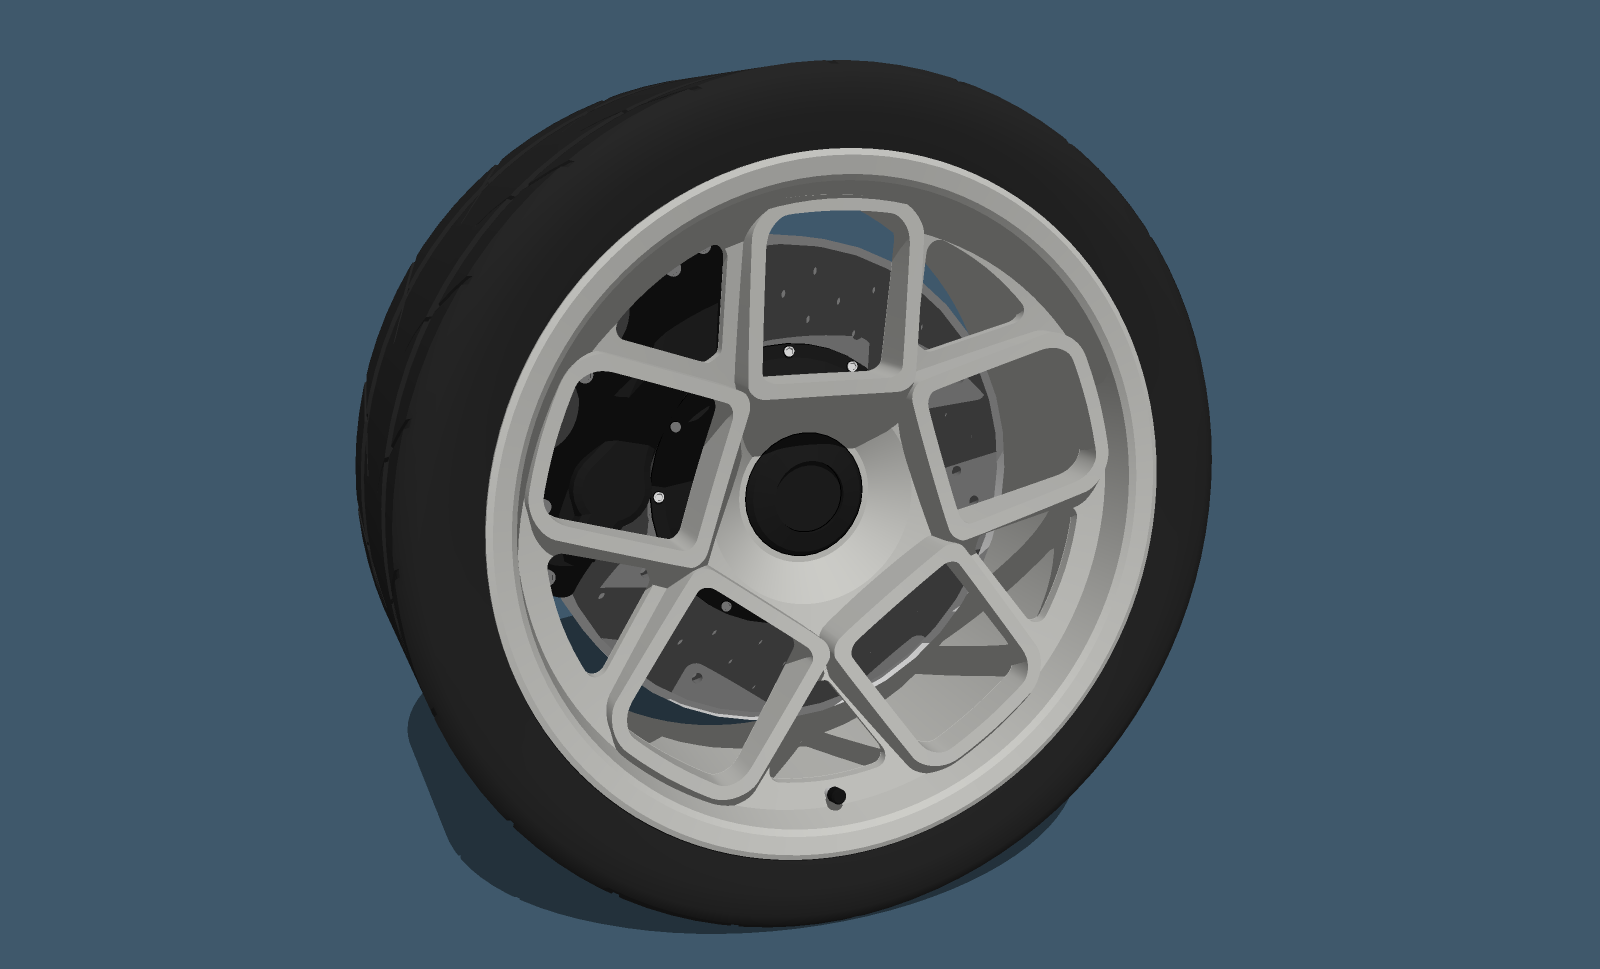
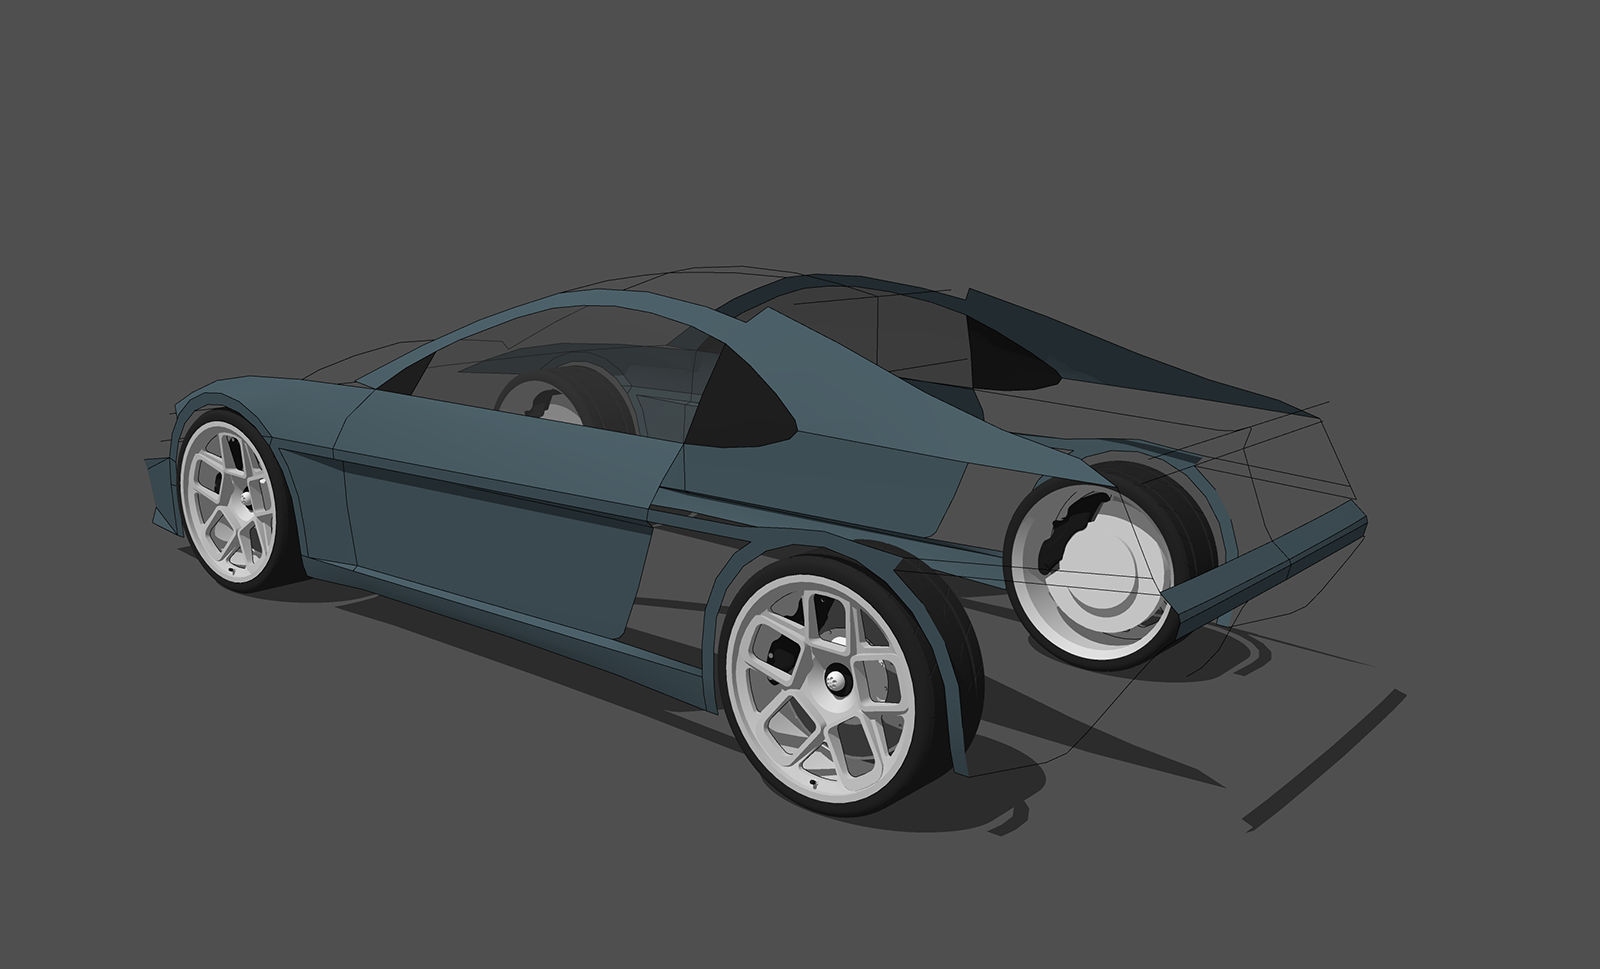
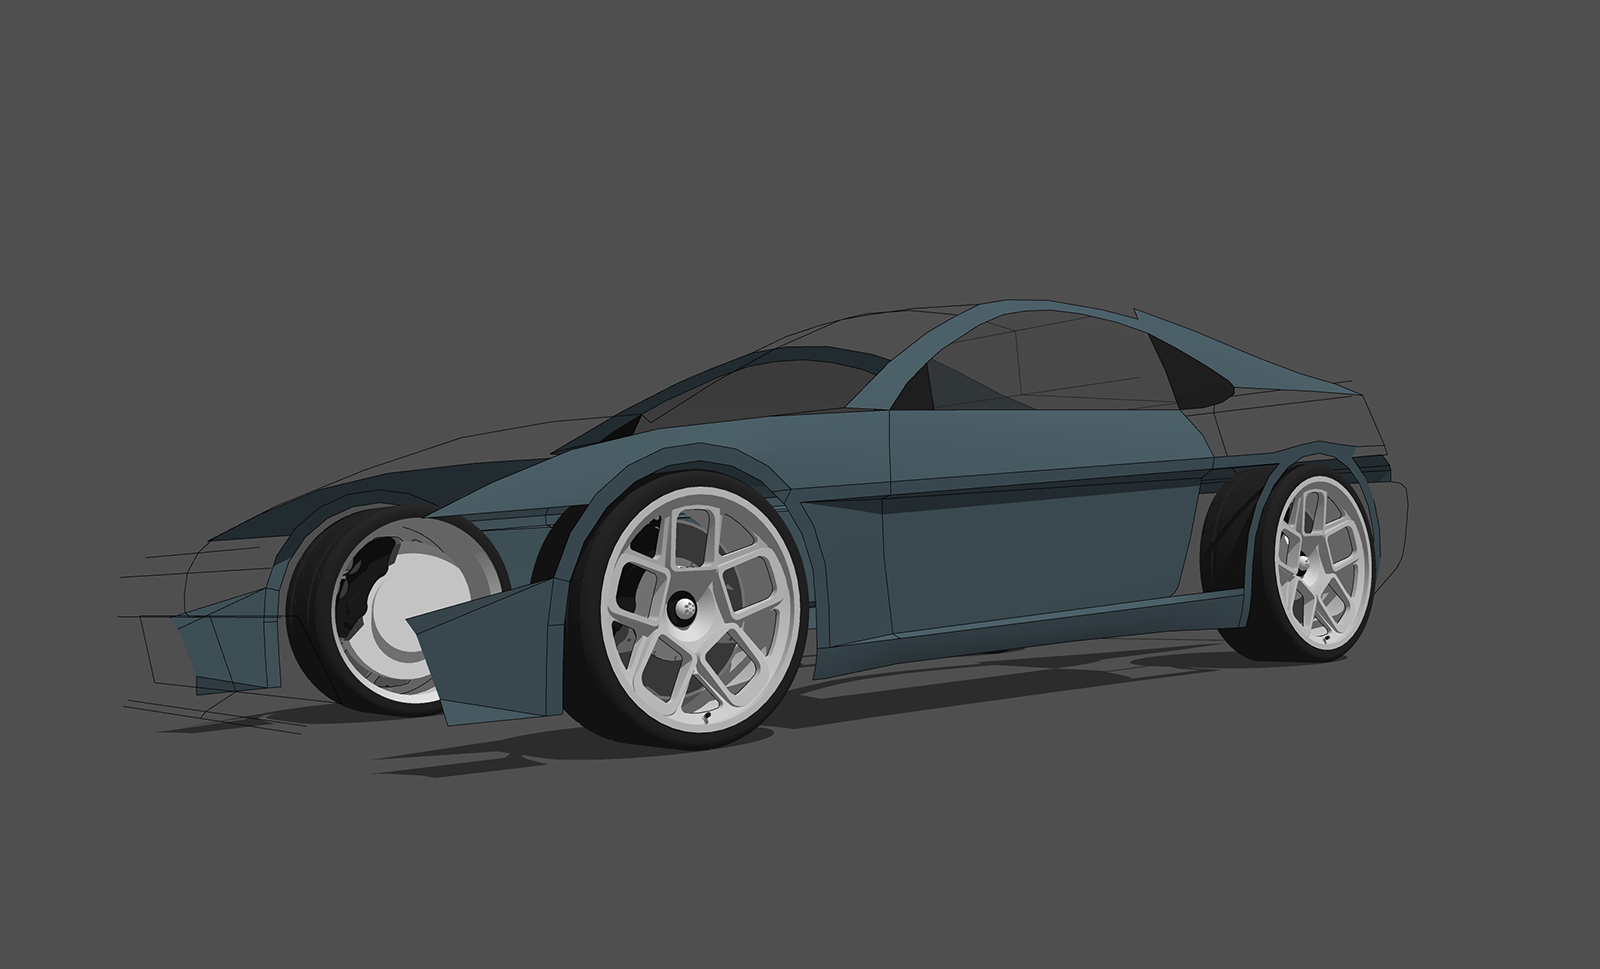
Also started work on a new model after coming up with some ideas. It's a bit of a mix between an MR2, a 300ZX and a Ferrari F355
-
Very sharp.
-
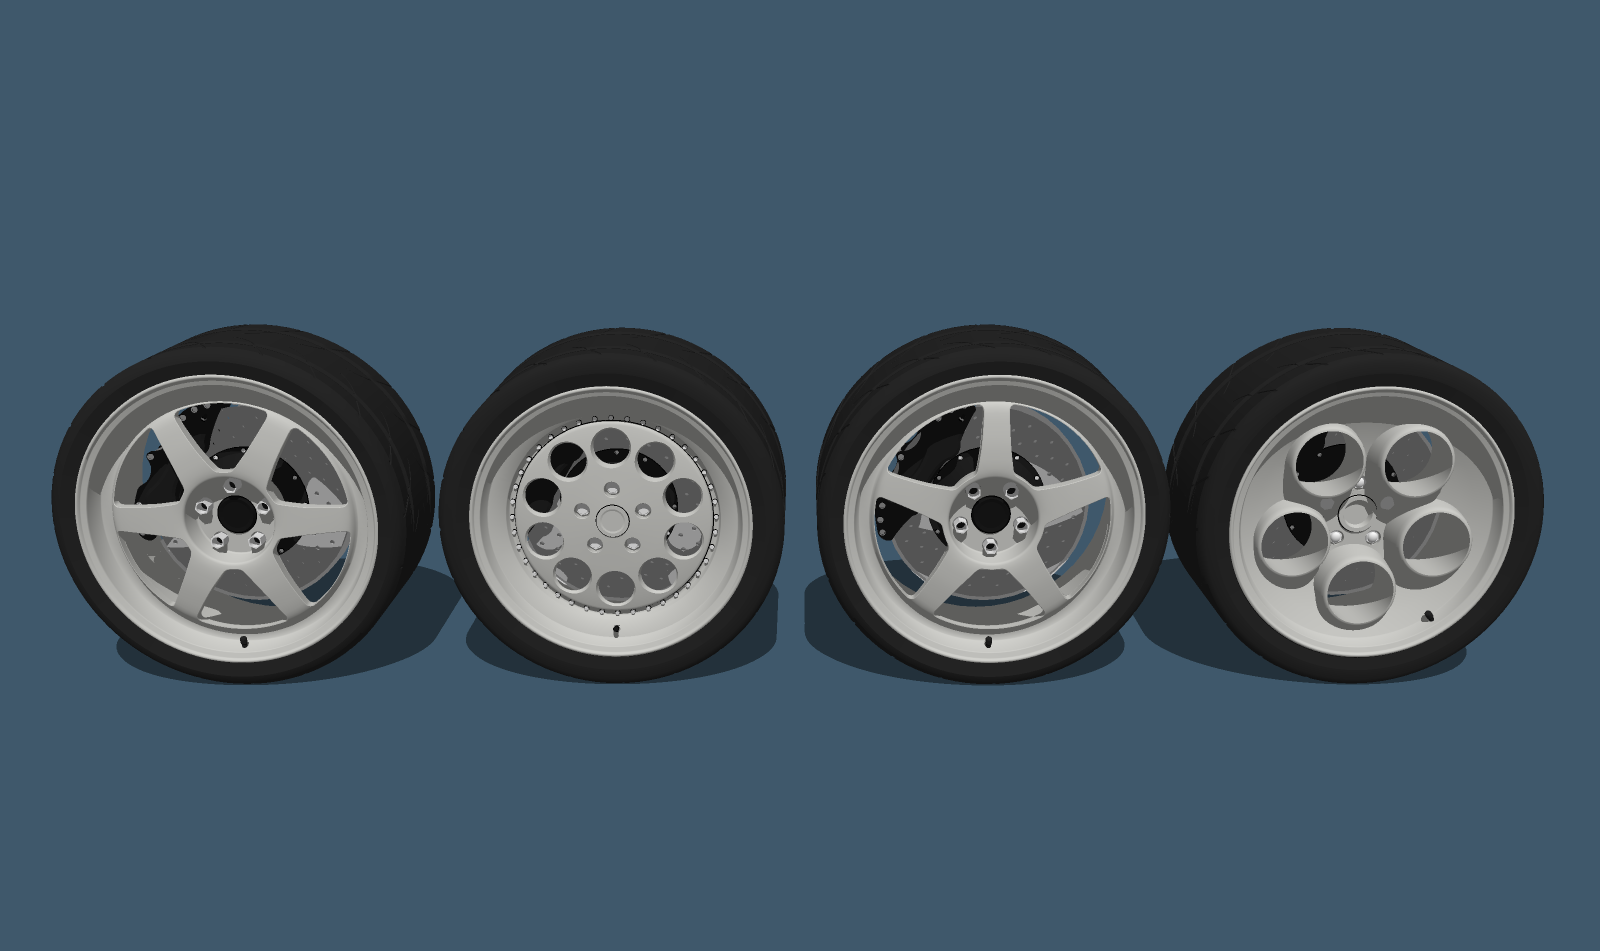
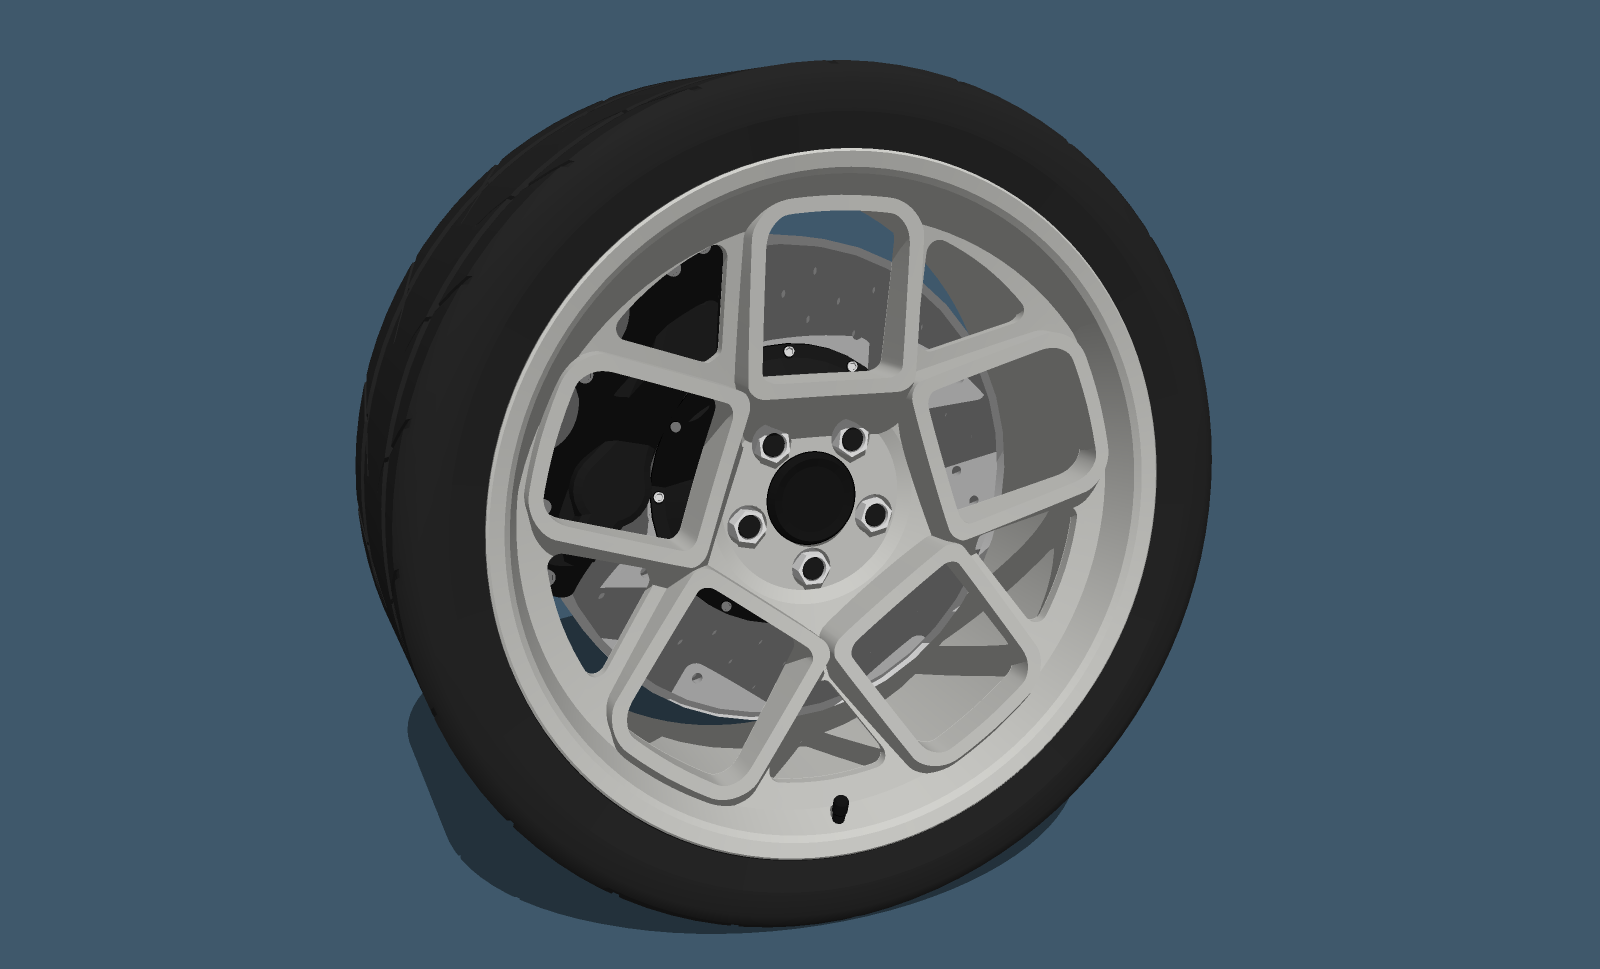
Just updated the previous wheel, wasn't entirely happy with it
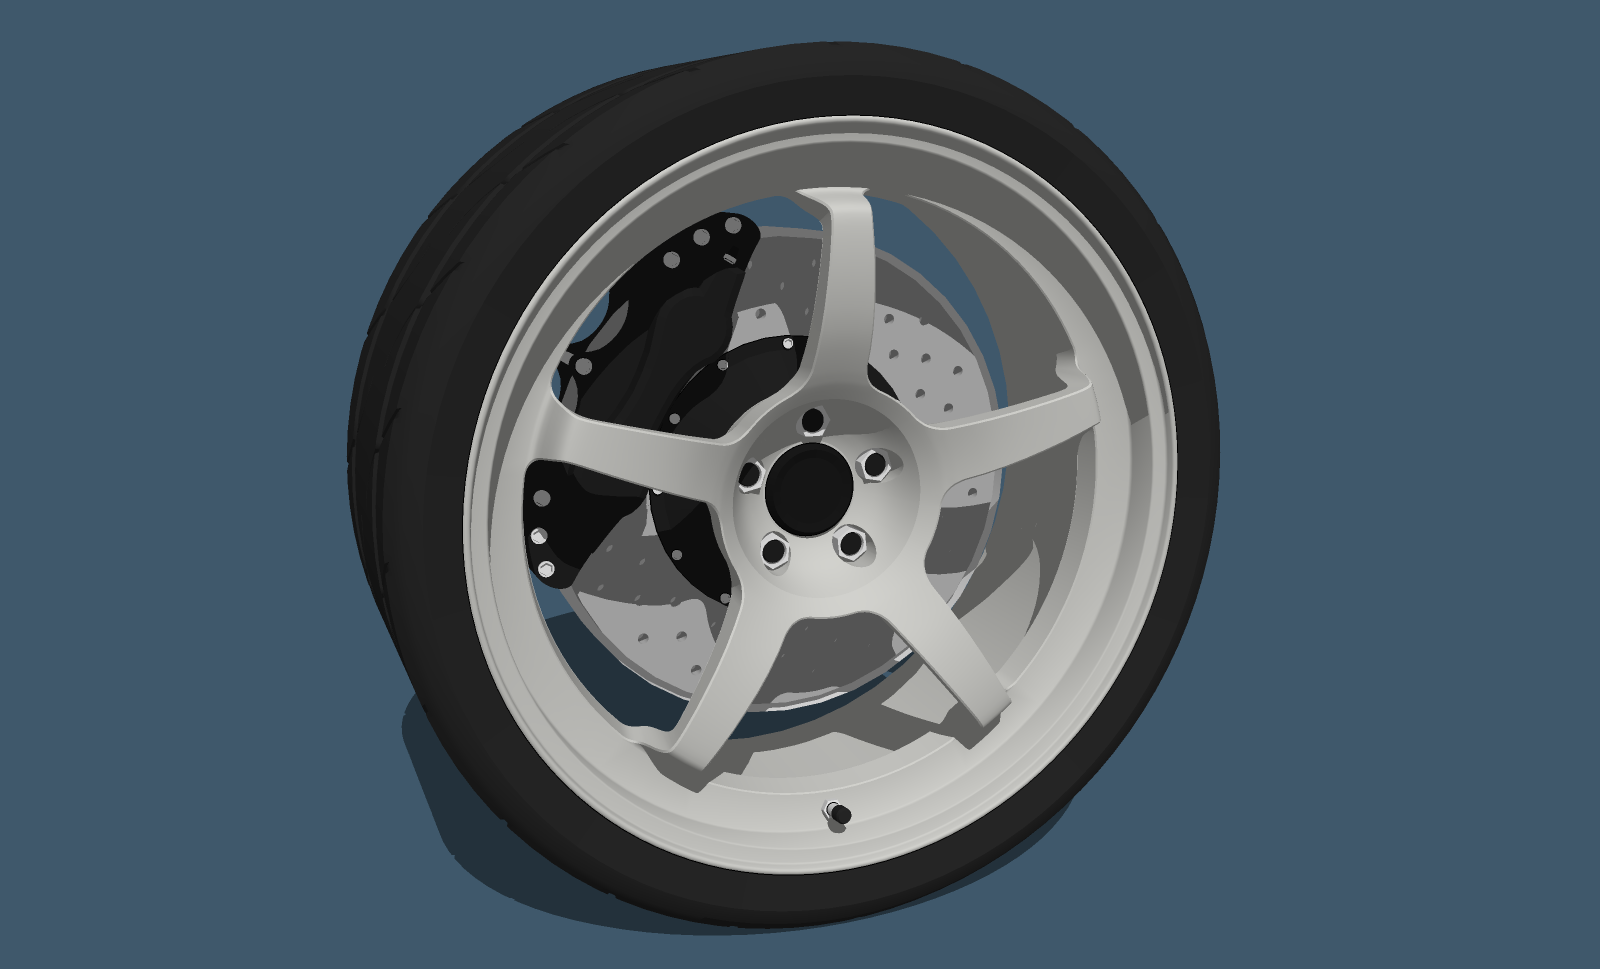
Also just made a 5 spoke version of my D-044
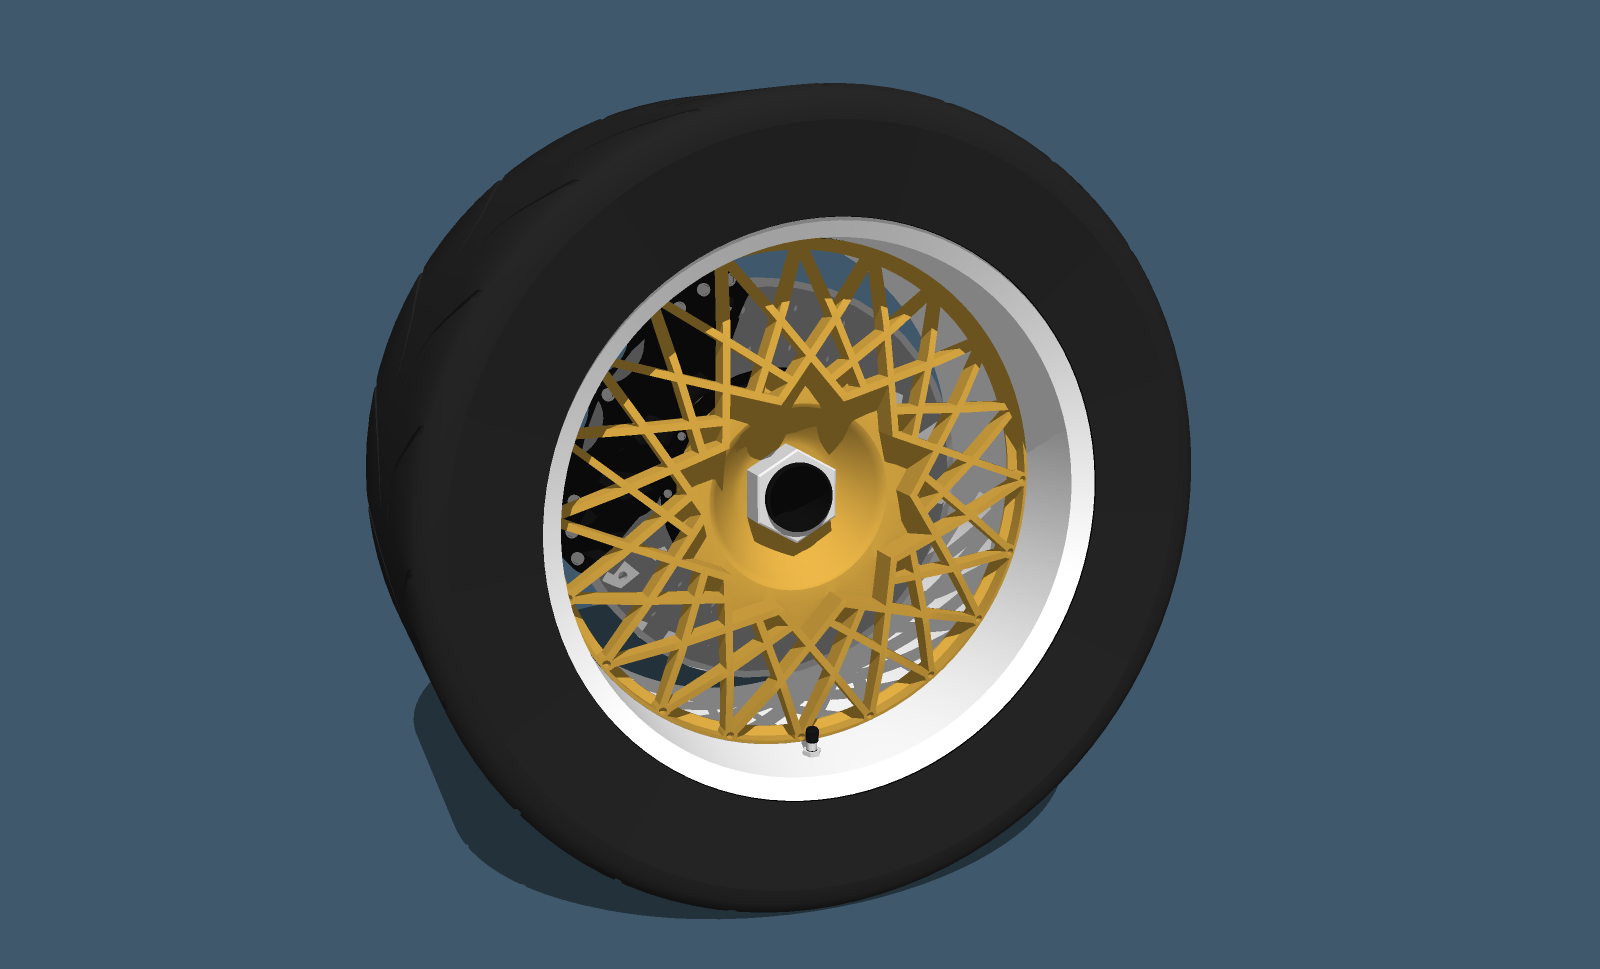
and a race version of my D-039, from my upcoming Puma R-Spec
Find these in my signature below -
@mike amos said:
Very sharp.
Thanks Mike!
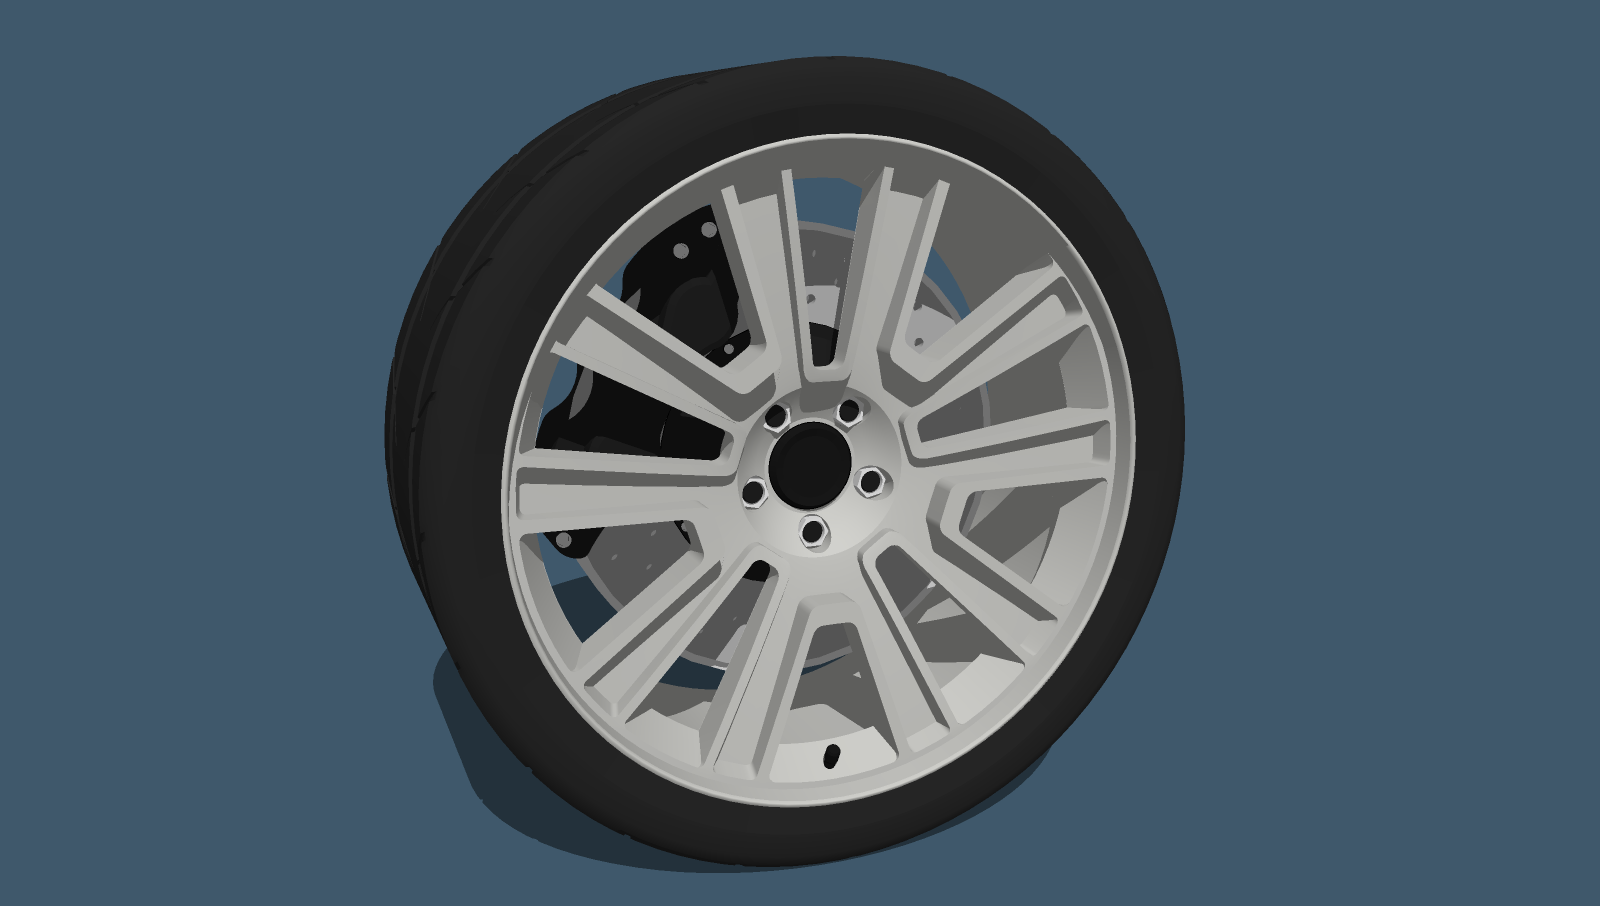
Here is a reworking of another one of my old wheels.
https://3dwarehouse.sketchup.com/model/817a6f0a-cf8b-404a-b79d-0dbfc00318ab/Rogue-D-048
Advertisement