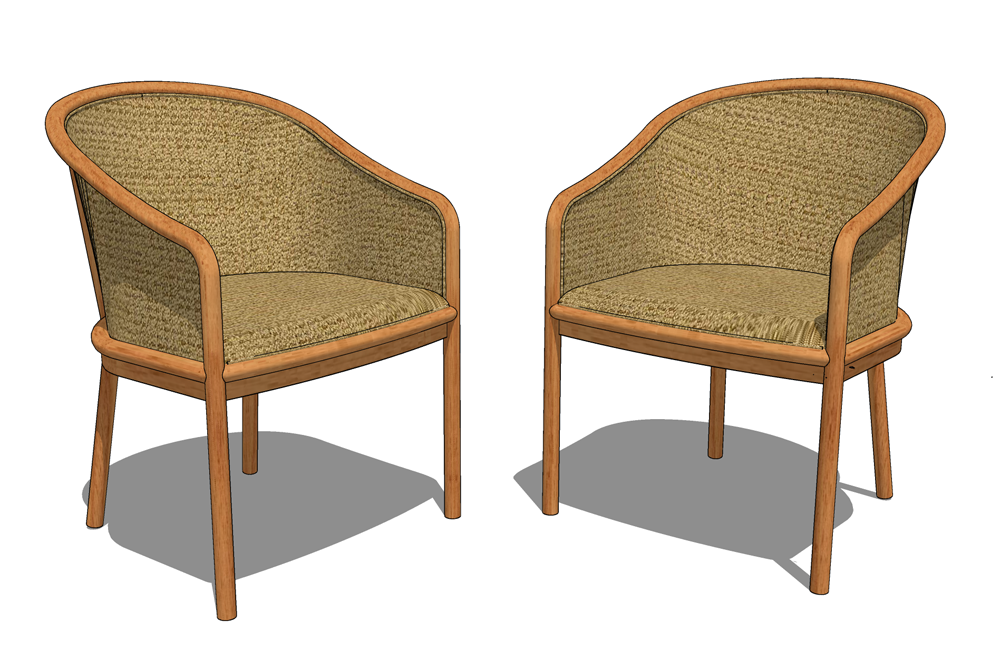
Ward Bennett chair complete
-
 Finished the chair I previewed yesterday. I finally followed some of Dave Richards's advice to make the work much, much easier. I saved the Follow Me profiles that I used for the legs, seat frame, and back leg, and made sure that I used the Weld plugin on each profile. That made modifications much easier. Oh, and the Dave Method for creating the seat. If I hadn't done that, I'd still be filling in missing microscopic faces. No joinery, but at least I used Solid Tools to intersect the various parts.
The chair is known as the Landmark chair, one of some 150 that Ward Bennett designed. The original is still in production in many variations, available from Brickel Associates and from Herman Miller. Some have cane to fill in the back and sides; the frame is either mahogany or oak.
Enjoy.
dh -
Very nice.


-
Thank you, sir.
-
love it & Thanks for this new piece in the almost infinite and so good series of furniture classics which you honor here

 It is always good to hear something from the struggle of doing too.
A typical example for me is that I always remember the "Dave Method" first after I ran into the trap of too small units so these little details are worth mentioning again and again...
Best & Happy Easter

-
Nice work mate
 Will we see a render?
 -
Very nice chairs David. Very nice.
I'm happy to see that at least one person has been able to use something I taught.

-
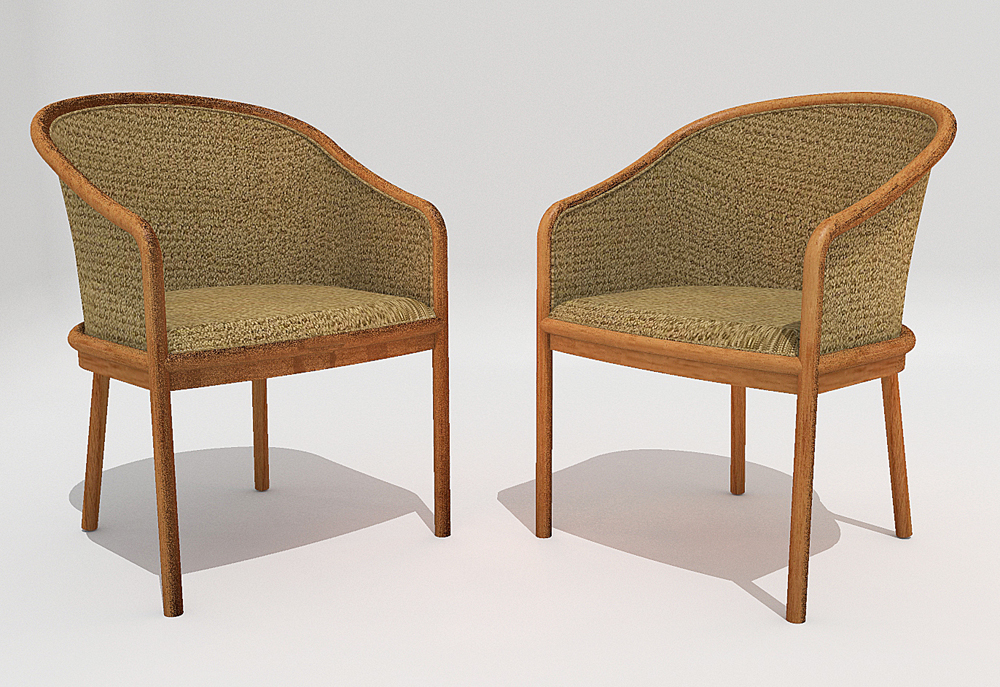
 Thank you for the good words, everyone. Here's a quick render in Shaderlight. And Dave, you let your midwestern modesty show. You seem to spend about 36 hours a day on the SketchUp forum, showing the befuddled how to find the shortest path from point A to point B. The army of people you've helped would surely say that your SketchUp Sage designation is well-deserved.
Best,
dh -
What's not to like on this one. Great job David

 .
. -
Thank you,tuna.
-
Nice work David
 Not sure that your objective was the render quality. But as a render the
(fabric?) mapping is not good. Can I suggest that you remove the mapping Sketchup created and then replace the mapping with the same (or other material) in your renderer. I do not know what renderer you are using but doing that should map your material correctly
-
What's the Dave method?
-
The Dave Method (invented by Dave Richards, a constant presence on this forum) is a technique for intersecting shapes without problems. It gets around a SketchUp shortcoming: The program creates a hidden network of rectangles and triangles to create surfaces. But it also has a limit, and can't fill in those hidden shapes if they are too small, something like 0.1mm. However, components in SketchUp possess a property that gets around that size limitation: A change to one component produces the same change in every instance of that component.
So here's how the Dave Method uses that property of components to foil that shortcoming in SketchUp. Let's say you want to intersect two shapes to create a cabriole leg. Make the shapes a component, make a copy of the component, and scale the copy up 100x, 1000x, or even 10,000x. Perform the intersect command and erase the waste. That will produce a clean, solid shape with no microscopic voids. Delete the scaled-up copy. The original component will also be a clean, solid shape with no microscopic voids.
The Dave Method also works with the Follow Me tool. If you want to use Follow Me to create a shape, like an elaborate table leg with lots of small beads and coves, make the profile a component, scale it up, and use Follow Me on the big copy. If you only work on the original profile, the extruded shape will almost certainly have some missing faces.
Hope this helps.
Best,
dh -
@davidheim1 said:
The Dave Method (invented by Dave Richards, a constant presence on this forum) is a technique for intersecting shapes without problems. It gets around a SketchUp shortcoming: The program creates a hidden network of rectangles and triangles to create surfaces. But it also has a limit, and can't fill in those hidden shapes if they are too small, something like 0.1mm. However, components in SketchUp possess a property that gets around that size limitation: A change to one component produces the same change in every instance of that component.
So here's how the Dave Method uses that property of components to foil that shortcoming in SketchUp. Let's say you want to intersect two shapes to create a cabriole leg. Make the shapes a component, make a copy of the component, and scale the copy up 100x, 1000x, or even 10,000x. Perform the intersect command and erase the waste. That will produce a clean, solid shape with no microscopic voids. Delete the scaled-up copy. The original component will also be a clean, solid shape with no microscopic voids.
The Dave Method also works with the Follow Me tool. If you want to use Follow Me to create a shape, like an elaborate table leg with lots of small beads and coves, make the profile a component, scale it up, and use Follow Me on the big copy. If you only work on the original profile, the extruded shape will almost certainly have some missing faces.
Hope this helps.
Best,
dhPerfect! Thank you!
Hello! It looks like you're interested in this conversation, but you don't have an account yet.
Getting fed up of having to scroll through the same posts each visit? When you register for an account, you'll always come back to exactly where you were before, and choose to be notified of new replies (either via email, or push notification). You'll also be able to save bookmarks and upvote posts to show your appreciation to other community members.
With your input, this post could be even better 💗
Register LoginAdvertisement


