Help with Modelling a Chair
-
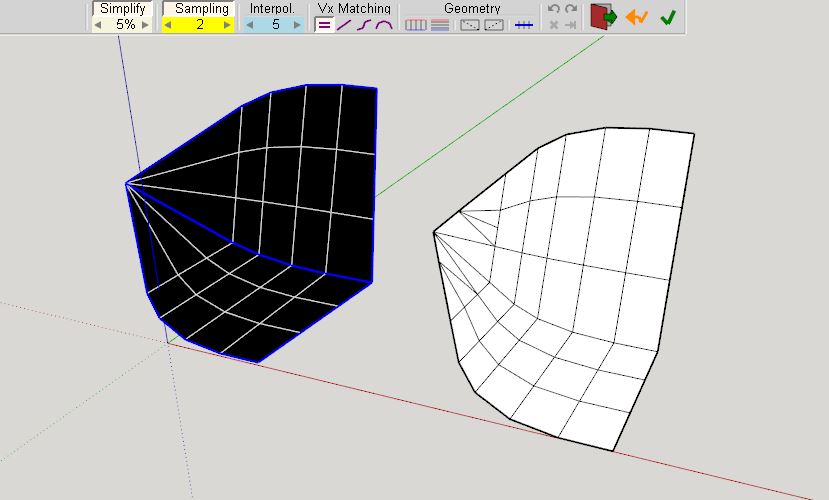
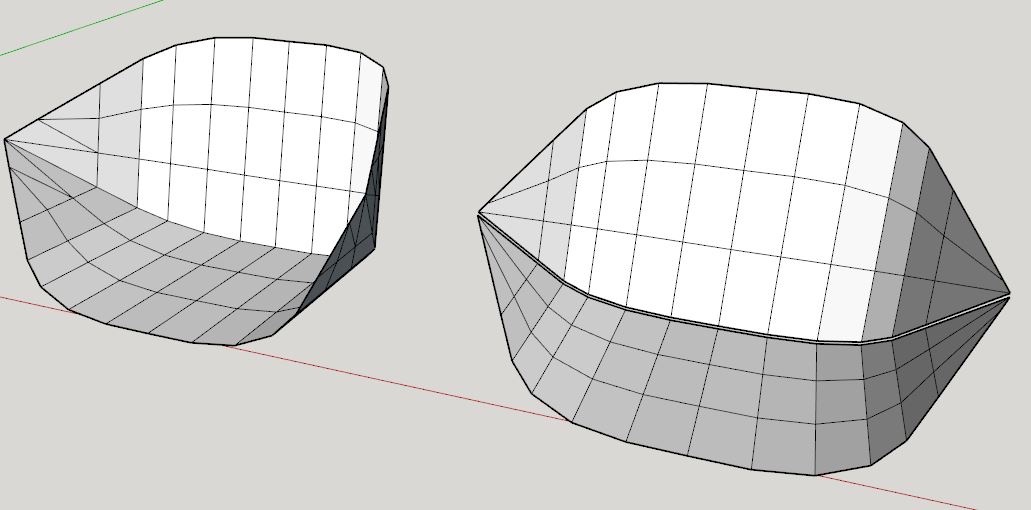
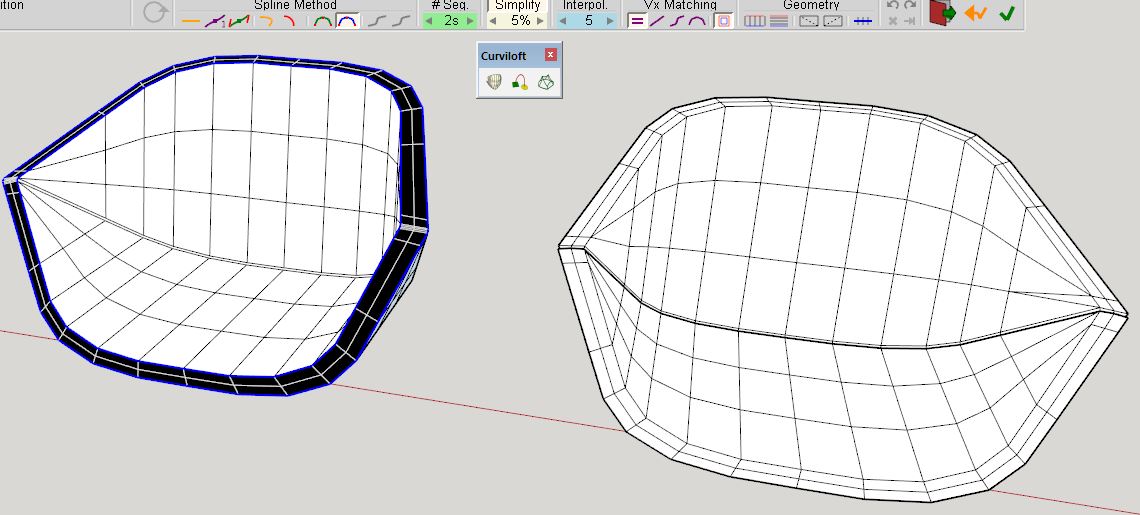
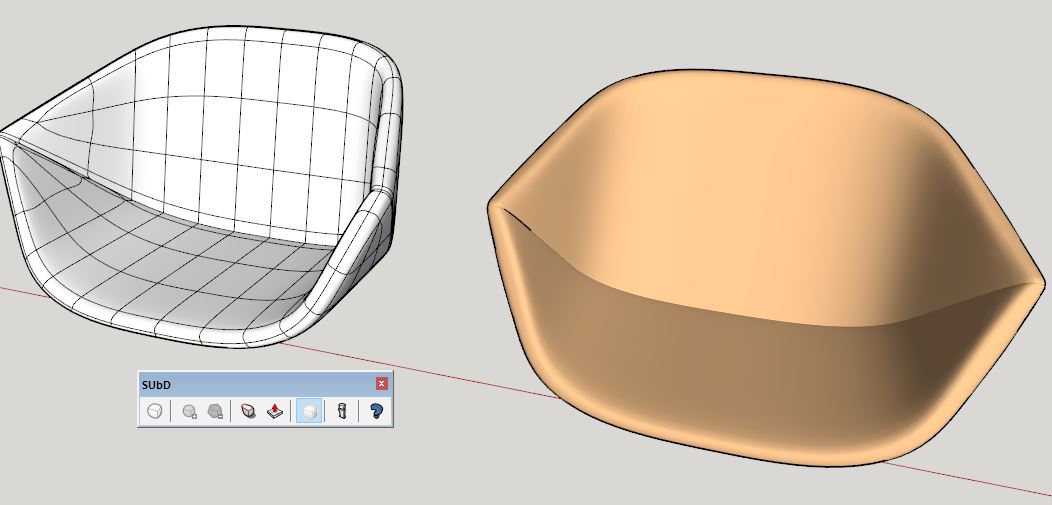
I would do it so.
-
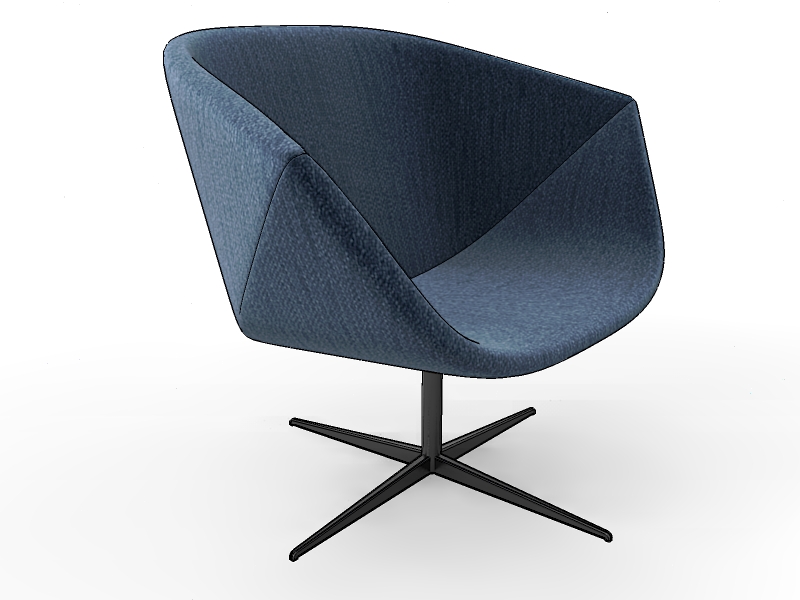
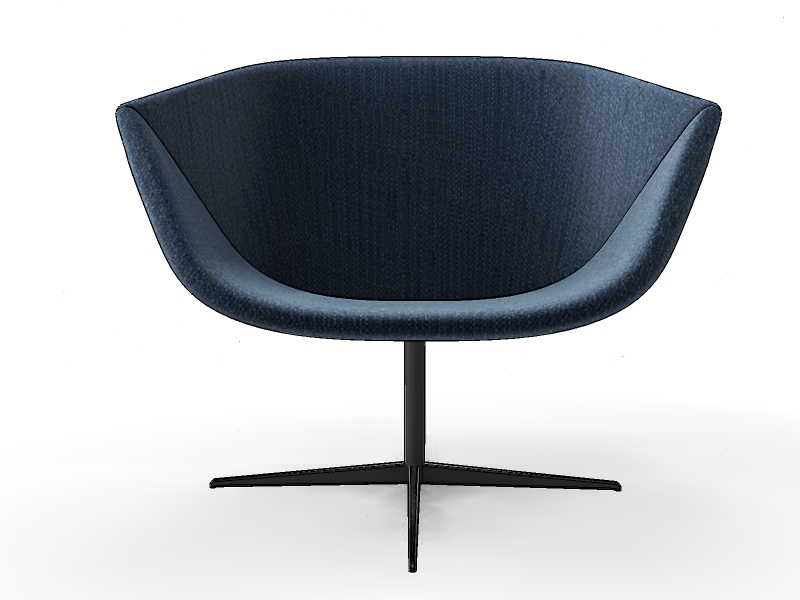
And quick renders
-
Yours looks quite a bit better than mine. Could you give a point form explanation as to how you went about achieving that?
-
@rick posthumus said:
Yours looks quite a bit better than mine. Could you give a point form explanation as to how you went about achieving that?
I second that, would be greatly appreciated. Very impressive

-
-
alvis , great how to video
-
Secrets of a Master!

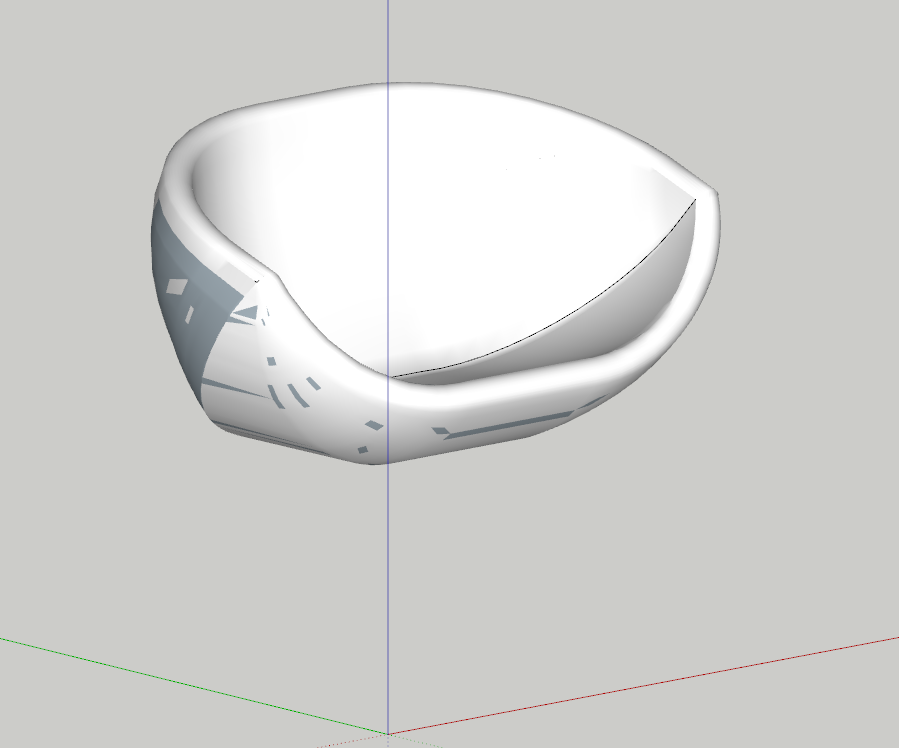
At the end it's Artisan by Dale Martens who is used for subdivide the model!

-
Alvis you're a legend, thanks for your tutorial!
Thanks Pilou for your insight as well.
-
Cheers!
-
Hi Alvis, i wathed the vid, you are a legend. How did you make the crease (where the 2 parts of the real chair meet) or did I miss somthing?
-
Alvis, great video!
@2.15, why not just JPP (noborders mode) to offset she shell?
2nd question: How would you make (KEPENG A GOOD TOPOLOGY)this groove between 2 parts?
Could you add this part to the vid?
Thanks in advance -
@l i am said:
Hi Alvis, i wathed the vid, you are a legend. How did you make the crease (where the 2 parts of the real chair meet) or did I miss somthing?
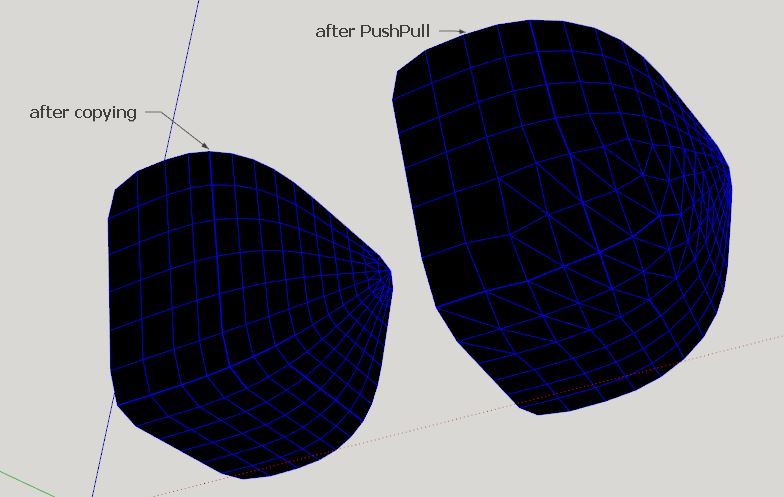
I missed this step. It's a little secret. Just have separated from the back the sitting. And filled the gap . After a little push out.


-
@rv1974 said:
Alvis, great video!
@2.15, why not just JPP (noborders mode) to offset she shell?
2nd question: How would you make (KEPENG A GOOD TOPOLOGY)this groove between 2 parts?
Could you add this part to the vid?
Thanks in advanceYes It would be a solution to use the JPP. But the toplogy is distorted.

Hello! It looks like you're interested in this conversation, but you don't have an account yet.
Getting fed up of having to scroll through the same posts each visit? When you register for an account, you'll always come back to exactly where you were before, and choose to be notified of new replies (either via email, or push notification). You'll also be able to save bookmarks and upvote posts to show your appreciation to other community members.
With your input, this post could be even better 💗
Register Login


Advertisement