Make level difference notable
-
Hello
I have some problems with Vray there it's hard to see the offset in the wood panels, here are some picture.This is what I want it to look like.
This is how I have made it in sketchup
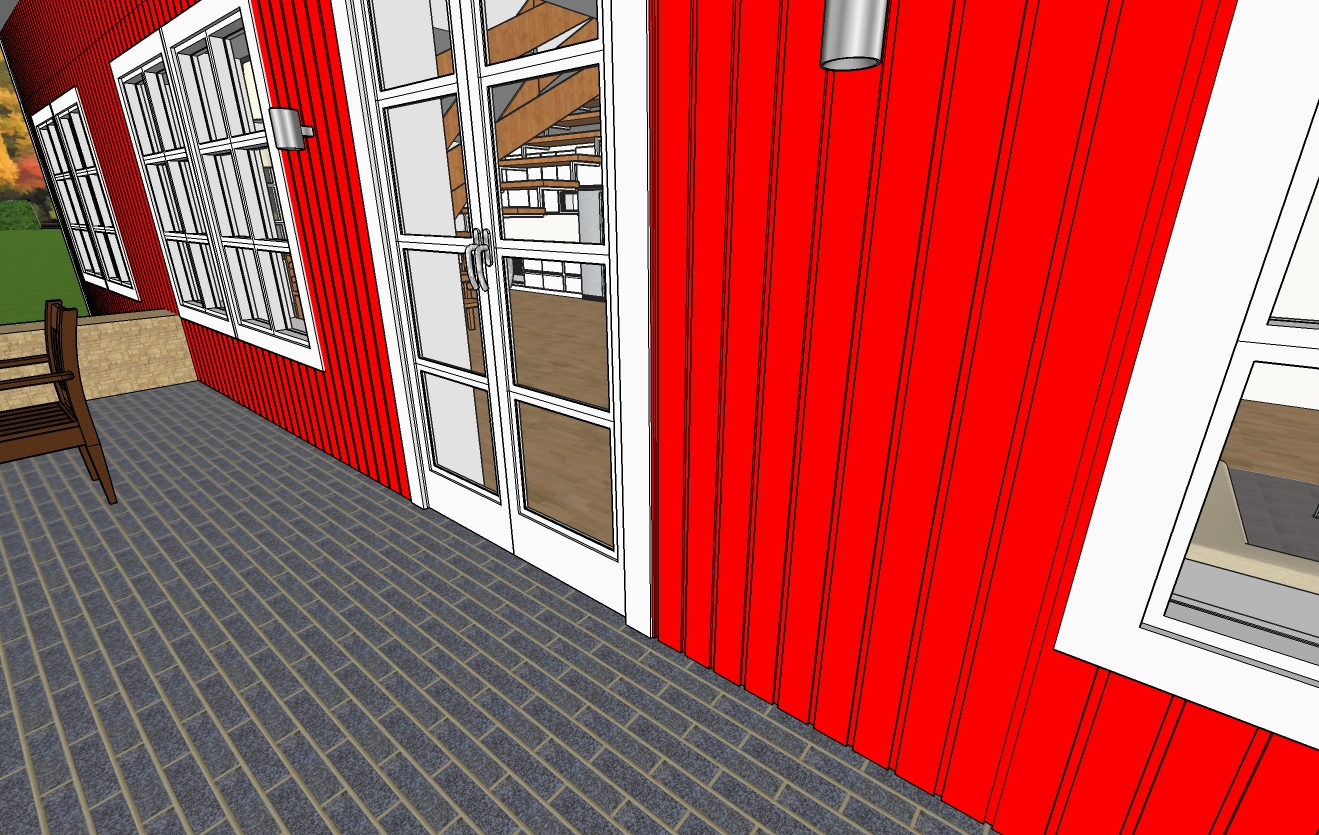
But when I render in sketchup it´s only possible to see the offset in smal parts of the picture.
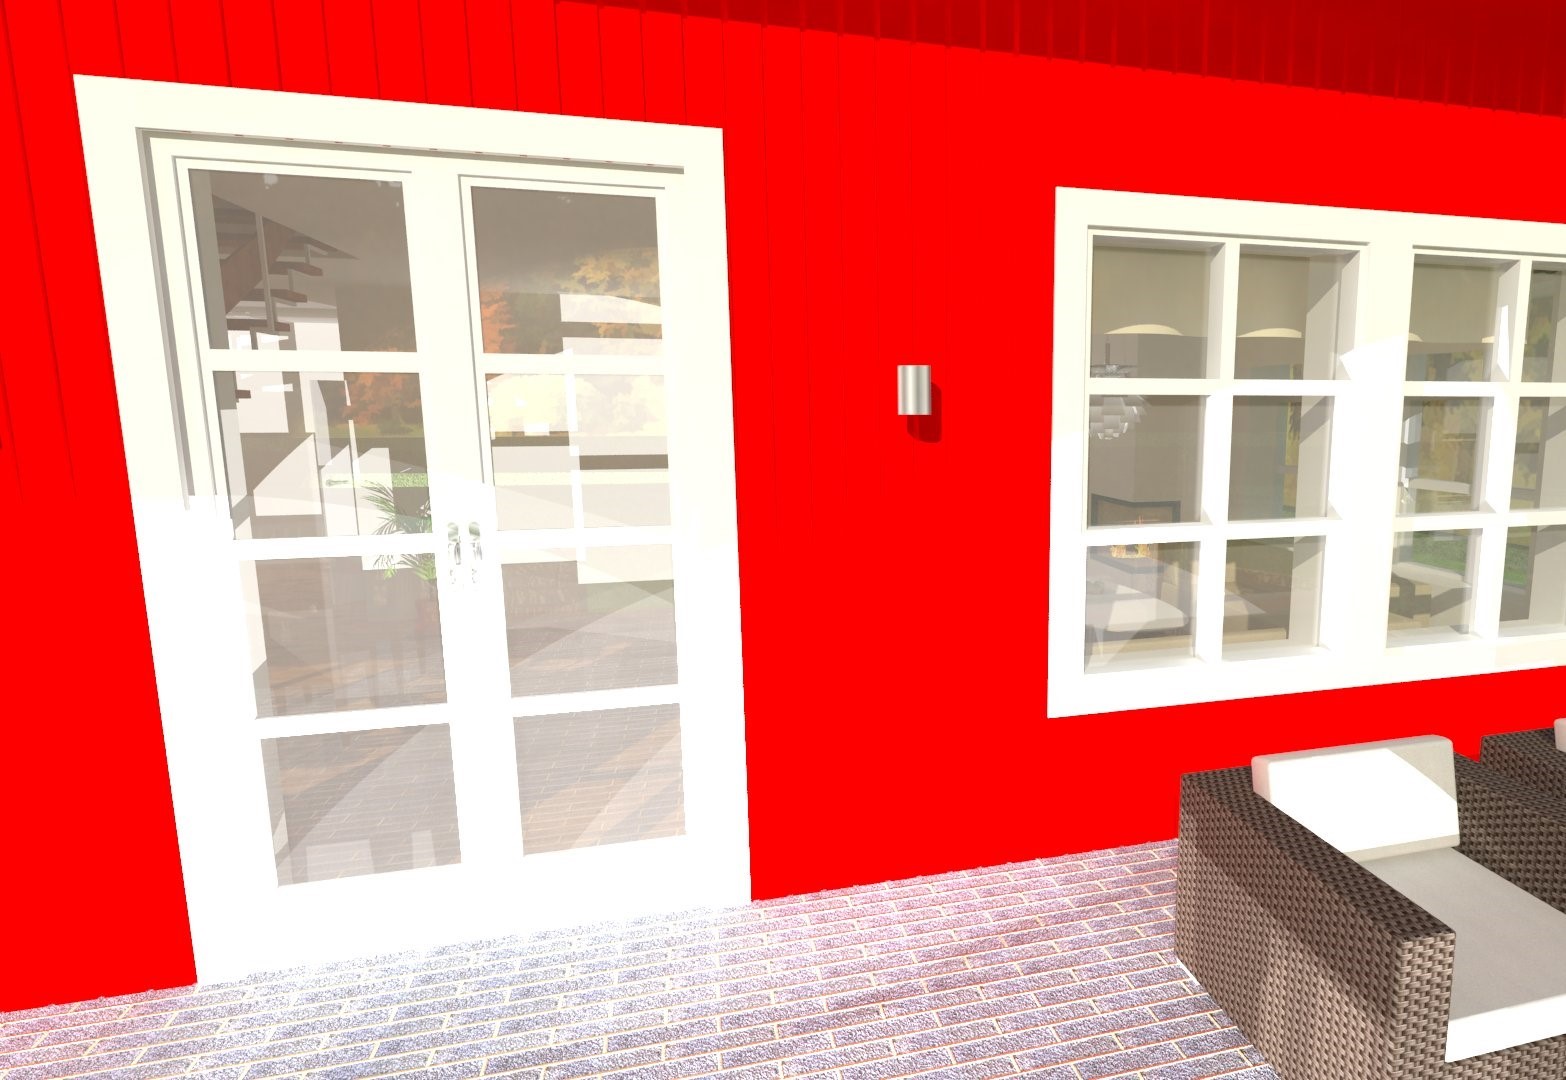
Is there any settings I could change in Vray to make it look better or does I need to use photoshop or similar program?
-
Not a V-ray person, but the answer is yes. Just working on your textures would be a start (they just look like saturated color and little more), but I also suspect your lighting is overly bright. Many things can be done, and should be, within V-ray, before worrying about post processing.
-
or you can simply tick the ambient occlusion box in the gi tab

-
@panixia said:
or you can simply tick the ambient occlusion box in the gi tab

Why isn't that checked by default? Started to make a flat surface and then then make a displaysment picture to the matierial but this sounds mush simpler and looks good then I made a test, are rendering now on the model to see the result but takes some time.
-
@vigge50 said:
Why isn't that checked by default?
i suppose because:
- people don't need it in every project..
- it adds some more computational weight to the render (check your render times with AO switched on/off and let me know)
- many people (me too in most cases) prefer to add it in post as a separate render element (tipically blended in multiply mode) so you can gain much more control over it.. you can strenghten/lighten it as required or maybe you can mask some zones were you need less or zero AO.. and so on (not 100% sure vray for sketchup has the ability to extract an extra-text pass for AO i didn't use it for ages right now)
-
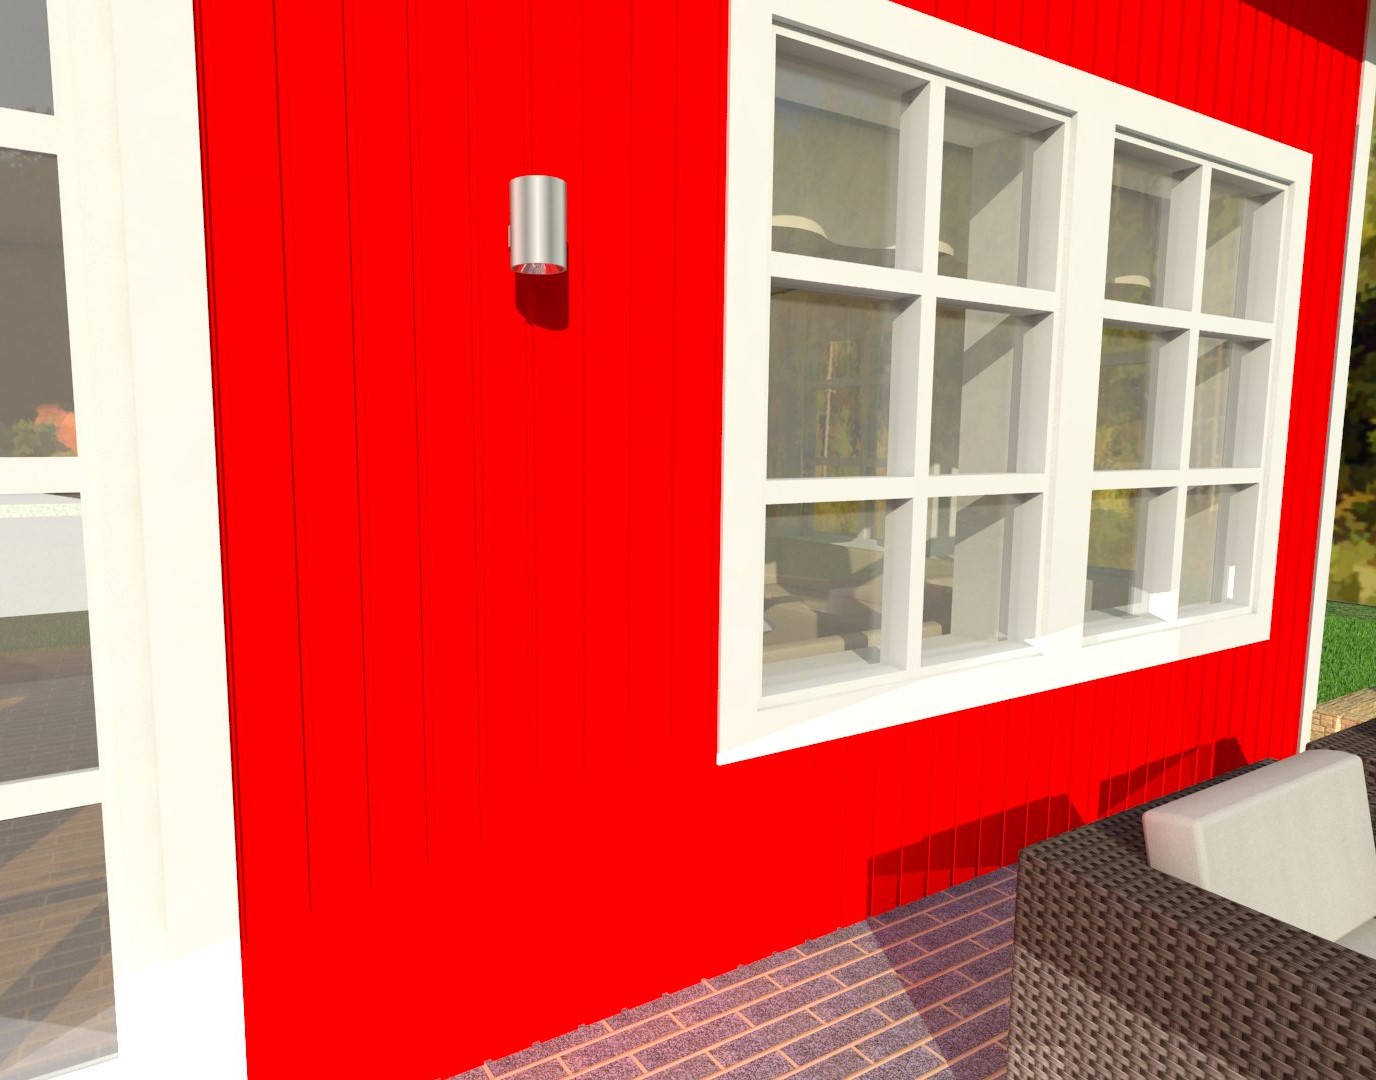
Have now after some hours(started before my answer) get the picture wish is better but not as I had hoped. Should I try to change the settings or should I make a flat surface and then use displacement instead?
-
Stay away from displacement as much as you can, at least for this basic stuff..
As Pbacot properly said, the render is overexposed, this also wash out details.. try to increase your shutter speed or something (it's hard to tell exactly wat's going on, if you don't share your settings for people who could help you).
Another thing i would strongly reccomend is to avoid full white/black/blue/green/red.
Looking at your screenshot, looks like you are using full white for doors and windows and also you are using something like 255,0,0 red for your walls. Try to keep any color value lower than 252 or something like this..
In order to get fine details like this, you should have a basic knowledge of the way in wich the sampler works.. BTW, in your antialiasing rollout, make sure you have the adptive DMC sampler selected.. then raise a bit the max subdivs (default value should be 4, try something like 8 or maybe also 16)
Be prepared for longer rendertime.. A good idea is to use the region render tool in the framebuffer to fine tune your parameters without having to wait forever the full render to finish.. -
@panixia said:
Stay away from displacement as much as you can, at least for this basic stuff..
As Pbacot properly said, the render is overexposed, this also wash out details.. try to increase your shutter speed or something (it's hard to tell exactly wat's going on, if you don't share your settings for people who could help you).
Another thing i would strongly reccomend is to avoid full white/black/blue/green/red.
Looking at your screenshot, looks like you are using full white for doors and windows and also you are using something like 255,0,0 red for your walls. Try to keep any color value lower than 252 or something like this..
In order to get fine details like this, you should have a basic knowledge of the way in wich the sampler works.. BTW, in your antialiasing rollout, make sure you have the adptive DMC sampler selected.. then raise a bit the max subdivs (default value should be 4, try something like 8 or maybe also 16)
Be prepared for longer rendertime.. A good idea is to use the region render tool in the framebuffer to fine tune your parameters without having to wait forever the full render to finish..Have now change the color a little because it was indeed ful 255 red. What settings do you want me to share, I don't have mush knowledge when it comes to picture and camera settings.
-
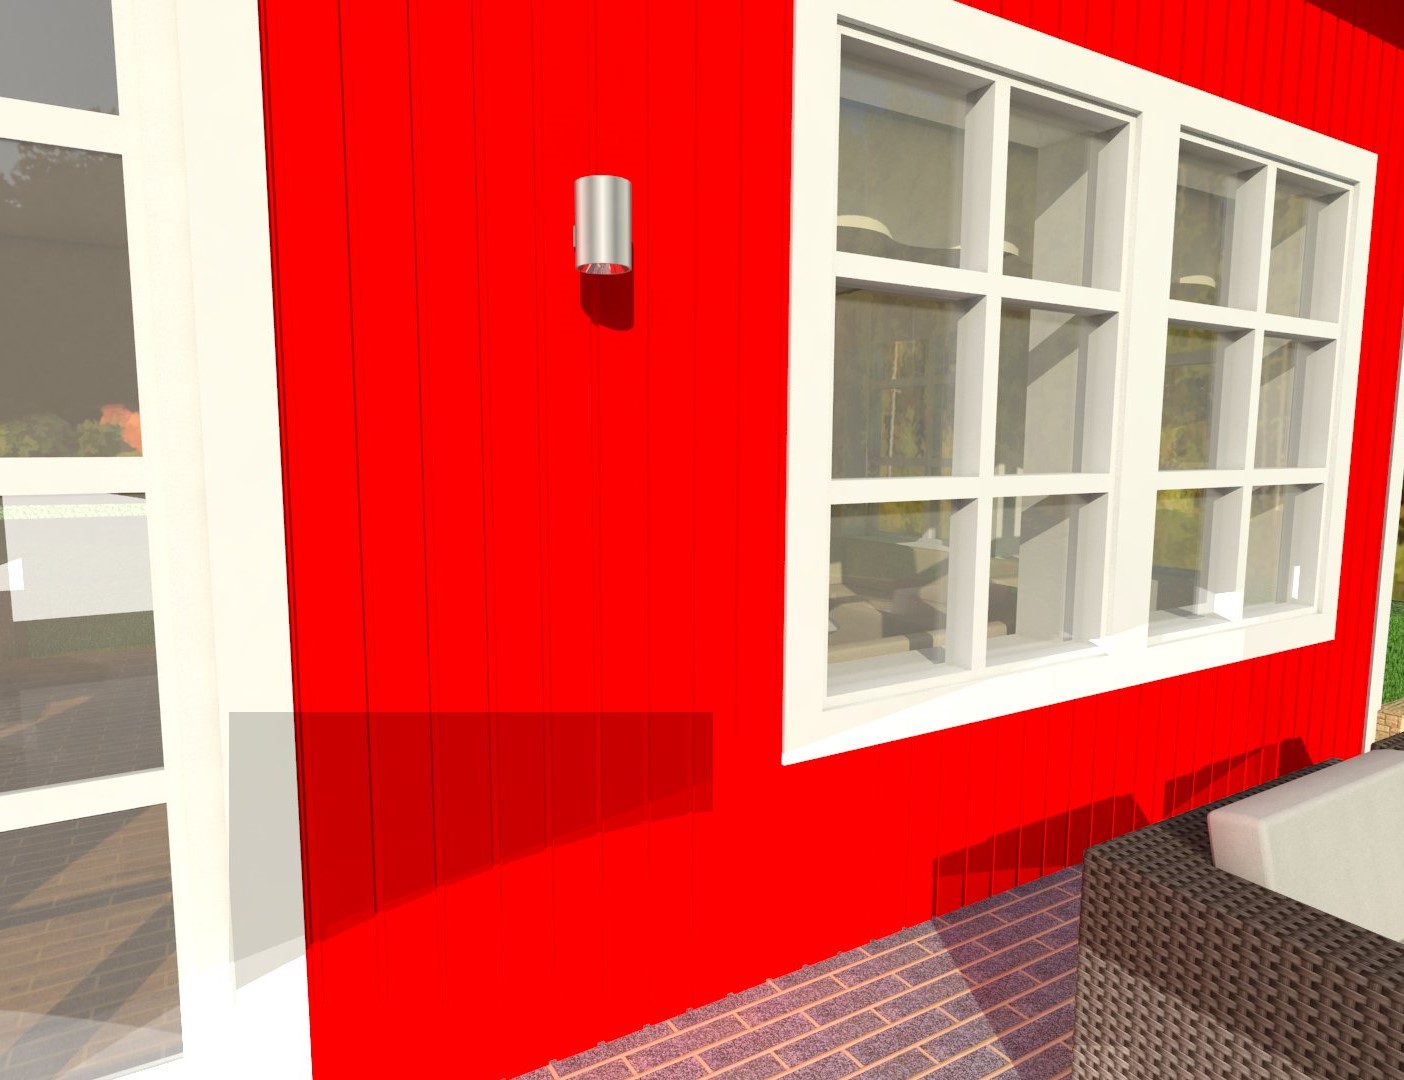
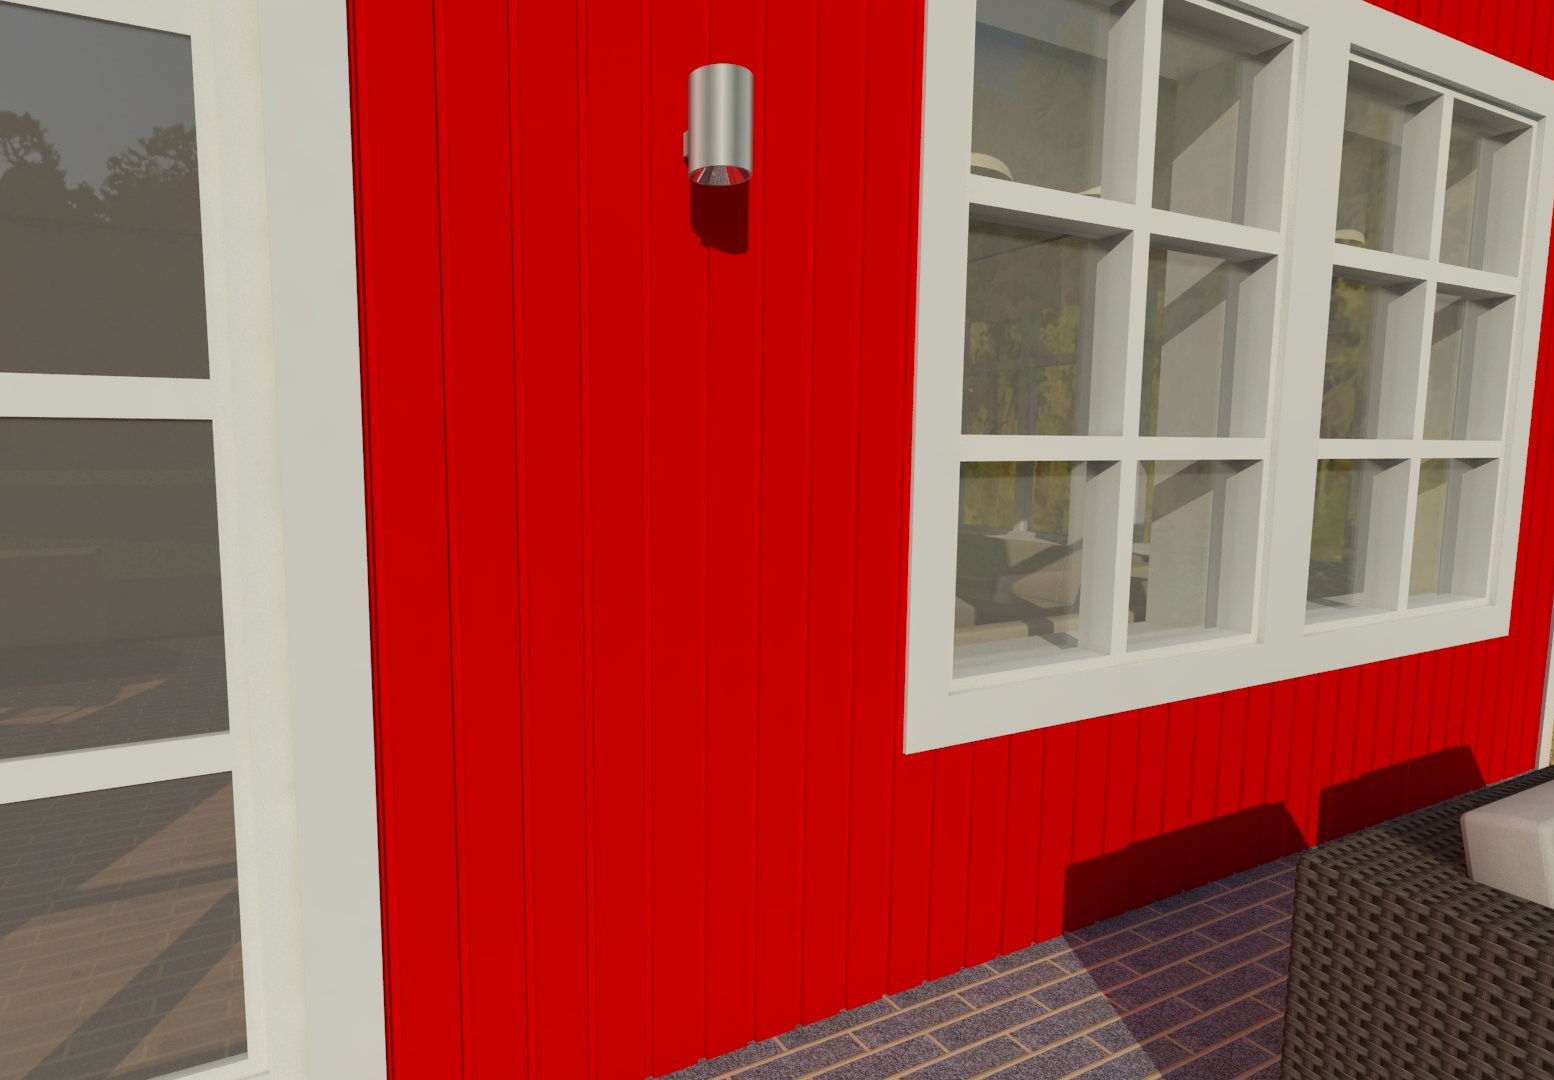
I have now made a new render and it was better now even if there is room for improvements. The light down close to the ground is some lights I have now removed.
-
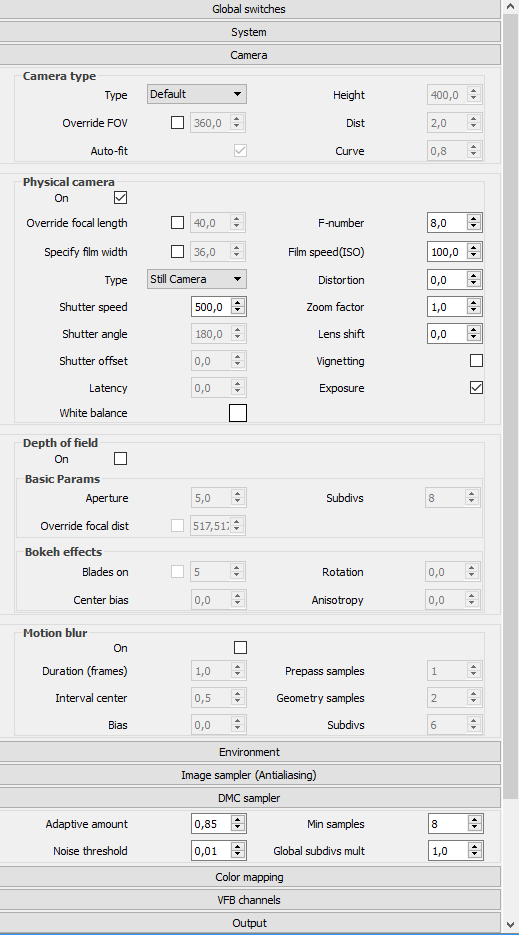
As i said before you need to check your settings in the camera tab (you need to slighty lower the exposure) and also your settings for image sampler (antialiasing) because looks like your AA is quite poor..
-
Here is the settings I have now.
-
Now I start to get the results I want with the settings shared above.
-
the parameters you need to adjust are more likely the ones in the IMAGE SAMPLER (ANTIALIASING) rollout wich manages the sampling geometry details, texture details and stuff like that.
this is quite different from global DMC sampler wich is more involved in manging the sampling of blurry reflections/refractions and stuff like that..actually i think you need some basic concept about sampling, antialiasing and more..
try to google for this.. there is a lot of stuff online.. like this example links..
you may also want to read the fantastic manual on the chaos group website?theory:
http://www.interstation3d.com/tutorials/vray_dmc_sampler/demistyfing_dmc.htmlpractical implementation of the concept:
https://www.youtube.com/watch?v=pak8wx7KNEA
Advertisement


