Learning to Render (using Twilight)
-
Just a close up showing that the windows are properly made. If you know your way around stained glass you will see that the lead work has correct profiles, only things missing are the solder joints, but that would be one more step into madness, and I think I've gone a bit too far along that road already. Next stage will be to make textures from my actual glass supplies so they are truly real windows.
-
Excellent work, Box. I like the glass composition in the frame on the floor. And of course the cello.
-
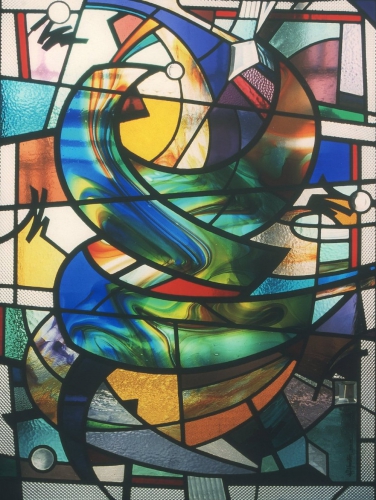
Thanks Tim, the one on the frame is an existing window. And it shows what I mean about making textures from my stock glass. I can then design and use "Real Sheets" of glass in the design, so the client gets what they see, not just an an ink or pencil representation of what the glass would look like.
-
Hell, they're all great. I am jealous.
-
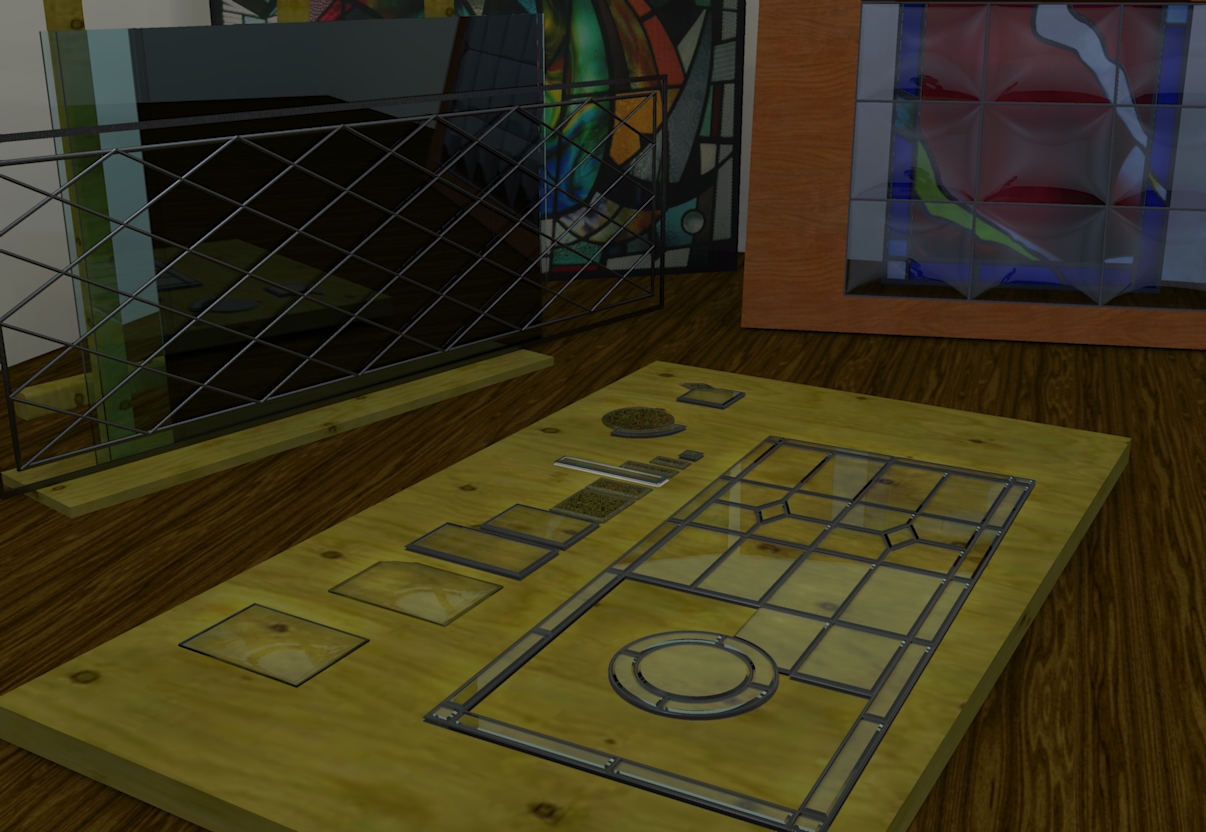
Well while Rich is off there with his flights of fancy and the Borg Cylinder, I'm stuck here in reality. A broken bevelled leadlite stuck in the workshop corner awaiting repairs.
I really must sort out the colour balance, brightness etc of my monitors, I have three and these all look totally different on each. Who knows if even one of them is correct.
-
Regardless of monitors, can't you turn up the exposure or add a light? This whole thread if very interesting. Shows that rendering may come easier to someone who is already an artist. Good work! Is that some sort of beveled / quilted glass in the background. What is that piece?
-
That's sort of what I meant about getting my monitors balance properly. The one I mainly work on is much brighter than the others, so it sort of throws my lighting to crap.
The "Quilted" one in the background is what is know in the trade as a Convexlite. Very popular in the 60s in Australia. I made that as a tester to see how the distortion works, and how well the shaping shows up. The glass panes are heated so they soften and sag through an opening, this makes a sort of flat bubble with straight edges.
-
Yeah Box, they all look a bit dull or muddy. I think you need to calibrate your rendering monitor as you have said. Loving the work though, with some contrast adjustment and exposure tweaking they'll be gold. Get some more light coming in to see the caustics from the coloured glass, using interior+ preset works best for scenes with refraction and caustics

-
Oli, I've decided everyone else needs to change their settings as mine are obviously perfect.

-
Wow, bubble wrap doors. You should put those on Kickstarter
-
They'd certainly add a little something to your rubber room Rich.
-
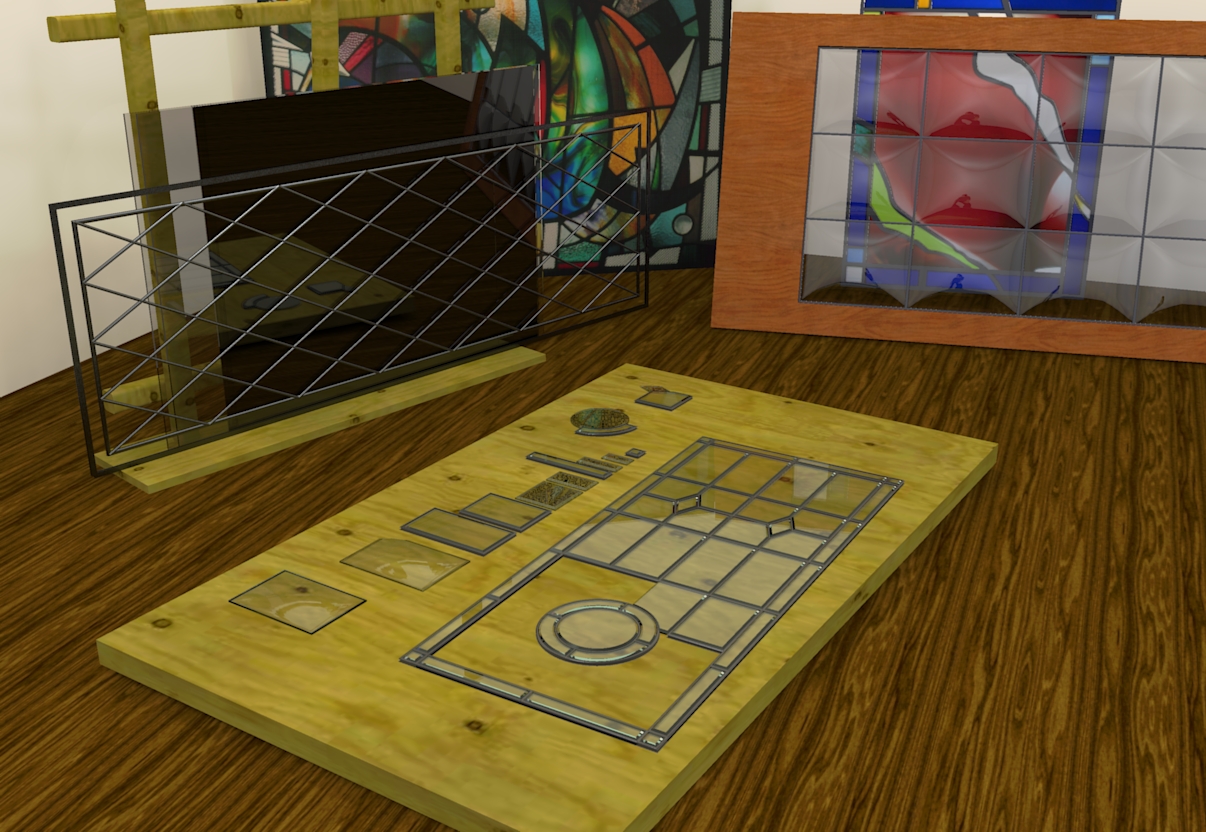
Done a quick calibration of my Monitors.
Can anyone tell me if this looks clearer and brighter?
-
@box said:
Done a quick calibration of my Monitors.
Can anyone tell me if this looks clearer and brighter?Yes! Much better!
-
Excellent John, thanks for letting me know.
-
1000x better. Great image too.
Looks great on my mac. Not like anyone cares. I'm counting down the days til I get a real computer!! Sick to death of mac.

If you're looking for crit I suggest much more reflection to the wood textures. Gives a bit more oomph!
-
Thanks Oli, I know what you mean about the wood, but I'm still getting my head around the glass.
-
Looks pretty damn good to me. With Twilight, I have found default glass material is not reflective enough. If you increase IOR you get a better result IMO. A subtle bumpmap also works well; you can bump any flat colour by applying the bumpmap texture to your window and then link the bump and unlink the texture, then apply template as normal. You can use this to bump a flat colour, good for adding 'scratchmaps' to metal and undulations to stained glass etc.
-
I have to admit I still haven't worked out what a bump map really is. I will get there I promise.
I'm happy slowly working things out, doin a bit of reading and listening to others advice, I'll get there, it sticks better that way for me.
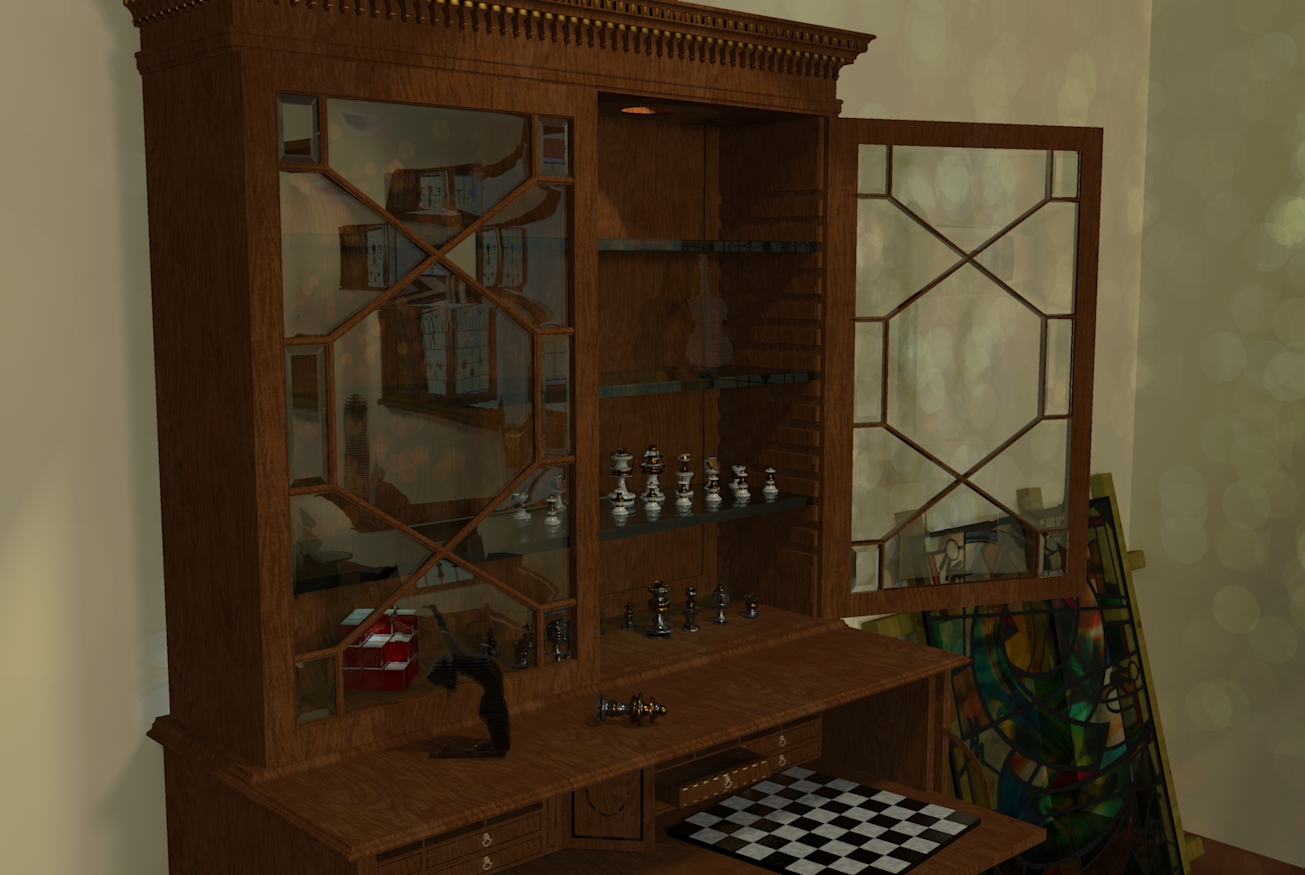
In the mean time I'll drop this one in here too, you've probably already seen it from woodwork, but I like to have a bit of a chronology going on.
-
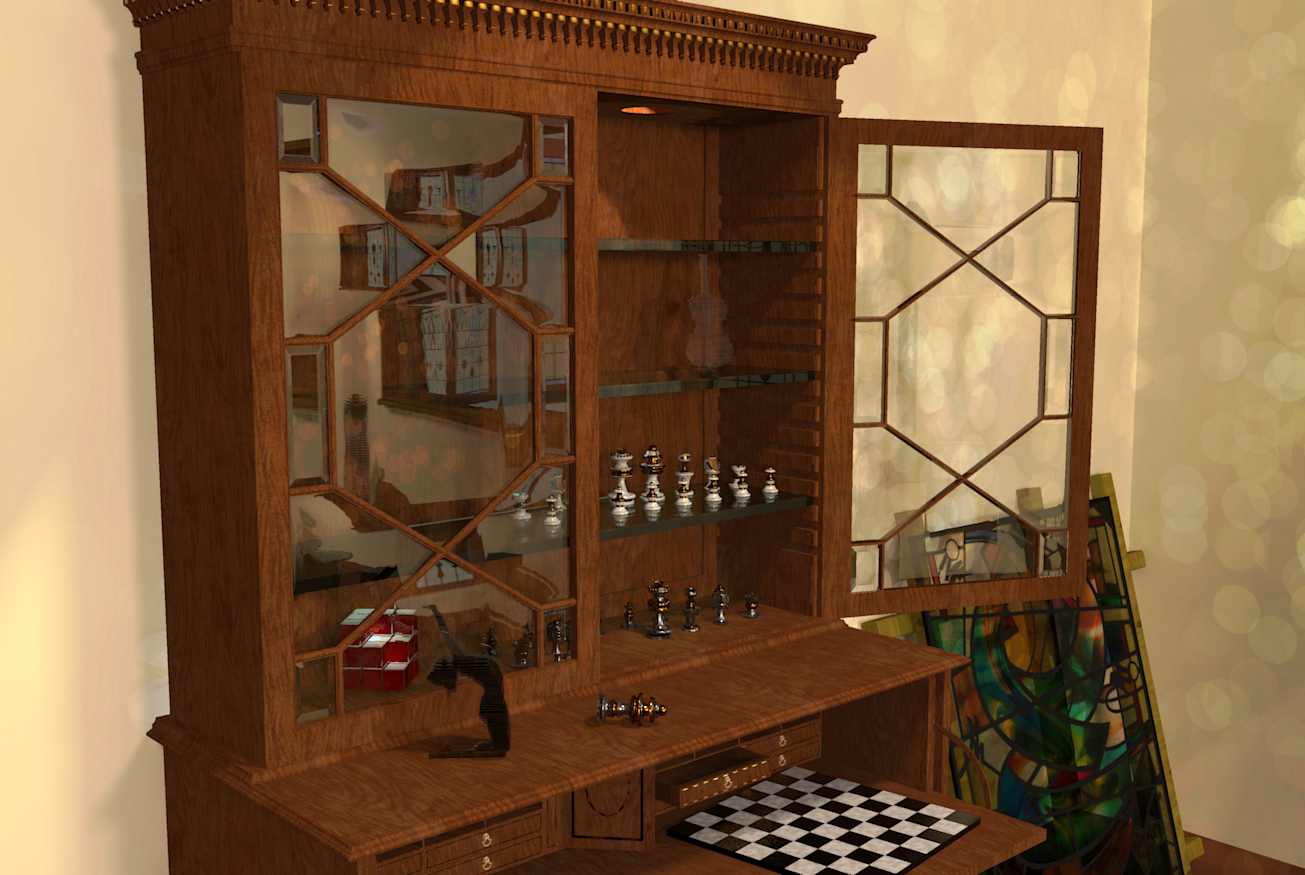
i hope you dont mind, i just modified the levels. what are the circles on the wall?
for wood try using Plastic>Satin template or shiny. Great scene!!
-
Yeah, the levels are a problem for me. Seems fine then it aint, I've calibrated and things look the same on two screens then render and it goes dark on me, but this is a learning thread so I post em anyway. I've not bothered with any post work either, would rather know how to sweep the floor before I paint the house..
The circles on the walls,....mmmm.... well ummm..... think it might be light bouncing around too much. I had set it up using the basic fast settings, then let it run on high while I went shopping. Came back and some twat had been blowing bubbles around in it.
Advertisement


