Component Question
-
I want to begin making my own components.
Does it matter at what Z height they are saved ?Say I stick a rafter above a 8' high wall and save that rafter as a component.
When that rafter component is brought into another model, is it at that same 8' Z height ? -
I'd recommend just playing with it to start seeing what it does. But no, it does not matter what z-height. The component will put its own axis at the bottom left corner of the selected geometry. You can then go into your component and re-locate the axis however you want.
But when you insert it into a model, it will stick to your cursor, so it will not go in at some pre-defined height, it will go in attached to your cursor.
-
No. The only way that would happen is if you copy and "paste in place". More importantly, set the axes of the component at a logical insertion point and orientation. On a rafter this may be the corner of the birdsmouth. The blue direction should be the vertical (as the walls would be).
-
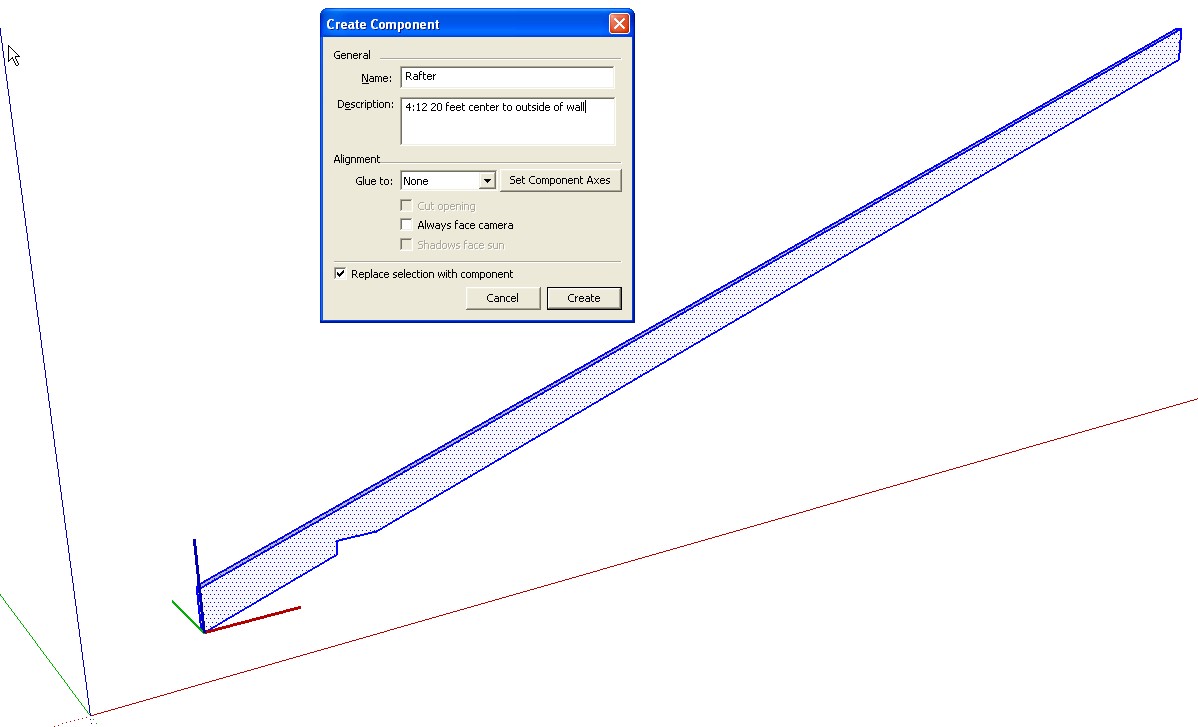
When you make your rafter component, be sure to set it at the desired pitch before making it a component. When you choose Create Component the component's axes will be placed at the lower front left corner of the soon to be component's bounding box (based on the standard views) You can see it is positioned in this screen shot.
After creating the component you can right click on it and choose Change Axes. You'll have a new axis at the cursor. Click to set the origin, click along the red direction and then the green. Blue takes care of itself but, as Peter said, make sure the blue is pointing up.
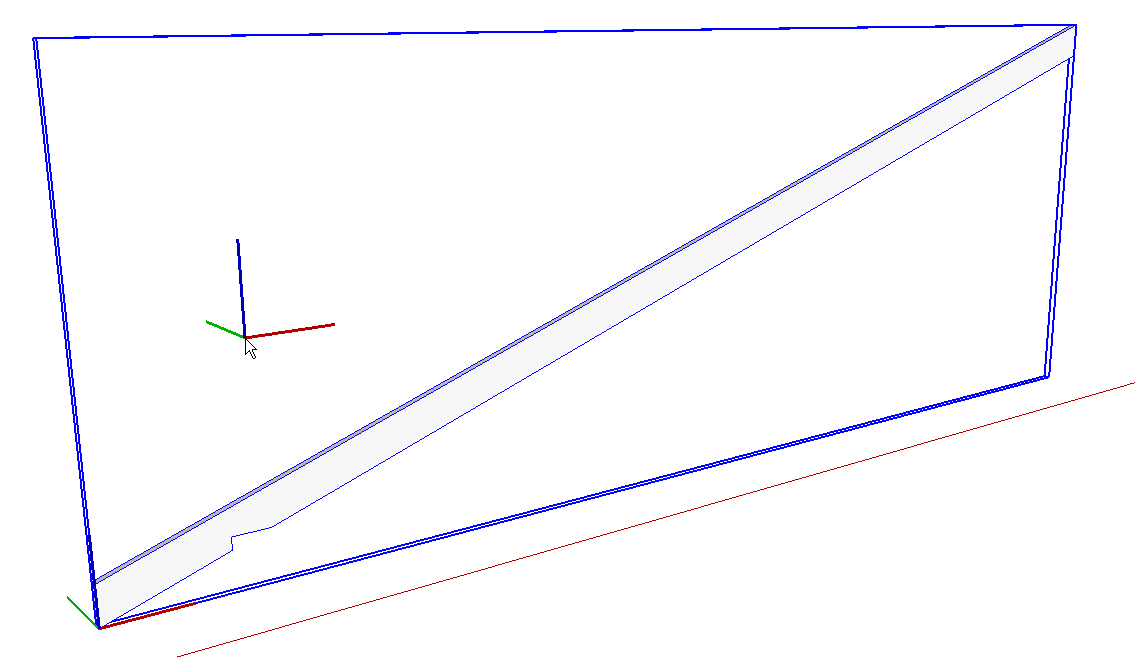
Once the component's axes are changed, you can see them when you open the component for editing. I used Peter's suggestion and placed it at the corner of the birdsmouth.
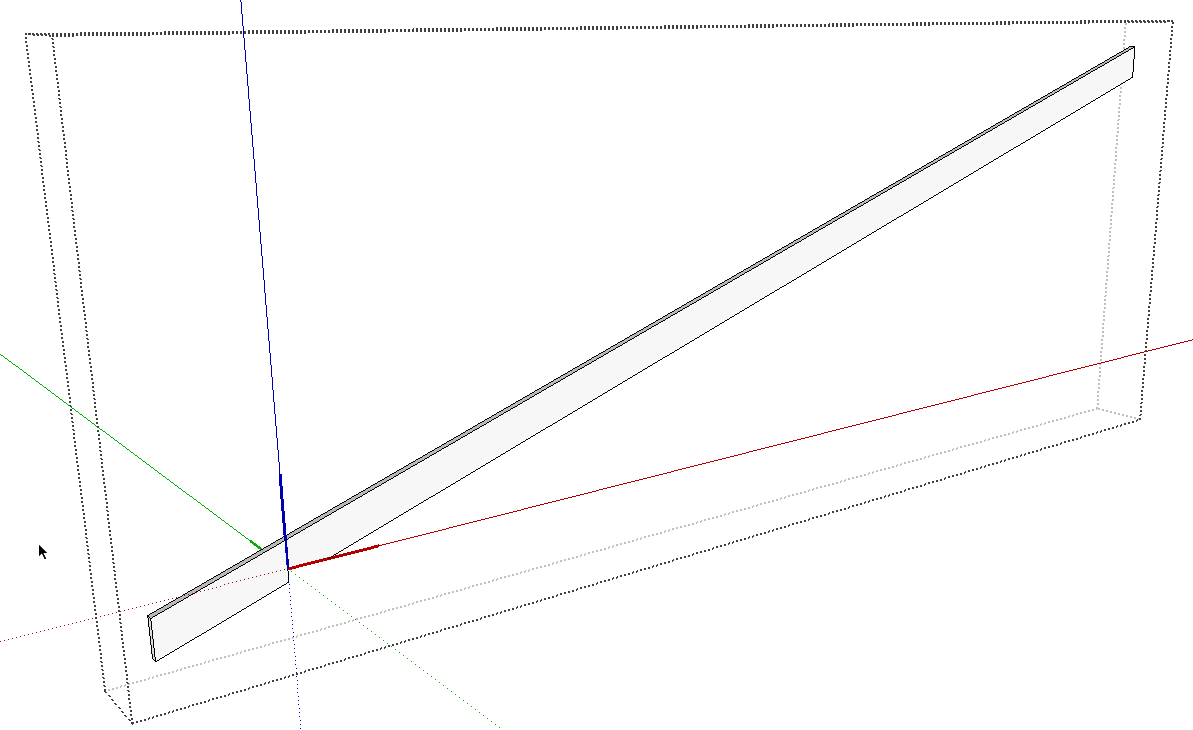
At this point, save the component to a local component library for later use. From then on when you drag the rafter in from the Component's browser, you'll have hold of it with the Move tool at the component's origin, its insertion point.
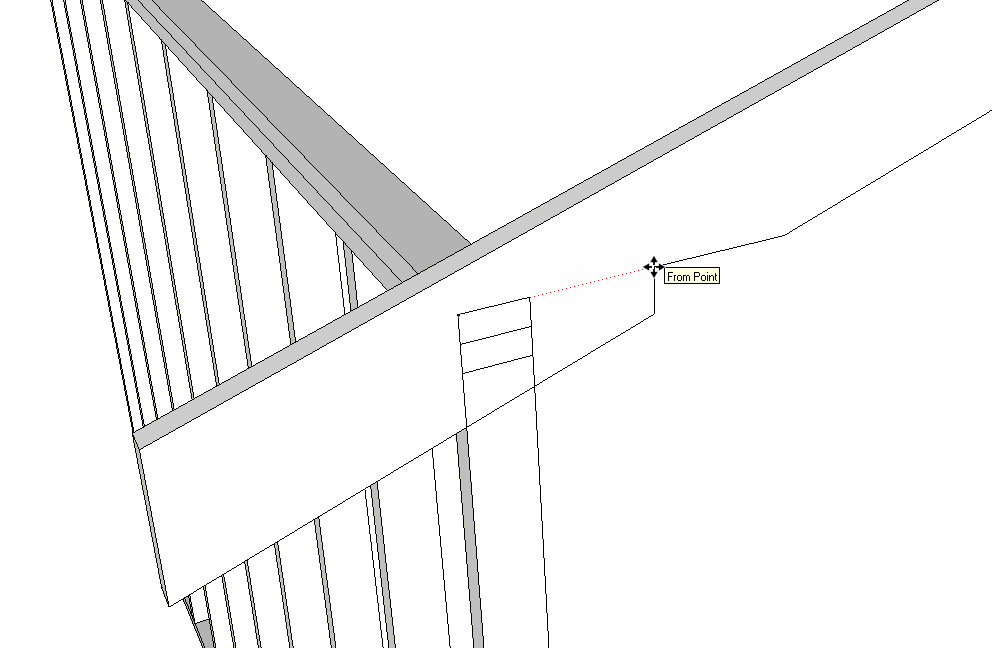
Click on the desired location to set it and you've got it.
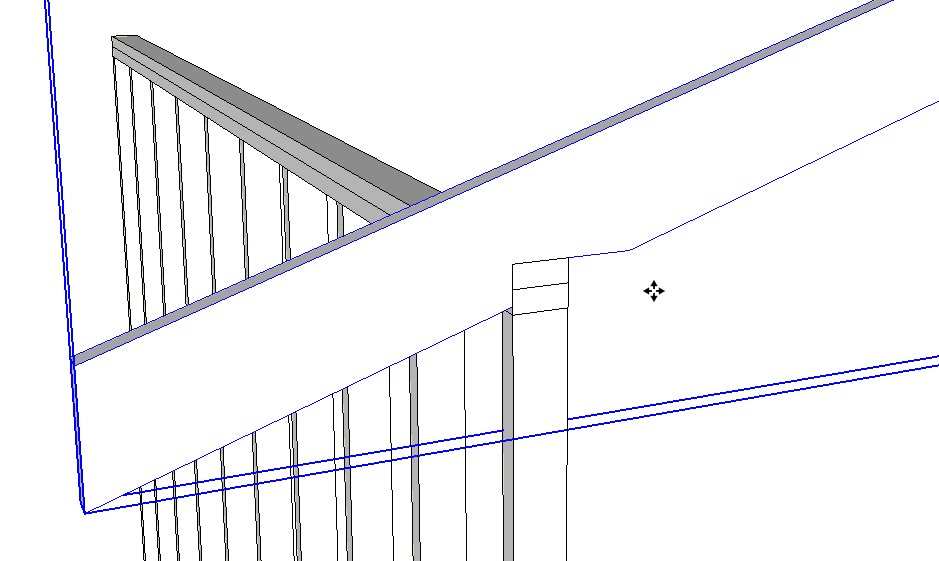
After the first one is place, make a linear array with Move/Copy to make the rest down the wall and select them all and copy them to the opposite side and flip them to make the other half of the roof.
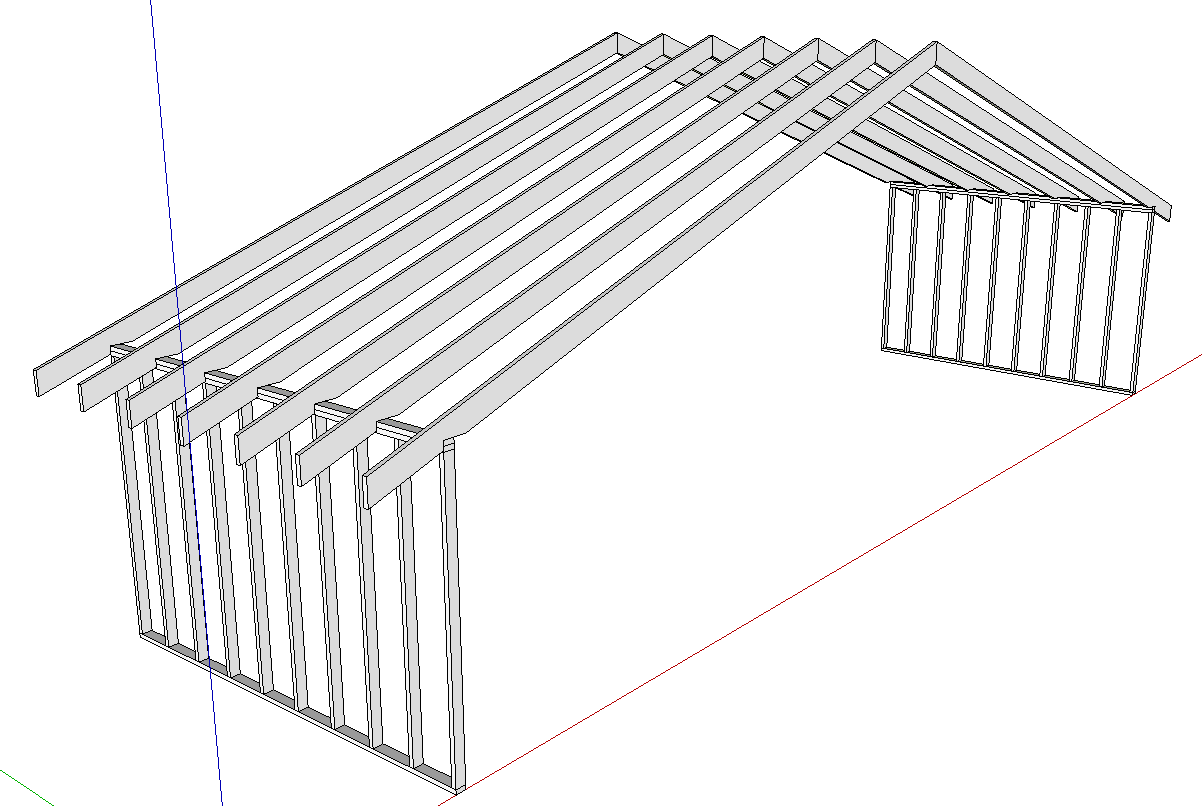
You could probably also set up gluing characteristics so the vertical face of the birdsmouth glues to the wall but that's for another lesson.
-
Thanks guys, all good points and clears it up.
Dave, thanks for the pics, really helps.
 Inspecting mirrors is a job I could easily see myself doing.
Advertisement


