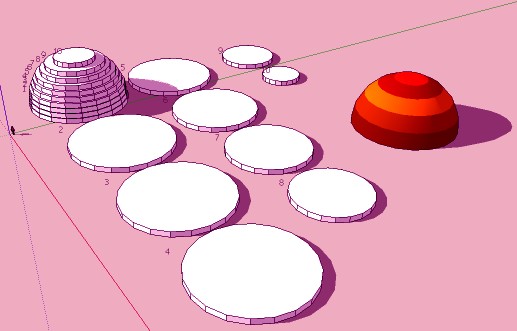
[Plugin] Slicer5
-
The API can get the 'local axes' used inside a group/definition... BUT not any reset model axes, to which is what I thought you were referring.
The XYZ slicing always follows the models axis [ignoring any reset].
It easiest [but not essential] if the sliced manifold group/instance is in the model's entities... -
Does it possible to have the Slices of the volume follow the colors (or textures) of the original?
(here with Slicer3 in V6, maybe this exist in the Slicer5? )

-
No.

-
In the future?

-
Perhaps, if I live till I'm 90

-
So long life to you!

-
@unknownuser said:
Does it possible to have the Slices of the volume follow the colors (or textures) of the original?
@tig said:
No.

@unknownuser said:
In the future?

@tig said:
Perhaps, if I live till I'm 90

@unknownuser said:
So long life to you!


-
@unknownuser said:
Does it possible to have the Slices of the volume follow the colors (or textures) of the original?
In fact with the Super Drape that's a beginning

(Take an image from the view Top of the original)Just to find something for the vertical faces who are unicolor
Maybe 2 pass
-
TIG, great plugin. You've made architecture students and architects across the world quite happy.
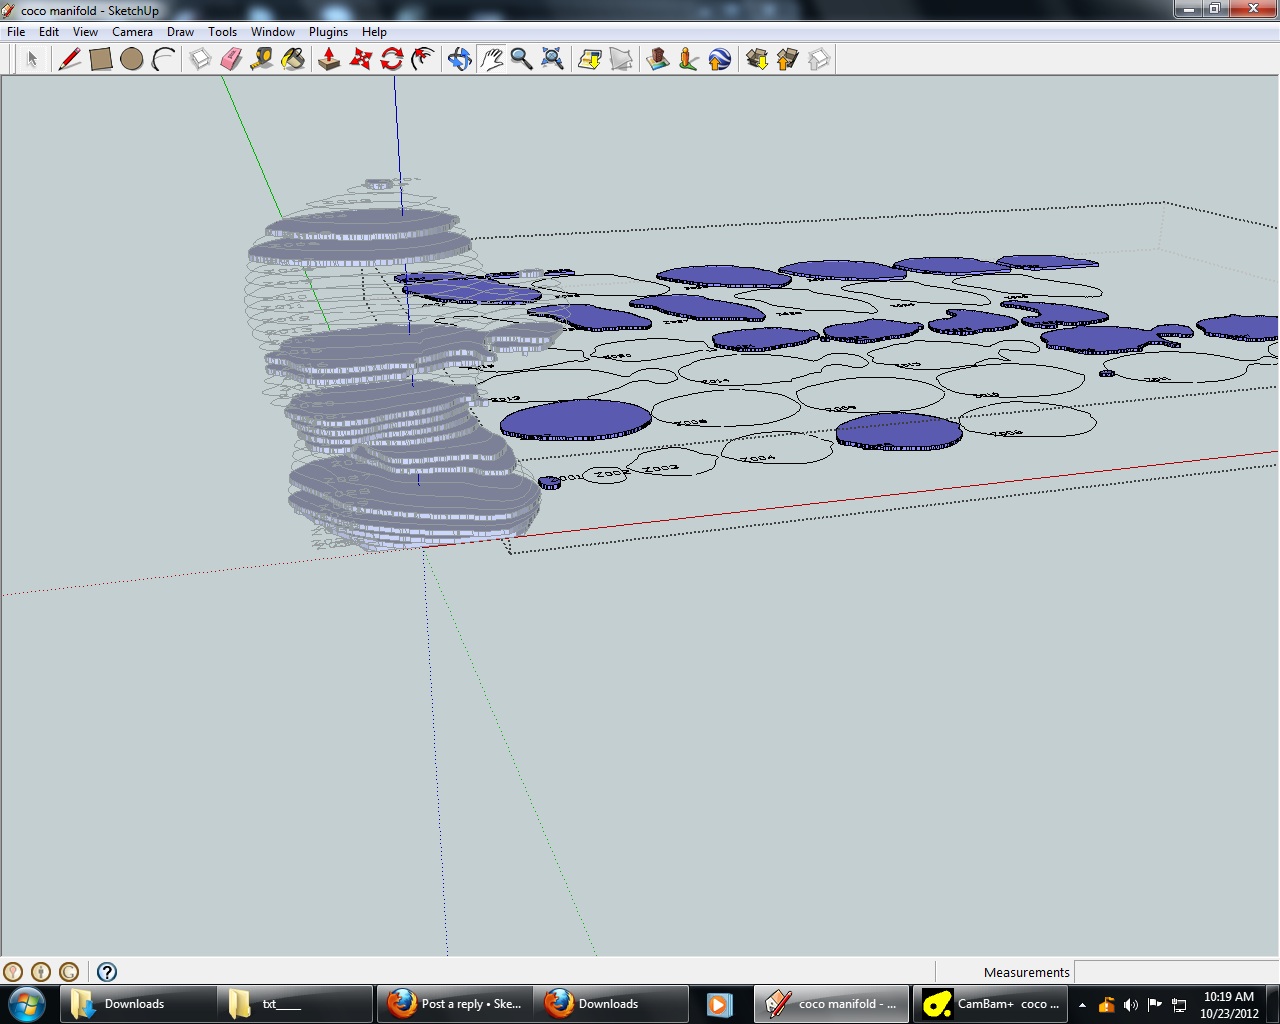
I'm doing a rather complex site model, and I've done simpler site models with great success before. This time, I can't get it to flatten. It seems as if it quits after creating the slice outlines and before it thickens them. Here is the error it throws:
Error; #<TypeError; reference to deleted Face>
C;/Program Files (x86)/Google/Google SketchUp 8new/Plugins/TIG-Slicer/TIG-Slicer.rb;2041;in `pushpull'
C;/Program Files (x86)/Google/Google SketchUp 8new/Plugins/TIG-Slicer/TIG-Slicer.rb;2041;in `fatten'
C;/Program Files (x86)/Google/Google SketchUp 8new/Plugins/TIG-Slicer/TIG-Slicer.rb;2041;in `each'
C;/Program Files (x86)/Google/Google SketchUp 8new/Plugins/TIG-Slicer/TIG-Slicer.rb;2041;in `fatten'
C;/Program Files (x86)/Google/Google SketchUp 8new/Plugins/TIG-Slicer/TIG-Slicer.rb;2035;in `each'
C;/Program Files (x86)/Google/Google SketchUp 8new/Plugins/TIG-Slicer/TIG-Slicer.rb;2035;in `fatten'
C;/Program Files (x86)/Google/Google SketchUp 8new/Plugins/TIG-Slicer/TIG-Slicer.rb;1612;in `run'
C;/Program Files (x86)/Google/Google SketchUp 8new/Plugins/TIG-Slicer/TIG-Slicer.rb;793;in `initialize'
C;/Program Files (x86)/Google/Google SketchUp 8new/Plugins/TIG-Slicer/TIG-Slicer.rb;657;in `new'
C;/Program Files (x86)/Google/Google SketchUp 8new/Plugins/TIG-Slicer/TIG-Slicer.rb;657
Anyone have any idea what could be wrong? It works great and fast with simple geometry. My site model is about 10' x 10' and I'm working with 1 inch thicknesses.
-
If the terrain results in some tiny edges you can get a failure of the intersection to form full loops which face and extrude into slices, which then cause issues with later operations.
I do have a newer version that traps these errors and lets you complete even if there are some failures -which you might be able to manually fix by drawing in missing bits etc...
It's not down to be issued until after Basecamp this coming week - I am typing this from my hotel room in Boulder !
I'll PM you a version - please treat it confidentially until it's released properly though.
You could perhaps avoid the issue by slicing the terrain at x10 the size you gave [100'] then very small edges and facets are much more unlikely. There is this known issue of SketchUp/OpenGL having problems creating very tiny and very enormous geometry.
You can always scale the model down x0.1 afterwards - tiny facets/edges can exist, it's just the creation that;s an issue...
Several of us will be pretty busy at Boulder over the next few days but we'll check on SCF as time allows... -
TIG is the greatest.
I'm running it with the new version. I'll let you know the results. Funny, I was in Boulder yesterday but didn't see your post till this morning. I go to school in Denver.
Cheers!
-
Thanks for an awesome plugin TIG
Im facing some issues and hope you will be able to help
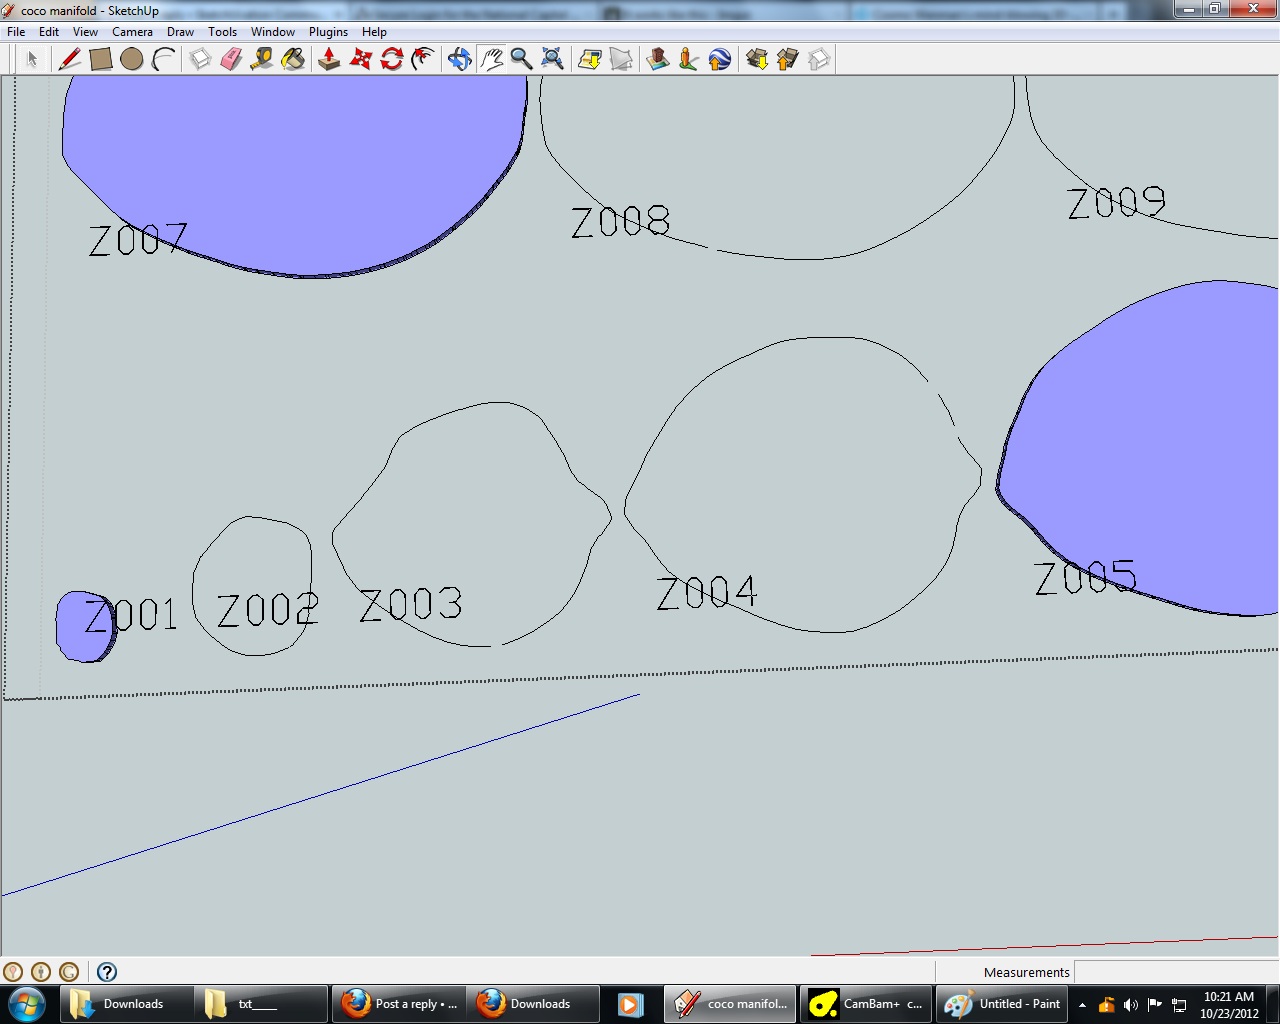
The flattened components are automatically centered/orientation changed. Is it possible that they are presented where the appear in a whole block and not aligned?
Camera zoom to component function also changes the size of block in output.. can it remain as actual ?
I tried to do that on my own but since i'm not good at scripting i could not do much

Thanks in advance
-
I think your issue might be related to your Style - please ensure that Guides are enabled.
To make each zoomed PNG view for each piece the same size guide-points are added at the bounds of the largest piece.
If guides are 'off' the zoom will not be consistently changed...
I need to update the code to force guides to display - they should do but might fail for you ?... but in the meanwhile simply ensuring the current Style displays guides will fix that issue.
It's not possible to reorient the slices as laid flat - the function is based on the slice type [XYZ etc] which then dictates how the slice is transformed flat. -
I ended up simplifying my model before slicing it. Of course it works perfectly.
Still having trouble with the really complex model both at my model scale (which forces really tiny edges) and full scale. The data is coming from a topo surface exported from Revit. I'll continue to experiment.
-
@pbeseda said:
I ended up simplifying my model before slicing it. Of course it works perfectly.
Still having trouble with the really complex model both at my model scale (which forces really tiny edges) and full scale. The data is coming from a topo surface exported from Revit. I'll continue to experiment.
This is a well known and documented issue...
The native SketchUp tools [and their API coded equivalents] will fail with tiny [or enormous] facets [<~0.1mm] - so when using FollowMe, Solid-Tools, Sandbox-Tools or Intersect etc, it's recommended that you work in 'full-size' [i.e. not the size of the physical-model-you might make from board, glue etc, calculating dialog values to suit that... and finally scale down at the very end], OR you can scale up what you have - say x10 [or more] - do the changes [remembering to make x10 changes to dialog entries too!] and scale back down by say x0.1 afterwards. These problem small facets can 'exist' when they are shrunk back down, but they will fail to be created initially. SinceThe Slicer tool uses 'intersect' API tools so this 'tininess' is the culprit - the small facets in the mesh can intersect leaving tiny holes in the intersections' resultant edge-loops, these won't therefore 'hold' a face...

-
Hi TIG,
In your usage notes you mention manually applying pilot holes to the flattened version of the slices. I can't figure out how to do that so that they would align.
If i draw holes with reference to the centre of each slice group, would they be aligned?
If so, how would i infer to the centre of the each group and then infer to an offset of that should i want more than one hole that is not centred.I just finished slicing this model, slice thickness was 5mm and spacing was 10. Some of the geometry it produced was not closed. It's probably an issue with my model but I'll ask anyhow - is this a common issue with an easier solution than manually closing all of the slices?
Nice job on the plugin, I'm notoriously cheap and never pay for software if I can get away with it but for this gem I'm cracking the wallet to donate. Thanks.
Pedro


-
Thanks for the donation!
I just received it.
As explained in recent posts...
The issue with the slices missing small bits of edges [and thereby not facing and pushpulling to the right size] is caused by the built-in limitations of Sketchup being unable to form very tiny geometry. If the sliced object is small and has a complex mesh surface it can thereby make tiny edges during the 'intersect' processes, and some of these edges might be just too small to survive...
If it occurs in one or two then you can edit the flat instance and draw in a missing section [or use Move to snap two nearly touching vertices together, so a face forms and then you can pushpull using an adjacent piece as the reference. If you have many such failures or are doing a dual-axis slotted set then this is not practicable. In that case I suggest you scale your whole model x10 and apply a similar factor to the dialog entries. When you are done rescale to the original size. Chances are that the tiny edges will then be large enough to form and survive, scaling them smaller will not affect them as perversely tiny edges and facets can exist, but their initial creation can fail in some native tools and their API equivalents - like intersect, followme etc...
The simplest way to scale a whole model is to draw a line a known length - say 1m - then use the Tapemeasure tool and pick th start, then the finish; the VCB says '1m', immediately type in 10m + <enter> and a dialog pops up asking if you want to scale the whole model... answer Yes. The model is now x10 larger than before. Do your operations [remembering that everything is x10 - so slices are now 50mm not 5mm etc!]. When you are done you can reverse the procedure with the Tapemeasure tool - picking the now-10m-longline's ends and now typing 1m and Yes to revert to the original size. You are now free to export the slices as desired at the required size...
This method of tapemeasure-scaling also works on the contents of groups only etc if you are in edit mode, and is a quick and easy way of permanently correcting the size of models or 'parts' you might receive from others etc, that are incorrectly sized.To make aligned pilot-holes you could punch a circular hole completely though the object and 'subtract solids' to leave voids that would then appear on each slice.
Or after slicing you could making some vertical guidelines [for your Z-version] through all slices [as assembled in their stacked positions]; then edit each stacked slice instance in turn, and center a circle on the top face using the intersection of the guide and the face, then pushpull it '5mm' through the slice to form a hole. The hole will also appear on the flat version. To assist in this use View > Component Edit > Hide rest of model... to show only the current slice being edited. It might also be quicker to make a hole component - a 5mm high cylinder of the desired radius, with it's curved surface revered to look inwards and with its two end faces removed, and its insertion point [axes] located on the top circle's center: you can them insert these in each edited slice at the guides' intersections and explode them - their merged geometry should maintain the 'hole' through the slice...Again it the holes are going to be small diameter a temporary scaling-up might be efficacious in avoid missing tiny edges and facets...
-
Thanks TIG, i'll try those suggestions when I get home.
Check out my new cardboard cutter:
The cutter part cost me less than my donation
-
Looks like your 2 slices of the blade on that old singer from having a major electrical emergency

-
Mwaha. I'll deny it if anyone ever asks but I've done some of my own house wiring, sometimese I wonder if I'm closer than two blade slices to an electrical emergency.
Advertisement


