Garden Wall Brick.
-
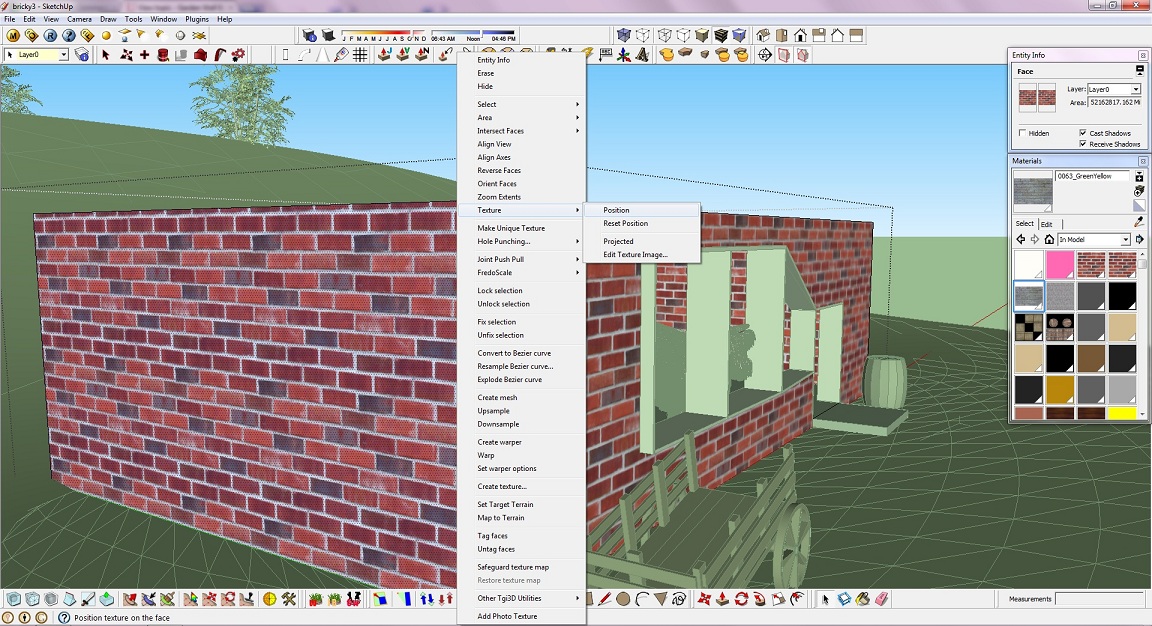
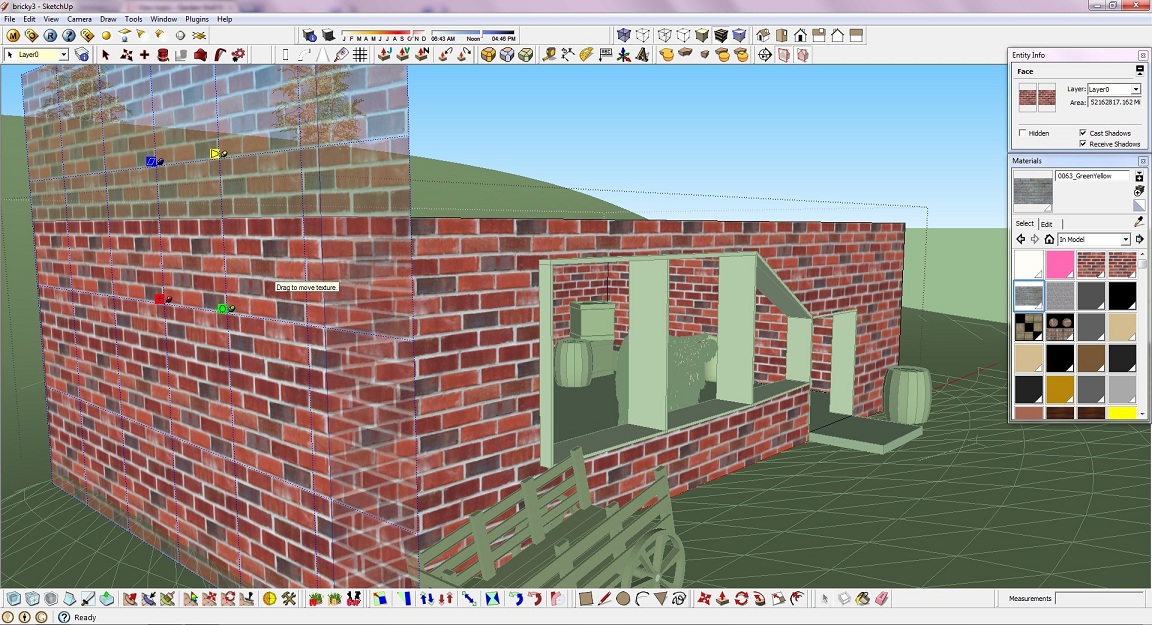
OK, another one of those d'uh questions probably. I am trying to texture a low brick wall marking a front garden boundry. Problem I have is the top of the wall, if I get the front and back ot the brick texture aligned the top is so pi55ed it makes my eyes cross.
I know it is not the end of the world but I am one of those perfectionist types and cannot rest until I get this.
If you have any clues feedback would be real good. Thanks.
-
Without the model, I'd say open the wall component and texture each face separately then position each one.
-
Tried that, easy steps or so you would think. Problem is the one mentioned about alignment. Nothing easy here folks, nothing to see.
-
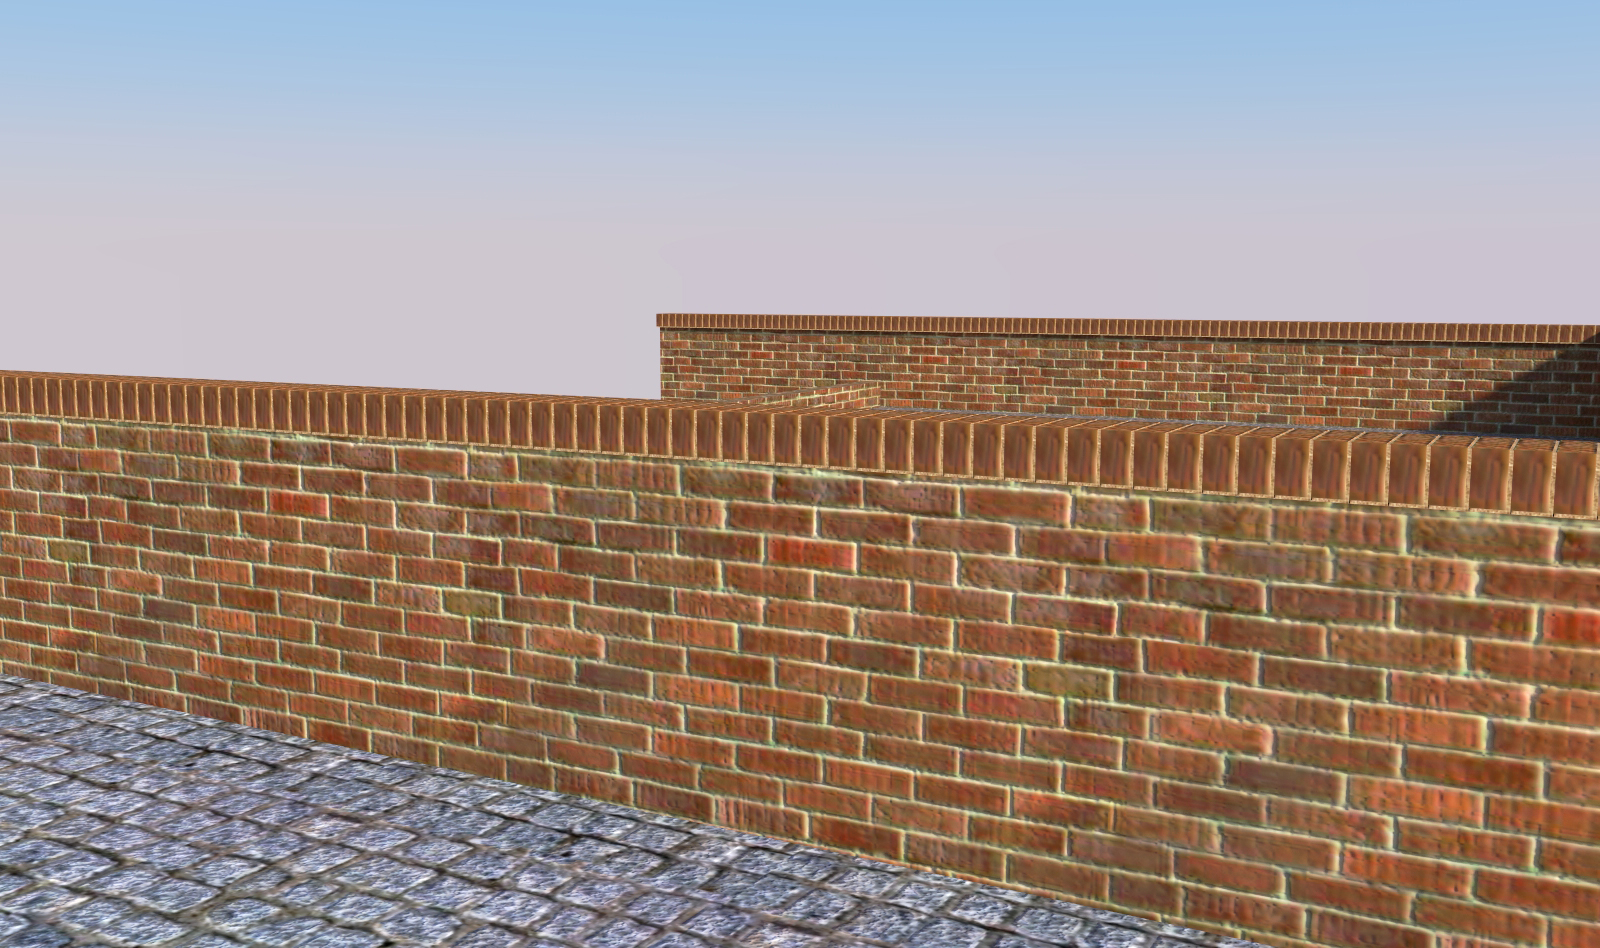
This kind of capping is what I am looking for, I would prefer the same brick texture for continuity.
-
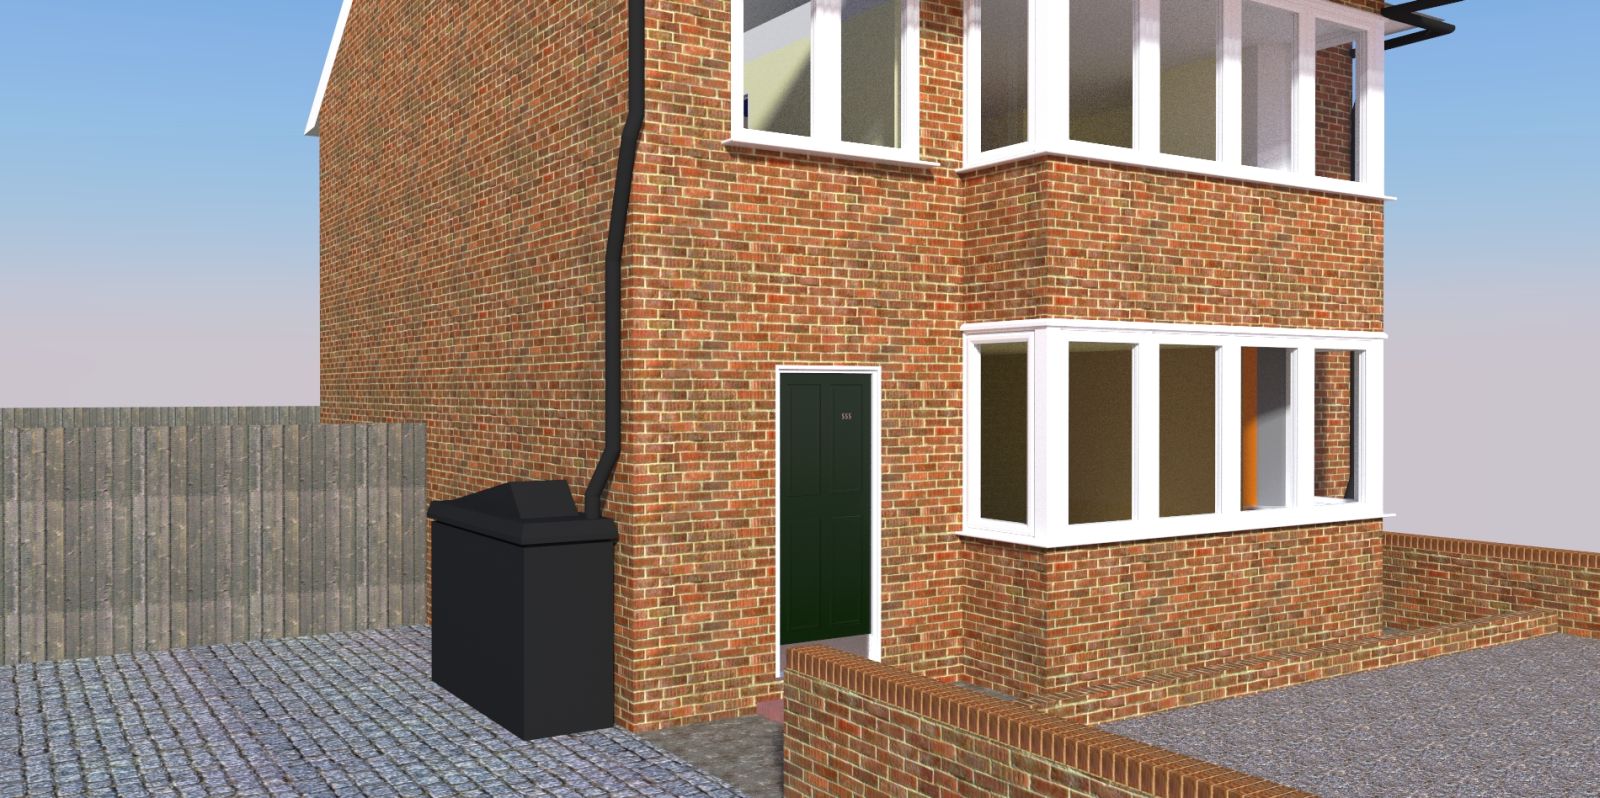
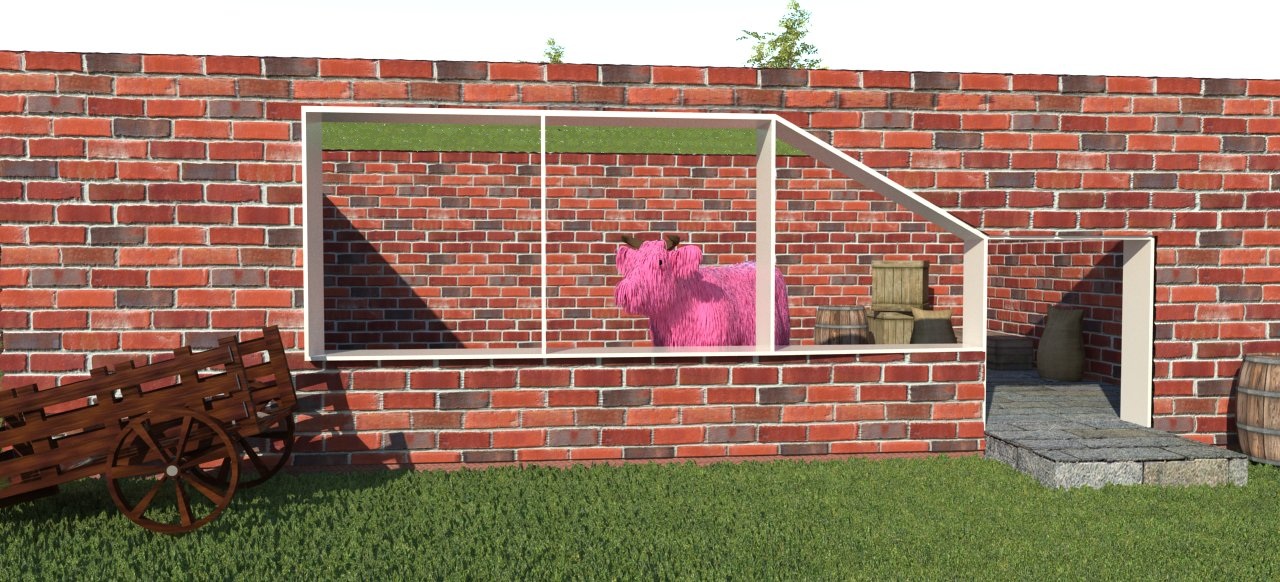
The building it goes with.
-
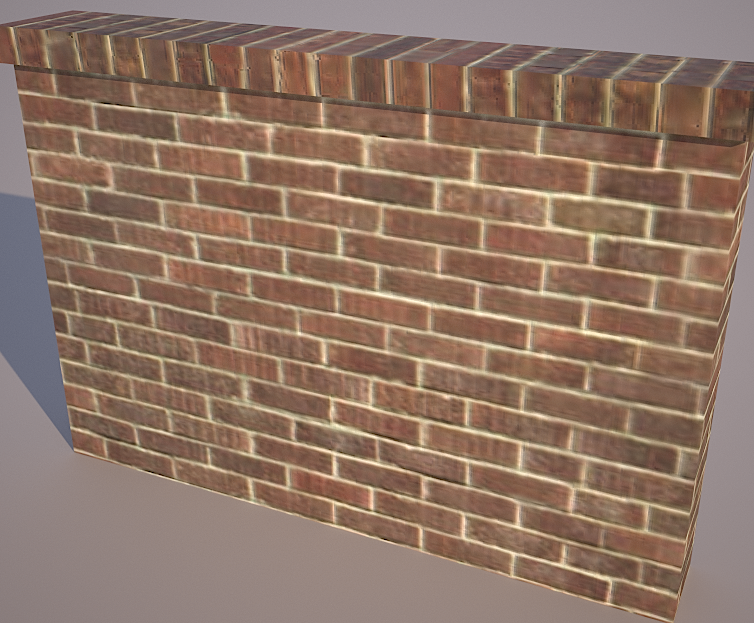
From your original post I don't see what you mean about alignment. As for capping and wall brick matching, do mean something like this?
-
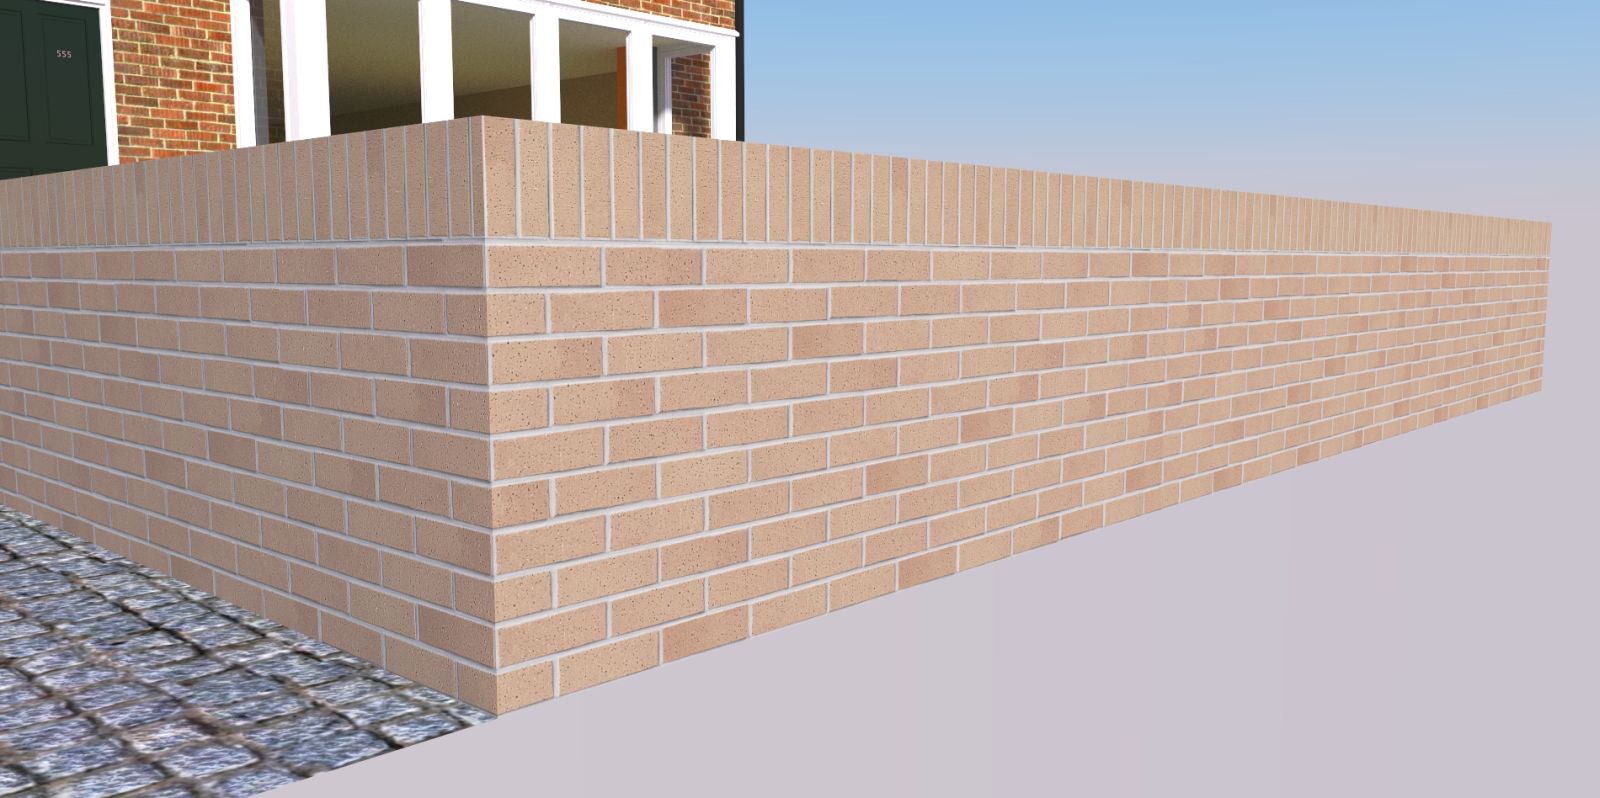
More like this image, found a brick wall builder that makes evrything easier. http://www.brick.com/md/index.htm
I found the textures would not equialise when I tried moving them to match all faces, basically the wall was not looking right, the capping was a method to get by this. I think I have what I need with minimal tweaking, thanks for your input and time.
-
Try using Fredo's Thru Paint using the "Natural UV" method. It will maintain continuity if you drag paint between the two surfaces. Look for the yellow bounding box to know the textures are aligned. http://forums.sketchucation.com/viewtopic.php?t=42089
-
Mike,
Good! I see you ended up with a more regular texture. The antique brick was hard to work with. I assume you downloaded the brick software, and extracted a texture from it? Looks like Windows only
 but nice find! I learned much by looking at your issue. I also figured ThruPaint, which I have looked at, but not learned, would offer a solution.
Good ideas and nice wall work!
Peter
-
Mike, you cannot cap the wall, as you illustrated, with the same running bond brick texture - you need a soldier or stacked bond texture. If your using one of the masonry companies' masonry designer program, that's easily achieved; after selecting your brick and creating your running bond pattern, change the coursing and build and you'll have a matching soldier (or header, stacked, 1/3, etc.). As far as aligning the textures up, if your anal retentive about such thngs (like I am), you cannot simply wrap the same texture around a corner - you'll have to reposition it to avoid mortar joints on the edges, and to match the headers and stretchers at the corners. Also, if you model masonry to nominal dimensions, as opposed to actual, your textures will not quite fit, and you'll be left with mortar joints at corners and other such anomalies.
If you haven't figured it out, the textures created from the masonry designer software may not be dimensionally accurate. You'll need to figure out what size brick your using, and then resize your texture as needed. It also helps to customize the image when creating it to a size easily measured. For new construction I frequently use modular brick (3 courses = 8"; 1 stretcher + joint = 8"), so I will create an image that is 6 courses across and 18 courses high. Then I will resize it to 1024x1024 pixels - that gives me a 4' x 4' brick texture. Same goes for soldier and header courses.
Hope I understood the problem and this helps.
-
Thanks guys, I looked in to thrupaint which I will try once I get the problems caused by updating libfredo6 ironed out, honestly thought things would go well today but that's life. Daniel, thanks for the input, I was just trying the most awkward setup of bricks so the technique could be destruction tested. Later renders will have the correct style, once I am back rendering.
As to the antique brick well, I think it might be ok with an organic wall but there it ends, messing with alignment of texture send the whole thing sideways and it looks a mess.
-
As a side note if you keep going with this (madness
 ) Tadema (John) is master at rendering all sorts of masonry including funky textures. I wonder if he may let some coursework slip but he sure makes some fantastic pictures. And Richard (that's the user name) has done a lot in rendering and designing to brick with Maxwell. If you look into some of his posts you might see some notes on that.
 -
Bricks are a pain.
Mason is a bigger pain.
Using TGI and Artisan UV spraying helps. Including SU texture alignment option.Oh and pink cows do exist!

Advertisement


