''Fixing''
-
Be sure you are talking about "Components" and not just "objects" or loose geometry.
-
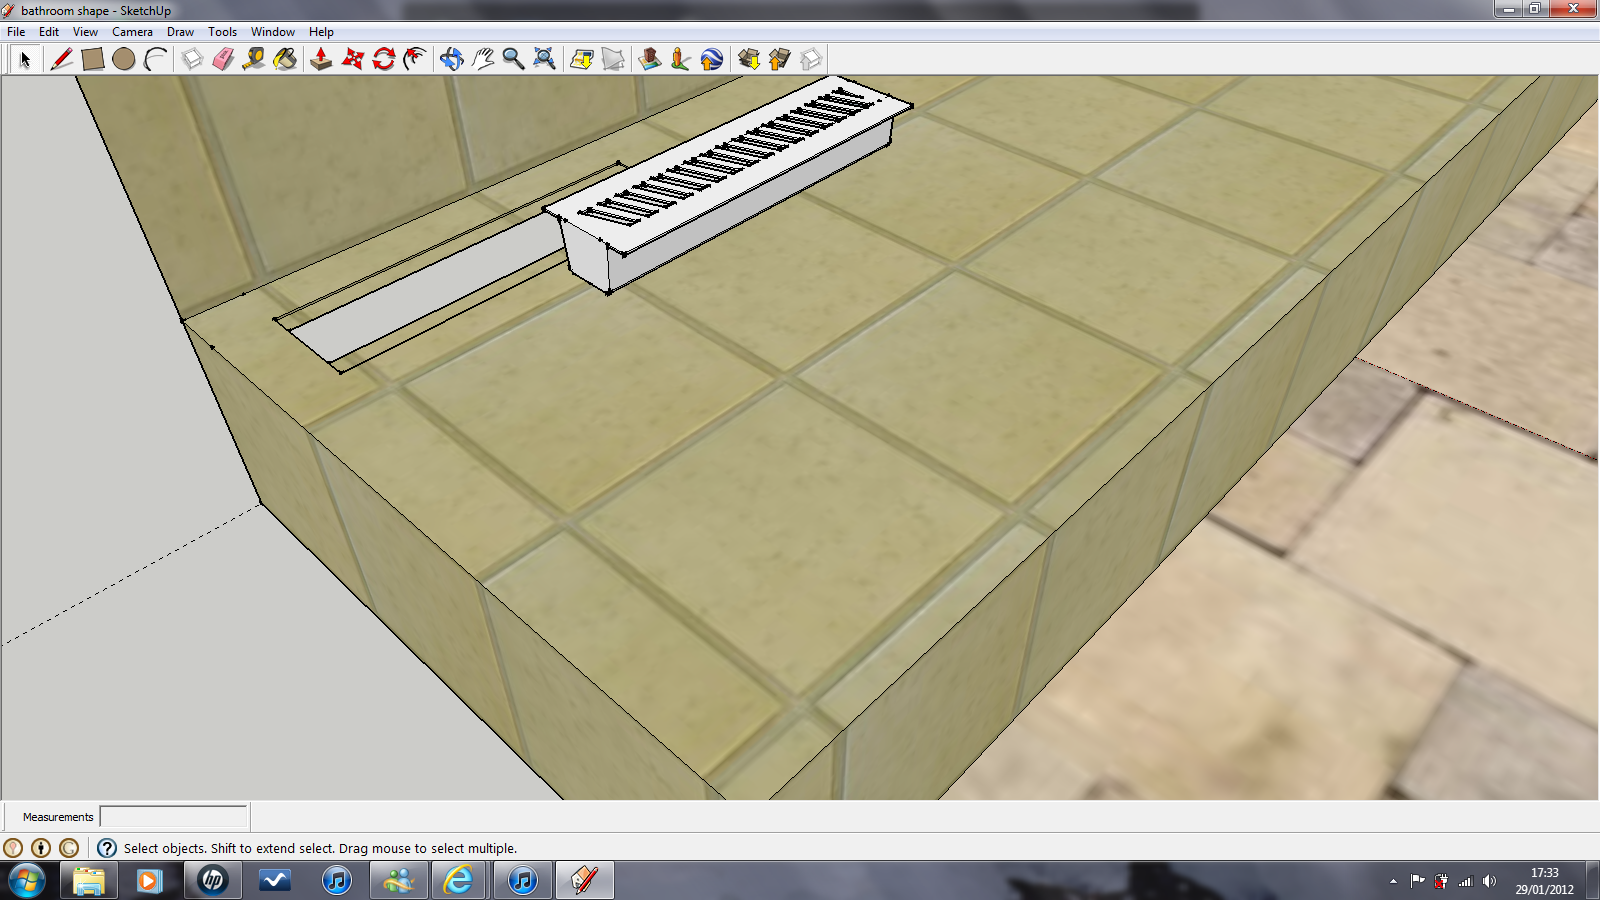
 okay, i may be getting confused with all the terminology! basically I have made a general model of the shape of my bathroom. from this im trying to design a new lay out for a raised section of floor that needs to be made for the drainage to be raised.. with this i have also made a quick sketchup of a drain. i want to import this drain to the bathroom and allign the top of the floor and the drain, or alteratively i have made a dip in the floor the same thickness as the edges of the drain. so mate the bottom of this dip to the underside of the drain... pics will follow to make this all a little more clear. with solidworks, you could still select individual faces.. were as SU seems to create a big box around the imported part. making complex parts hard to mate together.. SW was literally click, click, right click, click... done... im struggling with SU!
 -
Not hard to align but you need to get used to a different approach. Could you also post that example model of yours?
-
@gaieus said:
Not hard to align but you need to get used to a different approach. Could you also post that example model of yours?
What model is that? the drain or the bathroom? what approach should i be looking at? i think trying to do it the same way as im used to is my problem.
-
Well, whatever I can see in that picture above. I gues even for you it would be easier if we could demonstrate what the best approach(es) is (are).
Yes, what you describe as your workflow in other apps, will not work here (although I think there are align plugins but I never needed them).
In very short, select your object #1 at a meaningful point (say an endpoint of its top), click on the Move tool and move it (grabbing at that point) to another notable point/edge/face on object #2.
You will keep getting these inference tooltips that are very helpful.
Edit: have a look at these videos (especially the third - but the first two are also good for introduction):
http://www.youtube.com/watch?v=M2xlYnXzOt8
http://www.youtube.com/watch?v=K93025DDUpw
http://www.youtube.com/watch?v=2e095bSztLs -
One major point with moving is Click and release, don't click and drag.
Click once to select the point you want to move, move and click again to release.
-
Ensure that your drain-component is NOT set to glue to anything [None]/
Select it.
Move tool.
Pick a corner of the drain [near the top].
Pick a point on the floor where the corner should be.
The drain-component should move into place.
IF you HAD made the drain-component setting it axes onto a corner [near the top] then placing it from the browser would ensure the cursor was also at the required 'snap-point' on the floor... -
I would actually make it gluing. But of course, each example is different...
-
BUT if it's set to glue to anything and its axes are set on its 'bottom'... then you can't get it to relocate downwards onto the floor aligning near its 'top' !!
Either you have it glue AND correct its axes, OR you leave its axes alone with NO gluing, so the you can then place it/adjust it by hand later... -
Could it be set to glue and cut opening in floor?
-
@pbacot said:
Could it be set to glue and cut opening in floor?
Yes that's another very good option... BUT the axes would again need locating at the 'top' corner, so it cuts the hole and lets the grating be clear of the floor-tile pattern...
-
And you are going more advanced than someone who just wants to learn how to move things around accurately.
-
Obviously I meant a gluing component that way; placing its axes (i.e. gluing plane) where it should be to glue properly. OP also wrote:
@baileyboi said:
...they would then slide along any axis that you hadnt fixed...
Translated to SU-lingo, that is typically a glued component which you can move on the plane wherever you want but cannot get it off the plane incidentally.
Advertisement


