How would you model this (well)?
-
Rich, sorry, I don't think I was clear. What I was referring to wasn't the surface blending but the very first model you sent which wasn't blended at all but it had an interesting subdivision to it. I didn't know if you'd used a plugin to create that or done it by hand.
-Brodie
-
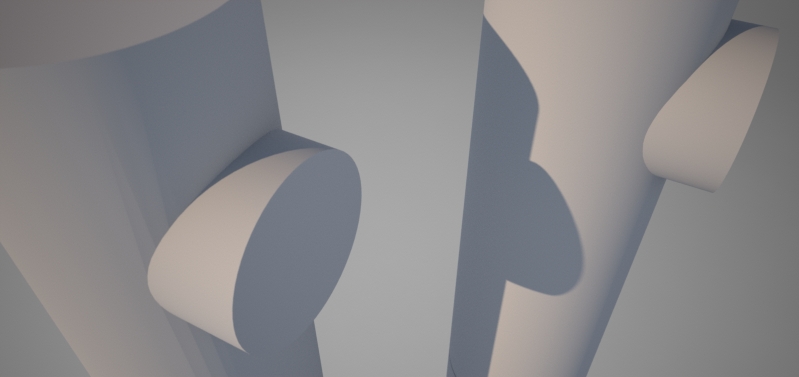
Oh ya, and just to illustrate my shading issue I'll show you a quick maxwell render. Notice how the shading issues in SU translate to shading issues in Maxwell. The one on the left is after intersecting the cylinders, the one on the right is before intersecting them.
-Brodie
-
Sorry, I see what you mean now. I did it in MOI as intersect in SU doesn't triangulate the mesh. MOI has a great .skp export option the help control the polys and keeps surfaces smooth.
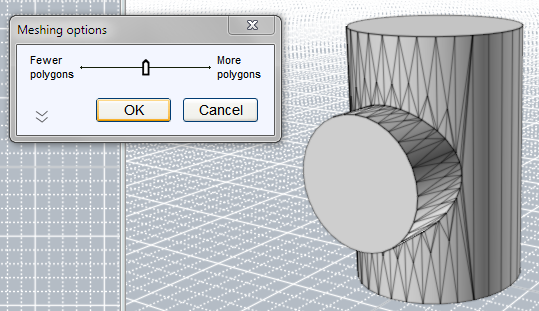
But why do you need them to intersect? Did you try rendering them as separate components but occupying the same space?
-
Well, normally I'd do that and not worry about this mess but, as I said, I'm hoping for a highly detailed model this time for some closeups (and as a modeling exercise) which means it needs a cutout which bevels back leaving a bit of a gap between the larger cylinder and where the smaller cylinder fits into it.
Hrm, don't have Moi but maybe Max has something similar I can find. I did a quick test with Max and god the same shading issues but maybe there's another tool in Max to do this better.
-Brodie
-
Brodie, here is a modeling example.
[flash=853,505:3bdh7ugj]http://www.youtube.com/v/G__mig97om0&fs=1[/flash:3bdh7ugj]
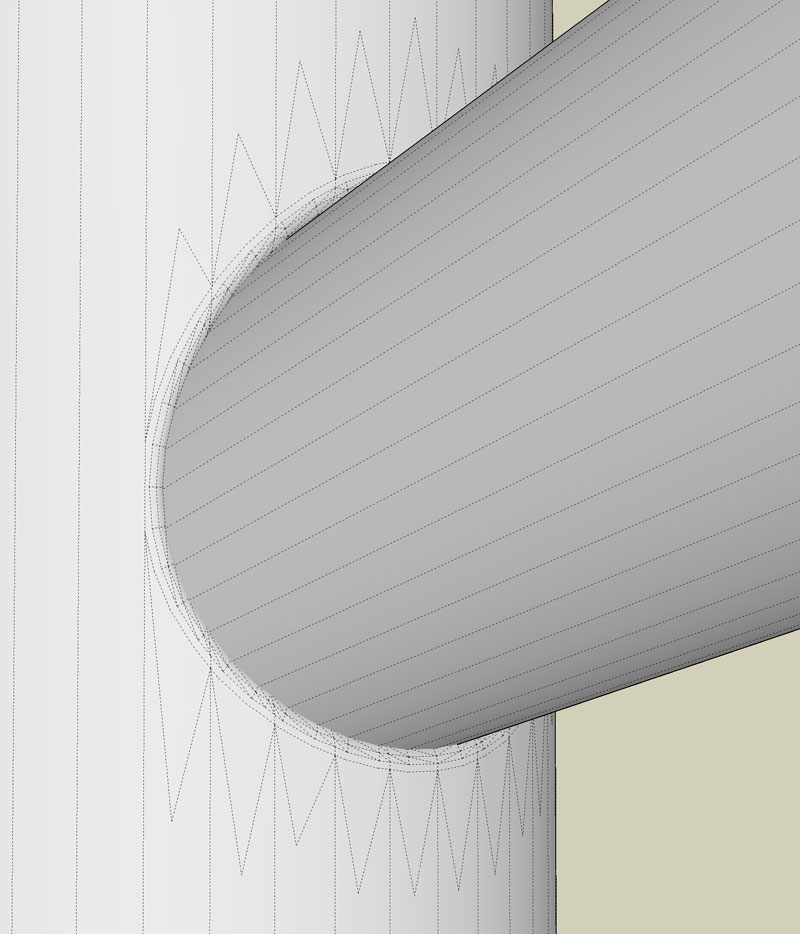
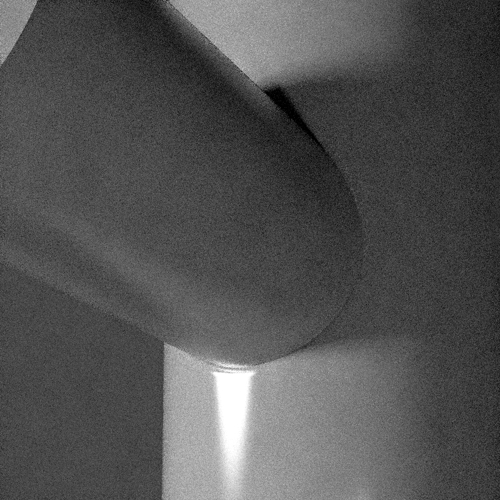
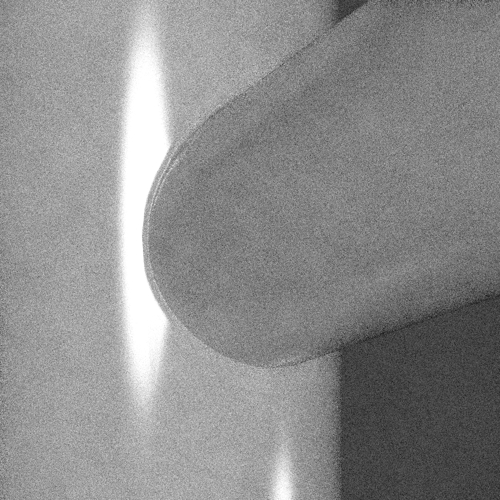
After doing the video I read more about your shading issue. If you stitch some simple triangles around the opening they seem to disappear. I did this in Twilight with a porcelain texture.
Hope this helps.
-
Oh man I had the whole blend reversed.

No wonder I was confusing things. I'll have another play with this.
Look for Blend Surface in Max though it'd be faster. I know Max has a tool for this as standard.
-
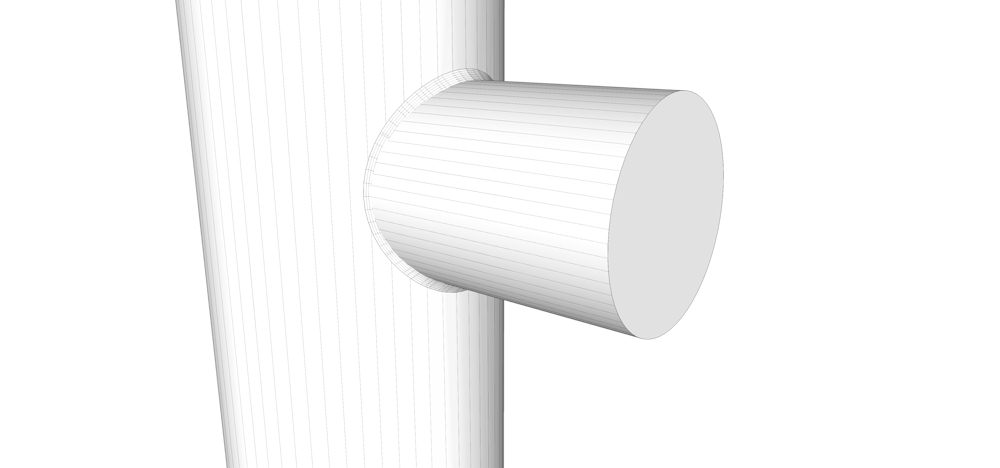
Pretty simple using TOS, EEby Vector and follow me.
-
Your bevel is in the wrong direction Pete.
-
Solo,
You cheated
 The blend is going the wrong way in your image so it would require no intersection which is what causes the shading issue. If you notice in the original image the metal doesn't really come OUT to meet the small cylinder, it's just bent IN(other than what I'm calling the "spot weld').
If you intersect your objects and smooth it out you'll see the smoothing issues I was having.
Boo,
Very interesting method. I quite like that it keeps the mesh very clean. Even your solution for fixing the smoothing issues isn't too destructive to the mesh. I'll take a crack at that.
-Brodie
-
@unknownuser said:
Your bevel is in the wrong direction Pete.
I guess I need to read the first post, I was wondering what all the fuss was about, looked like a simple elementary modeling issue.
-
Both Punk'd by a tap

If you can share the model (just the parts in question) when you're finished I'd like to upsample it with TGI3D to see the effect.
-
no problem
-
@solo said:
Pretty simple using TOS, EEby Vector and follow me.
I understand the first two, but for what purpose did you use Follow Me?
Boo, thanks for the video tutorial.
-
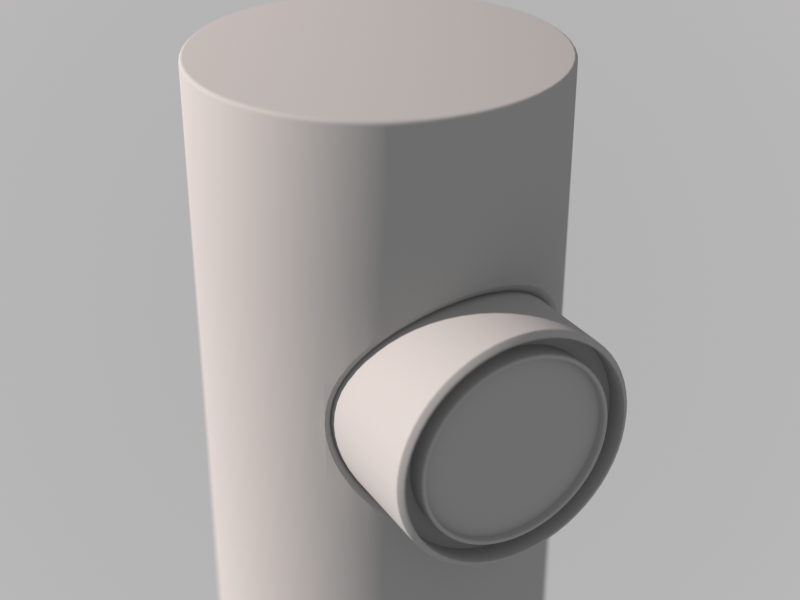
Here's the result. I think this looks pretty darn good. I combined a few of Boo's and Rich's suggestions.
Basically I followed Boo's youtube video which worked great. I diverted a bit in that instead of scaling the inner circles I simply pushed them back into the faucet with the move tool which seemed to give a bit more uniform mesh and more what I was going for. I also took Boo's suggestion on smoothing but added a few more triangles which matches up pretty closely to what Rich was getting from Moi, as well as a bit of extra finesse on the ends. This seems to fix the smoothing issues.
I've kept the inner bevel/circle as a separate component. Integrating it and smoothing it caused some more smoothing issues which didn't seem worth resolving as I like the output as it is.
Here's a quick render and the final model. Let me know if you guys come up with any more suggestions.
-Brodie
-
Looks great.
-
TGI made a smoother mesh on the radius but the edges didn't align.
Nice result Brodie.
Here's a MOI export...
-
round corner seems to work well?
-
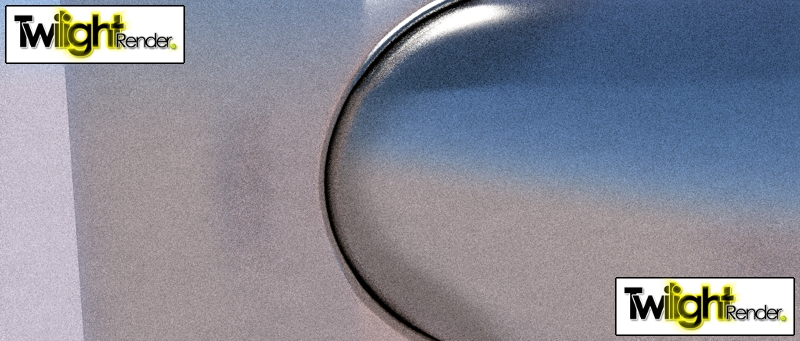
after artisan-SDS
-
Please Solo, Xrock, explain your techniques to a newbie modeler!
I must be missing something because after a couple of hours couldn't get as far as your models.
This is the last try with Fredo's round corners; notice bad shading, reversed faces, deleted faces... all kind of problems here!Rich, even if MoI mesh is very clean still I see it's not without shading issues.
-
I thought I'd include this. I got some good advice on how to do this in SU. It would be easy enough to translate this to SU as well. The advantage to this method is that it smooths out very well in Turbosmooth since it's all quads. I suspect artisan would see similar results.
-Brodie
Hello! It looks like you're interested in this conversation, but you don't have an account yet.
Getting fed up of having to scroll through the same posts each visit? When you register for an account, you'll always come back to exactly where you were before, and choose to be notified of new replies (either via email, or push notification). You'll also be able to save bookmarks and upvote posts to show your appreciation to other community members.
With your input, this post could be even better 💗
Register LoginAdvertisement


