How did you get started with SU?
-
I came in through the back door. SU is more suitable for modeling and rendering then my CADD program. I ported my CADD mass models to SU for presentation. Over time I have learned to go the other way, from SU to CADD in order to complete construction documents. I am moving into programing in order to enhance my design and production drawing system.
-
I happened upon SU when tasked with producing drawings for Aviation Training School, that was back with v5. Already had 2d Autocad under my belt and the cross over to 3d was a joy when I discovered SU.
I have constructed very detailed models of aircraft components over the years(all under licence to my job). Never knew anything about plugins etc til I joined SCF and what I've learned since is invaluable!
Now I've branched into rendering which is another exciting journey. Sure the company is gaining lots from my out of hours learning but for me it's what the new recruits gain from seeing 3d models instead of drawings in 2d.
I don't have an architectural background nor any engineering experience outside aviation so it limits my opinions around the forums.
I'll dig out some early concept models later that show hope inept I was

-
During my professional life, I had little time to concern myself with the 3D design. I am a mechanical engineer and worked in the pharmaceutical plant engineering. Most of the time I spent abroad in Europe and the Middle East. I knew from the company only ACAD 3D. After I moved into temporary retirement in 2005, I began an intensive research on the existing 3D applications.
First, I spoke with my former colleagues in the design office, who worked with ACAD 3D. Very quickly I realized that working with ACAD 3D without training is almost impossible.
On the Internet I read a lot about 3D Product design and visualization programs. Many descriptions and presentations of the programs suggested a very simple operation and quick sense of achievement. As the practice looks like I need not tell you for sure.I have tried many programs including Rhino, 3DS Max most frustrated I have given up after some time. By chance I met with Sketchup 6.
Then I found a video tutorial that showed all the basic functions in 13 videos. These videos I worked off piece by piece. Since I knew the Sketchup program that was I was looking for.
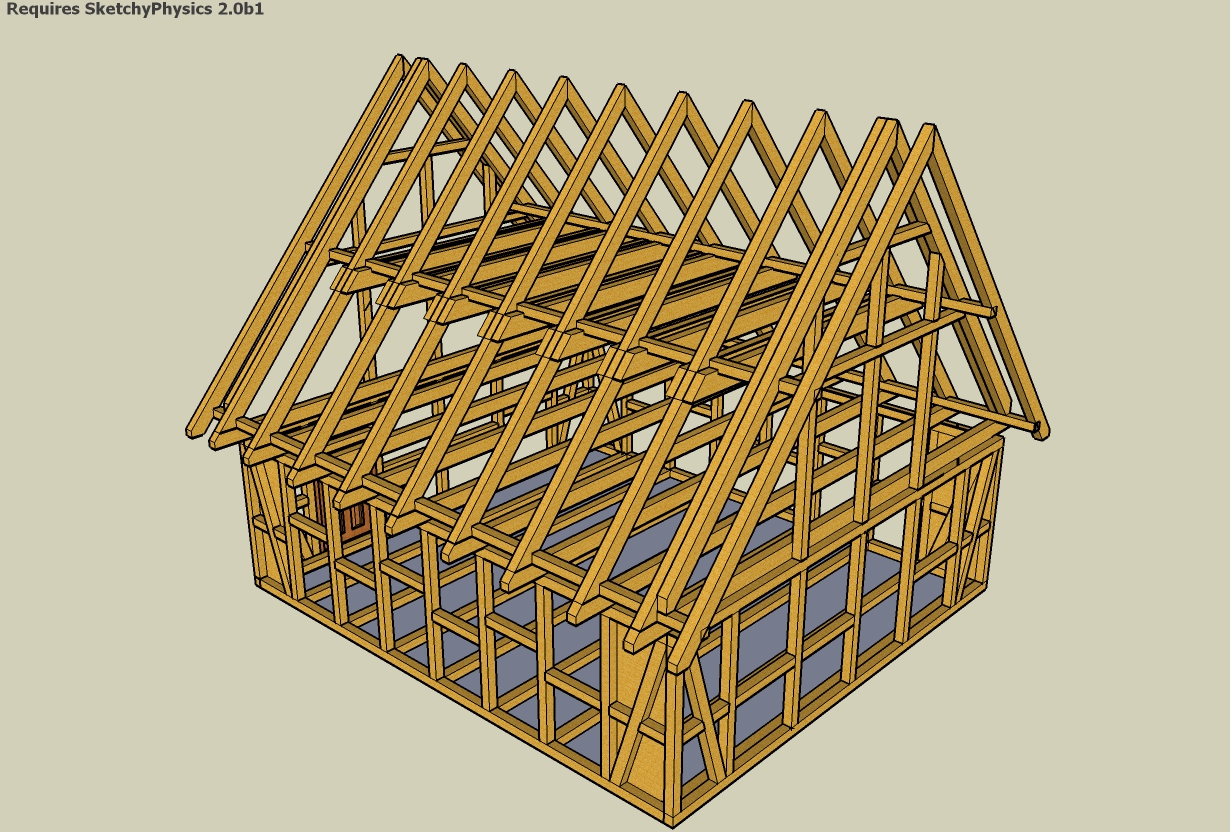
Four weeks later, I trust myself to my first model of a timber-framed house. With each new model, the enthusiasm and the courage growth to venture into more complicated models. Since then, it always went along.
And the final climax was reached when I had found the SCF forum. Here I have met so many new techniques which are invaluable.Karlheinz
Karlheinz
-
Sketchup was introduced to the architectural company I worked for back in 1999 or 2000 (whatever the year At Last software created that amazing program). It was love at first sight. Sketchup was so easy to learn and very intuitive.
I left architecture in 2003 to pursue a career in the game/film industry. I learned Studio Max and Maya, but I am still using sketchup as my 2D/3D software of choice to build architecture and props, from hard surface objects to organic ones.
Have a great weekend!

_KN -
I cant really remember to be honest, but i do remember my dad showing SU to me a year or two before i started using SU regularly (although i wasnt particularly interested at the time.)
My best guess is that it was a '3d = awesome' sort of thing. Browsing through the gallery here was pretty inspirational as well.
-
Well, how did I start...
It was barely a year ago that I discovered sketchup, my first model was a bridge that I didn't save (I regret it to this day).
And my progress... To start before I only knew how to draw, erase, and smooth (and of course navigate) and now I can do 100x that much. Now remember I started with sketchup barely a year ago and I learned so much in such a little time that I even can't believe it! All this jockey need now is experience.I regret that I have no work to show you but I'll try to get some of my old models up, really if you wanna see someone like me you probably want proof.
And here it is:
I'll try to get more
-
Hi folks.
I discovered SketchUp (SU) at version 3.0 at the end of 2003.
I immediately felled in love with this program after watching all the available tutorial videos available at this time and trying it for about 10 minutes (yes, minutes).
What seduced me was its efficiency. This efficiency being the result of a simple interface, a limited but powerfull set of tools and functionalities and a very quick response when manipulating the model.
After discovering the "@last forum", dedicated to SU, I was even more excited and soon, I discovered a whole group of passionate peoples exchanging tricks and techniques and helping every newcomer like I was at the time.
It took me only a few months before I could begin posting usefull answers in the form of SU files in the form of multi scenes tutorials.
Now, six years later, I am still doing it here (in English and French) and also at the SU help group on Google and also in French on the Abvent site.
And I am still learning a lot, especially by trying some very clever pluggins elaborated by the Ruby experts.
Just ideas.
-
I also found SU in 2003, version 3. I downloaded the trial, played with it for about 15 minutes and decided I couldn't do without it. Discovering the @Last forums was also a decisive experience - everyone was so helpful.
Anssi
-
I had been trying to find a 3D program for some time in the late 1990s'. I love to draw, but the time it takes just didn't fit with impatient clients. In 2002 at an AIA convention, I stumbled upon the SU booth and couldn't leave. My wife watched me for a while and said "your going to buy that aren't you". Got my 2.0 disk and started using it right away - at the convention. (The "SU people were great by the way.)
It has been a great help for my clients (and me) to quickly see many alternates and come on to a better solution - same story for everyone that uses the program.
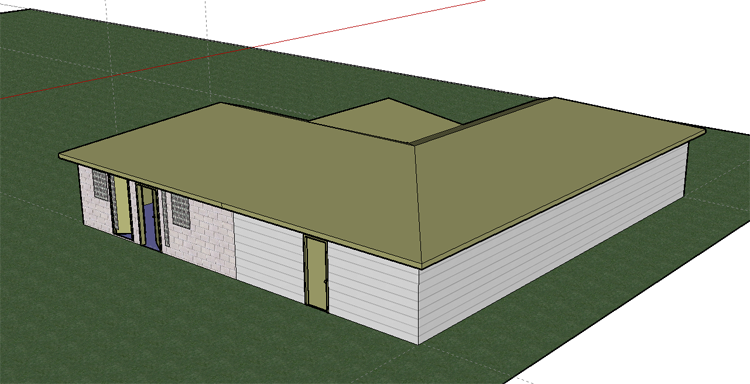
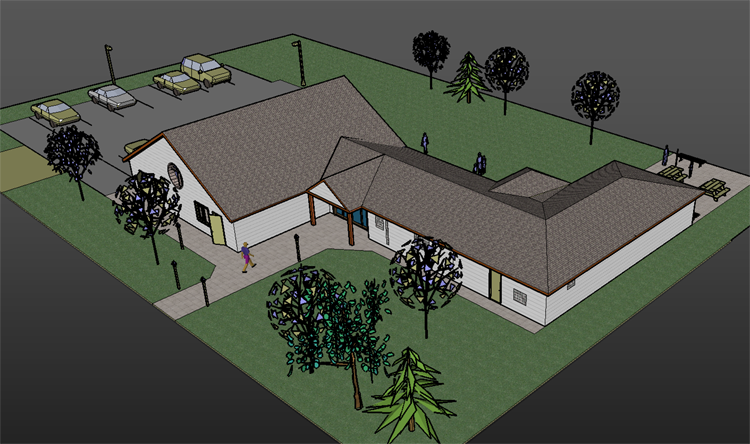
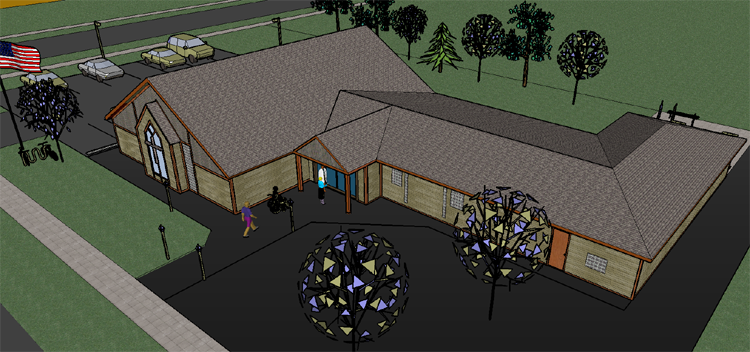
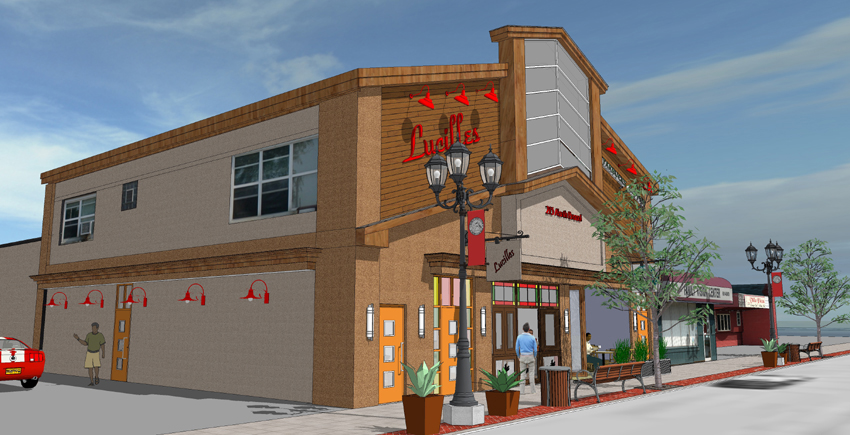
I can't locate my very original drawings, but did find a small church from 2002. A small (50) congregation with shoestring budget wanted to add on to their existing building to grow their group. I have attached early studies and some photos of the actual building. Also have attached a few more recent projects. Some improvement over the years, but I feel sort of stuck at a mediocre level and hope to inch closer to our forum greats. Thanks for all your help over the last 8 years.
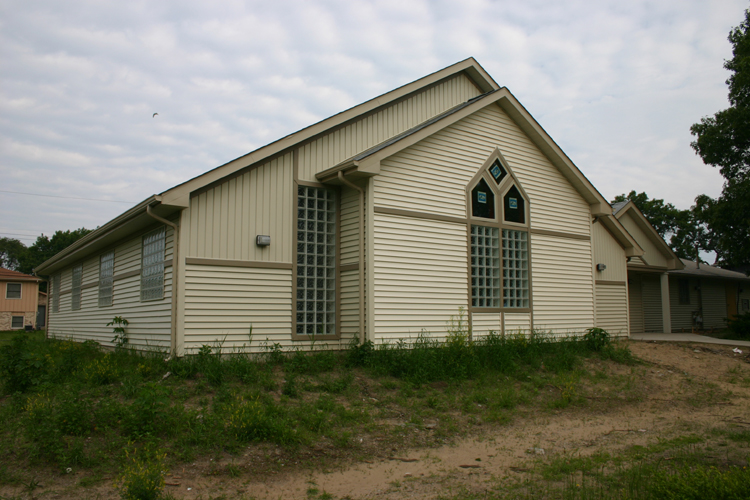
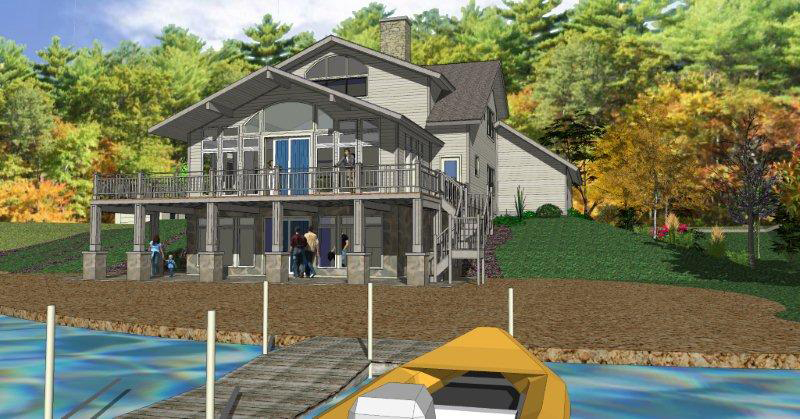
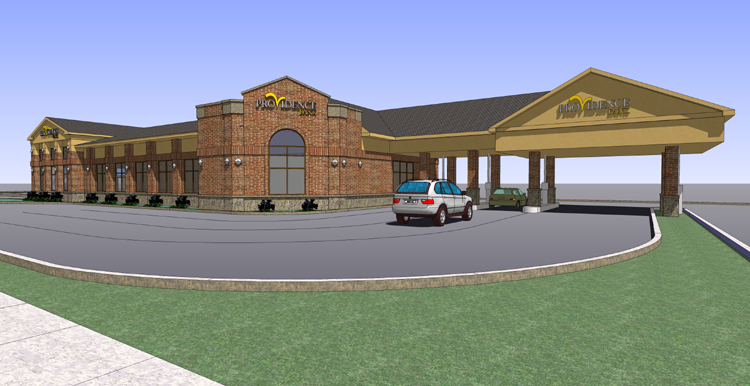

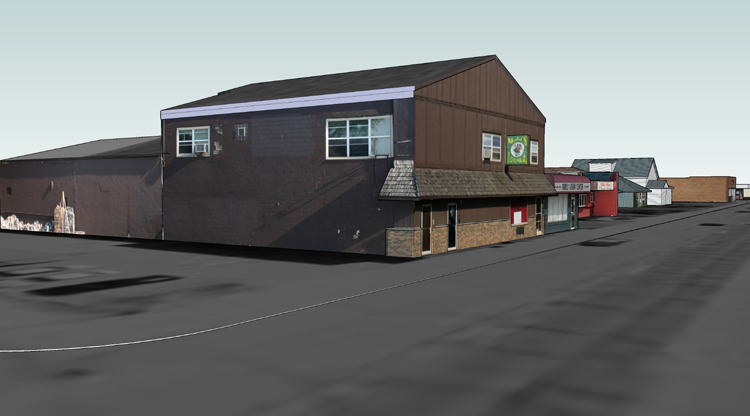
-
I love to draw technical stuff; airplanes, boats, houses, etc. But I am more into the details of the internal fabrication, than just a simple outer view. I have gone though several versions of ACAD 2D and then into ACAD 2 1/2D (they call it 3D, but it isn't), and was totally baffled by the so-called 3D interface. Never got a good render of anything, especially on my big cargo airplane concept, and it took forever to get anything right. Books and tutorials were no help either.
I tried TruSpace, also a dud in the interface area. And a few others that lasted maybe 10 minutes on my PC.
I subscribe to ZD-Net and 2 years ago they had a brief ad for SU. It looked interesting so I loaded it and tried it, without any tutorials to start me off.
In less than 2 hours just playing with it, I accomplished more than I could with ACAD in 2 weeks. By the end of day I had a decent 3D view of my big airplane, for the first time. I now have over 300mb in 15 files of that airplane as I design the internals; landing gear, fuel system, passenger cabin, cargo deck, cargo handling components, etc. All fit back to the master drawing, and each drawing is details on some set of internal components of the airplane.
Yeah, I know SU is a sketching tool, but with some tradeoffs I use it more like a 3D CAD.
Plus there are dozens of drawings of other stuff. One of the latest was a rendering of my main bathroom reno, which worked wonders in explaining to my contractor what I wanted, and to the cabinet maker.
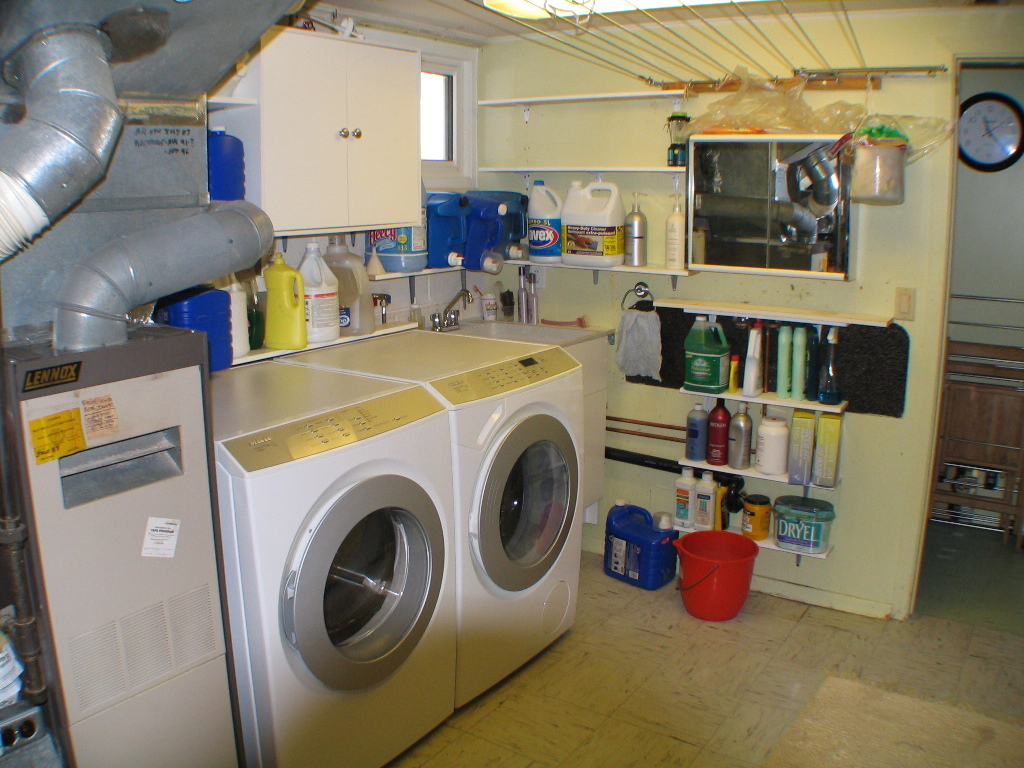
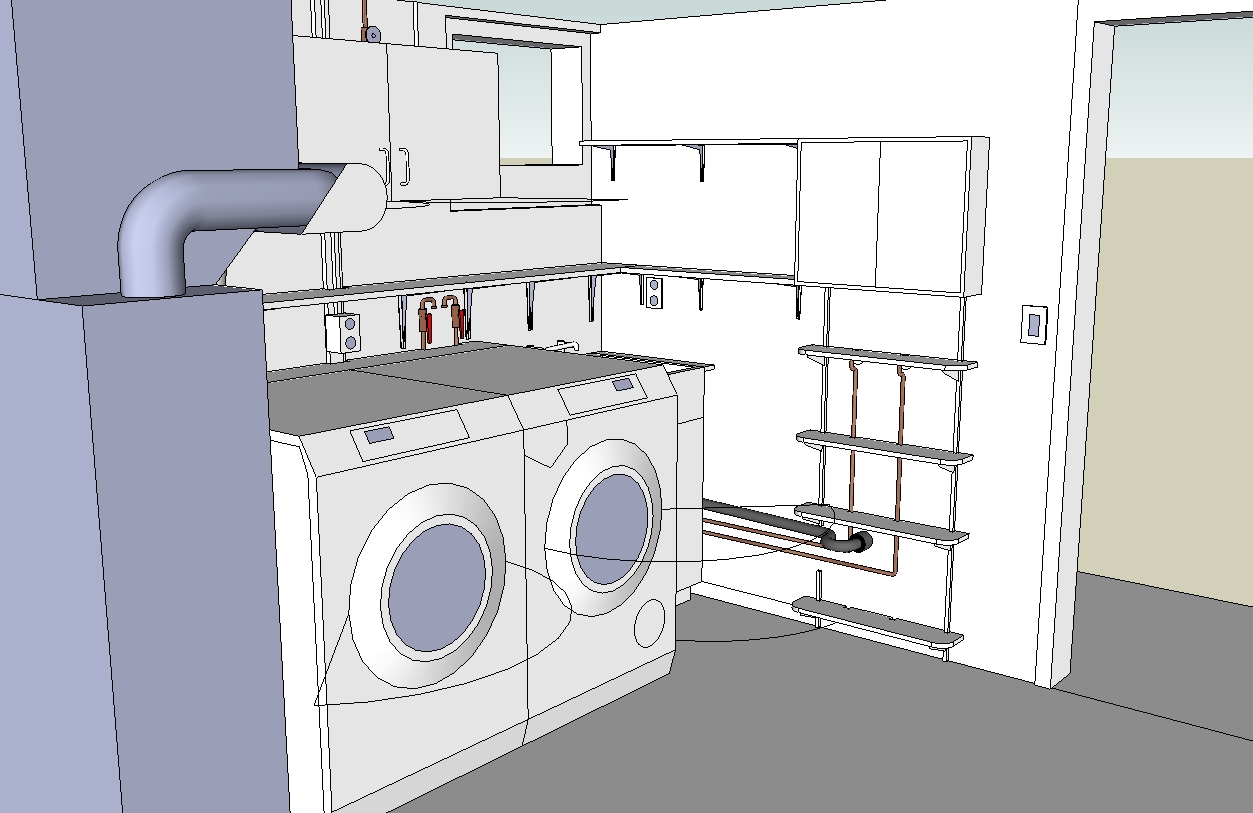
Then I had to revamp our laundry area, as the new front load washer and drier would not fit in the space where the 28 year old top loads went. I carefully measured the space, and played with 7 options to place the W&D and move the laundry tub and shelving. I showed the "boss" the options and she said "that one". That one also showed an interference of 1 inch with the furnace relay box mounted on the side, so I had to move it to the inside, well before delivery. Then I completed the plumbing, electrical and shelving layers and from that made my hardware shopping list. I attach the SU file of that, and a photo of the laundry area, with some minor shelf changes requested by the boss and a view from the SU model at the same angle.
Next is the kitchen. With SU I can quickly depict many ideas and alternatives, for the boss's approval, then flesh out the final choice for the contractor and cabinet maker, rather than trying to repeatedly explain what is wanted, with restrictions and problems/suggestions to work around.
All you need to start is a very careful measurement of the area to make the basic layout, with at least one layer to show the existing for comparison. Taking photos of the existing helps a lot. Then get measurements of the various cabinetry and appliances you will need, and make simple outline groups/comps that you can place or move about. Make a layer or 2 for each alternative so you can quickly compare one to another. Then all you need to do is pan and zoom and display/hide layers to describe them. When the final layout is selected, add the plumbing and electrical components (on separate layers) for a real virtual fit and fiddle before anything starts up. Even paint schemes can be placed on layers to play with. Try all that in ACAD.
SU-6 file SU drawing of laundry area revamp with various layout options and final layout with details.
Advertisement


