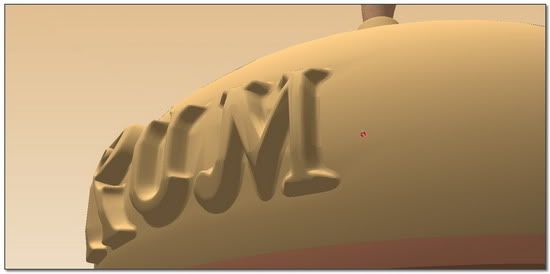
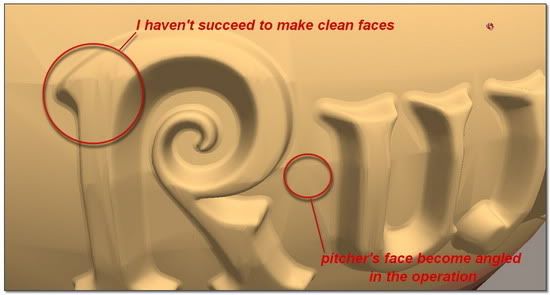
[Tutorial > Modeling] A PoorFlatEllipsoidIndian Bowl
-
Happy birthday Simon, you do realise you ar now officially over half a century old right?
Have a great day and try not draw to much attention to the fact...too late.

-
"Fire-Water Pot"
This time my purpose is to play With Chris Fullmer plugin: ShapeBender Beta V0.51.
My efforts point to use it as an accurate and predictable tool.
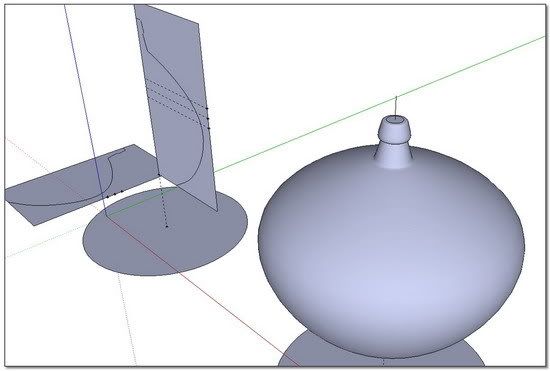
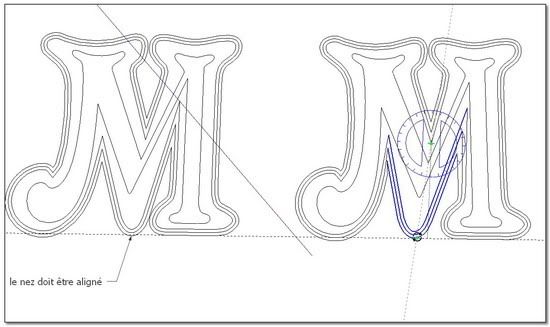
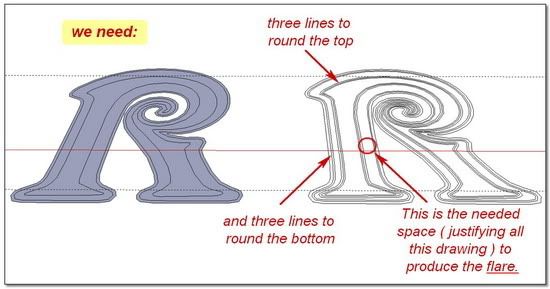
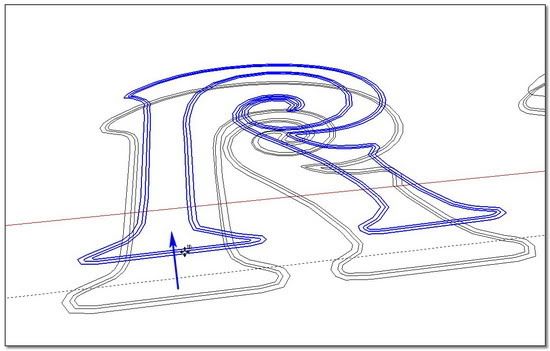
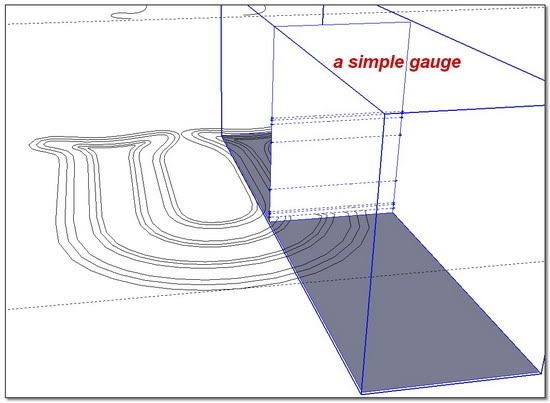
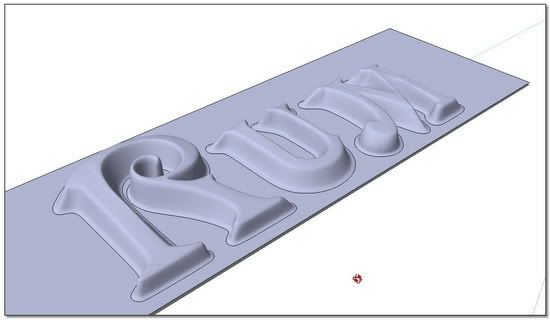
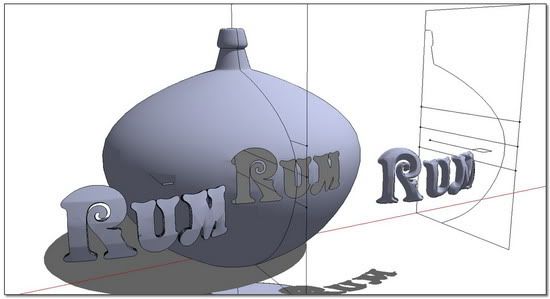
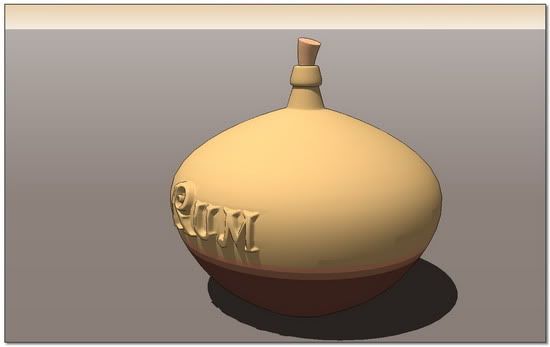
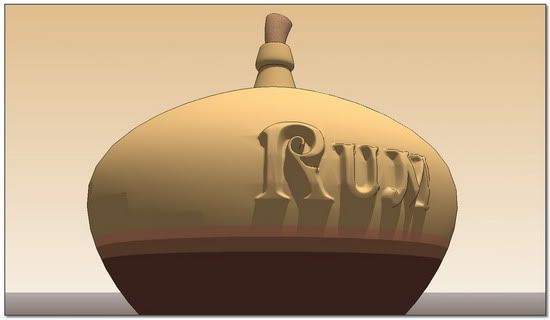
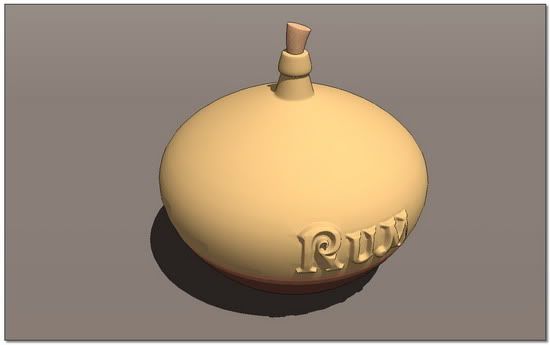
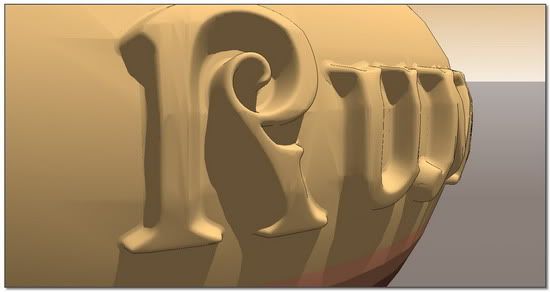
And my exercise is the following: Wrap a thick label on a Rum Pot. (The indians Fire-Water).These pictures explain surely better than i can say what i want to obtain:
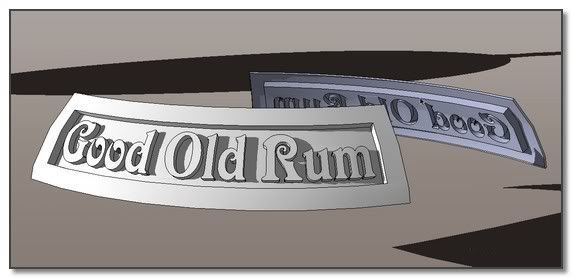
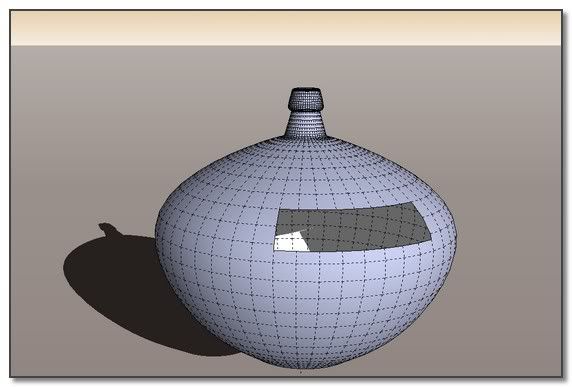
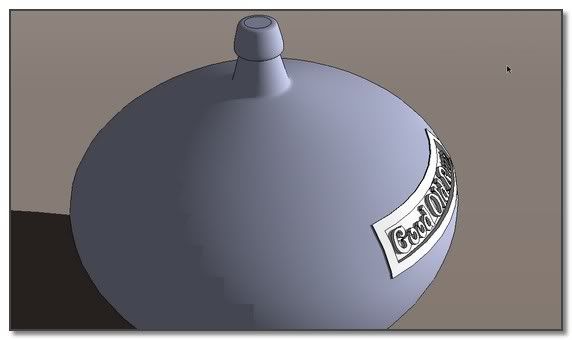
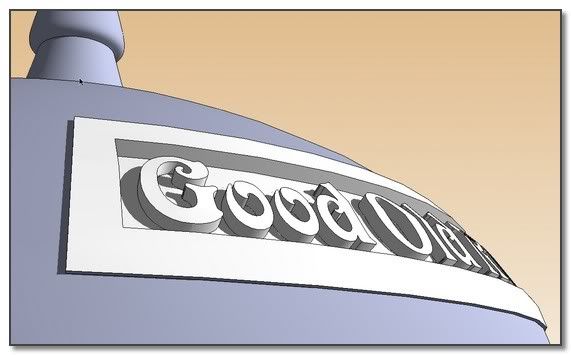
...///at tomorrow to follow
 simon
simon -
"Fire-Water Pot":Preamble and Precautions
Due to one current limitation of ShapeBender ( that we gladly hope it will be fixed in a next update
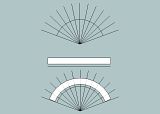
 ) concerning external elements treatment during the Bend process, we should provide a larger label and anticipate to remove them.
@chris fullmer said:
Jeff, I want to emphasize a bug in the code since it might matter to you, since you are making shapes that get built. But the first and last angles might not be calculated the way you would expect - I suppose that depends on what you expect. The image shows the problem. Every sliced part of the model lines up correctly to the curve expect the two ends. That is because I am not actually finding that outer angle at this point. It is a planned improvement

So I thought you should be aware of that so that it doesn't cause you undue pain when you can't figure out why stuff is not lining up right,
Chris
For a study upon what interess our purpose about this specific limitation, please threw an eye on this Wrap Test Slideshow

or the WrapTest Album
Some Precautions using ShapeBender: in order to avoid some odd behaviors which possibly might happen...
1_ Draw curves or Bezier curves from left to right along red axis.
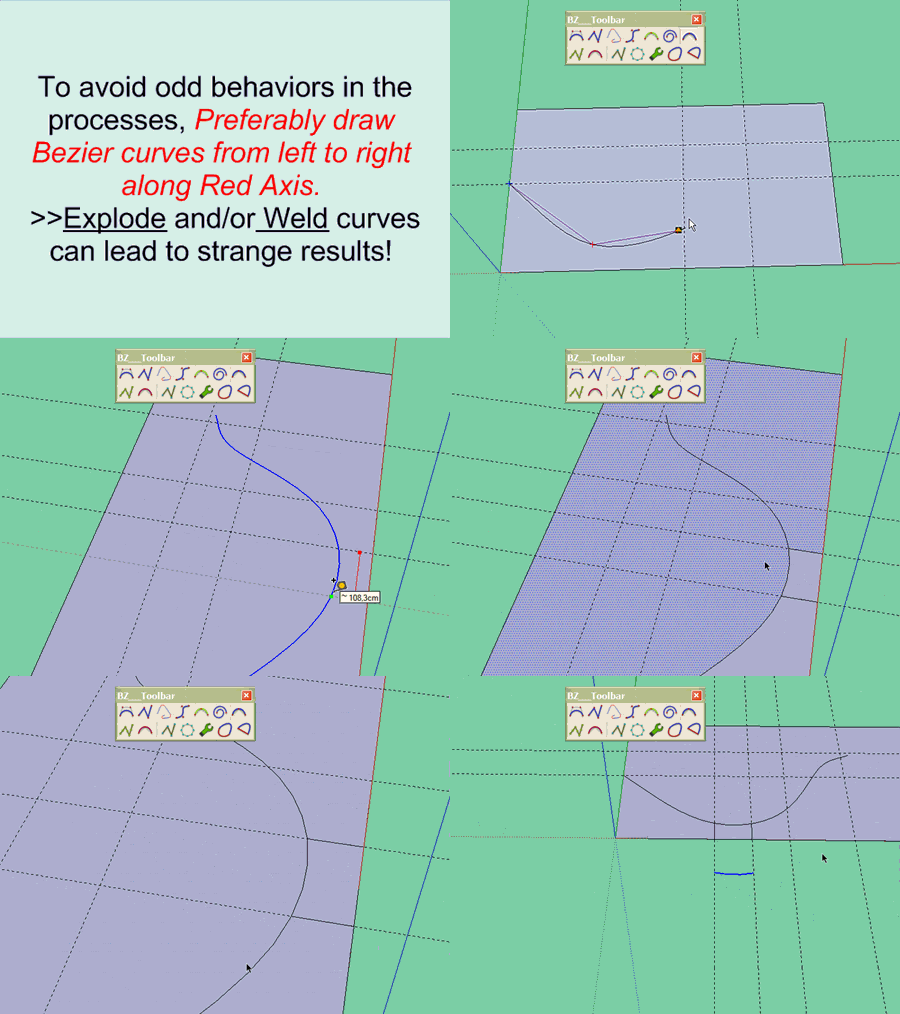
2_ Avoid as possible to explode curves and/or Weld them.
3_ Draw basic circles and circles to be used with FollowMe Tool on three sides multiples: 24; 36; 48; etc...
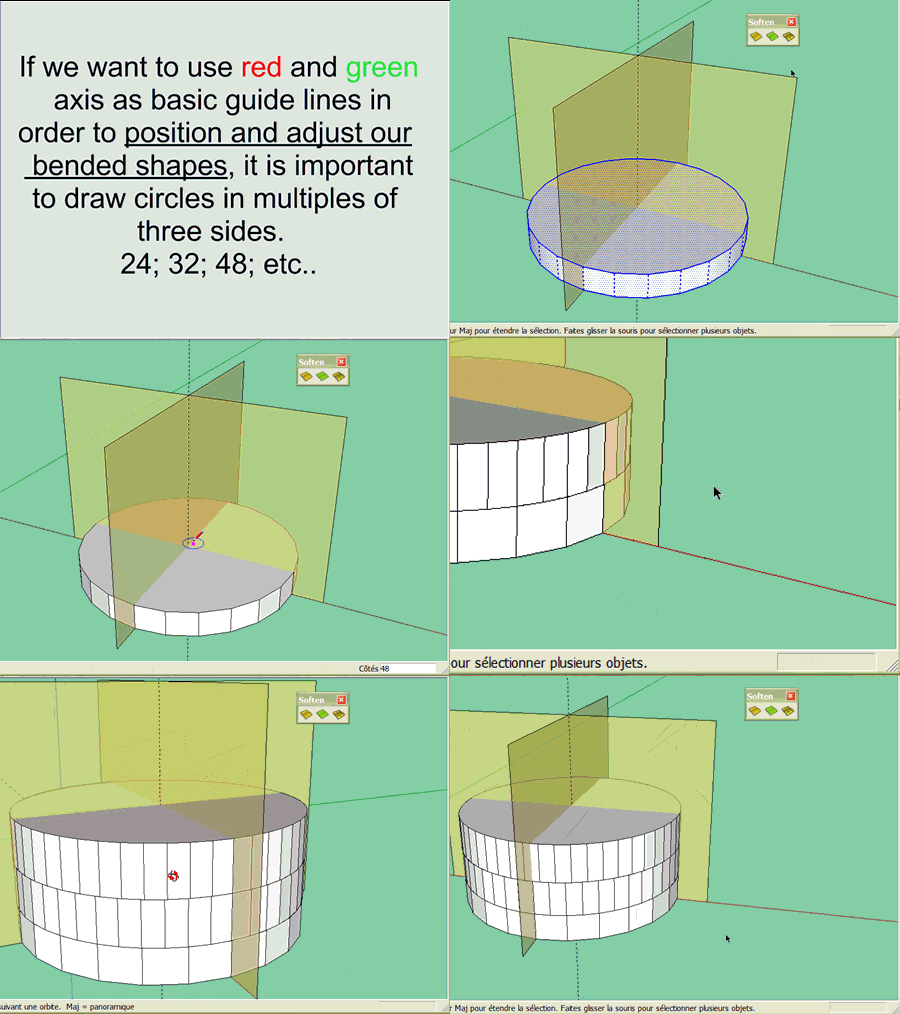
4_ Draw circles carefully, stretching them along a primary axis
Plugins used in the following work:
Construction Line Tool
Point v1.2
Selection Toys (1.9.0)
BezierSpline v1.21
Soften/Unsoften
Joint Push Pull - Visual Edition
MakeFaces v.1.400**/*
*simon -
These are great updates, Simon, thanks for making them!

-
To draw your first pot of Rhum, you first drink a large glass
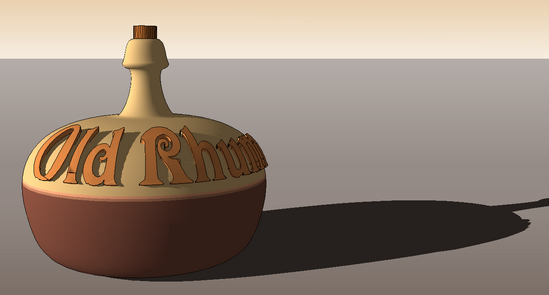
And you surely know you can do better!! So you thake~ another laârge glass of Rhum and you work again:
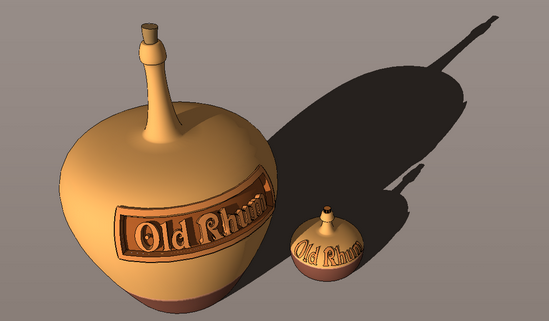
Blut yu know it can be bbe better, and a little dring to get curage

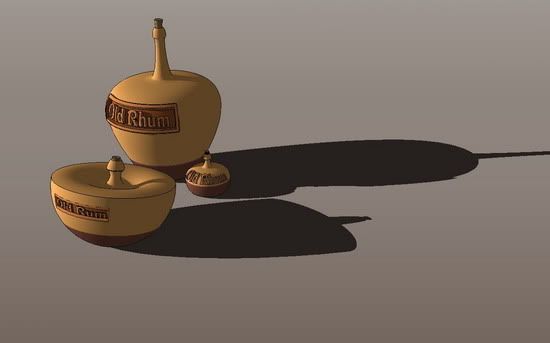
I, I du nut remember WHen!! i discovered "H" is missing to RUM in English: perhaps when i was beginning to drink th th''ird or else glass...
Well hiere is the niflal tutorial..;...Hips!!
Sorry, excuse ma a second....
-
"Fire-Water Pot": Picture by Picture tutorial:
Step 1: Determination of our basic elements: pot's shape, rectangle and cartridge for the label.
-Our Workflow
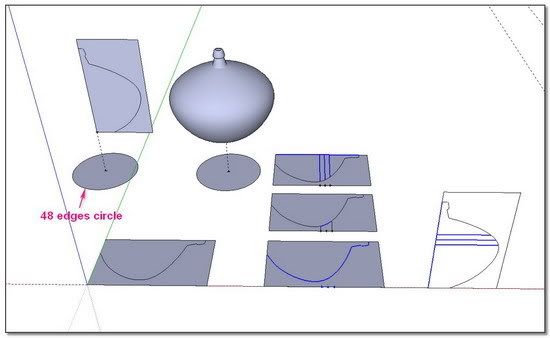
- Basic label's rectangle determination. Based on straight lines needed by ShapeBender as they correspond to the curves. A larger width is planned with the 90° round curve.
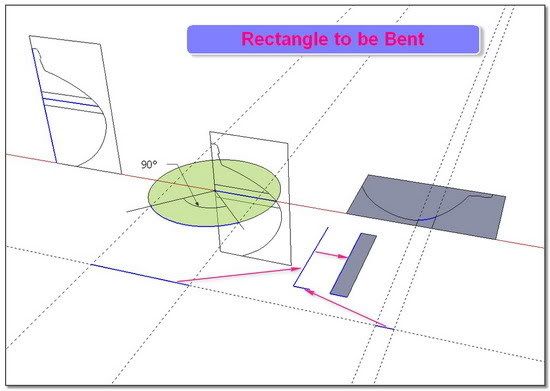
- Cartridge can be determinated at this stage.
This is the less precise part of the work. Alas, as far, nothing in ShapeBender processes authorizes a total predictable management for the cartridge size, at issue of the second bending.
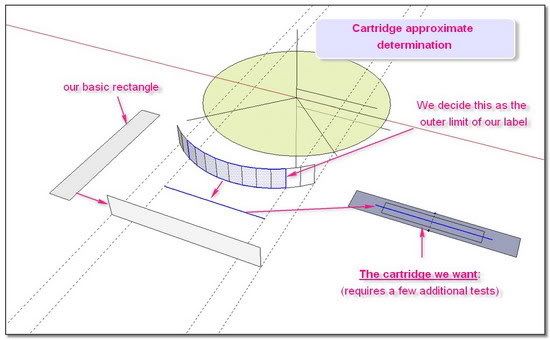
- Cartridge completion: no tut for this. Using PushPull, 3DTxt, etc..You Know that. :lol:
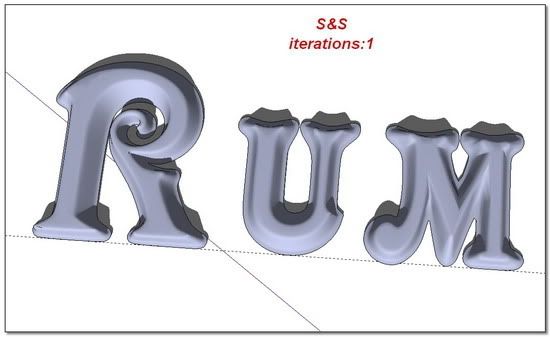
(I will make something in a next post on how smooth everything as if the letters were cast in glass. But i will ask for the community to help because i havn't found everything)
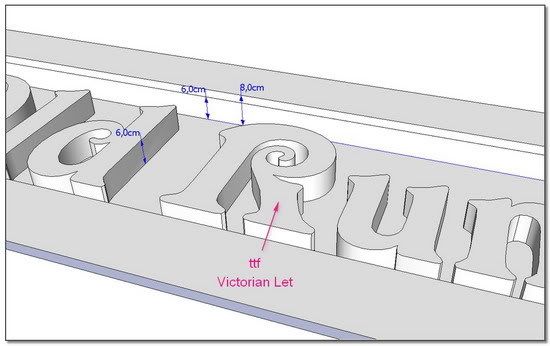
**/*
-
"Fire-Water Pot": Picture by Picture tutorial:
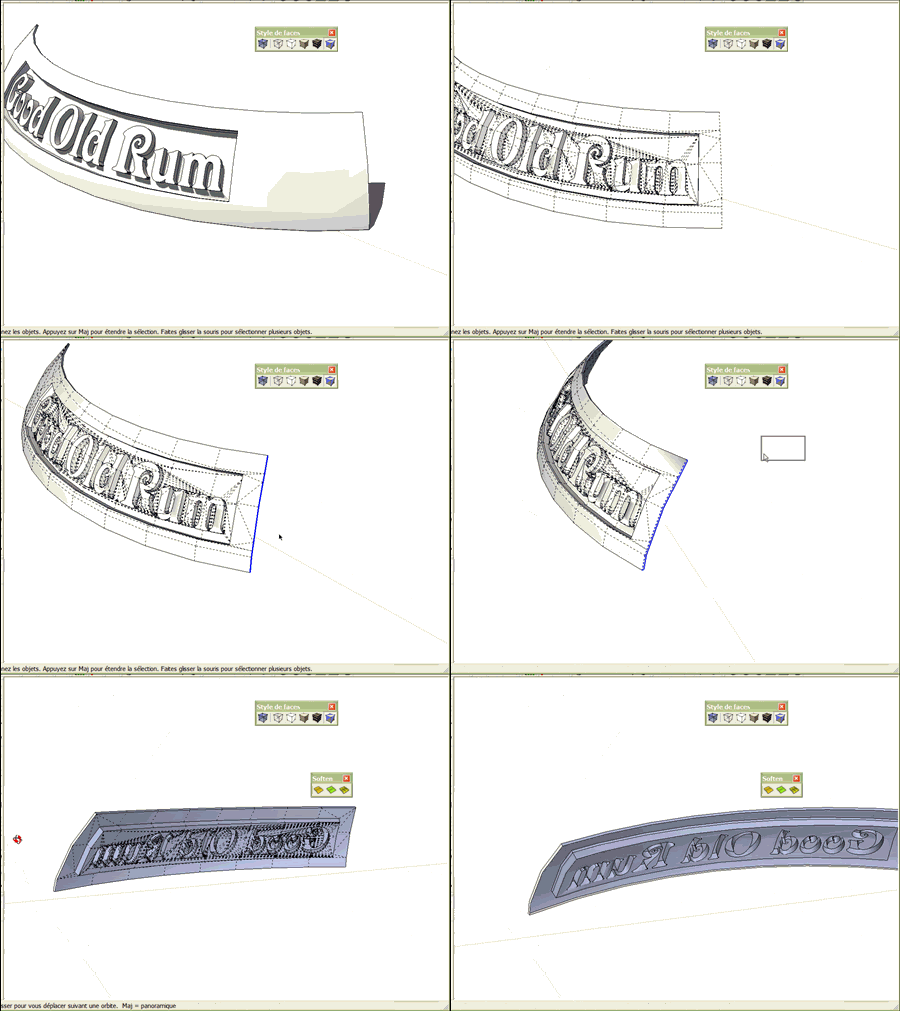
Step 3: Finalization of second bended shapes.
- everything is in the picture and the video.
>trick one: use Face Style Toolbar's transparency to select only the edges we want.
>trick two: close the sides with Todd Burch's MakeFaces after deleting the unwanted endings and before delete the unwanted inside face (which have served to close the sides )
)
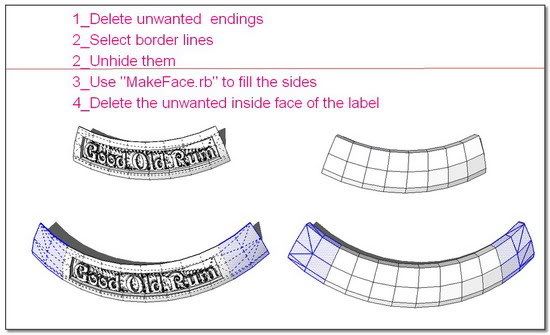
- Establish the inside volume we need to pierce the pot.
1 Using Fredo6's Joint Push Pull helps keep and preserve lines that interess us.
2 To have the overall geometry unhide leads to a good work for JointPushPull.
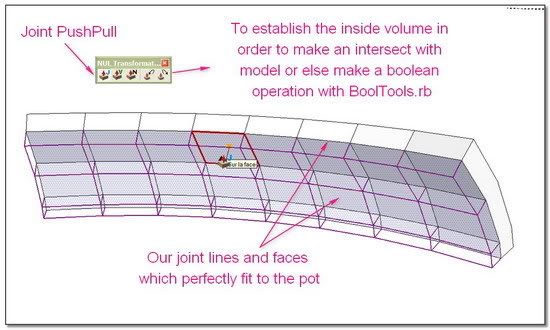
**/*
*/
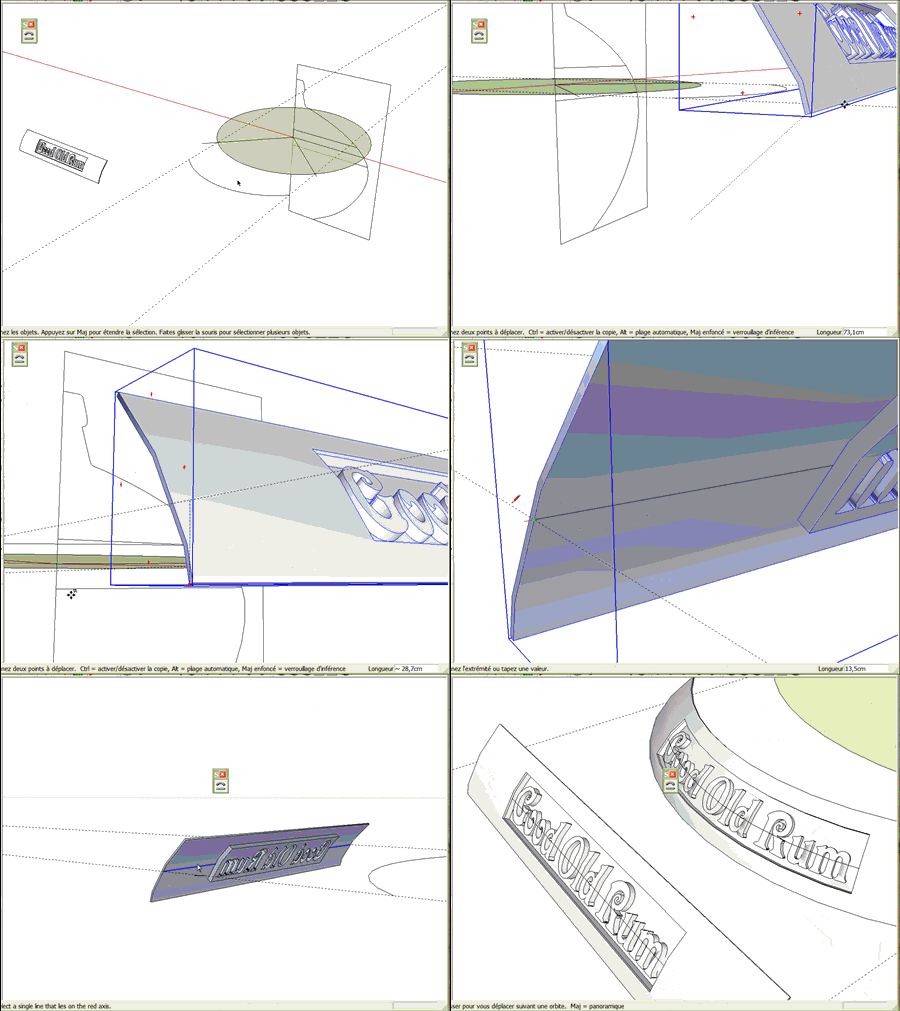
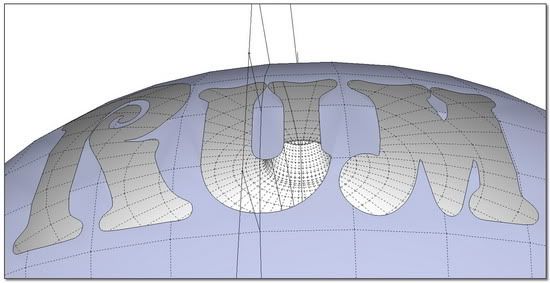
Step 4: Piercing the pot.
-Position the brother shape.
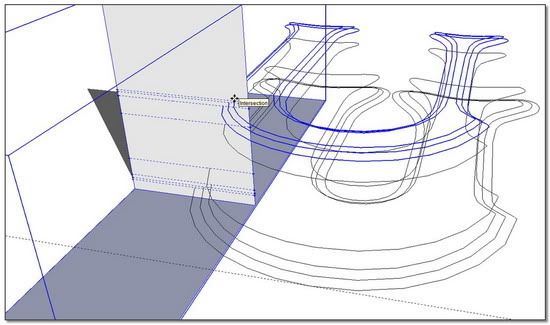
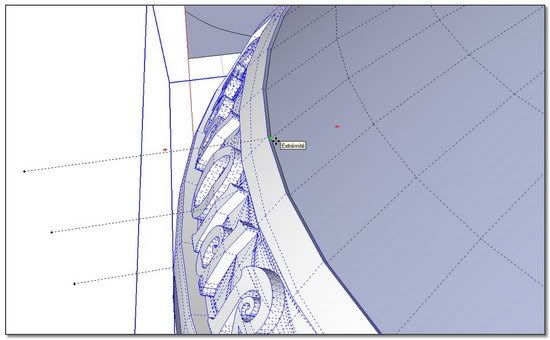
With unhide shape, hidden geometry displayed and build in construction lines well rotated, it is very easy to achieve a perfect position. I have used the middle point (which is a junction point) of the upper inside arc of a circle

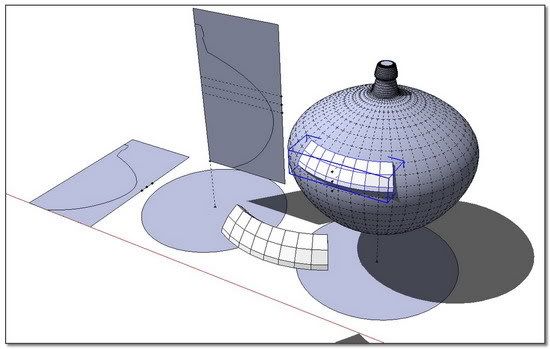
-Intersect with model
Explode everything, intersect.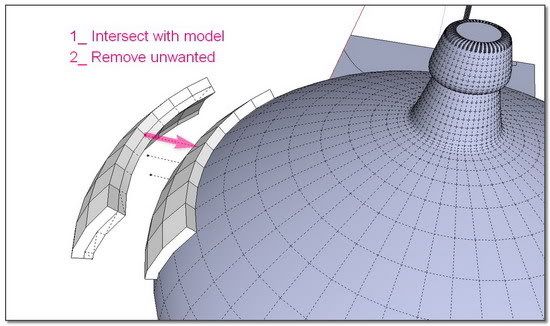
- Remove unwanted
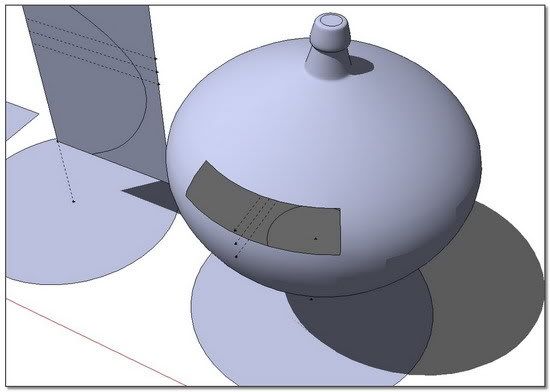
**/*
*s - everything is in the picture and the video.
-
That's great, thank you so much for putting that together Simon! That shows well what shapebender was made to do. Granted, there is still room for improvement on that script, particularly with how the end segments do not bend like the rest, but you show how to work around that very well. Thanks!
Chris
-
Hi Chris,
Thanks for you smart word.
I'm afraid you're already imitated in China. The price of success

-
"Fire-Water Pot": Picture by Picture tutorial:
Step 5: The last pleasure straight line
-Placing our "Good Old Rum" label
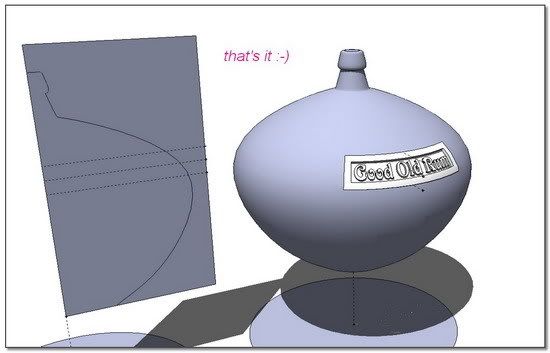
- That's it!

You can find the complete Picasa Album and slideshow here:

And the Su6 skipi: DivShare File - ShapeBendD.skp
 simonlebon
 - That's it!
-
"Fire-Water Pot": Picture by Picture tutorial:
Step 2:First and second Bending processes.
Due to the stamped font label we want to incluse into the pot, we shall need a brother shape to pierce the pot to the exact dimensions. So every bending operation is followed the same for the two of them.- No matter the thickness is for the brother one because only the precision of the inside face is important to us. Elsewhere, i unsoft the edges after bending to help for adjustment and mostly to pull after the second bending an extra volume in the inside direction.
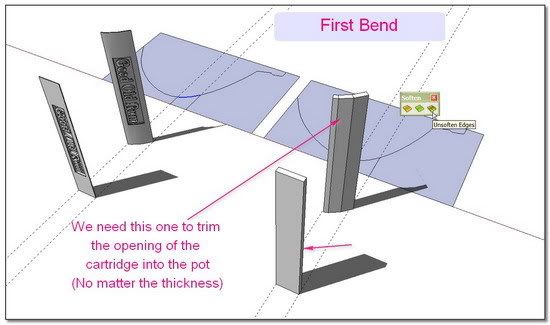
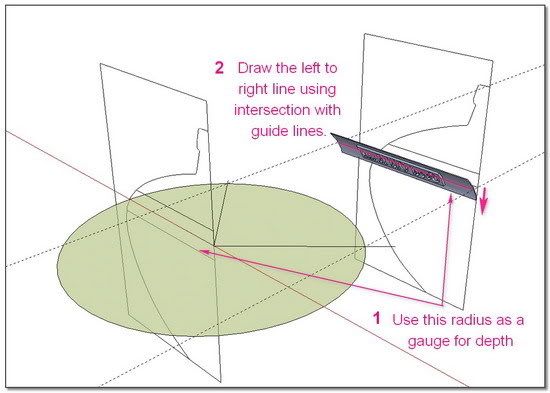
- Preparation for the second bending. It is necessary to be very precise at this stage for the second shape weds perfectly the pot. Don't forget edges and faces precision that interess us are the inside ones (faces to the pot). We use the axis of the pot and radii as gauge.
- The exact place for the left-to-right line needed in the bending process must be well understood.
- We now have a good idea for the final label. We have to make some cleaning job with this curved label. Because in the bending operation number of lines appears hide and some others need to be soften. So it is very usefull to work with the very simple and good Matt666's Soften/Unsoften
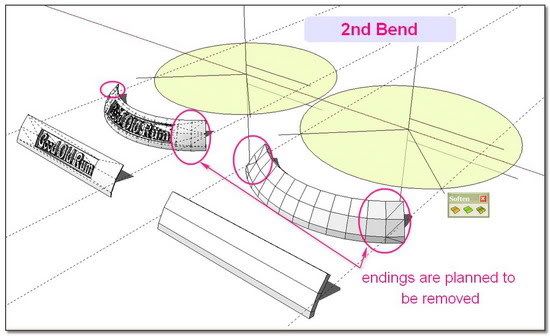
**/*
 simonlebon
 -
...// But we can make it the same very easily with a Fredo's new tool
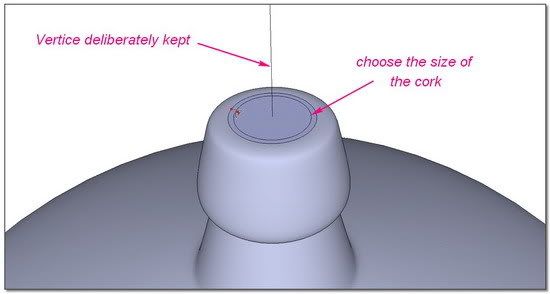
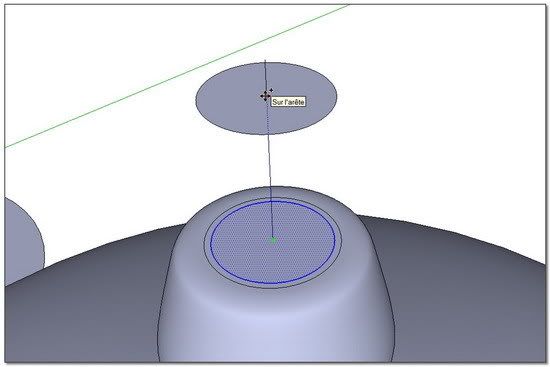
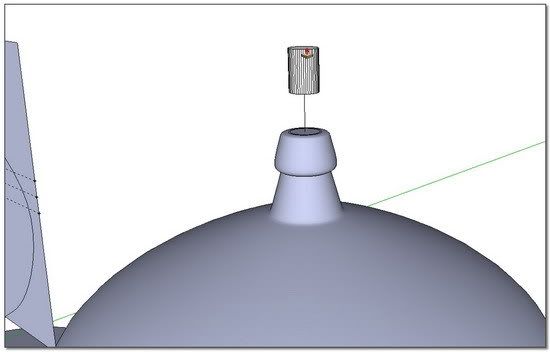
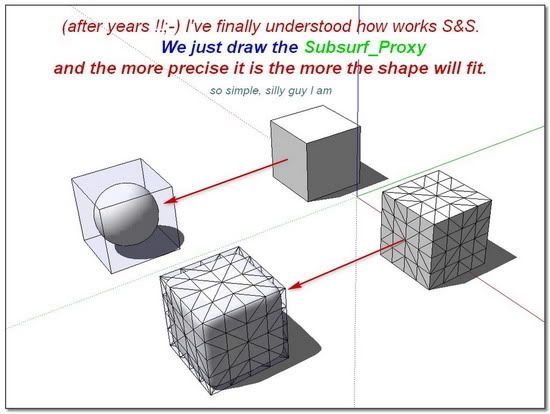
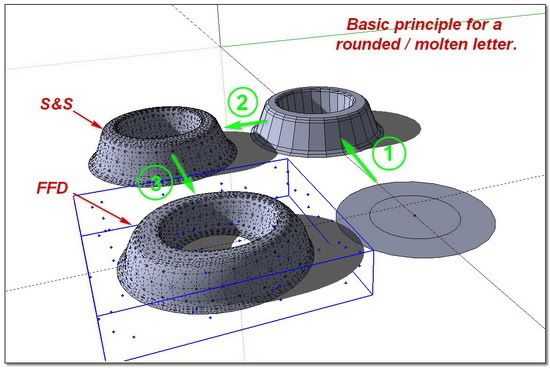
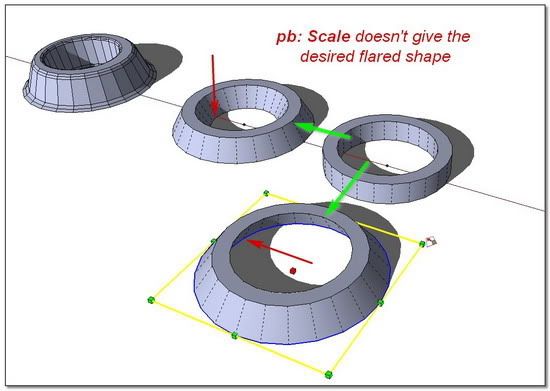
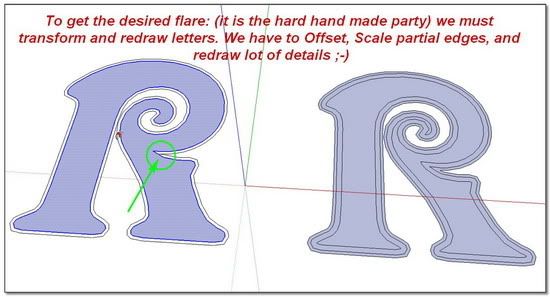
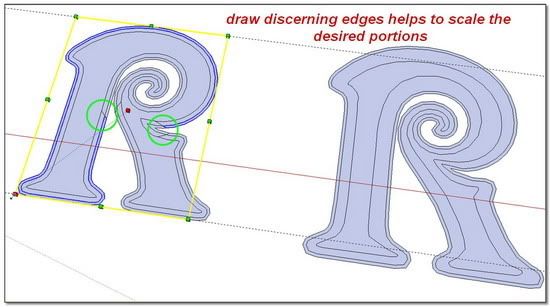
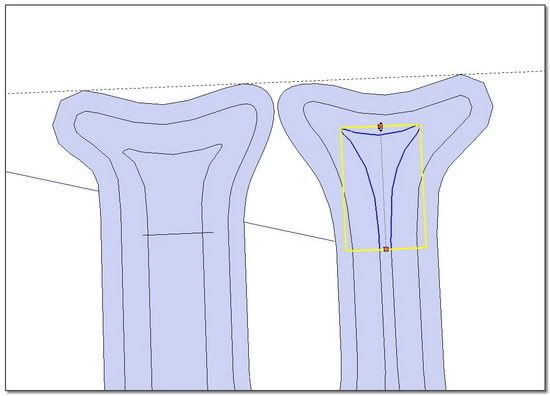
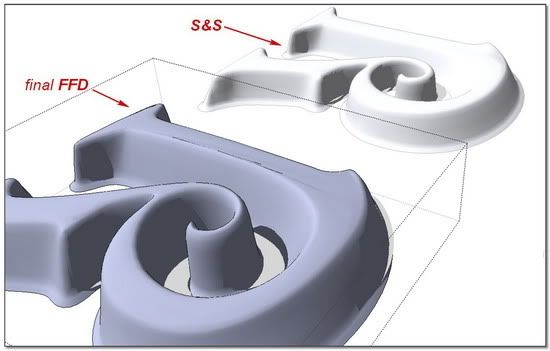
"Fire-Water Pot: "THE CORK" / FredoScale Version"
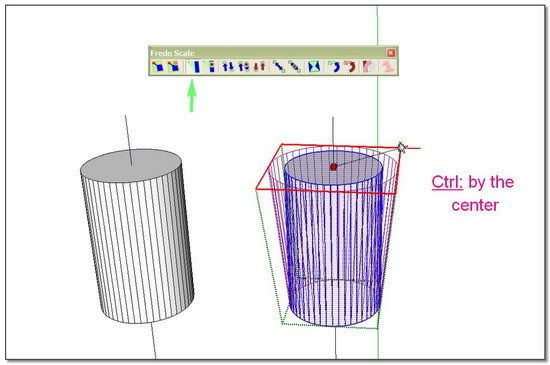
another Fredo's wonderful product: Fredo _ RoundCorner 2.0b

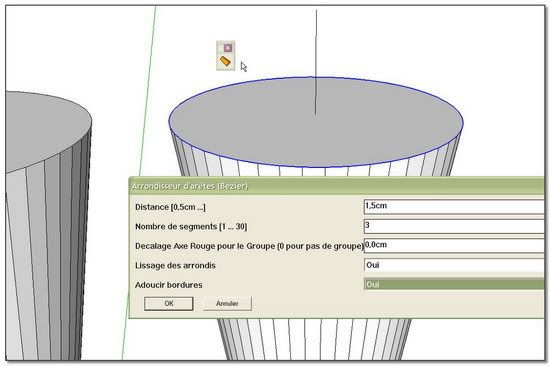
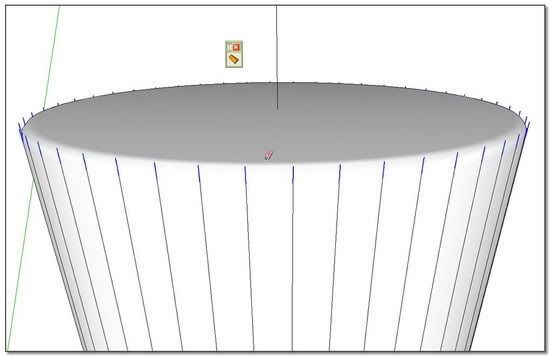
Call the settings by "TAB"
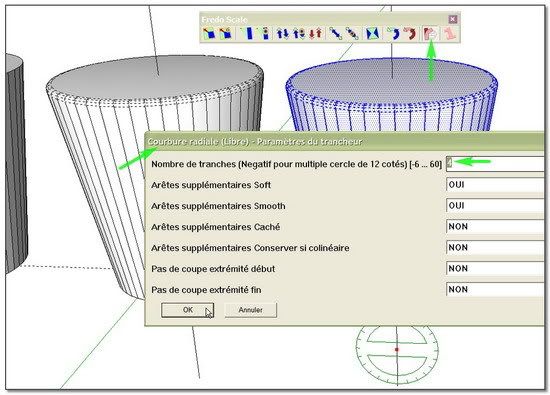
Wireframe (always very useful to think to)
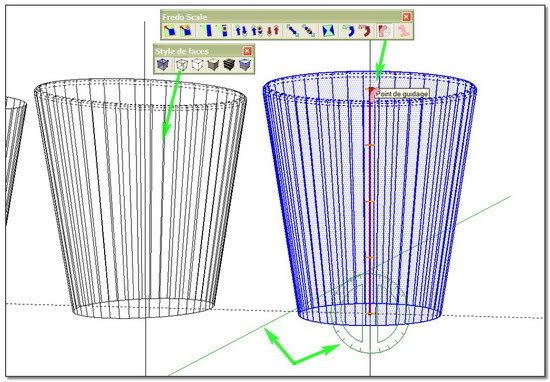
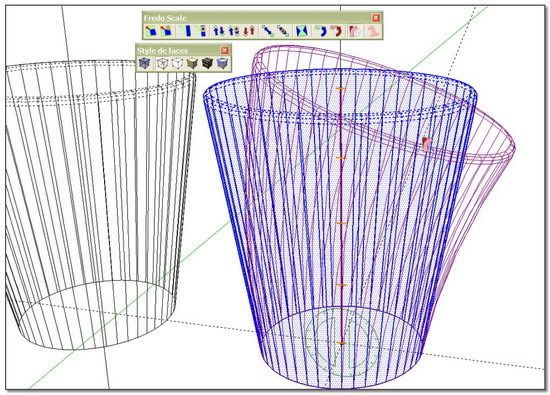
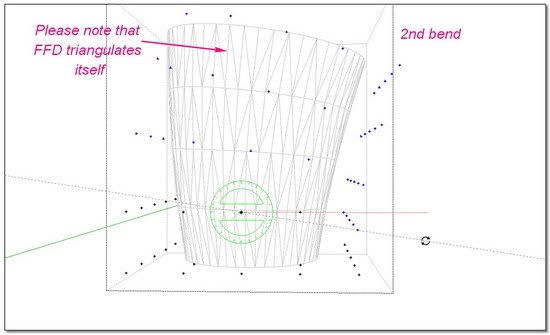
An automatic triangulation
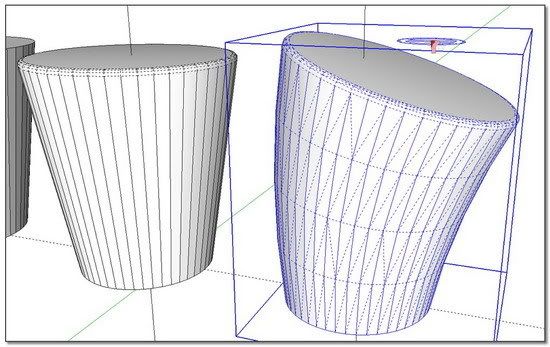
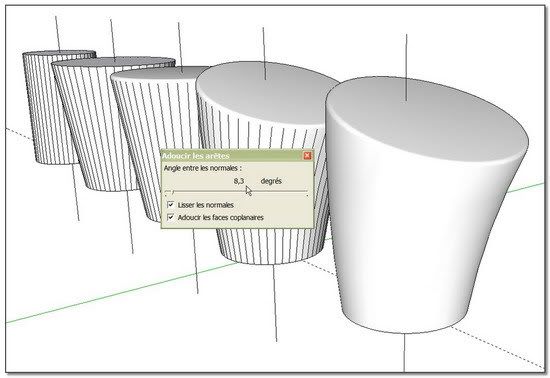

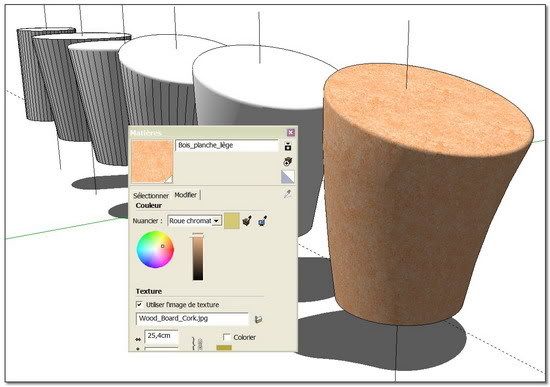
simon -
I will never stop this tread I guess
 . I have many other tuts ready in my head. I am going to keep alone when everybody will be tired of my PoorFlatEllipsoidIndian pots
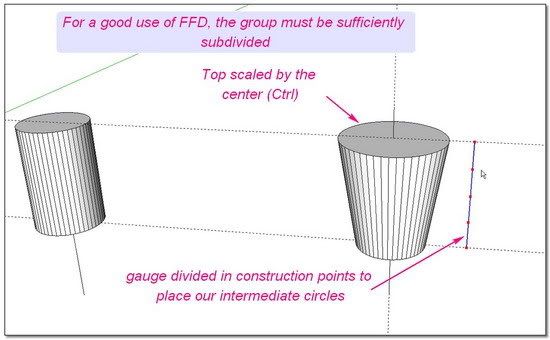
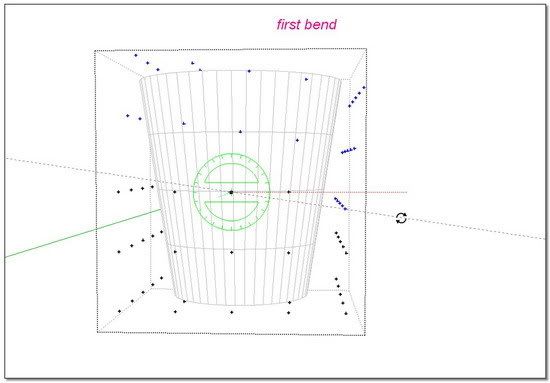
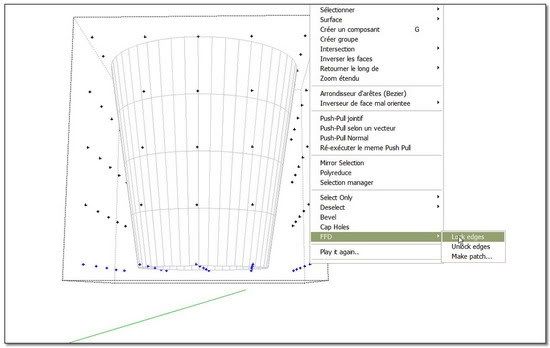
"Fire-Water Pot: THE CORK / SketchyFFD Version"
for whom who want to see screenshots in the comfort of there eyes, here is the album/slideshow.
SketchyFFD_Cork Album
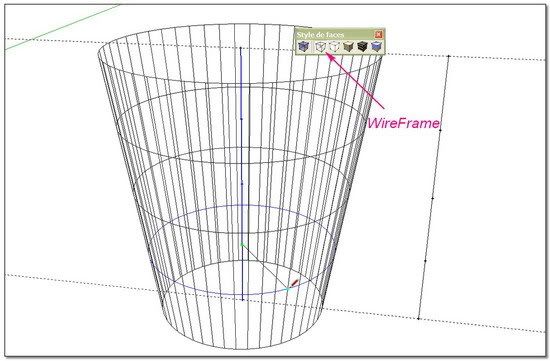
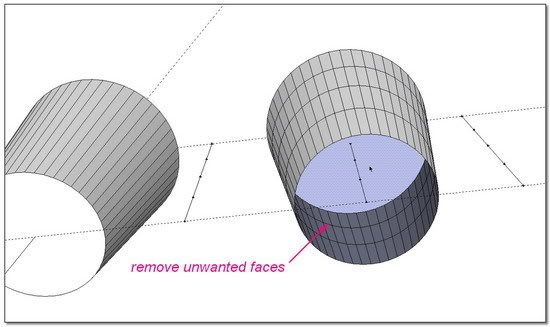
Please note that the inner FFD subdivision doesn't work so well in our case..!!
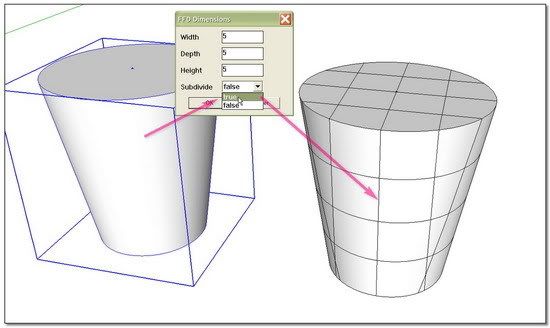
FFD >> lock bottom edges
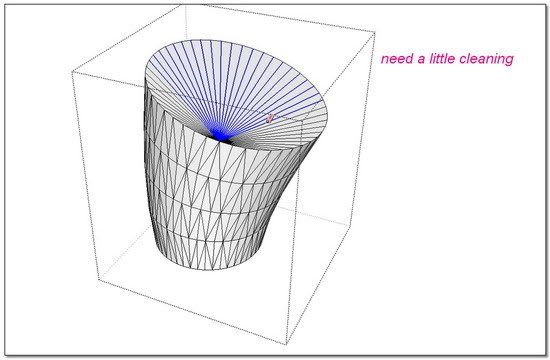
[url=http://www.sketchucation.com/forums/scf/viewtopic.php?f=180&t=13645:2ut6pohv]Matt666 _ Soften/Unsoften

[/url:2ut6pohv]
[url=http://i274.photobucket.com/albums/jj245/Spendauballet/SketchUp/CorkFFD_013.jpg:2ut6pohv]
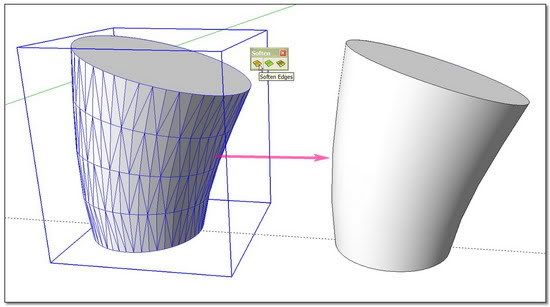
[/url:2ut6pohv][url=http://i274.photobucket.com/albums/jj245/Spendauballet/SketchUp/CorkFFD_014.jpg:2ut6pohv][img:2ut6pohv]http://i274.photobucket.com/albums/jj245/Spendauballet/SketchUp/CorkFFD_014_550.jpg[/img:2ut6pohv][/url:2ut6pohv]

[url=http://i274.photobucket.com/albums/jj245/Spendauballet/SketchUp/CorkFFD_015.jpg:2ut6pohv][img:2ut6pohv]http://i274.photobucket.com/albums/jj245/Spendauballet/SketchUp/CorkFFD_015_550.jpg[/img:2ut6pohv][/url:2ut6pohv]simon
-
-
-
-
-
@simon le bon said:
My conclusion:Not bad
"Not bad"???
Simon, these series are so good and the result is so perfect that "not bad" sounds really an understatement.

-
-
Dear Gaieus,
It's always a great pleasure to see you always the first to watch and the first to comment

Many thanks to your kind judgment++. In fact I had really tried hard to reach something perfect. In this matter, I think I had worked around SketchUp limits. (Something I was searching for).
In view of the result I think that we should do better with a dedicated modeller, don't you? simon
simon
Advertisement
