Podium Photomatch (AGAIN!) [TUTORIAL]
-
Here's another photomatch I've been working on for a proposed surgery.
I matched the model to one of the photos which make up the panoramic then rendered in podium.
Here is my workflow:
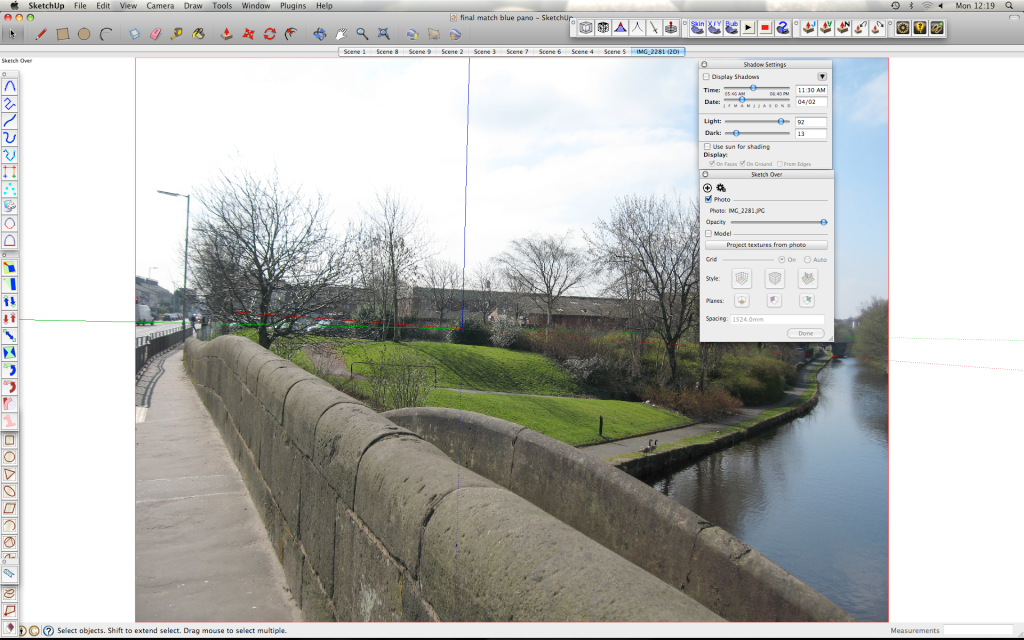
Original image in SketchUp
Match model perspective with photo
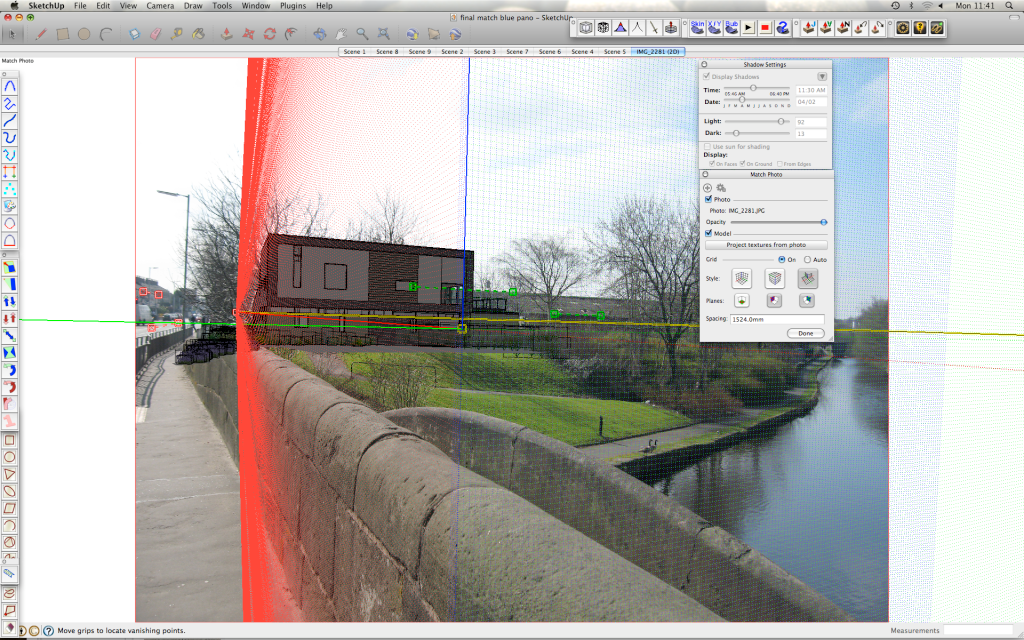
Building perspective matched, ready to render
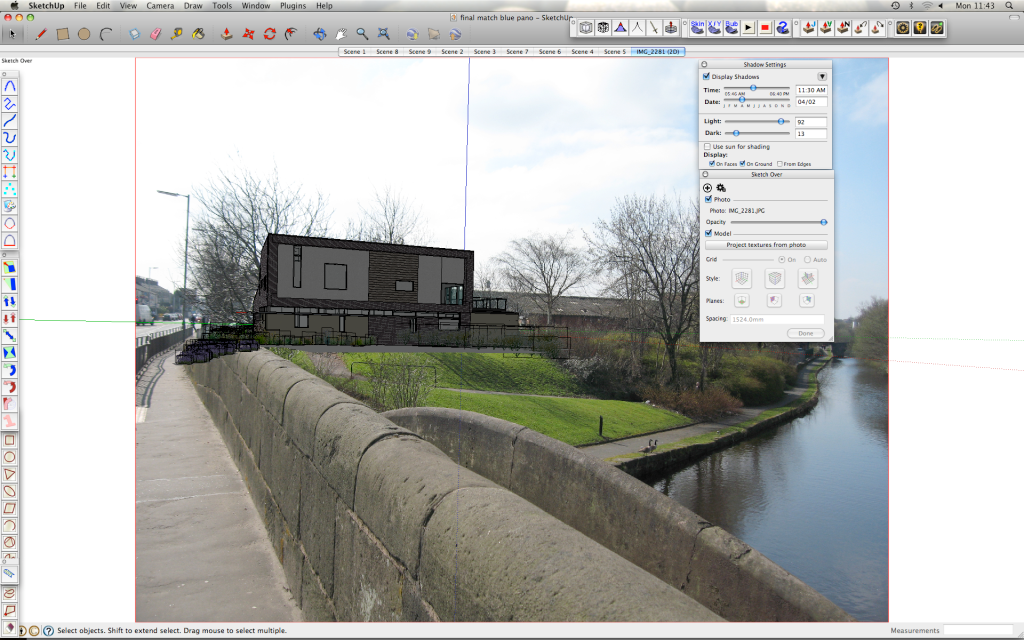
Podium Render
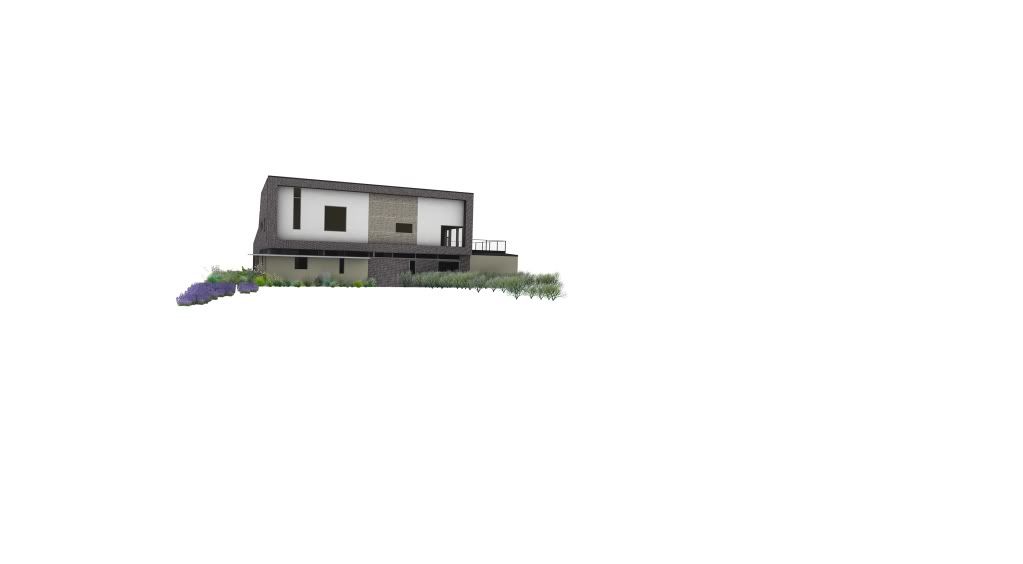
Podium Mask
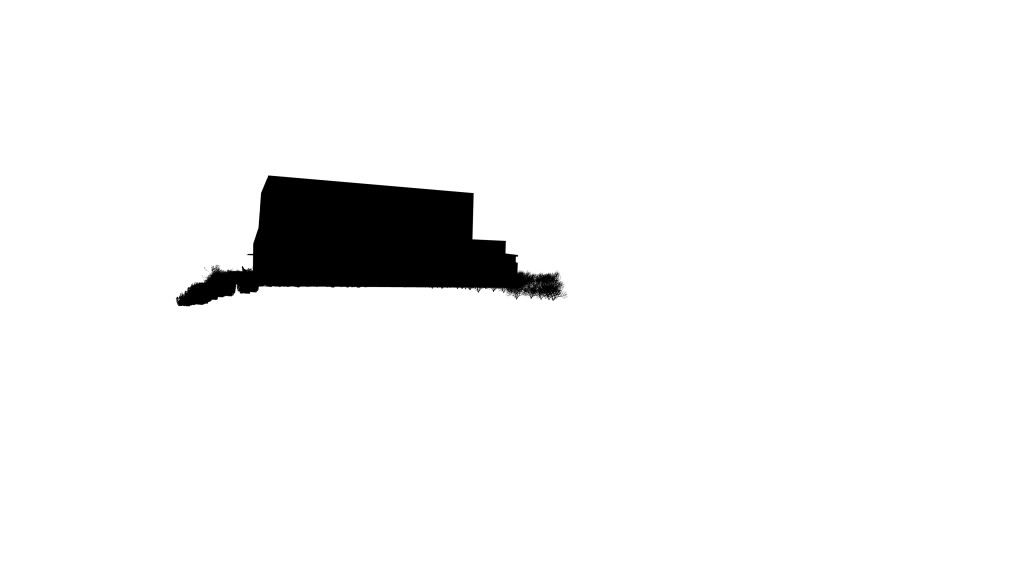
Podium render resized to fit panoramic

Podium render applied to panoramic in photoshop

Final image

-
I am a bit stumped at what is what here (although I'm pretty sure I'm seeing some very cool thing again - just don't know what)

Could you show and original and a final together?
-
blends really nicely... you're going to become the sketchucation master at this...haha... wish it somehow stood out a tiny bit more though... maybe blends a little too much... is that contradictory? haha...
-
haha I know what you mean. Although getting it to blend in is what my boss requires, you know the drill! The last thing we want is a building that distracts from the canal/listed mills etc. thanks for the comments
-
Looks good Oli...good old British weather. Even when sunny looks grey

-
Nice work oli.
The last stiched image you posted, how did you get it to the improved panoramic version?
Im guessing the last image is what the software turns out that you used to stich the pics together. Did you just crop from there?
I would be interested in how you get the panoramic image and which software you use. -
Hi Dylan,
I just used the automate function in Photoshop. (file>automate>photomerge)
It will only work well if the original photographs run into each other nicely (and the daylight doesn't change between each photo you take, as with mine)
It is worth playing around with the stitching modes (perspective, cylindrical etc.) to best suit your image. I then cropped it and blurred/clone stamped the stitches.
There are other ways of doing this with perfect results but I find this method quickest.
-
Here is another version....nicer I think.
marked.....I get you now, it can blend in while still having contrast.

-
Thanks for the "originals". Indeed they were needed to make the whole situation clear. Really great work. And I don't mind the blending either. I guess that's also the goal (somewhat); to convince officials for instance that it won't be striking at all.
-
Oli
You seem to have made a point in mastering this whole photo-match thing...well done!
I have never really had a need for this in the past, but recently I've had a call for a few of these, I use a whole different technique and software to achieve what I was asked for however you seem to have a very much easier and quicker solution (so it looks), do you think if and when you get a chance that you would be willing to throw a quick tutorial or even video together on the basics of your technique? It would certainly be something we would add to our growing anthology of tutorials and something that will benefit many users, myself included.
-
Solo.....of course I will. I've learnt a wealth of information from your works and tutorials so I'd be more than happy to return the favour! I'm kinda flattered that you, render god, can learn something from a mere mortal like me!
(and yes the technique is easy)
Watch this space.........
-
yessir......
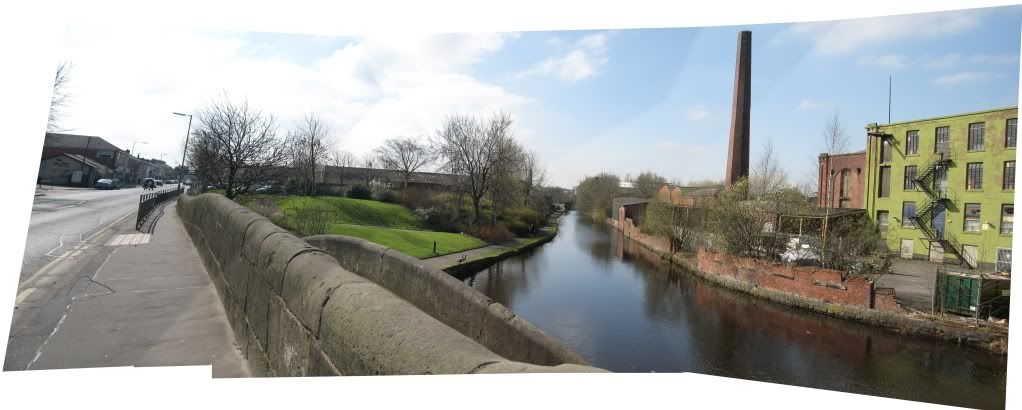
Here is the original photo before the building was applied: (I updated the first post too)

I would post an non-edited panoramic without the building but the image is flat now, sorry!
[edit] Here is the original panoramic before I stitched it better, without the building. Do you get it now?
-
I must admit I always use more complicated ways of doing this. Your way Oli using Photomatch makes far more sense, seems very accurate and will save time.
Look forward to your tutorial, although what you have already posted is a very big help
-
The results can be amazing if you start off with the right photos. When I took my pics the sun went in and out of cloud....you can see the change in tone between the 5 photos which make this image up. (I also didnt use a tripod haha) I'm really not that good at photoshop otherwise I would have tried to make it completely seamless, maybe next time!
-
Mate awesome work again! I knew I was on to something when I said in another thread that I needed to watch your threads!!!!
-
I dont know why you are impressed Richard, your work infinitely cacks all over this!!
-
@olishea said:
I dont know why you are impressed Richard, your work infinitely cacks all over this!!
Why????
Because you've shown some great artistic merit, true mastery over your applications and proof of simplicity in approach!!! All impress me mate!
-
nice and mastee piece of work

-
thanks guys!

-
Well done
You have inspired me to give it a crack
Hello! It looks like you're interested in this conversation, but you don't have an account yet.
Getting fed up of having to scroll through the same posts each visit? When you register for an account, you'll always come back to exactly where you were before, and choose to be notified of new replies (either via email, or push notification). You'll also be able to save bookmarks and upvote posts to show your appreciation to other community members.
With your input, this post could be even better 💗
Register LoginAdvertisement


