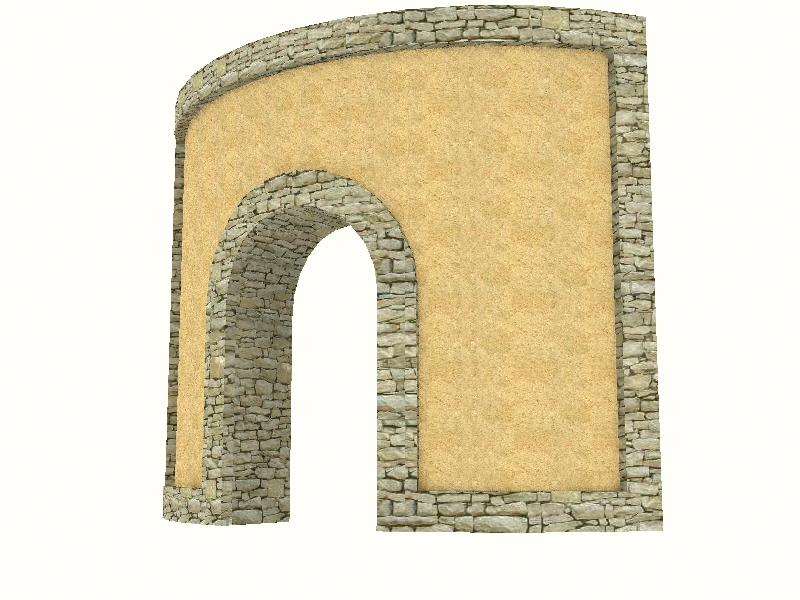
[Tutorial > Modeling] Arch in a curved wall.
-
@julius said:
very useful tutorial, but...how did you stitch together in scene 11?
Basically I just drew points from each endpoint to another, triangulating the surfaces until they "Fill In". Nothing automated there, just drawing.
-
ok, so you drew lines, thank you!
-
Julius,
You can also use Darrel's "Skin.rb" plugin for this.
Marc,
Whenever you encounter such a problem (the PP tool not intending to push further), you can group any of the entities (either what you want to push or the one you want to push trough) and you can do the operation. Then you can just simply explode the group.
-
wow, great script! thanks gaieus and thanks darrel!
-
hi Gaieus, when you have time would you post a tutorial or quick steps list to show us how you did this one? it's beautiful!!
-
Well, to tell the truth, I'm no longer sure how exactly it was modelled but what I'm sure about is that I'd definitely do it somehow else now.
I remember suffering a lot with it (back then when I also have just started using SU) but now we have so many useful plugins that would make life easier that. Anyway, here's the model if you're interested (last year I re-uploaded it to the WH when we were going to test some new features there).Surely it would be worth a tutorial although it would probably be a bit lengthy.

-
Hi Scaba,
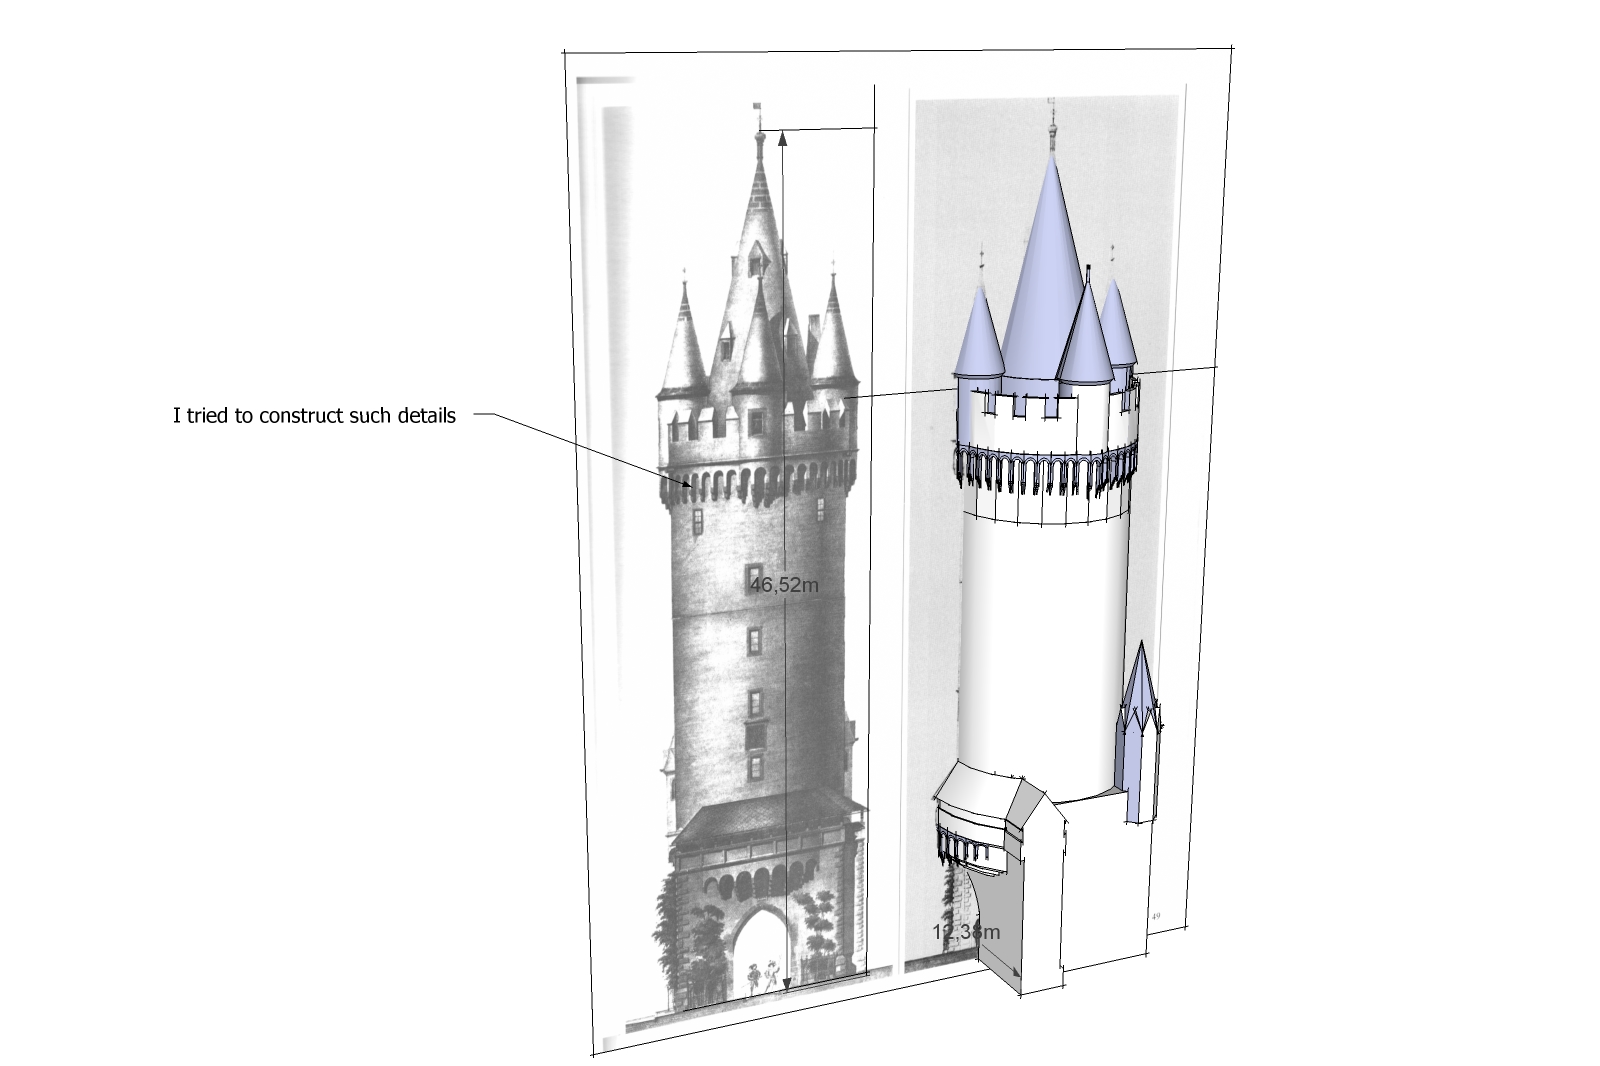
a like such models. I tried also to construct such details but i was not so successfull like you.
Karlheinz

-
You always have to take into consideration that those SU surfaces though look curved, are actually faceted and then adjust your "mini galleries" (or what they're called) that way. Made from straight segments. I'm sure however that if you download my model, you'll find lots of mistakes in it (as I'm sure there are as as I said,it was a very early challenge for me, too).

-
thank you so much Gaieus, i got it!!!! and some of your other great models in the warehouse

i guess my main question is very similiar to Karl's - how to create push/pull kind of details and cuts on curved surfaces, plugins? or intersect? -
I'm really serious when saying that I can't remember. Nowadays it would be "easy" with Joint Push Pull and Tools on Surface plugins (both by Fredo) or Shape Bender (by Chris) but back then they didn't exist. It could be done by intersecting however. I'd need to put together a little tutorial for that but I have to tell the truth, I'm a bit behind my schedule. I'll do it anyway.
BTW I "pulled down" most of my models from the WH once I got pissed off some guys there...

Only left those which I made for others (mainly). -
My first thought was Shape Bender. It should be quite easy.
-
Done in about 1 minute with BoolTools, JPP, and Tools on Surf.
Pretty fun.

Advertisement


