[req] soften/divide geometry (by angle)
-
@xrok1 said:
@chris fullmer said:
Yeah, something like being able to subdivide a selection, and then smooth it out a bit?
yes but the selection of what you divide would be based on an angle not a selection. imagine a script that physically does what appears to happen when you "soften/smooth edges".
does anyone really use soften/smooth like that? if i'm using soften/smooth, my goal is always to soften everthing.. i've never set it to where some lines remain visible..
just curious[edit] unless you mean something like the eraser tool/option key in which case i will soften just a line or two.. i think if you did that with actual subdivison, there'd be some weird geometry where the round meets a sharp edge.
-
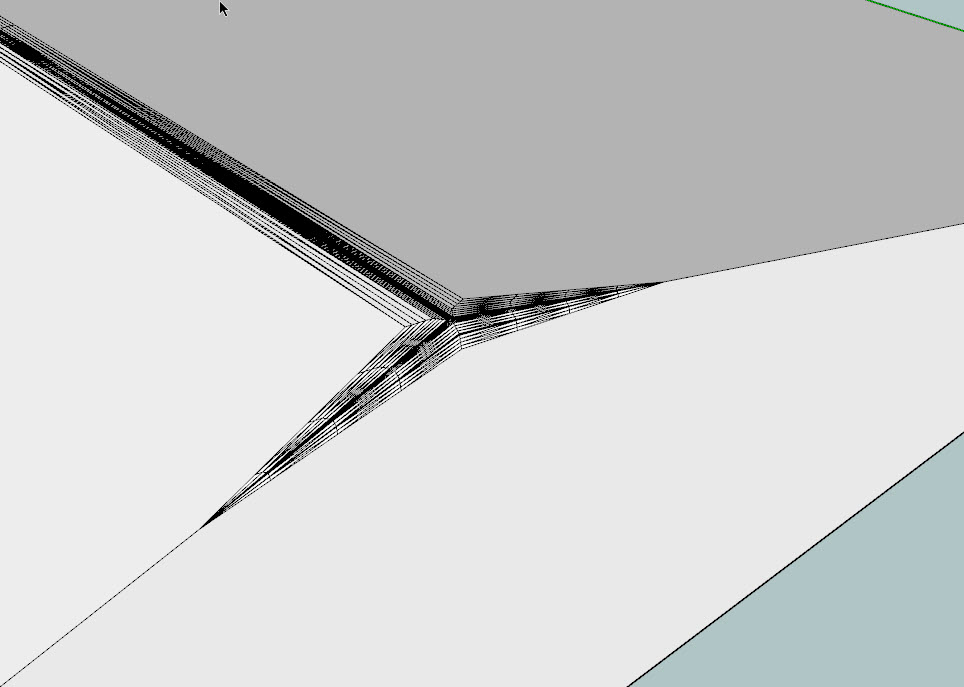
subdivide and smooth already does it but with sds it divides the whole mesh so you get smooth results but wayyy too much geometry when it only needs smoothing in a few places. what if i wanted to subdivide any edge under 30 deg. and leave the rest of the mesh undivided?
-
@xrok1 said:
what if i wanted to subdivide any edge under 30 deg. and leave the rest of the mesh undivided?
that's where the weird geometry happens.. somehow the round has to meet the sharp.. here's a mockup of what i'm talking about..
-
@xrok1 said:
subdivide and smooth already does it but with sds it divides the whole mesh so you get smooth results but wayyy too much geometry when it only needs smoothing in a few places. what if i wanted to subdivide any edge under 30 deg. and leave the rest of the mesh undivided?
(I'm thinking about it....
 )
) -
hey, nice to hear from you Whaat!
 I was hoping you'd be around. It would be an awsome addition to an already great script if you could pull this off. it would make your must have a must, must have!
  even though i already have it
-
@unknownuser said:
@xrok1 said:
what if i wanted to subdivide any edge under 30 deg. and leave the rest of the mesh undivided?
that's where the weird geometry happens.. somehow the round has to meet the sharp.. here's a mockup of what i'm talking about..
[attachment=1:kukhoxs1]<!-- ia1 -->sub1edge.skp<!-- ia1 -->[/attachment:kukhoxs1]
maybe something like this could be worked out:[attachment=0:kukhoxs1]<!-- ia0 -->cap.jpg<!-- ia0 -->[/attachment:kukhoxs1]

-
or this:

-
there's probably a good solution for it and it might not even matter in many cases.
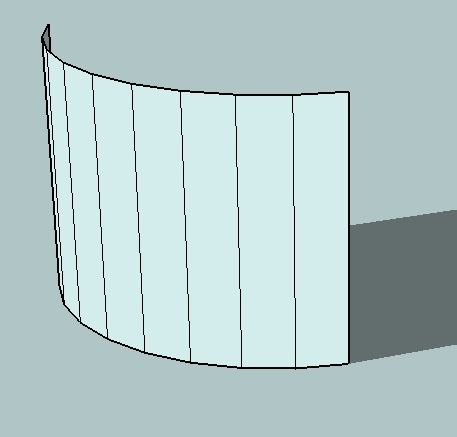
the thing that made me think about it was imagining doing this on a curved wall.

i guess it could just round off the top some?? or you'd have a wavy wall.
[edit] and really, this exact situation would be better served by normal soften/smooth... i'm just curious about how it would work.. that's all
-
in that case you might need a crease tool? or it could work like round edge, or you could just use round edge.
-
i know this isn't the same as xrok's request but it seems like it would have the same underlying structure:
[flash=660,525:31qmg8iy]http://www.youtube.com/v/B9u0ulHoMU4&hl=en&fs=1&rel=0&color1=0x2b405b&color2=0x6b8ab6&border=1[/flash:31qmg8iy]
-
hey thats pretty sweet too, what is it? round edge by bezier?
-
@xrok1 said:
hey thats pretty sweet too, what is it? round edge by bezier?
nah, that ruby can't handle the weird intersection.. here's what it looks like in this circumstance..

i wish the youtube video was clearer so you could see the drop down


but no.. no such ruby.. i just used a little movie magic.. there's really a hidden group which had a dose of subdivide/smooth.. i made the selection then acted like i clicked on a ruby but really, i unhid the group..
i'll attach the skp.. the idea is to keep most of the object flat but certain places could be subdivided.. pretty much what this thread is about but being used in a different circumstance.. (open it and go shift/command/E -- or however you unhide things on windows)
-
that would be a subd@90deg.

hears a thread where we're discussing what you did http://www.sketchucation.com/forums/scf/viewtopic.php?f=15&t=18073
-
@unknownuser said:
just in case this isn't common knowledge already, the way to get the edges to do that with subdivide and smooth is to have offset lines from the edges (not via the SU offset tool though -- the lines need to run edge to edge)
[flash=500,405:3f3optb9]http://www.youtube-nocookie.com/v/jPRb7QhzvYs&hl=en&fs=1&rel=0&color1=0x2b405b&color2=0x6b8ab6&border=1[/flash:3f3optb9]
anyone know of a better way?
Jeff, I wanted to ask you how you took that line and placed it on the other side of the surface in the same spot as the other side. (in your video) Ive been using the tape measure tool all this time to measure in equally on both sides then moving a copy to the other side. How did you do that with out measuring with the tape tool?
could you email me?
arch_molding@sbcglobal.netThank you
-Jesse -
i imagine jeff knew the dimensions of his rectangle and just typed in the measurement to get it where he wanted.
-
Oh yeah I guess if he already knew the width he just did the math in his head, and typed it in...makes sense..Just when i thought there was some new trick...

-
yeah, i just mathed it..
i can't remember the exact dimensions here but probably something like a 6' square.. copy/moved the first line in 6" then moved it another five feet .. i'm a fan of the value control box
-
thank you Jeff. Awesome forum. Ive got lots to learn here.

-
here are two other ways you could do it which will be quicker than the tape measure.
[i tried to make sure to use the toolbar so you'd know which tools i was using.. it would be a lot faster with shortcuts]
the first one shows a square and rotate/copy
the second one is a rectangle with offset/line inferencing (ie- i was holding the shift key while on the outer perimeter which allows me to get a perpendicular lock)
[flash=640,400:2317m0jm]http://www.youtube.com/v/GEJsgVd0zyE&hl=en&fs=1&rel=0&color1=0x006699&color2=0x54abd6&border=1[/flash:2317m0jm]
-
Another variant [if the rectangle's face material is not critical] is Jeff's last one using offset to make the inner rectangle then draw a rectangle from the outer rectangle's corner to the inner rectangle's nearest corner. Repeat that another three times... OR double click it to select its face and 4 edges, copy what's selected to the clipboard (ctrl+C) and paste it [one corner will automatically become the handle], now simply paste (ctrl+V) three copies into place - one copy will have a vertex you can snap to, the others need you to hover over a vertex and use shift/inference to snap as needed. [both ways ~12 clicks as before]
Another variant is to draw one corner square, copy/paste it into the other corners as above, then draw another rectangle between these four square's inner free vertices... [~11 clicks !]
There are many ways to do this - shortcuts make things MUCH faster...
Advertisement


