[Tutorial > Modeling] GreenToaster "6 Minute Car" Vid Tuts
-
It isnt a script Regis, its standard SU. Jus right clcik any straight line and the otion will be there.
-
Hi Remus
Yes it is, extra, I have found it.

THX Remus
-
Tricky car's video

-
thanx for the tut i have done several aircraft models using sandbox tools but have not been very successful with cars so far i do believe that i have learned a lot from you

-
@unknownuser said:
i have done several aircraft models using sandbox tools but have not been very successful with cars so far i do believe that i have learned a lot from you
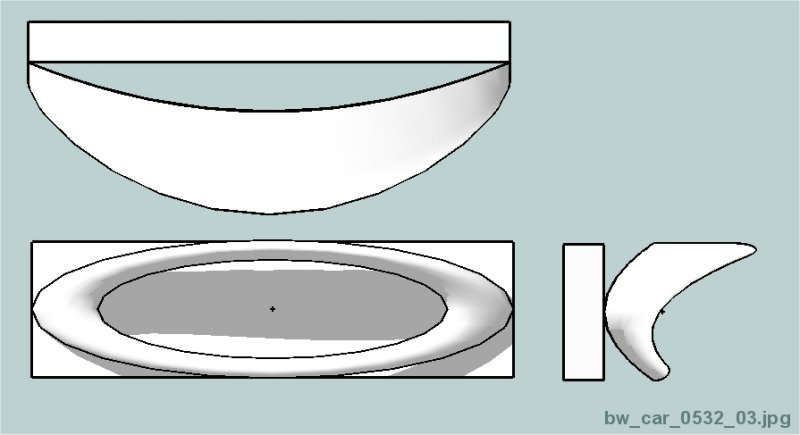
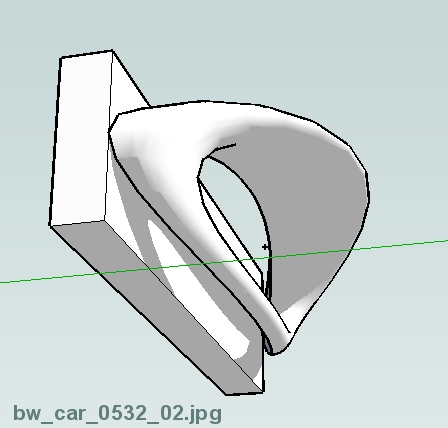
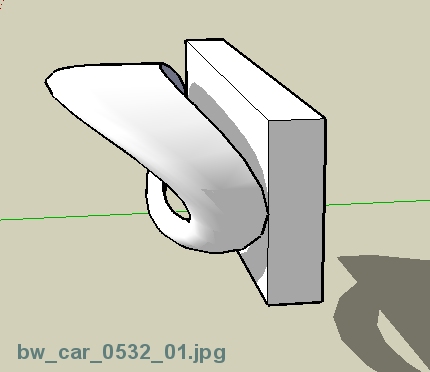
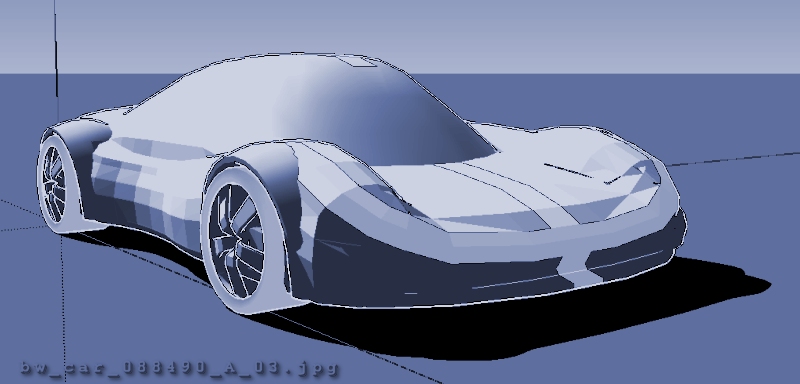
I love airplanes - especially ones like the F86 . . . you can use the same techniques I've shown in these tutorials to get the basic shape, then use SketchyFFD to end up with what I'm showing below - the "default" capabilities of S/U combined with the free form deformation script are well suited for creating some fantastic looking aircraft (can you see the nose of an F86 somewhere in these pics?)
-
Okay, here's a video showing the top of the car - I really don't like the way this one turns out but the video shows the basic concept - you can make a better one, I'm sure.
Hope this helps - sorry this video is sort of long - I try to slow down, so people can figure out what's going on - hopefully these videos are helpful. Maybe I should add voice? Not sure how to do that - what about some Def Leppard as background music or Daft Punk?
[flash=448,361:1aqqysva]http://i103.photobucket.com/player.swf?file=http://vid103.photobucket.com/albums/m157/ShermanPeabody/SU/bw_car_tutorial_017.flv[/flash:1aqqysva]
-
Thanks remus . . . finally got the link right (I think) . . . and BTW, I only use Firefox . . .
 . . .
. . .Happy Sketching,
Brad

-
To get the address to put inside the flash, right click on the video in photobucket and click 'copy address' (thats in opera btw, ive got a feeling that you ahve to go to properties in IE)
EDIT:jsut removed flash link, as brad fixed it

-
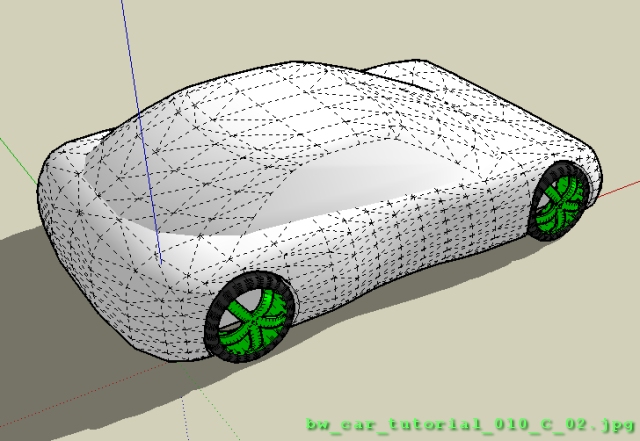
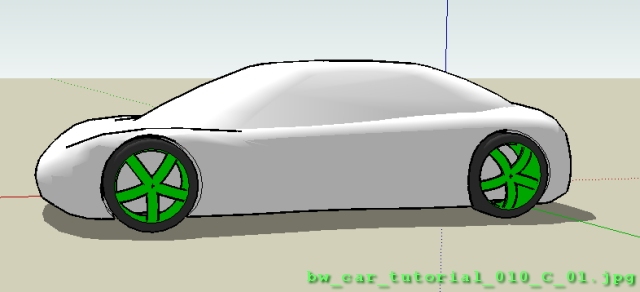
. . . here's a "finished" car sketch that I used in this tutorial . . . I didn't finish the wheel well areas - that's almost another tutorial altogether . . . hope this will do for now . . .
I would be most happy if you would share your creations & techniques.
Happy Sketching,
Brad

-
EEEK!!!

What happened? Something happened to the end of that tutorial - the last couple minutes got chopped off somehow - perhaps I didn't do the video right or there's some sort of Camtasia limitation or hosting service limitation? Oh well, I hope it's not too difficult to figure out what happens next - not sure if this is the best sequence, but here's typically what I do at this point:
finish roof
play with proportions
add wheel well areas (important to do this AFTER stretching/squishing the body proportions)
add details (scoops, mirrors, panel lines, vents, et cetera)
make layers- roof
- body
- glass
- tires & wheels
- et cetera
add & sort details by layer
add materials
blah, blah, blah
have a bottle of water

do the next one
blah, blah, blah -
Thank you Brad,
Such an exciting set of tutorials for me.
This will really push my techniques and experience with SU and of course I would like to encourage you to use voice to fill in some of the steps as you perform all the drawing functions.
You asked to share our "techniques" in this tread and while I'm not a novice to SU I'm not sure how useful a drooling and knuckle dragging tut from me would be?
 I have, however, seen others posting amazing things in the "My Cars always look........" thread and I bet many of them could make some very helpful tutorials as well.
Thanks again,
Bob C.
-
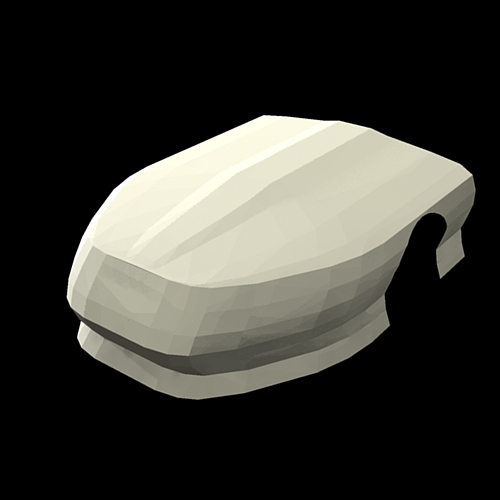
hey, thanks for the tut, er, toaster. im an aspireing car designer, and ive been kind of in the dark about how to make cars in SU, so this really helped. ive attached a pic of my first try using your technique. still pretty baisic, but i got a sort of bulge in the middle of the hood, and a chin spoiler, and (kind of) the wheel wells! remember, this is just my first try!
-
Thanks Bob C & igor.
Please keep in mind, the techniques certainly aren't 'mine' and I tried to demonstrate just one of many techniques which can be used with SketchUp "out of the box". To go a bit further, you can use "plug in's" like a free form deformation (FFD) script to help define geometry as well. I'd probably recommend getting proficient with the basic software first before using an FFD script.
Some SU users are very good at car modeling by creating wire structures and filling in the surf's as they go or other techniques. Although I use other techniques as well, the process I tried to illustrate here is a bit different and could be called "section pulling and shape manipulation" (SPASM)? Perhaps a better name could be "Forming And Reshaping Triangles" . . . oops - no, not that
 . . . in any event, the envelope needs to be pushed where more and more S/U techniques are shared - I know they already exist.
A great blues guitarist once said "When you can think of a nice little tune in your head and then play it on the axe (guitar) without thinking how to play it, that's when you're a real guitarist." It's my hope that any mastery of the software will produce the ability to document & develop what happens in one's head - modeling an idea. Sometimes only after seeing some geometry do I see how it could be shaped differently - idea development.
It's very satisfying to be able to take an idea in your head and then quickly jot it down on a piece of paper and then model the stuff with CAD. I'm far, far from being good at this but I'm getting a little better at it and I'm convinced SketchUp is truly a wonderful tool for creating some phenomenal very fast 3D models which could be categorized as "conceptual 3D sketching/modeling" (which is my favorite type of hand-generated drawings).
When I see so many truly talented artists out there who create professional quality renderings of truly phenomenal work,
for example http://www.suurland.com/
I sometimes have to really push aside my feelings of inadequacy and force myself to keep posting my dorky, unfinished & primitive shapes . . . for some reason I seem to think my simple contributions may be helpful to others - I hope so anyway and keep modeling with the idea that someday, maybe with enough diligence and effort, perhaps I too can learn how to be a real car design artist.
Enough rambling - let's go & create some more models, eh?
Happy Sketching,
Brad

-
when u like something u find a way for making that something,when u see that way is not enough u try something better,so step by step u discover by yourself new things that u never believed u ll find.
great tutorials Mr G. but let s make a shortcut:why u don t draw on a plan the mid section of a car and after pushing and scalling it until u want and then make the side? -
@unknownuser said:
why u don t draw on a plan the mid section of a car and after pushing and scalling it until u want and then make the side?
That technique is good - it seems like the technique I illustrated may give a little more flexibility to create a wide variation of transitions where sides join - maybe not. The bottom line is the end result - how someone gets there is important, but not more important than the finished model. No? -
Just realized the site hosing that video chops off anything beyond five minutes so the last two minutes are missing . . . I'll try to crank up my computer and create the last two minutes of the video, then upload it, link it here & so forth.
As is, I guess you get the main point showing how Follow Me can be used for blah, blah, blah . . .
-
Hello,
Here's another (pretty lousy but very quickly done) video tutorial showing a "follow me" technique. Apologies for the poor quality of the video and overall car design - but this technique could be used to create some nice stuff.
Comments - positive & negative - are always welcome.
Thanks & happy Sketching,
Brad

[flash=448,361:464815vv]http://i103.photobucket.com/player.swf?file=http://vid103.photobucket.com/albums/m157/ShermanPeabody/bw_sfe_01.flv[/flash:464815vv] -
-
. . .
Advertisement


