Green Toaster's Car Sketches
-
i didn t use the sandbox i use the hand
i alway do this i fit them with hand the sanbox isn t precise
i said medium quality because i wasn t use too many lines how do u expect to sandbox made a nice hood i use sandbox only for two lines two arches or something like that(i was using sandbox for the windows of my concept cars) -
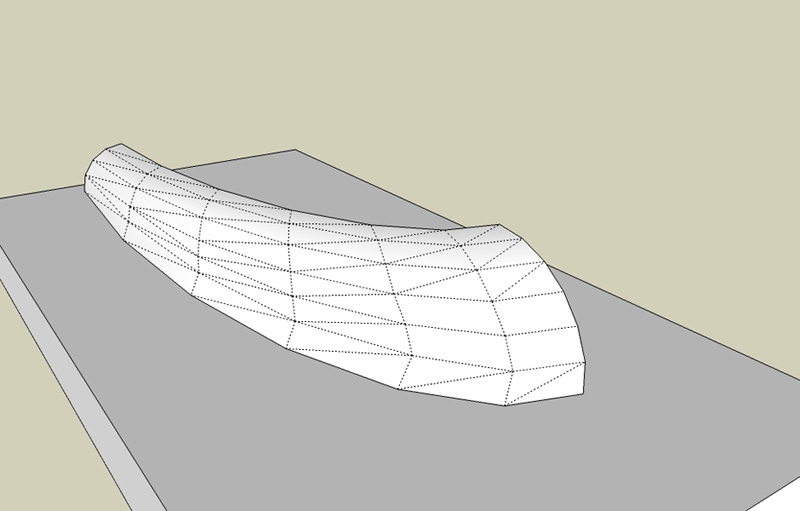
depending how much wire u want to use u can make different qualityes, here i use medium quality
![bw_hood_wireframe_01[5].jpg](/uploads/imported_attachments/IarL_bw_hood_wireframe_015.jpg)
-
Sorry, but I still don't understand how you get your surfaces in there and they render so smooth - looks like you converted the one I started with - I feel like I'm the dragon inside the shell - almost strong enough to break out of the egg and fly.
-
i didn t coverted i make it again,for makeing a desired surface u must have enough wire to fill exactly that form what u wish to do so u make a bigger arch on the bottom then one smaller then another smaller then another smaller when u gonna fit the wires is gonna be a nice rounded form smoth it and is gonna be exactly how u want to be
-
Okay - thank you, I'll try it - I think I (finally) understand how you did it.
I'll post my experiment on Friday.
Thanks again,
Brad
-
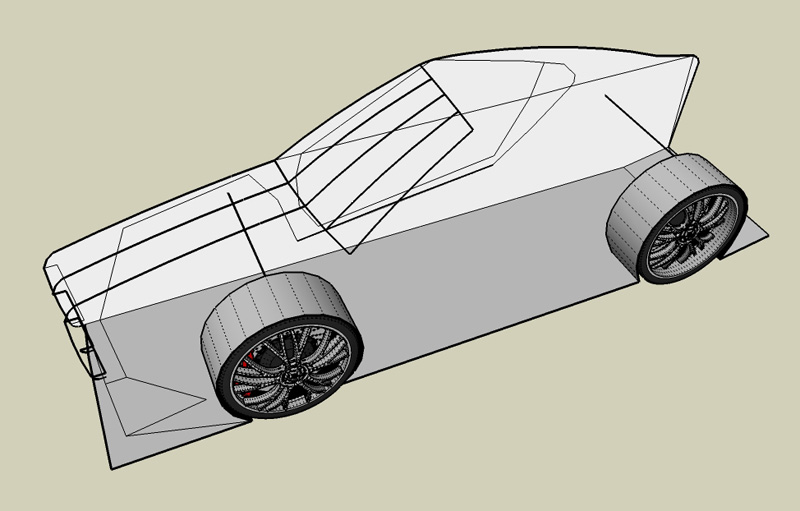
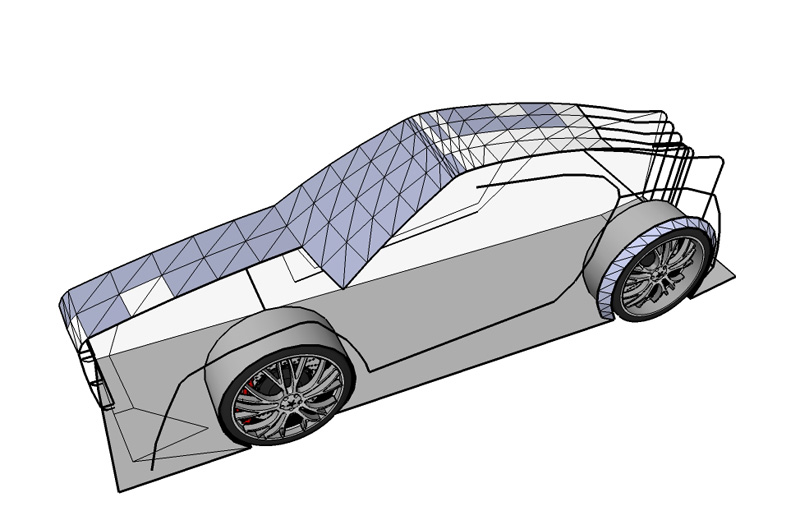
here is a little part from my new concept car, as i was talking u must make the wires after that fit them of cource u must have in mind the desifn of the car else u can t do a car, right? the position of the weels is taken from another concept of mine and i modified a litlle the lenght
-
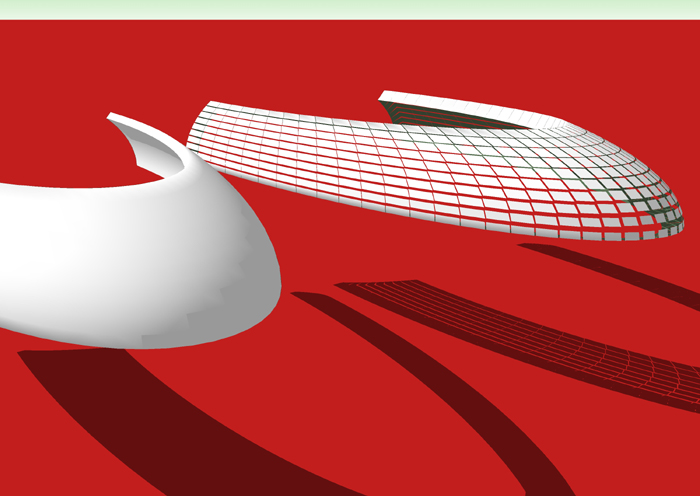
Using Bruce's method (a bit higher poly) and playing with This Script I generated these.

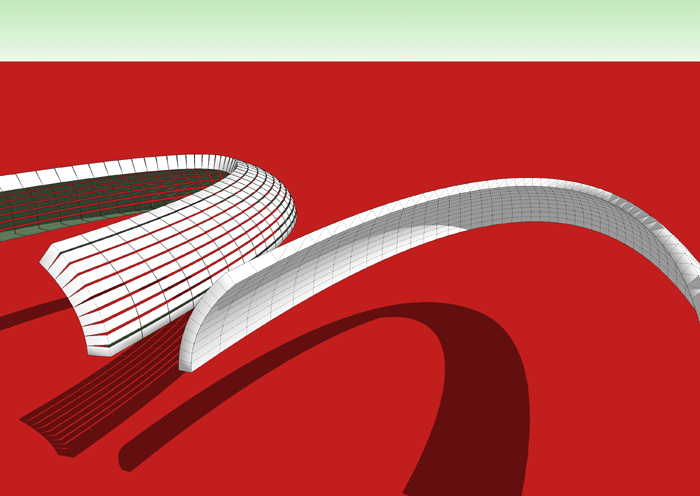
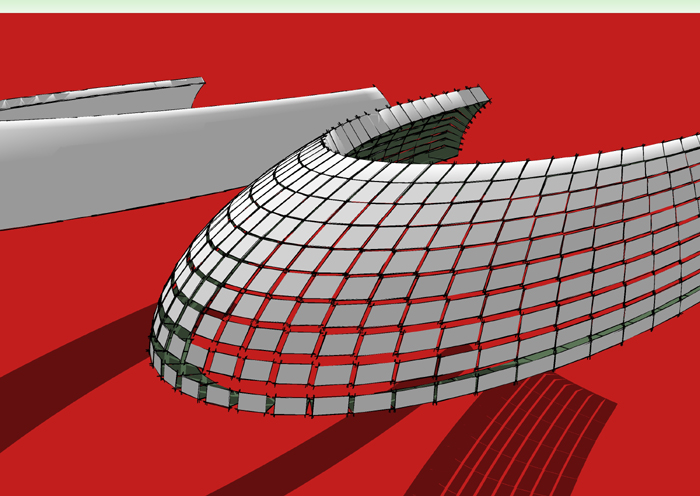
-
%(#000080)[Thanks all! I was able to figure out what I call "bubble shaping" where the sphere is squished, cut, & so forth (see my "bubble" car on or near the first page of this thread) but thanks very much modelhead for sharing that with everyone - a great techinque.
--||-- --||-- --||-- --||-- --||--
ely862me, that's really nice you posted those images and included some explanation. I've never modeled anything before using that technique although today I tried without much success.
@unknownuser said:
There is no doubt that stiching a model together is most accurate but not many of us have that kind of time luxury.
Yes, this looks like a time consuming approach - I'm used to other tools, but I'm not an expert with the cool looking stuff: surfaces! I've been using Pro/E for years and my surfacing capabilities aren't well developed. I'm looking forward to getting this technique down.
@unknownuser said:
u must make the wires after that fit them of cource u must have in mind the desifn of the car else u can t do a car, right?
I'm not very confident I can figure out how to "see" the model first - your words are very true and I believe some people have a natural ability to do this sort of thing where some do not. I clearly am in the latter category. I can "chop & chisel" flat surfaces all day - easy - but creating those beautiful smooth amorphic surfaces - wow, very impressive. Your images and words are very helpful & encouraging. I'm going to try again with something simple later tonight.--||-- --||-- --||-- --||-- --||--
Boofredlay, that's a very nice script but I'm not sure how I could use it yet - thanks for posting it and showing the very nice examples.
Happy Sketching,
Brad]
-
Brad, the script is excellent for creating a thickness of an odd shape. Look at the solid one of the two shapes. This could prove very useful in making many car components FWIW.
Cheers. -
Boofredlay, thanks, I'll play with it.
Here is my first "real" attempt at stitching (is that what I'm doing?).
I can see how this is going to be lots of fun - a few questions:
[1] --> Does it look like I may be on the right track?
[2, 3, & 4] --> I have SketchUp Pro - doesn't it have high quality rendering built in? How do I take my very rough hood and make it "nice" and smooth? Do I just add more triangles?
Thanks,
Brad

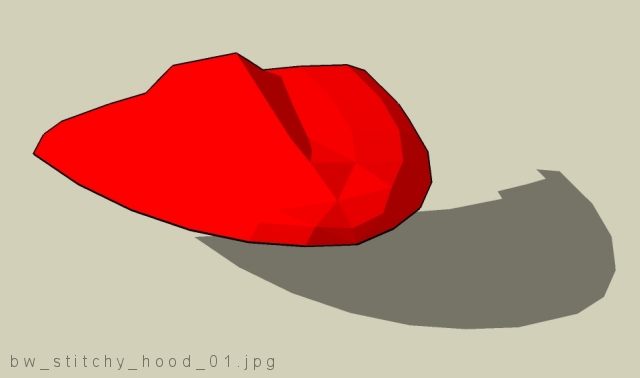
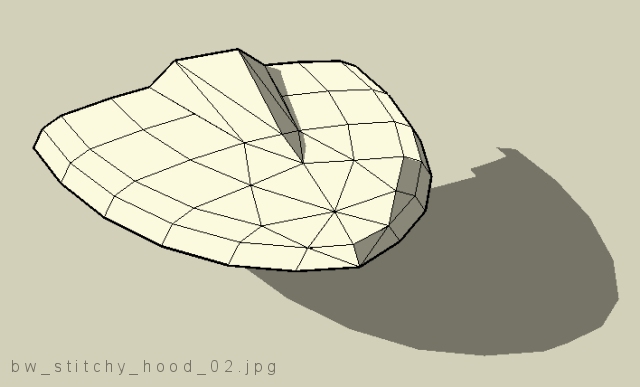
-
. . . 2nd attempt . . . just playin' around, nothing serious - this has some interesting possibilities for sure.
I wanted to take a circular surface and blend it quickly into two conics . . . I have lots to learn . . . but it's fun.
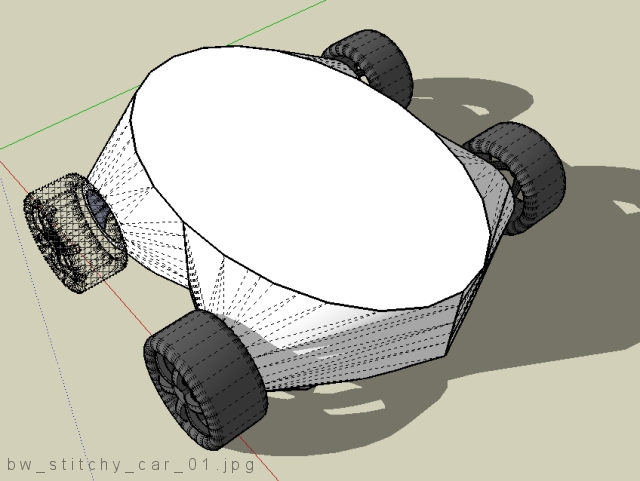
-
i know and i agree that my tehnique takes time but look what i can do with it,sincerly i can t imagine to make cars helped by spheres or else of cource if u play a lot with it u can do nice things
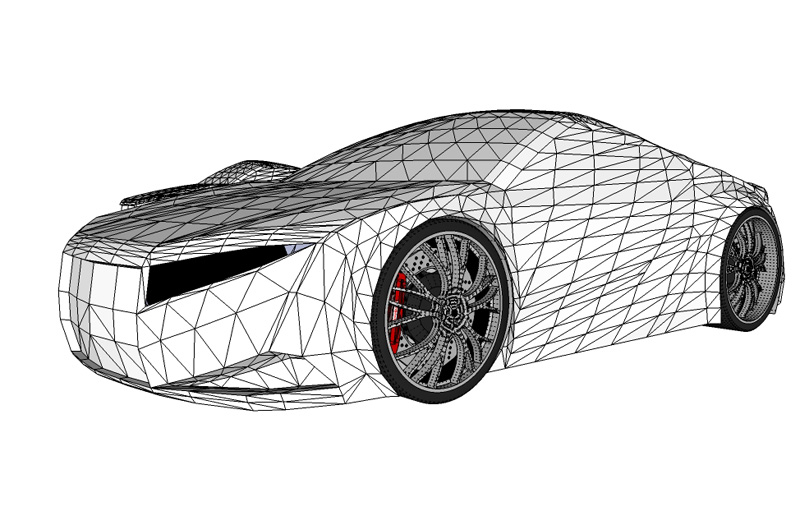
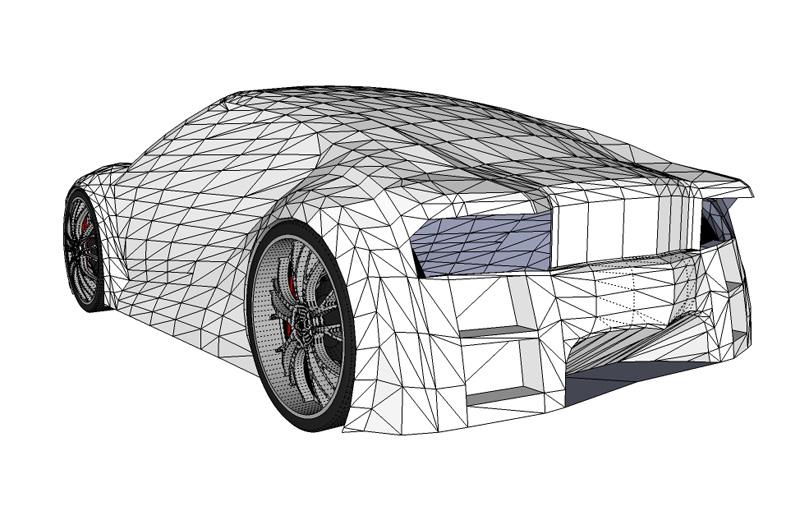
u ll see soon this car in warehouse i must finish the interior,front and rear lights and some little things -
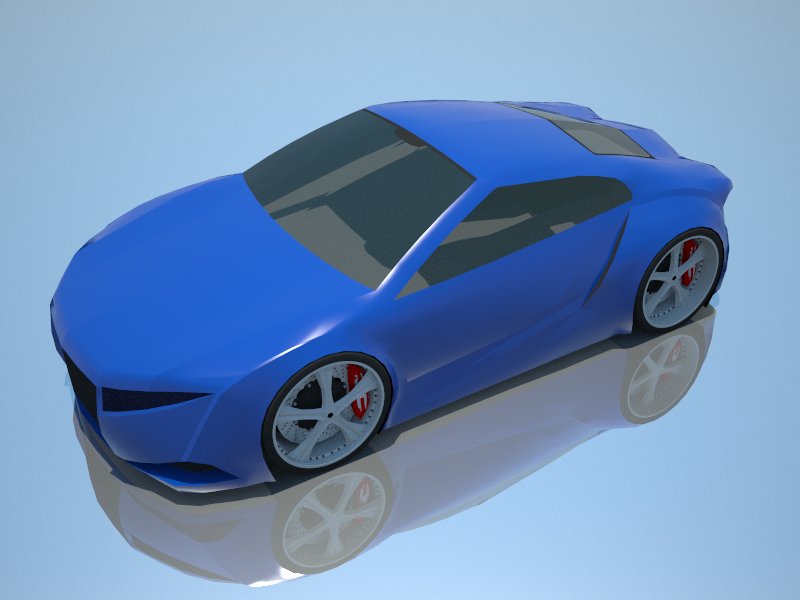
this is not finished but i couldn rezist to not take a picture
-
@unknownuser said:
I think your work is outstanding.
I agree 100% - very inspirational, artistic, and very cool!!!I'd be very happy to be at your level of modeling & creativity - so, I'm going to press on and learn how.
Thanks ely862me!!!
-
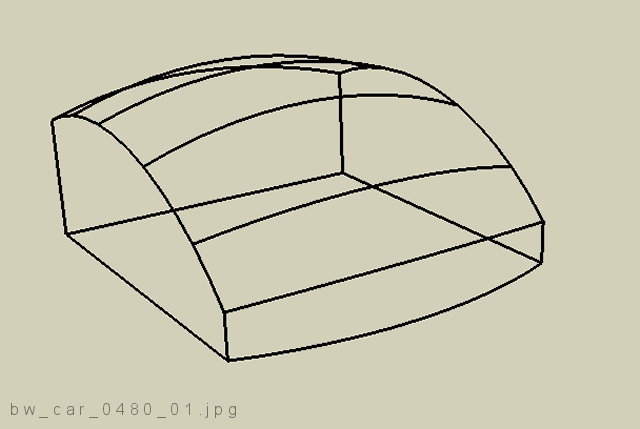
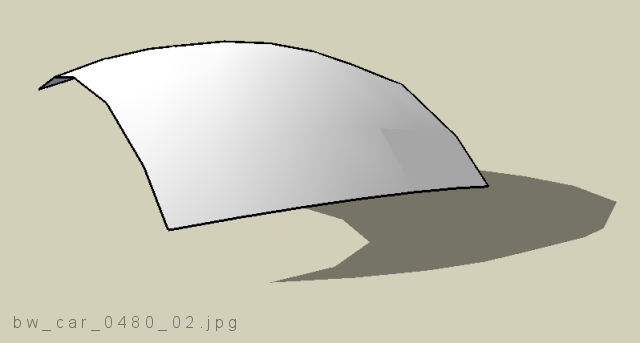
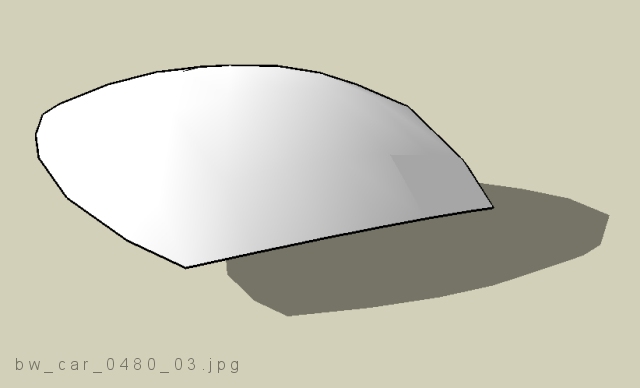
Here's a quick attempt at this technique - there is much to learn, like what is smoothing - when should it be used - why can't I see my surface edges anymore?
AND - I just discovered arcs are dimension driven so it's easy to change them quickly!!! Wow, that's a nice feature.
Thanks
-
Brad,
Until you start "handstitching" an arc (and thus ruining its curve entity), you can always hover over its middle endpoitn and modify its bulge. So just quickly draw the arc in the direction you desire and you can play with its bulging later (often you cannot pull it up enough because of some disturbing inferencing).
-
Thank you Gaieus - great to know that, very helpful.
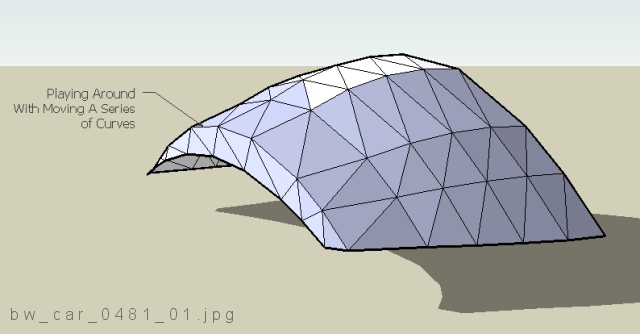
Here's a file (attached) where I'm trying some more new things. I could see with 3 or maybe 400 hours of doing this, I could begin to understand it well. :rolleyes:
Happy Sketching,
Brad
-
well done,i see u going in a good direction
-
Thanks - coming from you that's very encouraging!
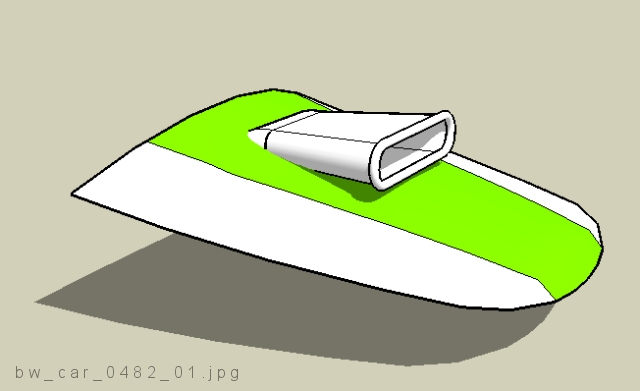
Here's a hood for a car I was working on - again, just trying to master the simple stuff. I couldn't resist creating a quick scoop.
I've also been quickly reminded that making use of layers is very helpful as well as keeping a copy of the pre-smoothed groups of surfaces by using components - I can't figure out how to change surfaces after smoothing is done otherwise.
I'm having trouble moving endpoints of surfaces - when I grab one, the red/green/blue axes don't lock . . . very puzzling . . . so I end up grabbing what I want to stretch, punch, or move and copy it over, create some construction geometry, make the change, then move it back - there's gotta be a better way.
Thanks,
Brad
-
Brad,
You can always turn on hidden geometry (View menu) and work with your softened/hidden lines as with "normal" ones.
Also when I'm moving endpoints, after clicking on them (but before moving), the axis lock with the arrow keys alwas work.
Advertisement


