Creating a Texture/Material from an Image
-
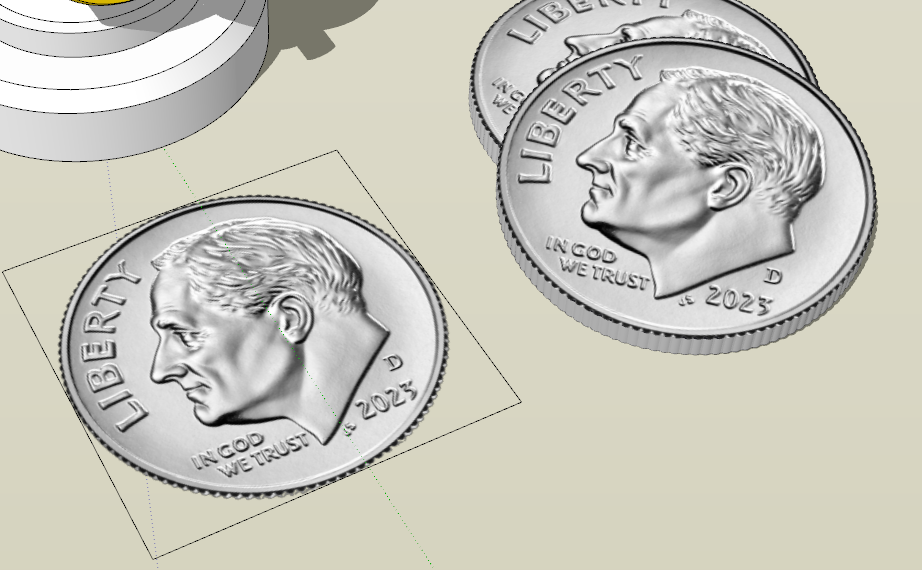
At the request of ntxdave, here's the method I used to add an image to the face of a coin. The general method would apply to other materials as well.
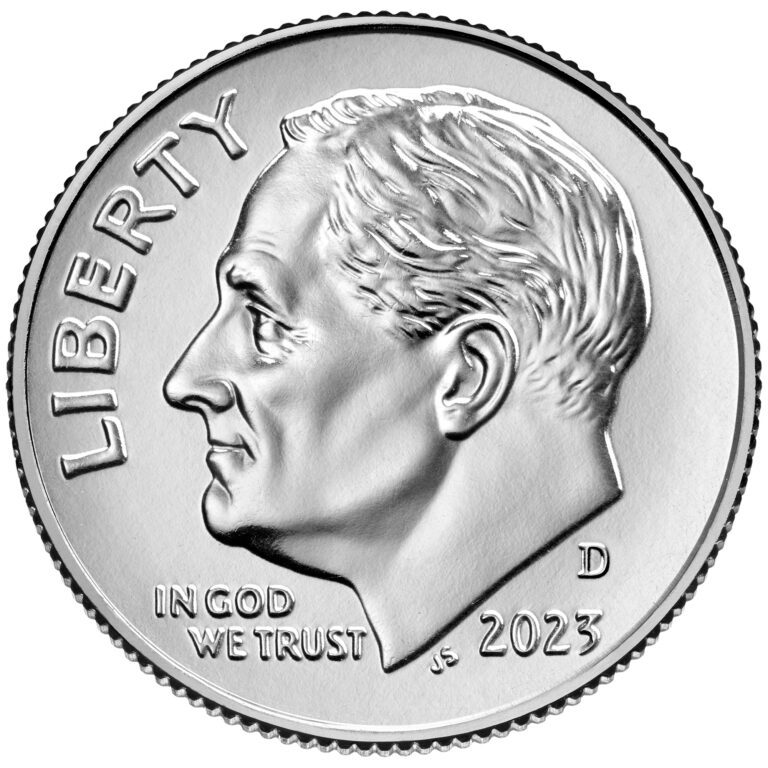
In this case I downloaded an image of the coin as a .jpg file.

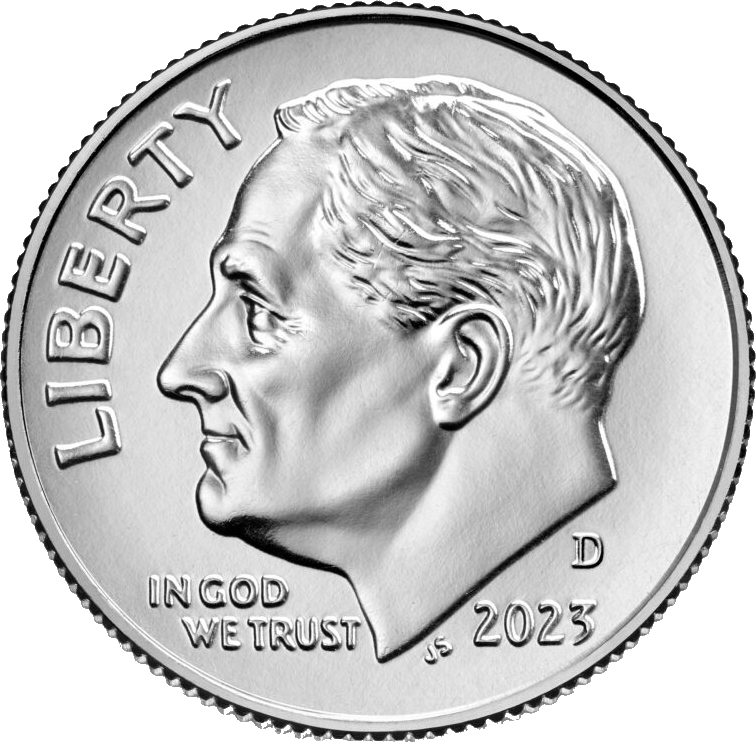
Although not strictly necesary for this image I opened it in an image editor. I used PaintDotNet but Gimp, PhotoShop, or any of a number of other options are available. I deleted the white background pixels to make them transparent and cropped the image to tightly fit the coin. Then I saved the result as a PNG file since JPGs do not support transparency.

There are a couple of ways to import the image as a material into SketchUp. It can be done in the Materials panel but I prefer to draw a rectangle (or square in this case) with the dimensions of the texture image and use File>Import to import the image and apply it to the face. Make sure to select Use as image as: Texture in the Import window. This method automatically makes the texture the correct size.

After that just use it as you would any other texture.
Another option is to import the image as an image and then explode it to get a face with the texture on it. You still need to set the size correctly.
In the case of textures such as the wood grain ones I make, I often have 4 or more images of different planks from the same log. I know what their lengths are but the widths are usually random. I just draw a rectangle to the known length and some random width. Then I use File>Import and import the images as textures and apply them to the rectangle. Repeat until all of the images have been imported and save them to a collection. No need to create a bunch of geometry for that. One rectangle does the job.
-
Thanks Dave, very nice.


-
Just curious how do you crop a circle?
-
The entire image is still rectangular, or square in this case. As I wrote in my post, I made the pixels of the background transparent.
Advertisement


