Projecting vector linework
-
I do images for an architect I work with. He likes me to do just line work on a yellow trace type background.
For brickwork and siding I just draw lines in a separate group over the walls and call it a day. This time I have a problem. I have a curved wall that I'm trying to paste an exploded autocad hatch pattern on to. All the other walls are fine I just cut and paste the group and delete the extraneous parts. On the curve, I can't figure out what to to. Drape usually works to project line work onto a mesh but it's not working in this case.
Worst case scenario is I guess I have to try to draw on the curved surface and hope for the best. I just thought someone might have tried this before?
-
I would use a texture image but I wouldn't project it onto the curved surface because that will cause distortion. You could use an existing hatch material as a PNG or make your own. I often make my own hatch patterns in SketchUp. Then I export them as a png, crop if needed and import into SketchUp as a material. This is good especiallu if you want to use a sketchy line style for the pattern.
-
As Dave R has suggested, using a texture would be the way to go. If you do prefer a vector method then maybe the following might help.
Extract or copy the curved face or, at least, copy the curved edge in order to have the new linework sit over the surface correctly. Define the arc centre of the curve. Model a single brick as a component. I used just the face with four sides converging to a single point at the arc centre. Once the model is populated with the brick component the bed & perpendicular joints can be adjusted by scaling the brick face. If you just have an arc edge then add some extra lines so that a face is formed on the ground plane (make it a group). The brick face should lie slightly in front of the wall face or arc line.
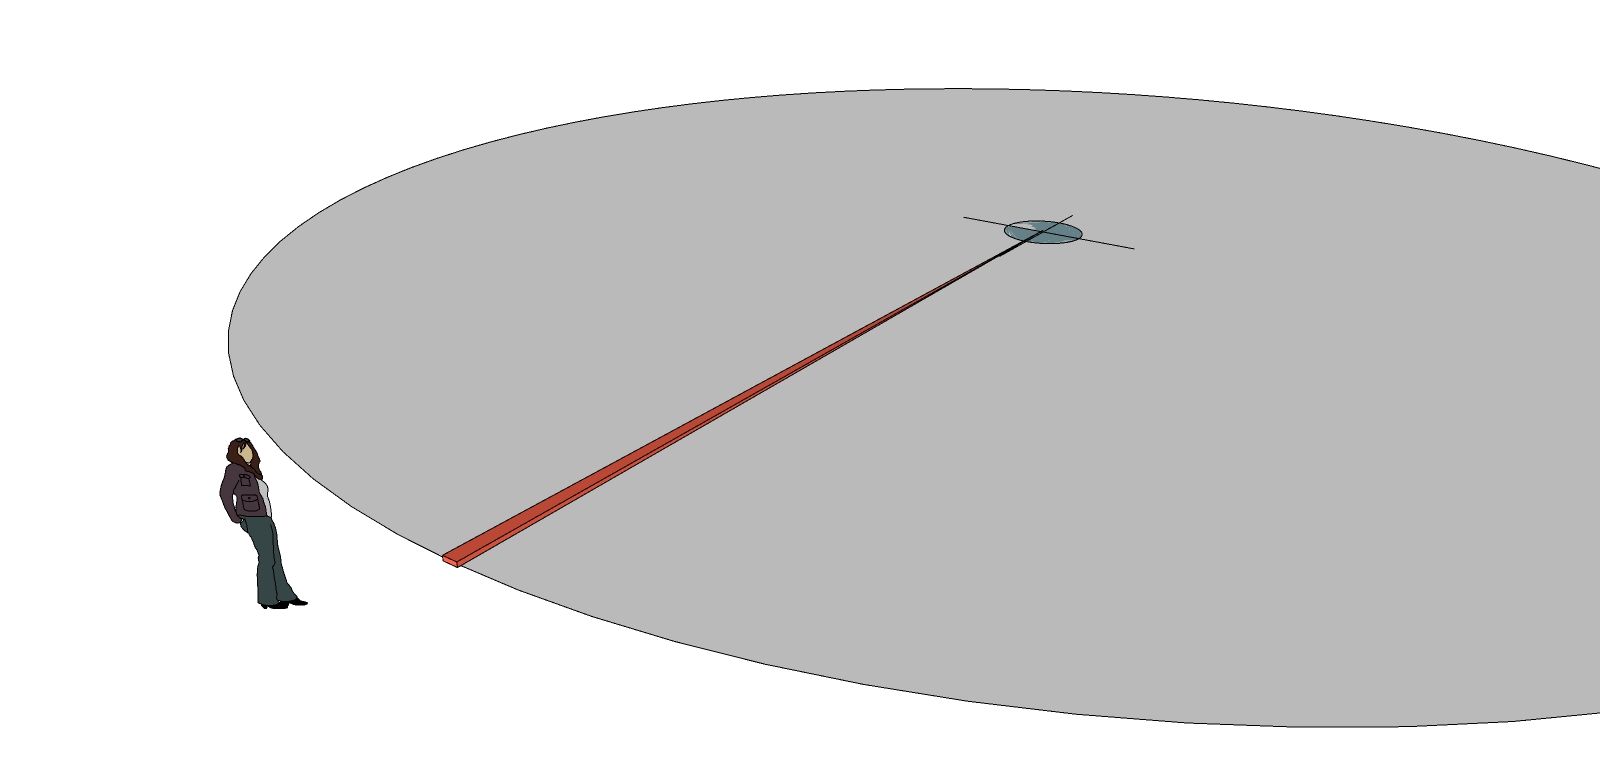
Next, rotate/copy the brick sufficient to give coverage across the wall width with some overlap. Group this first course and then copy it upwards to form the second course. Rotate to give the staggered joints.
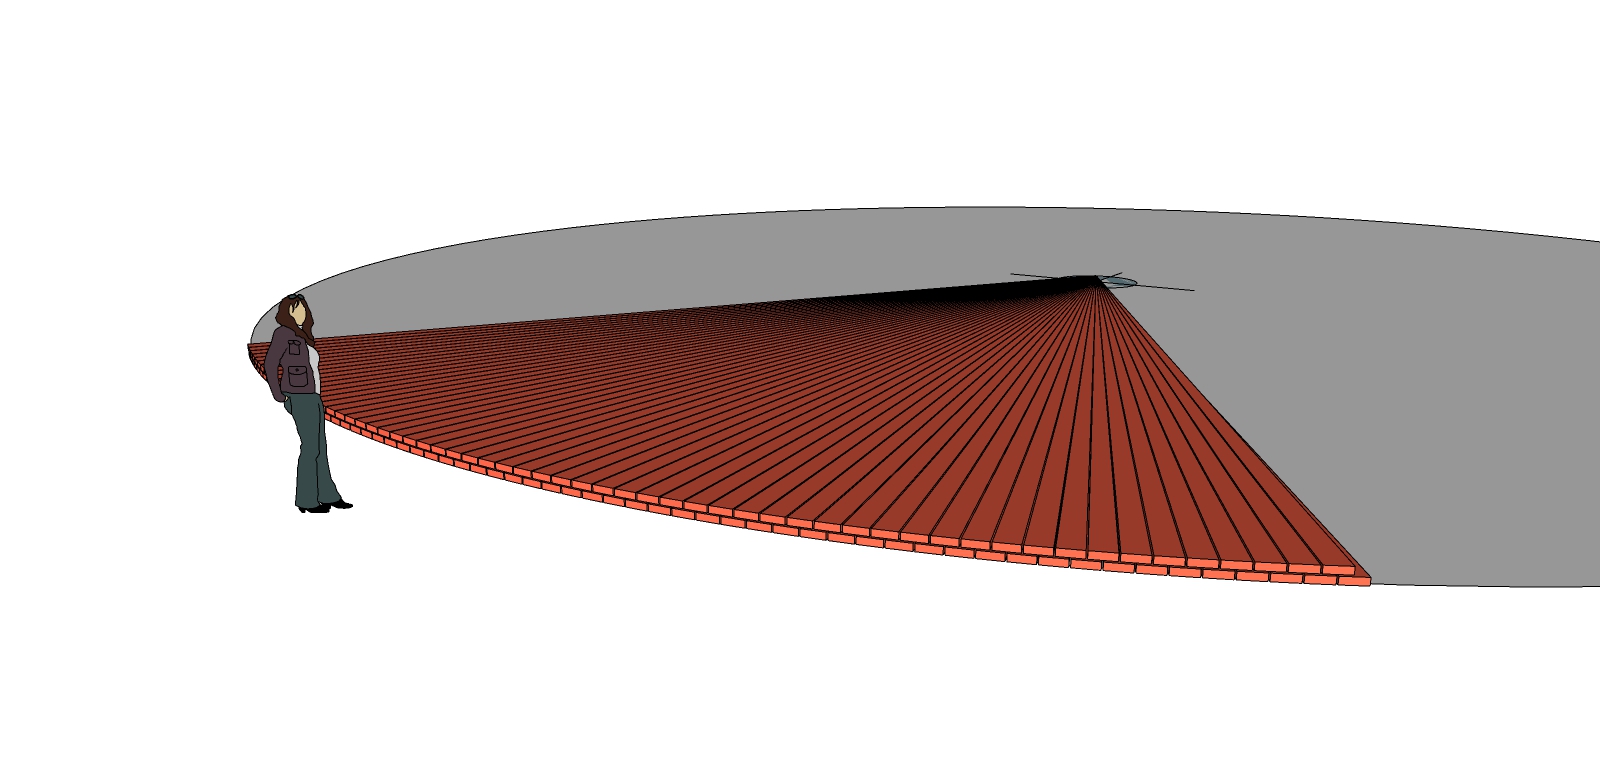
Now group the first and second courses together and copy upwards to give vertical coverage to the wall. Place all of the bricks into one further group.
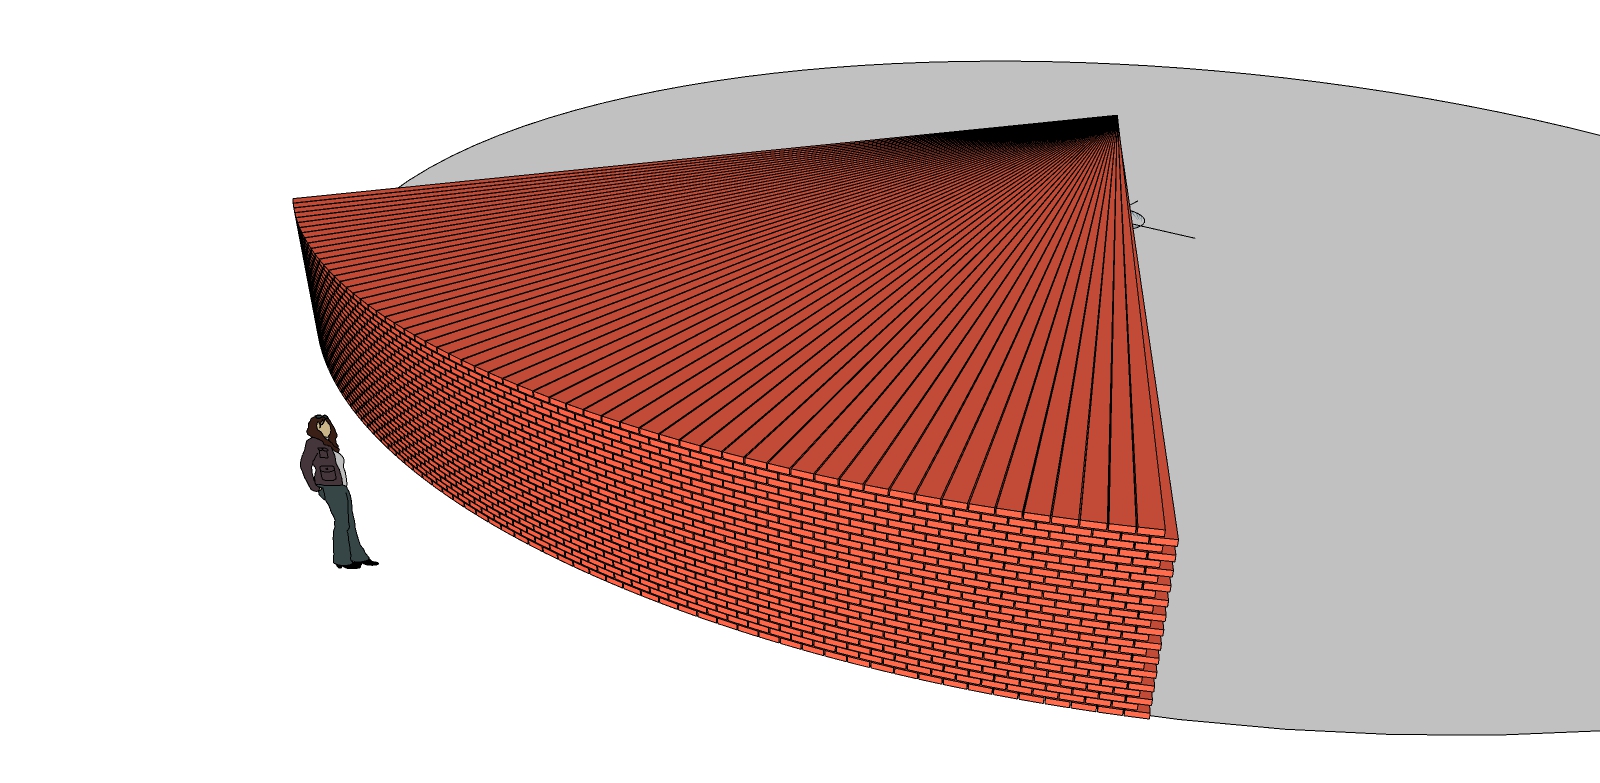
Push-pull the wall ground plane up to the top edge height needed to form a vertical face if you did not extract this from the model already.
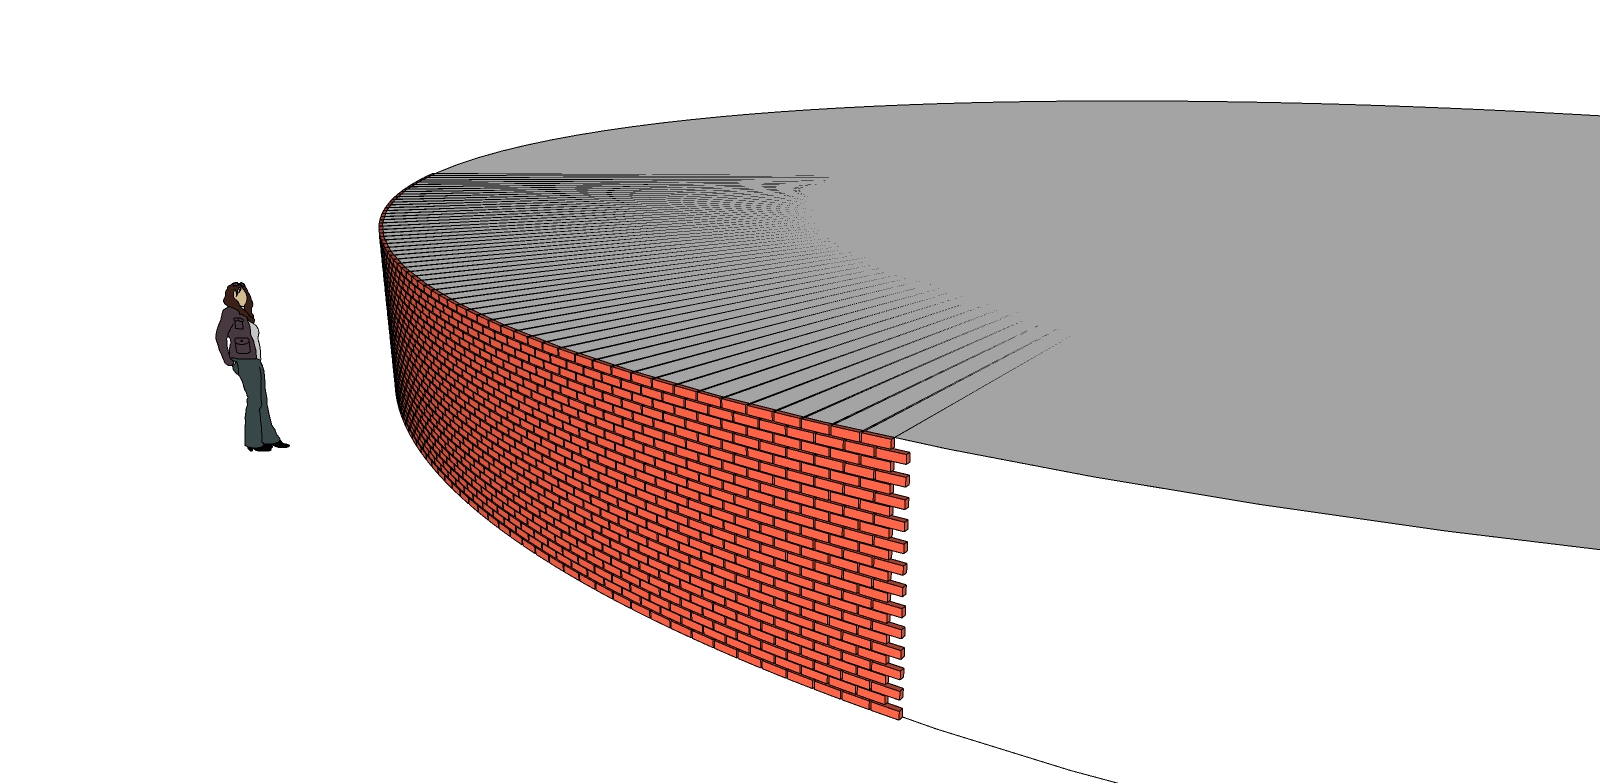
Select the brick group and the wall group. Run 'Intersect with selected'. When done, hide the bricks and the wall groups. You should now have just the intersected linework to represent the bricks in the curved wall. Select and group this linework and fit into the main model.
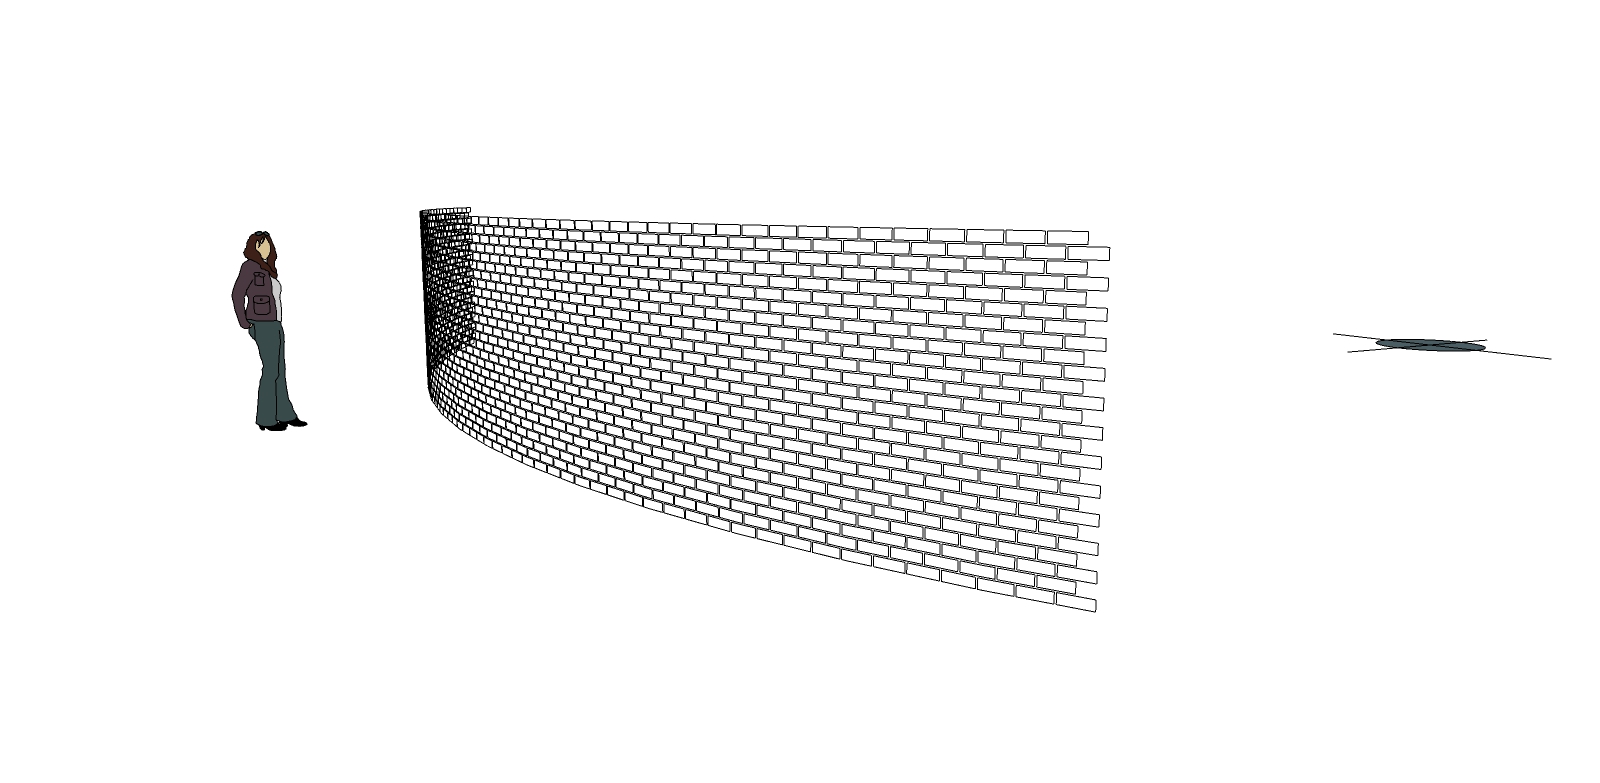
A bit long winded I know but an enjoyable afternoon diversion. I used only native SU tools.
Advertisement


