Medeek Floor
-
Superb. Glad to see this one developing along with the rest of your outstanding plugins.....!
-
Excellent! Expanding the arsenal.
Please start this one's coding that it has only 1 / 2 / 3 buttons on the ribbon, with any extra being called to display/flyout when initialised.
Your stuff really is top notch, but I'd like to see them take up less space on the ribbons than they currently do.
-
The toolbars and the condensing of them into less icons seems to be a common theme lately, I still haven't arrived at an acceptable solution on this yet. Does anyone have a particular plugin in mind that already uses some sort of system that might provide an example of what I should do.
-
Per discussion and input this morning from a valued mentor/adviser I've added a few more items to the list:
1.) A tool for adding in mid-span blocking where the user can specify a location, extant and type of blocking.
2.) A blocking tool (also need this for the wall plugin) which will allow the user to create special blocking for point load conditions etc...
3.) An in-floor beam tool similar to the in-column wall tool of the wall plugin. The wall plugin already has a beam tool but this is for stand alone beams.
4.) Option for cavity insulation within the floor assembly, however an additional parameter which allows the control of the batt thickness since it may not be the same depth as the floor cavity.
5.) With the floor covering tool provide a vertical offset parameter. I may also set it up so that multiple layers are possible.
-
I've been thinking about this plugin some more as I've been occupied with upgrading the javascript/ruby interactions within the wall plugin.
Some floor framing plans are very simple, while others are considerably more complex.
I need to make the plugin as flexible as possible so it can accommodate the more complex floor variants.
One issue I'm trying to address is how to best handle floor plans that have floor joists running in different directions within a single floor plan/assembly.
My proposed solution is to limit the direction of the floor joists in any given assembly to one direction. Then to allow for a complex floor assemblies I will need a tool to suppress the rimboard along any given edge of the floor assembly. This will then allow for the butting up of floor assemblies next to each other to get the desired floor framing layout.
This particular edge tool will have three options for any given edge of the floor assembly: rimboard, no rimboard, or ledger.
-
First look at the main toolbar for the plugin:

1.) Draw Floor
2.) Edit Floor
3.) Move Floor Edge
4.) Edit Rim Joist
5.) Engineering
6.) Global SettingsMost of these tools are fairly self explanatory, number 4 is probably the most interesting. I will allow the user to customize each rim joist per floor edge (if desired), or remove it entirely. This will come in useful where there are multiple floor assemblies abutted next to each other.
There will also be additional context menu tools (ie. regen floor assembly). One context menu tool I am thinking about adding in is a way to select a given edge as the starting point for the floor joists/trusses. This will allow the direction and spacing of the floor joists to be aligned to any edge along the floor outline.
There will need to be another completely separate toolbar and tools that deals specifically with holes cut into the floor.
Lots of little details to still work out and even though much of the code base can be recycled from the other plugins there is still a lot of work involved to produce a completely new plugin with the capabilities that I envision for this new architectural tool.
-
First look at the floor opening toolbar:

1.) Draw Floor Opening
2.) Move Floor Opening
3.) Edit Floor Opening
4.) Delete Floor Opening -
First look at the floor covering toolbar:

1.) Draw Floor Covering
2.) Move Floor Covering
3.) Edit Floor Covering
4.) Delete Floor CoveringThe colors are a little bright for me, I may have to subdue them a bit to get the right look.
-
First look at the floor beam toolbar:

1.) Draw Floor Beam
2.) Move Floor Beam
3.) Edit Floor Beam
4.) Delete Floor BeamIf the floor beams align with the joists/trusses things are fairly straightforward, however if the in-floor beams are perpendicular or oblique to the joists this becomes a bit more interesting.
I will have to give some serious thought to this module in order to make it as flexible as possible.
-
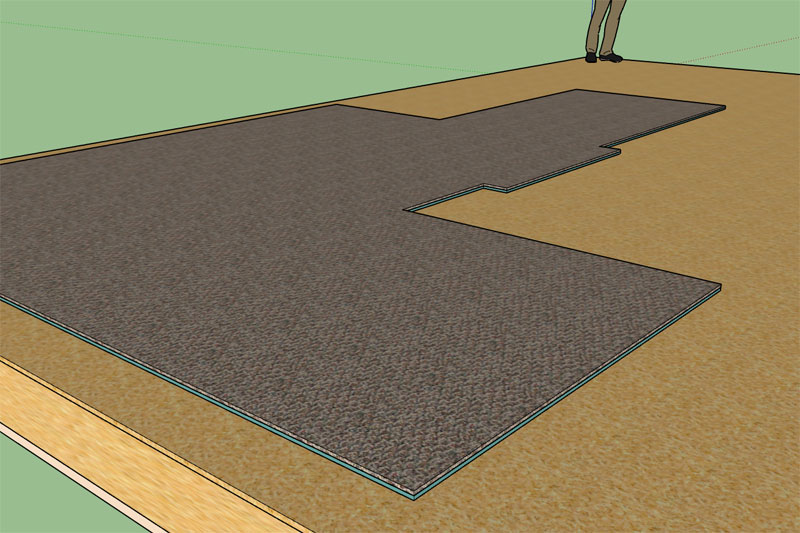
For the floor covering module I think an option for 2 or 3 layers should be sufficient for most cases:

In this case I am modeling/representing the carpet and its pad.
Tile floors usually require some time of cement board underlayment.
Pergo and hardwood floors may also have an underlayment of some type or another.
Openings cut in the floor assembly will also cut through the floor coverings if they intersect. This will allow for interior holes within a floor covering.
-
Development was paused on this extension at the beginning of March, I apologize for the delay in its initial BETA release. Development will begin in earnest again starting June 1st, with an estimated ETA of Sept. 1st.
-
I've finally wrapped up my recent move (Utah -> Missouri) and the dust is beginning to settle some. The next few weeks I will be working in earnest on the Floor plugin and try to get it put together and released before the end of the summer and prior to the upcoming SketchUp Basecamp.
-
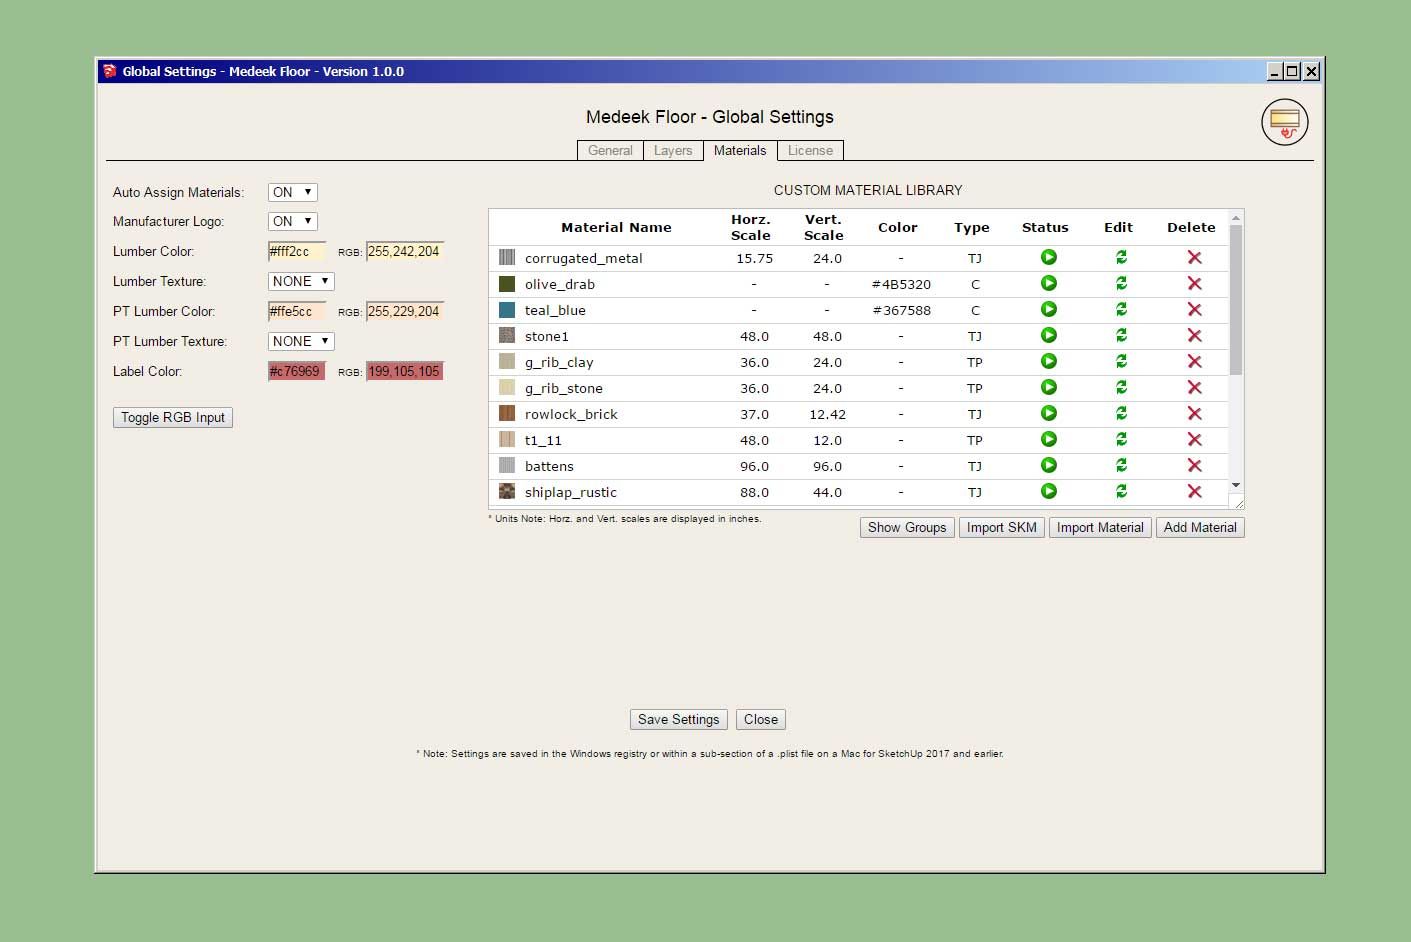
Looks like I’ve got most of the basic Global Settings all put together now. Fairly basic to start with, I’m sure as this progresses it will diverge from the initial template quite a bit:

-
The edit menu and draw menu are pretty much done now, just a few more tweaks and error checking and we might be able to start creating our first real floors with this thing:

I was going to include the blocking as an advanced option but after some further thought it seemed like it might be more intuitive to have the blocking be similar to beams and openings, where you can really customize the location and size etc... of each row of blocks independently.
I usually have a pretty good idea how I want things to go even before I start coding but sometimes you get halfway into it and you realize that an alternative method or system would be more optimal.
-
I realize that people are chomping at the bit for this new plugin and I have been working on it diligently for the last two to three weeks. The biggest holdup has been going back through all of the code and bringing it up to speed with the other plugins. There have been quite a few incremental changes to the other plugins with regards to licensing, materials, layers etc...
For instance the plugin material library back end was originally coded based off of the 2022 version of the Wall plugin. I just updated all of the code now so that it is keeping in line with the most current version of the Wall plugins material library code base.

So right now I'm spending a few more days making sure everything is modern and up to speed with the other plugins.
-
Yay! it's finally coming!
-
I might actually designate the initial release a BETA number but I'm still not decided on that yet.
Right now the plugin is all torn apart as I continue to add in a few additional features like presets and the "remove joist list" option:

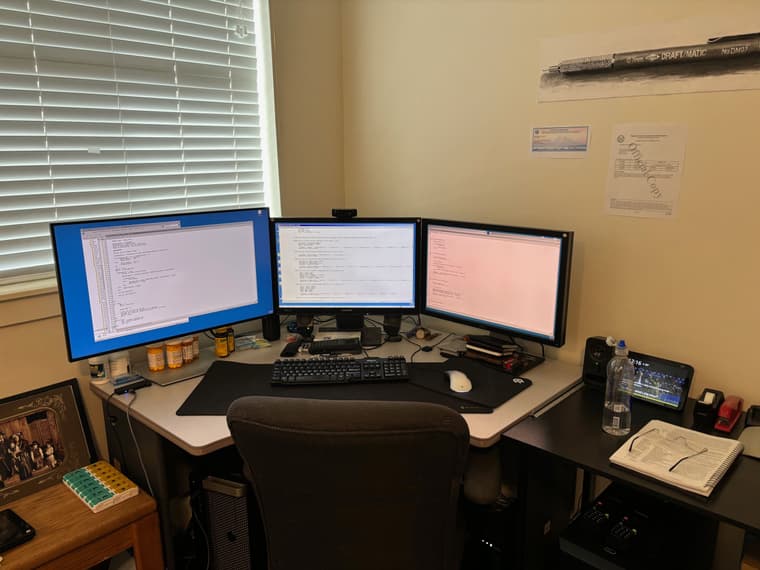
This is my current desk setup, I've just added the big monitor to my left which gives me more screen real estate and improves my coding efficiency. This is where all the magic happens, at least for now.
I also initially used the slab-on-grade code for moving edges of the floor perimeter but now that I'm testing it more extensively it appears that I should probably switch to the code I use for the complex roofs, so some additional adjustments required there as well.
This is how the sausage is made, one line of code at a time.
-
what, no physical scale models of a floor joist system as a handy reference?

-
The draw and edit menus are working great (all HTML) but I’ve decided I might as well add in “floor” presets since I know that request will be coming down pike if I don’t add it in initially.
Also after using the current menus and given all the I-joist options (sizes and manufacturers) it seems almost cryptic in many ways unless you are intimately familiar with the various manufacturer’s product numbers. I’m not saying now but maybe at a later date (after the initial release) I will add in a small SVG graphic into both of these menus which give a simple preview (cross section) with dimensions of the selected I-joist product. It would certainly make the menus a bit more graphical and exciting(engaging) and actually be minimal work to implement, thoughts?
-
i might suggest only simple icons - wood, metal, i-joist and glulam representations and textual info - should be sufficient to select the range of product by type and then list the dimensions. chances are someone engineering this structure would have likely researched the products and specs before going though the effort to lay it out...
Advertisement
.JPG)


