How to turn a 3D math function plot into a solid
-
sin x plus sin y point cloudsin x plus sin y triangulated pointsI am new to Sketchup and appreciate any help. I have been searching Sketchucation posts for tips on solving my problem and have been impressed and encouraged by the collegiality and patience of experienced users.
I would like to create a 3D plot of a math function, create a model in Sketchup, slice the model, laser cut the slices out of wood, then finish and assemble as a sculpture.
As an example, I graphed z= sin(x) + sin(y) in Graphing Calulator 3D and then saved the spreadsheet with XYZ coordinates as a .csv file. I then used cloud_v8b extension to import the .csv file point cloud into Sketchup That works well. cloud_v8b also gives me the option to triangulate the points. To me, that looks like a step in the right direction, but from that point on, I am lost.
When I try to use slicer5, the error message tells me that the shape must be a solid. I have tried to extrude the surface (is this the correct term?) using Push/Pull. No success. I tried Fredo6JointPushPull with some interesting results but not what I'm after.
Now I have looked at dropverts (TIG's Drop Vertices extension) and the video tutorial makes me think that it might be what I need. I think that if I can select the outline edge of the surface, dropverts would create "sides" on the shape. That's how the video tutorial looks to me, anyway. I can't figure out how to select/create an outline/edge that dropverts will recognize.
Alternatively, perhaps there is an easier process for me to use to get to my goal (see paragraph 2) and I would be grateful to hear about it.
I have attached the "sin(x) + sin(y)" point cloud file and the point cloud with triangulated points.
Thanks for your advice and teaching!
-
There may be a way to do this but knowing the real version of SketchUp you are using is important in giving you guidance and your profile is confusing. Which version are you actually using? There is no 2019 Free/Make version.
-
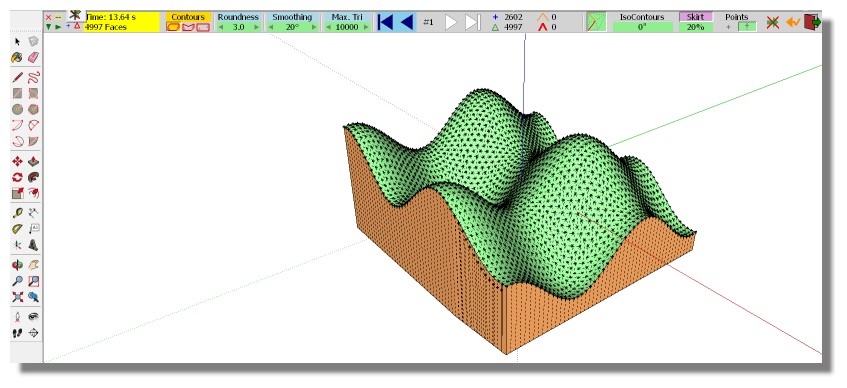
Maybe TopoShaper by Fredo6 can help you ?
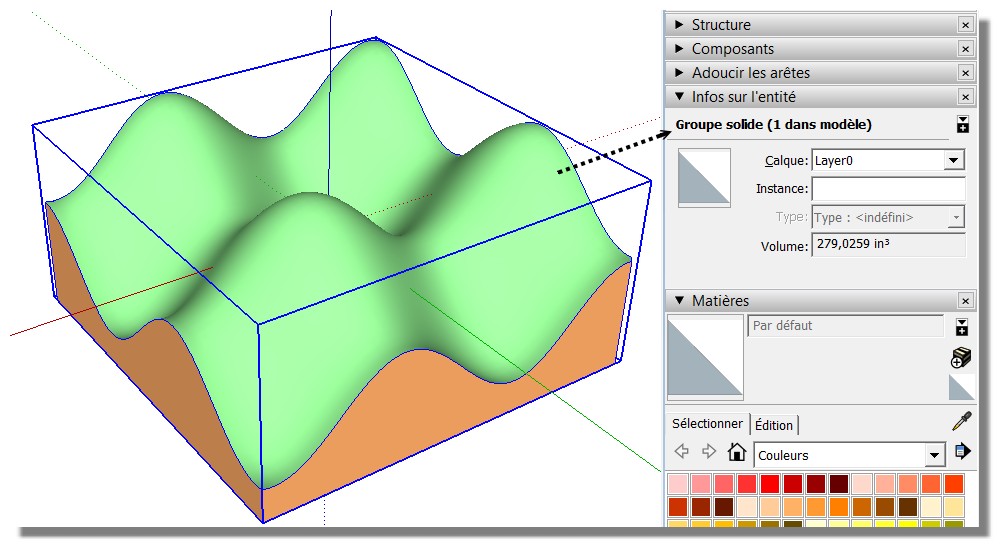
 All takes less 1 minute! (last rendering included)
Topo 10 seconds Render 2 secondes : the more long is to launch programs!
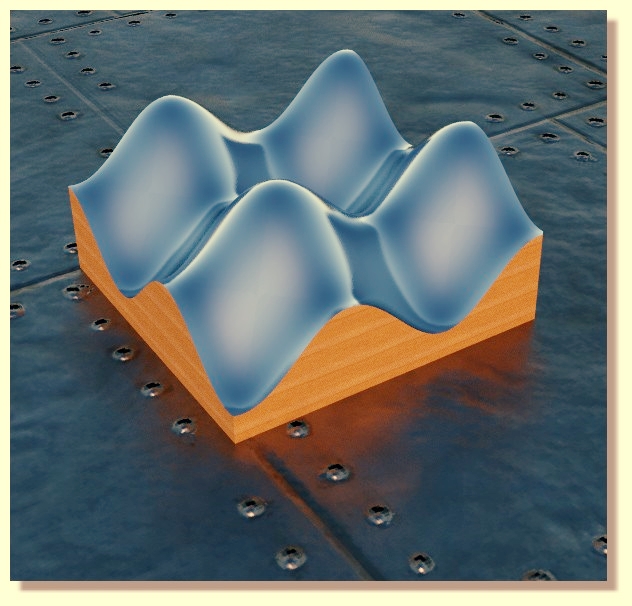
Rendered in the free Real Time Render Simlab Composer Lite (Maxi 1920 *1080)
-
Thanks for your help!
Dave R: I updated my Sketchup version in profile (2017)
Pilou: Toposhaper by Fredo6 gets me a lot closer to a solution. Thank you.
However, when I try to slice this shape with Slicer5, I get the message "The selected object is not a "manifold" solid". I had grouped all the components prior to running Slicer5. I think I understand that a Sketchup solid is a shape with no holes in it, i.e. "could hold water", but I don't know how to make this shape into a solid.
Kishore
-
Thank you for correcting your profile.
As for the shape not being manifold, most likely you are running into the tiny face issue when the curved surface gets cut. Work at a larger scale. Generally when I model for 3D printing I set units to Meters and enter my dimensions as if they were real world. That is, for 10 inches I would enter 10 meters. STL files are unitless so you you would just tell the 3D printer software that the units are inches.
As an example, this part was modeled with units set to meters but imported with units set to millimeters.
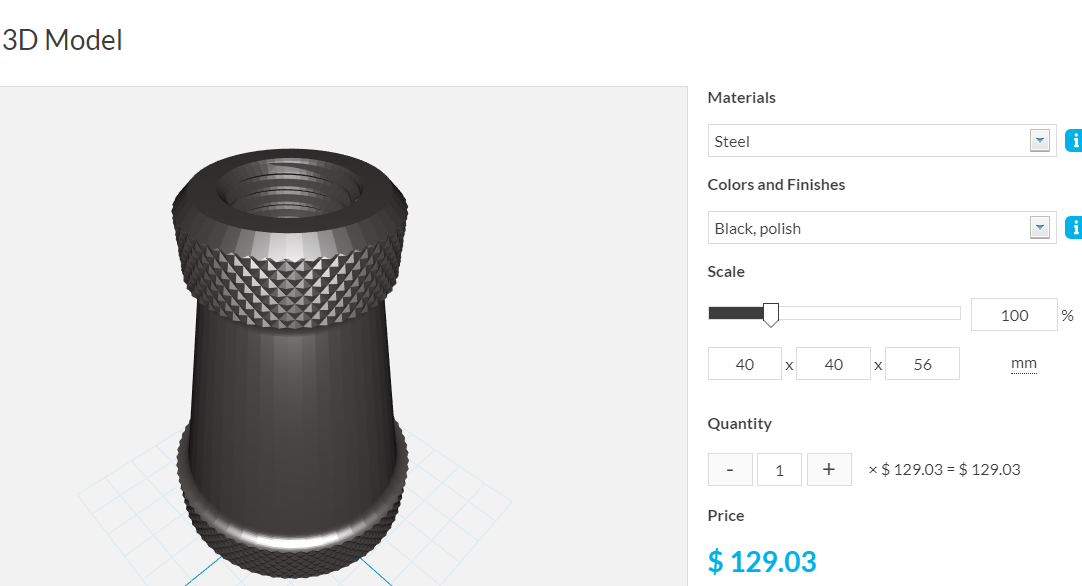
Another thing is that you need to make the starting shape manifold before slicing it. As it is in your model the sine surface is in one group and the sides and bottom of the box are in another so neither one is what SketchUp classifies as solid. You can explode the two groups and make one from all of the geometry and then run slicer.
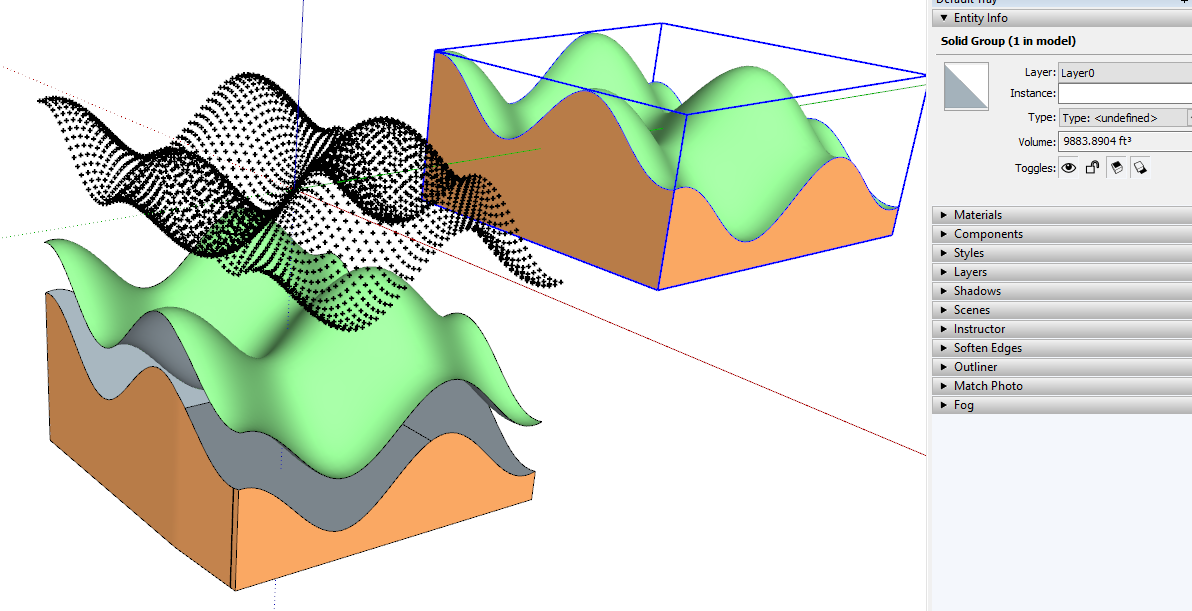
I scaled the model up and reran Toposhaper to get all of your points included. Then made a single group from the two and you see SketchUp reports it as solid in Entity Info.
-
Thanks, Dave R. First of all, I am astonished at the speed and thoughfulness of these replies. Unfortunately, I am still struggling.

I have set units to Meters, re-run the point cloud from scratch and applied Toposhaper. I get the shape that you showed in your last post. I exploded it, but when I try to group the components, I get confused. Your post shows 3 components: the point cloud, the sine shape, and the sides and base. Then it looks like you have grouped the sine shape with the sides and base, excluding the point cloud. Is this correct?
I tried separating the components, then deleting the point cloud, but I couldn't get the sine shape back together with the sides and base to make a solid.
Thanks for your patience
-
@kishorevis said:
I have set units to Meters, re-run the point cloud from scratch and applied Toposhaper.
Did you also scale the model up so 10 inches is 10 meters?
@kishorevis said:
I get the shape that you showed in your last post. I exploded it, but when I try to group the components, I get confused. Your post shows 3 components: the point cloud, the sine shape, and the sides and base.
They are actually groups. Your point cloud is a group as is the sine surface and the base. I just moved them away from each other to show they are separate.
@kishorevis said:
Then it looks like you have grouped the sine shape with the sides and base, excluding the point cloud. Is this correct?
I created a new sine shape and base with Toposhaper. Then I exploded the base group, cut the geometry to the clipboard, opened the sine curve group for editing and pasted the geometry I just cut using Paste in place.
@kishorevis said:
I tried separating the components, then deleting the point cloud, but I couldn't get the sine shape back together with the sides and base to make a solid.
Don't move them apart. I only did that with your groups for illustration. Leave the geometry in place and use Cut and Paste in Place.
@kishorevis said:
Thanks for your patience
You're welcome.
-
I've scaled the model up and the measuring tape now indicates it is 10 meters across.
I have exploded the model and cut the base group to the clipboard.
I double-click on the sine group (the surface, not the point cloud). This outlines the edges in blue so I take this to be correct. I paste in place, and the base group returns.
I tried Slicer again and it still indicates it is not a solid. I then select-all, group, and Slicer indicates it is not a solid.
Dave R: I think this is so straightforward to you that some of your instruction would be obvious to a more experienced user, but I'm sure I'm missing something here. Can you try the explanation again, and talk really slow?

-
Sorry. What I did earlier today seems to have partly been driven by the excessive nesting in your model. I cleaned up the model before making the video at the following link getting rid of all the groups except the point cloud. Then I find that the base geometry is a group included in a parent group also containing the loose geometry of the top surface. Simply exploding the base group was enough to wind up with the solid.
-
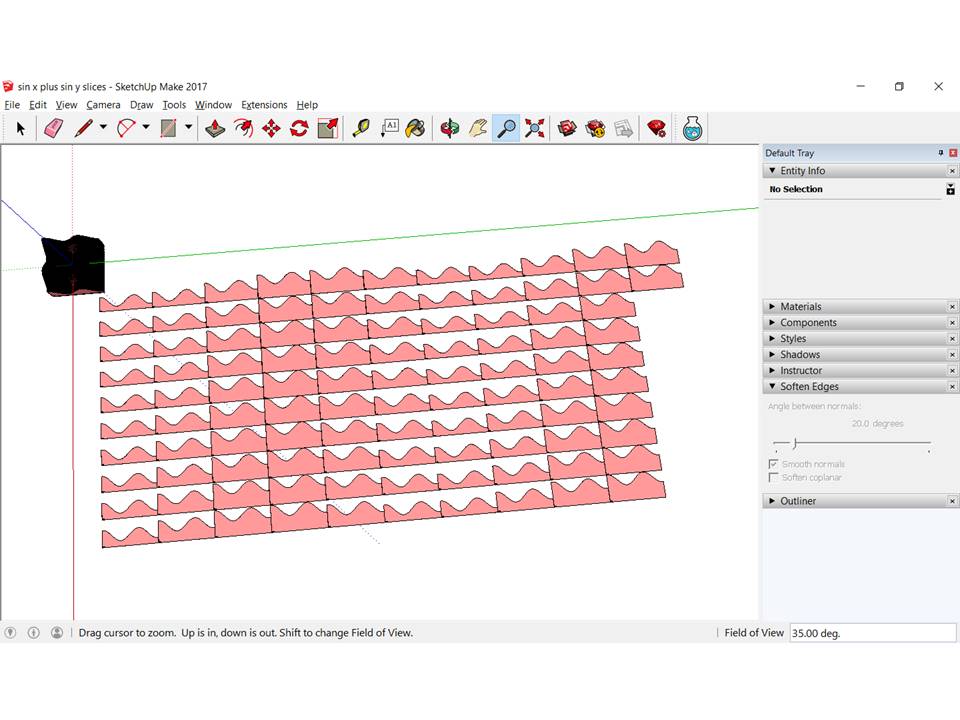
Dave R: This is very exciting! I have slices of the 3D math function, as intended.
In case anyone else is interested to work through a similar project, here is the workflow: (please note that I have done this by rote/trial and error and don't yet understand the underlying computing. But I'm going to keep learning)
-
Math function created in Graphing Calculator 3D (in this case, sin (x) + sin (y)). Spreadsheet values (x,y,z) exported as .csv file
-
In Sketchup, point cloud imported using cloud_v8b extension (referenced to the .csv file above). Note: set delimiter as "," (comma). Use meters as units. Do NOT triangulate points. You should see a point cloud in the shape of the math function
-
Select the point cloud (select all) and use Toposhaper extension. Use "Generate trimesh terrain (cloud)". I ran it on its default settings. Click the play button to run it.
-
Save this file.
-
Open Outliner and context-click on the deepest nested object and explode it. Keep exploding each next until you can't explode anything else (I don't understand this part - yet - but it works). Then select all in the working window and group them together
-
Run Slicer 5. I cut along X axis. There's a variety of options to suit your purpose.
-
Voila - sliced 3D math function ready for laser cutting/3D printing
I've attached the initial coordinates file if you want to start from scratch. The final result with slices is too big to post.
Many thanks to Dave R for helping me with this!
-
-
-
Oh, yeah, an image

And, pardon me, Pilou. Thank you also for helping me with my project!
-
After the use of the cool Slicer by Tig (that gives "Groups" )
you can use the funny Explode View by C Plassais...and me
Works with Groups, Components, Groups + Components at the same level of arborescence!
Click the image for the animation!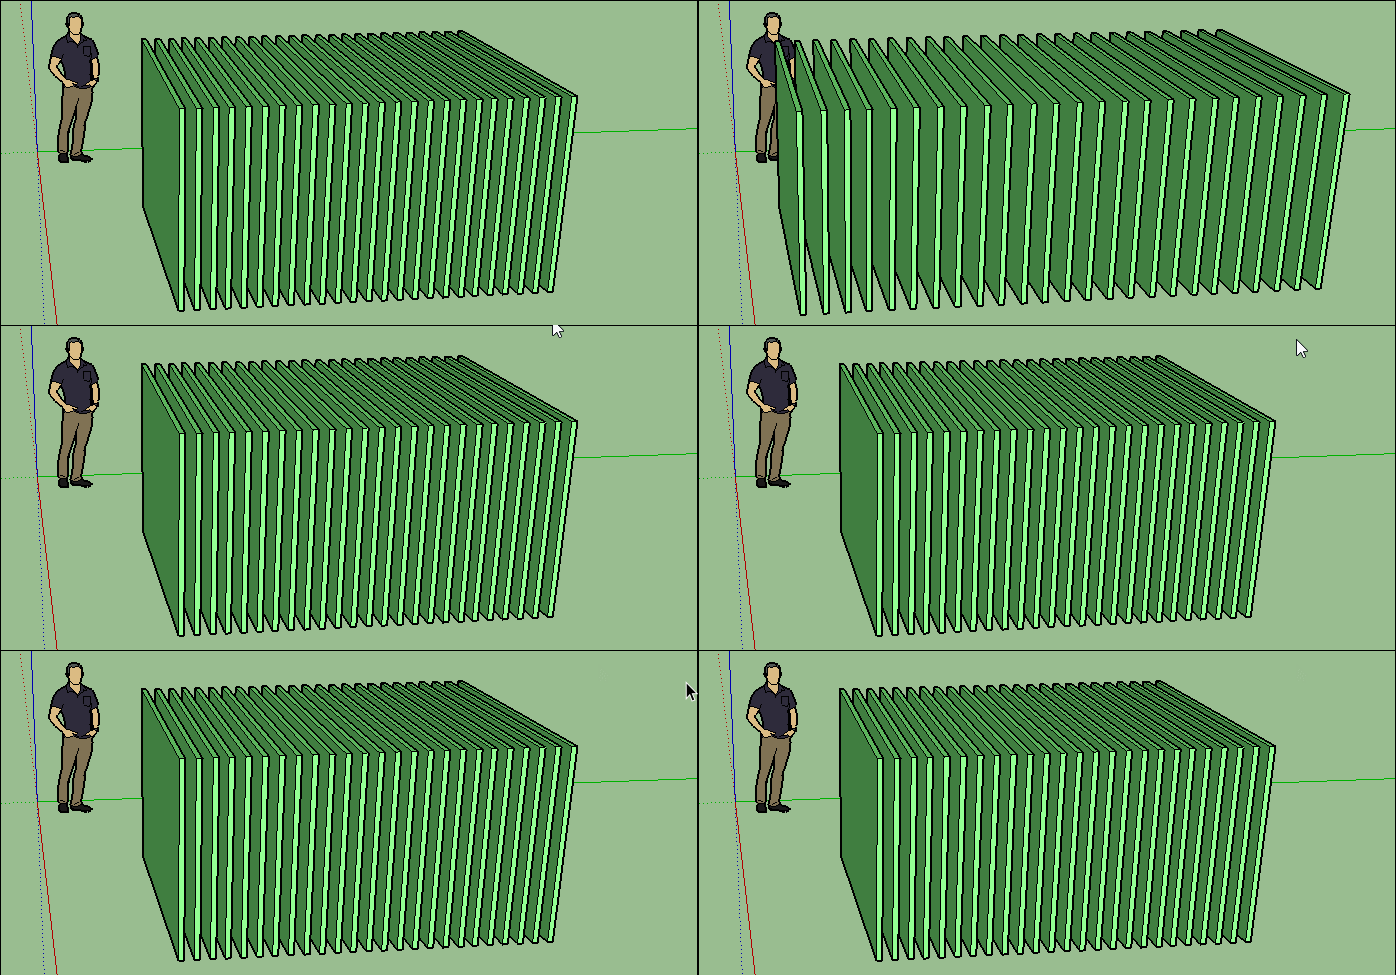
Advertisement


