Covering a complex area
-
Hello everyone,
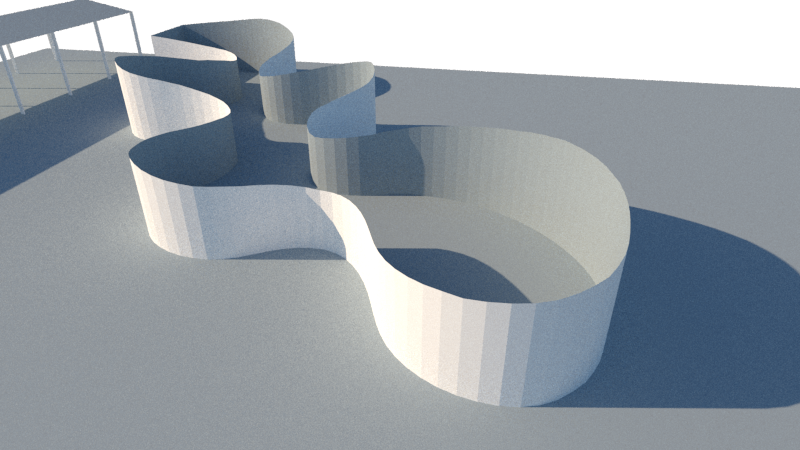
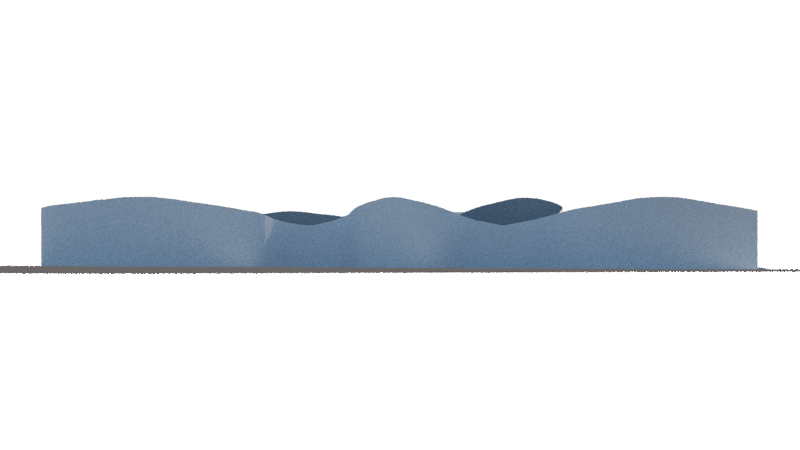
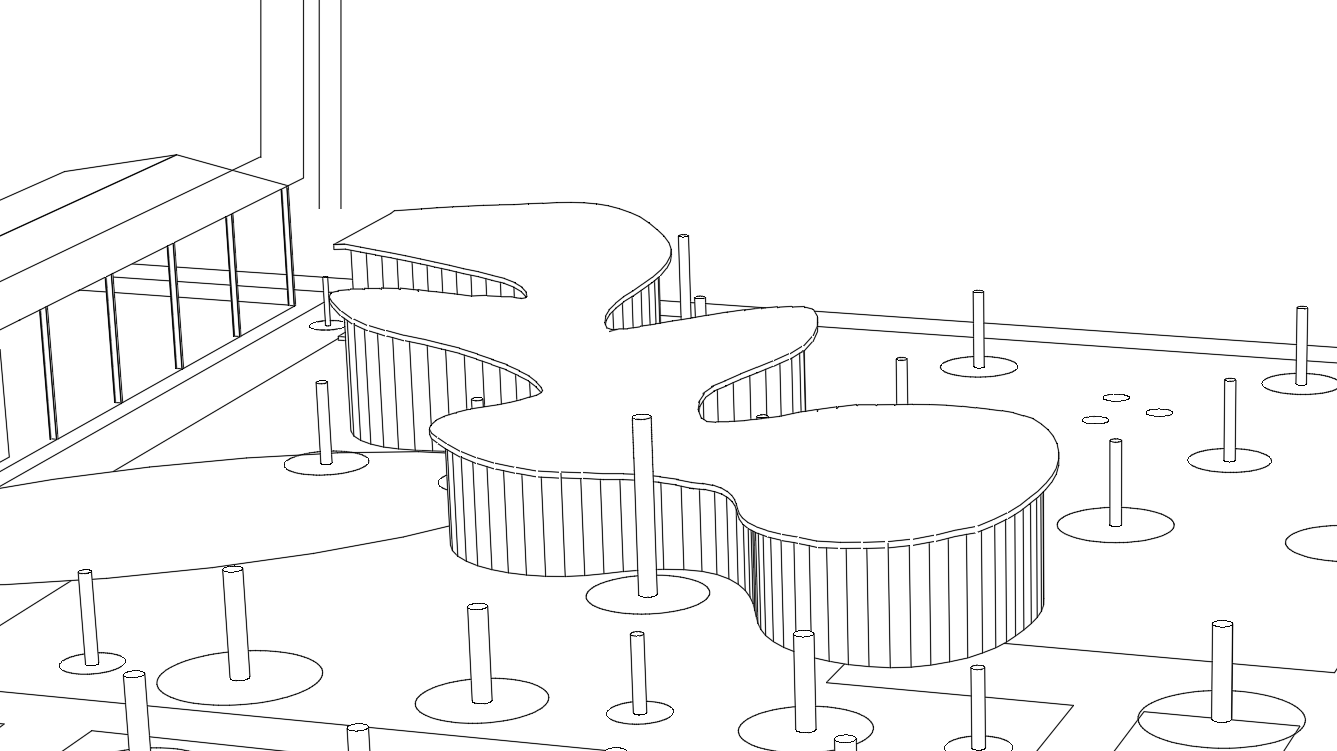
My question is how do i cover this complex area and apply some kind of a push/pull to that area to create a roofing.
Thanks in advance...


-
Most straightforward approach in my mind would be Fredo's curviloft followed by Fredo's Joint Push pull.
-
@box said:
Most straightforward approach in my mind would be Fredo's curviloft followed by Fredo's Joint Push pull.
Thank you for the answer but i tried 3 options of curviloft. none of them is covering the area correctly

-
You will need to break up the projected surface into several parts. Curviloft needs at least 3 segments to create a surface and that large shape is only one.
I do this sort of thing a lot, for airplane fuselages and fairings.
Just put a line vertex to vertex across each narrow part and curviloft (skin) each part separately. Don't do several at once.
For the end parts, just break the curve with 1 or 2 temporary short lines at vertices.
If CL scrambles the surface (quite common) break into smaller sections.
But be prepared to redo a lot of lines created by CL to smooth it out and reduce the lines count. I have redone some surfaces almost entirely, following the CL mapping, but with reduced lines that meet at vertices and not in mid line.
Then group all the section groups before exploding the curved surface section groups.
You may want to edit the vertices between each group to smooth it all out.Within the group, you can push/pull (not with the native SU push/pull) up to thicken the roof surface, then push/pull out to create the overhang/eaves.
-
@jgb said:
You will need to break up the projected surface into several parts. Curviloft needs at least 3 segments to create a surface and that large shape is only one.
I do this sort of thing a lot, for airplane fuselages and fairings.
Just put a line vertex to vertex across each narrow part and curviloft (skin) each part separately. Don't do several at once.
For the end parts, just break the curve with 1 or 2 temporary short lines at vertices.
If CL scrambles the surface (quite common) break into smaller sections.
But be prepared to redo a lot of lines created by CL to smooth it out and reduce the lines count. I have redone some surfaces almost entirely, following the CL mapping, but with reduced lines that meet at vertices and not in mid line.
Then group all the section groups before exploding the curved surface section groups.
You may want to edit the vertices between each group to smooth it all out.Within the group, you can push/pull (not with the native SU push/pull) up to thicken the roof surface, then push/pull out to create the overhang/eaves.
Thank you for the answer and the solution. I guess this is the only way to do it.
-
There are always different ways to do things in SU.
If you attach the model, it only needs to be the actual shape, others may offer alternative methods. -
Seems funny ones will be free Soap Skin Bubble or Ferrari!

Advertisement


