How to do repetitive stitching holes .
-
So I am pretty new on sketchup, I want to do repeating holes 1/10 inches(never used inches before so hope this makes sense) from the edge of my rectangular leather piece that I have drawn out. This will be small holes for stitching. Any ideas how to do this? Thanks
-
probably the quickest way without using extensions is to draw a circle on a 2D shape then place a circle, then copy array (move tool + control), delete the centers. Then push pull the thickness of the belt
Another method is to use a dynamic component on the 3D form
https://3dwarehouse.sketchup.com/model/25c4463957ad36c2635f69bba8c8ac7/dynamic-hole-builderBut since is just a belt with say six holes then easy enough to copy array the first circle on the raw then pushpull the holes individually
-
Welcome to SketchUp and to Sketchucation.
I have a question for you. How will you use this once you have it drawn? Will drawing in all the holes really be useful? They will add a large number of edges and faces which might create performance issues for you.
If you are creating a pattern to print out, maybe you only need to show where the stitching lines are. I expect the holes will be laid out with a wheel so drawn holes might not be useful but a line to follow would be. You could use Offset to make the lines at a consistent distance from the edges of the piece.
You could insinuate holes if needed by drawing a small circle, making it a component and then copy it along the offset edge with Move/Copy. There are plugins such as CopyAlongCurve, available in the Sketchucation Plugin Store, or PathCopy, available in the Extension Warehouse that will distribute a component along a path. These would be handy for use along complex curves.
-
got to fall in with Dave R on this. can't see any reason to go to this much trouble. just for clarity I spent 15 years at the bench as a custom saddler. real life on heavy weight leather you'll use a stitch groover then a stitch wheel of choice if hand sewing or creasing a line if your sewing light weight stuff. just can't see the need to bother with the actual stitch holes......
-
What I probably should have mentioned is that I will have the same size in wood, so want to do stitching through the timber and leather lasercut - both pieces would look the same. I installed the copyalongcurve tool but struggle to get that too work. Guess its probably about 100 stitches in the piece.The shape is a basic rectangle with rounded corners. I started doing each circle/stitch hole individually but stopped as I thought finding a solution is a better bet so if anyone can guide me to a simple solution or explain to me how I can get that copyalongcurve tool to work It will be much appreciated.when i select the copyalongcurve tool the arrow appears bigger with a square but I cannot seam to select any edge or object. Thanks for all the advice so far.
-
Could you upload the SKP file so we can see what you've got? I expect there's an easy way to handle it.
-
Thanks Dave R.Attached is the file. As you can see I started out with little circles but didn't go all around the piece but it needs too,the line running through the middle of the circles is the guide which goes around the entire piece.
Thanks for the help.
-
Could you give a couple of specific details.
Is the leather the correct size in your model? can you tell us what is should be so we can check.
What size are the holes and how far apart should they be or are they a specific size and should be evenly spaced?
Basically you just need to do a couple of linear arrays and it would help to know the specifics to be able to show you exactly. -
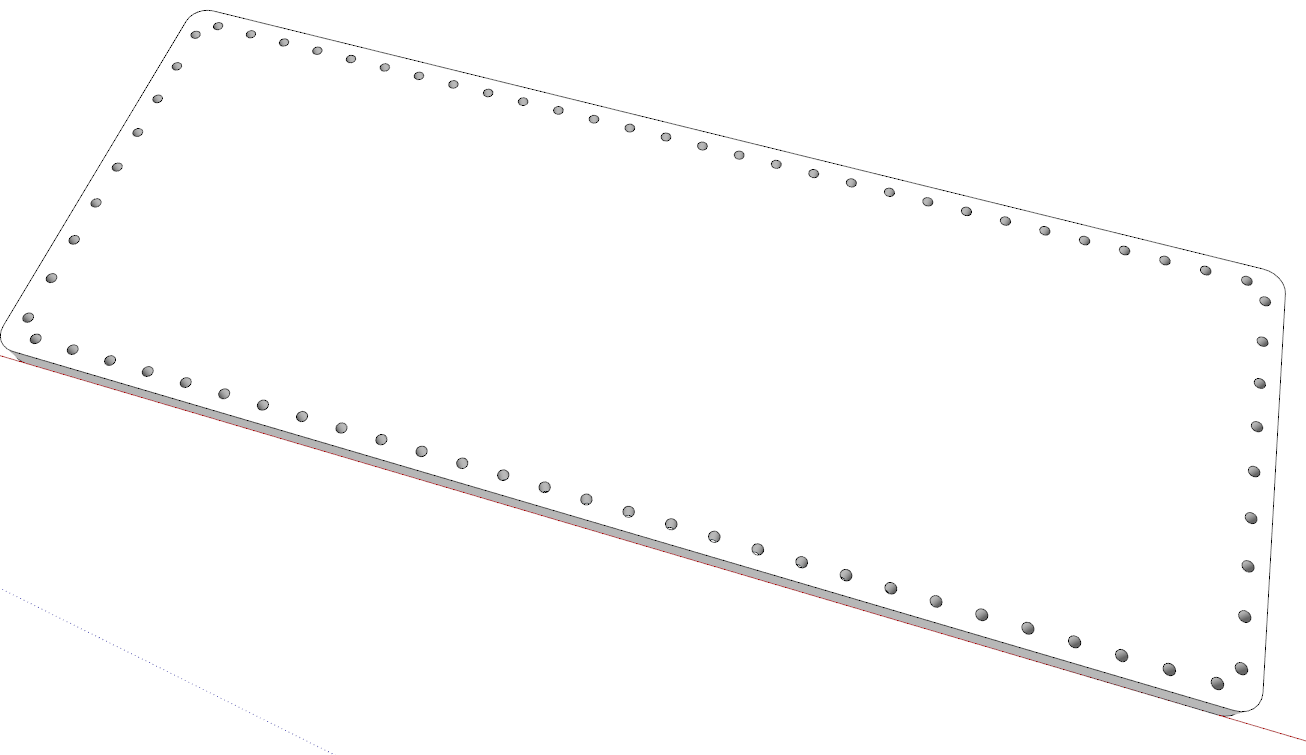
OK, if you really have to draw the holes, start with a 2D face and draw the first hole. Delete its center face.
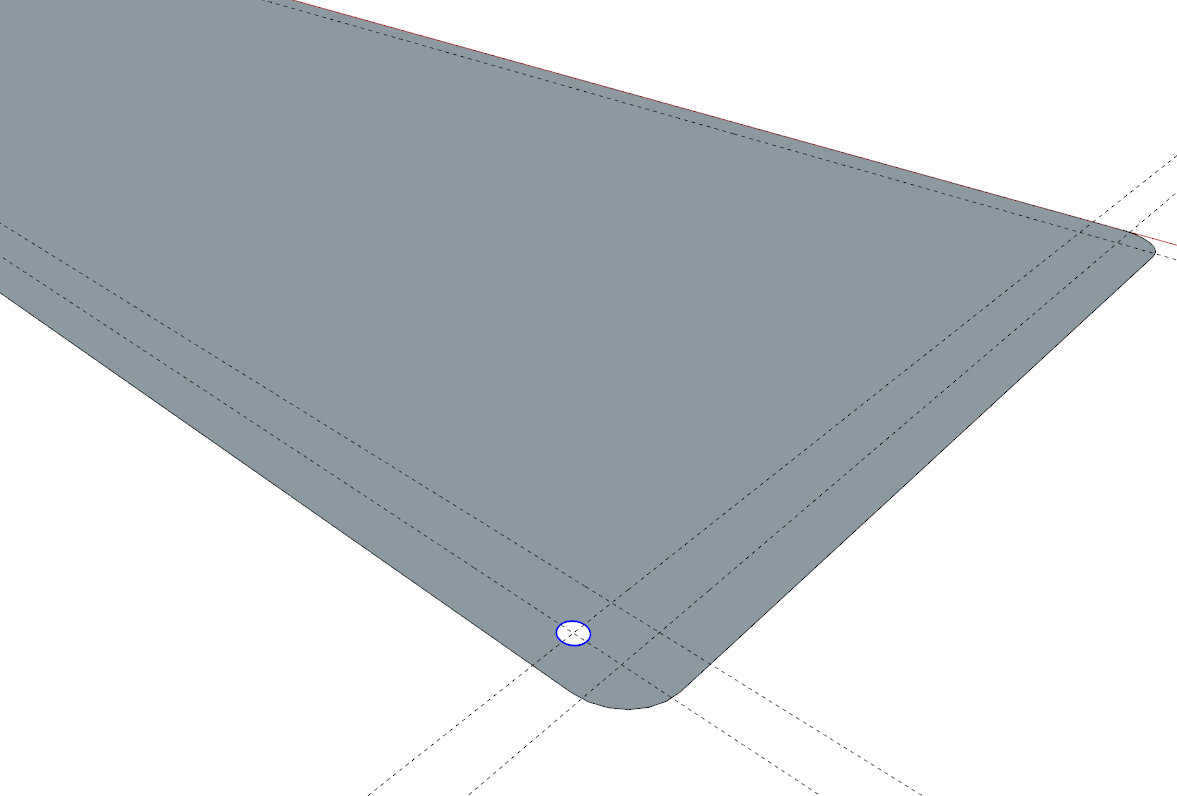
Use Move/Copy to distribute copies of the hole parallel to the edge. No need for a plugin for this simple shape, anyway.
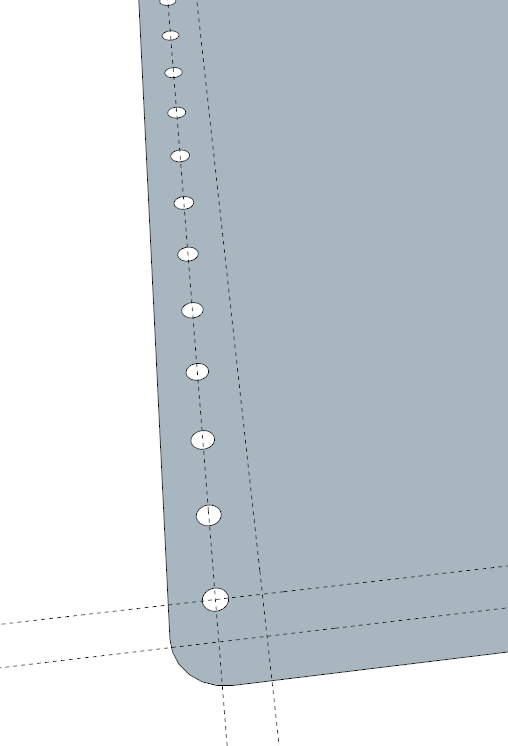
You can select the long row of holes and copy them to the opposite side with Move/Copy.
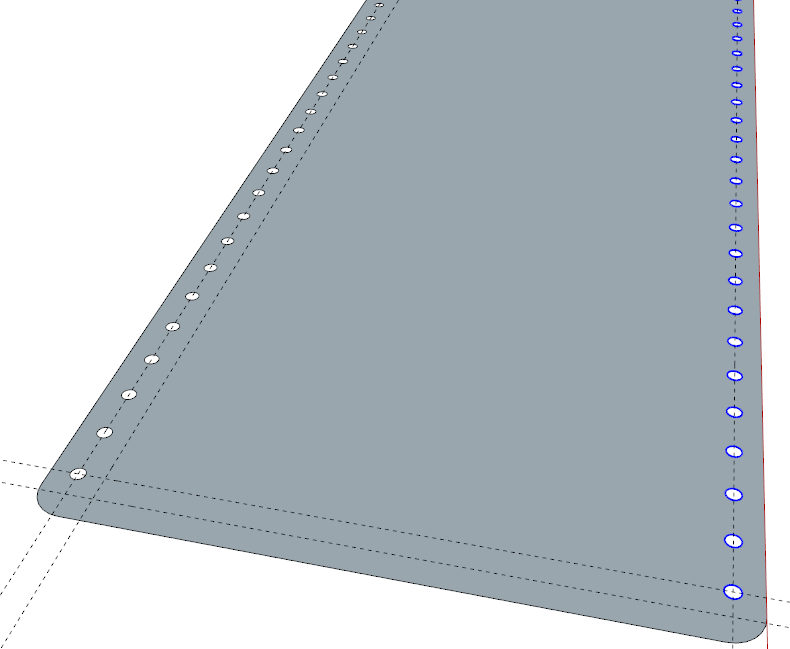
Repeat for the ends...
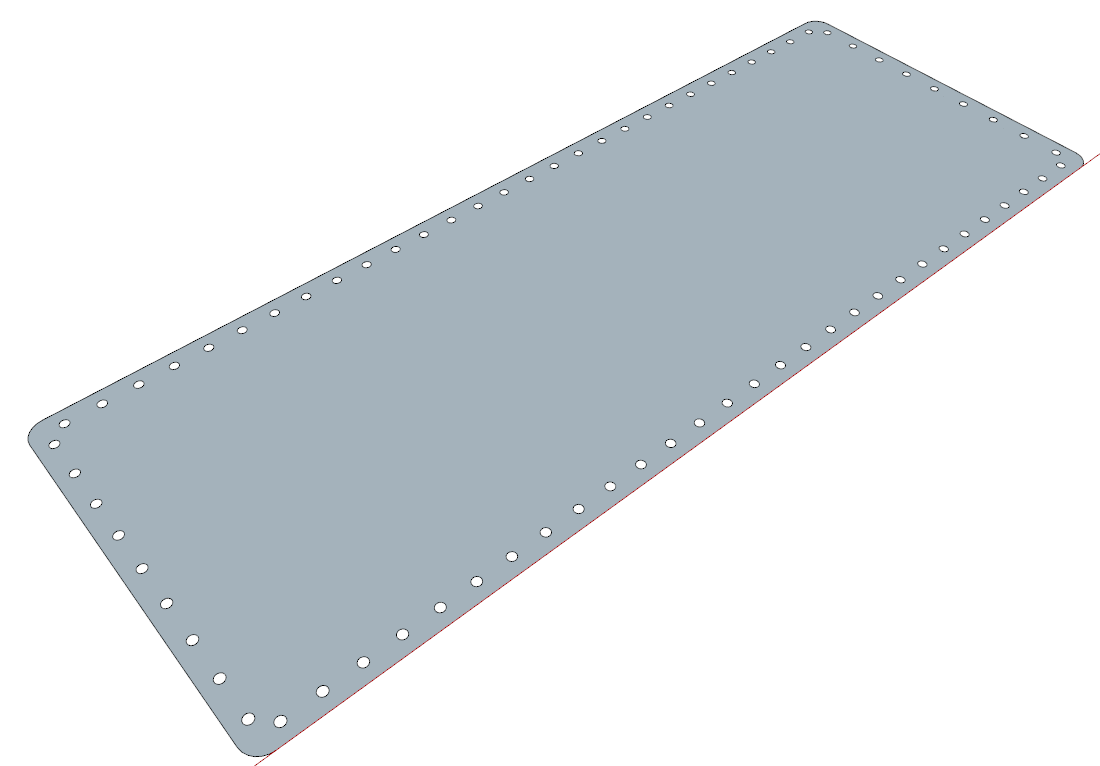
And then use Push/Pull to give it thickness.
If you need to show the wooden part, too, start by copying the face with the holes. You can make whatever changes you need to the perimeter to represent the wood but you'll have the hole pattern already laid out.
-
Thanks Dave R for taking time to guide me through this!Will have a go at this now:)
Hello! It looks like you're interested in this conversation, but you don't have an account yet.
Getting fed up of having to scroll through the same posts each visit? When you register for an account, you'll always come back to exactly where you were before, and choose to be notified of new replies (either via email, or push notification). You'll also be able to save bookmarks and upvote posts to show your appreciation to other community members.
With your input, this post could be even better 💗
Register Login


Advertisement