Help needed copying part from photo.
-
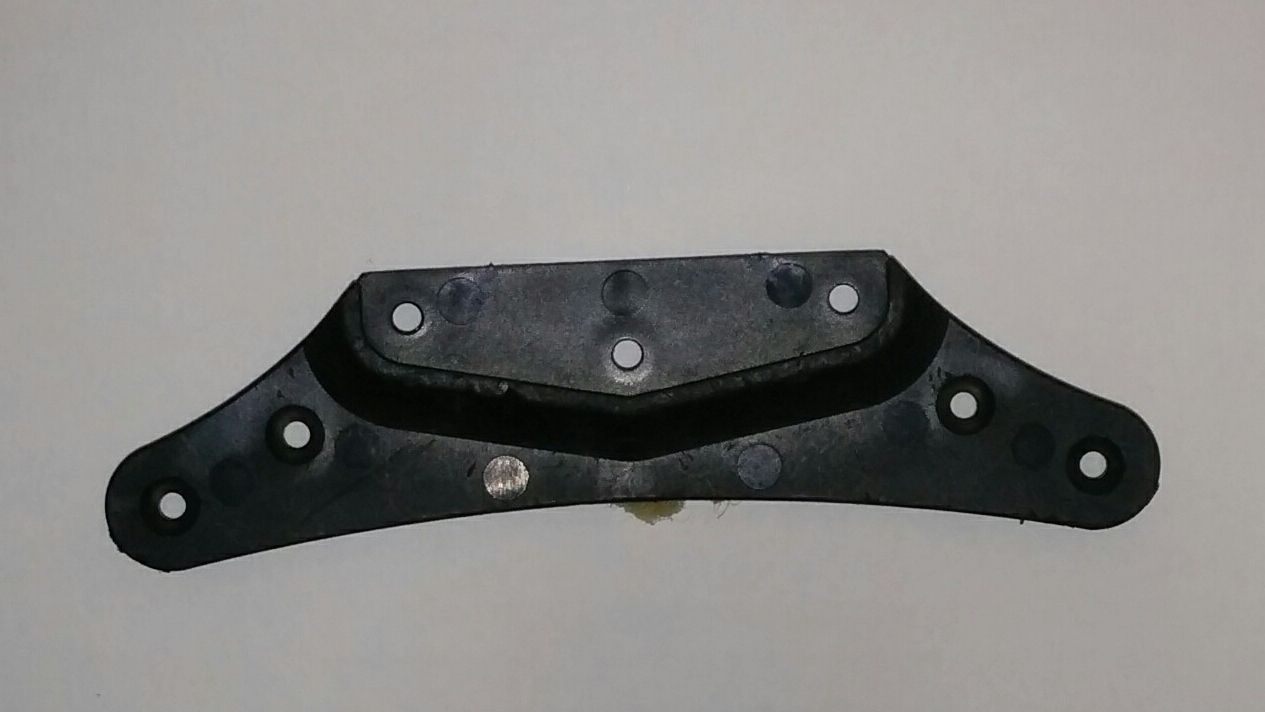
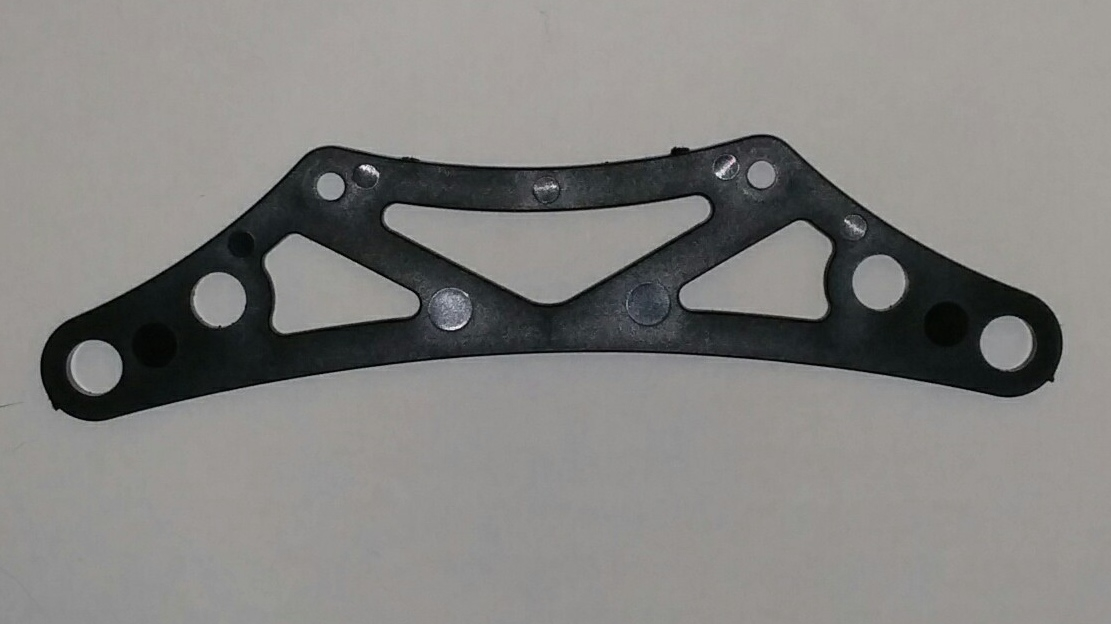
Im trying to replicate 2 parts from photos, but i do i have the parts in hand.
the parts have nearly all curved edges and are roughly 7.40mm thick and 3mm.
i've tried many plugins to try and make these curves but nothing in my minimum skill set would work. So please if someone can help it would be greatly appreciated.The dimensions for the bumper upper are LWH 111.75mm X 29.54mm X 3mm the lower bumper is 113.33mm X 30.65mm X 7.4mm.
,Jordan Bourns
-
Do you have a scanner? If I had those parts here, I would scan them to make sure I have good, flat images of them. The images could then be imported into SketchUp and traced. I'd draw curves with the Bezier Spline tools. Since you have them in hand, though, you should also be measuring them with a caliper to get exact dimensions of holes and such.
-
Second one is just some patience for have tangency between Arcs / Arcs and lines!
The "turquoise line" must be help you !
Make the image a group
Use the Xray, Top view, Camera View Parallel and some zooms
Seems arcs are sufficient for this piece
Normally the half part must be made in five minutes in very slow speed!
-
i dont have access to a scanner, i wish i did though.
thanks pilou you helped a bunch but what is the "turquoise line" ?
so i went back a started from scratch it started to make sense once i had it set to parallel and top view. -
This when curve is tangente to something!
-
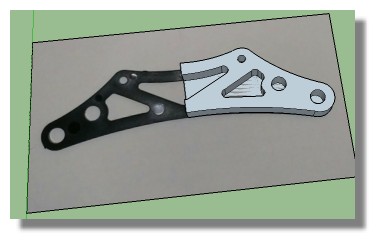
Pilou, thanks i didn't know what that blue line meant but it makes a lot more sense now. i have the part made in sketchup now. Its not perfect i wish i had the room for a scanner as i live on a sail boat.. my prusa i3 owns the largest flat surface lol
do you have any tips for making all the cutouts symmetrical if i were to make it in a half part and mirror it?
-
I'd like to live on a sailboat. Mine's only 27' long and spends half the year or so on the hard, though.

Drawing half when you have something symmetrical like the parts in your photo is a good idea. After you've drawn one half, select all of its geometry and use move/Copy to copy it over to the side. Then, while the geometry of the copy is still selected, right click on it and choose Flip Along>Red Direction or what ever direction is appropriate for the way you oriented the drawing. In Pilou's first image you would select the geometry and copy it to the left parallel to the red axis so flipping would be done along the red direction.
After you have the copy flipped, you can move it over into contact with the original. Make sure to grab the geometry by a corner on the seam line and snap it to the corresponding corner on the original. The erase coplanar edges and soften edges for curved surfaces.
-
ok i was trying to get my scale nearly 100% which is proving to be real "fun". ive measured the part and the image over and over its not turing out like id like.
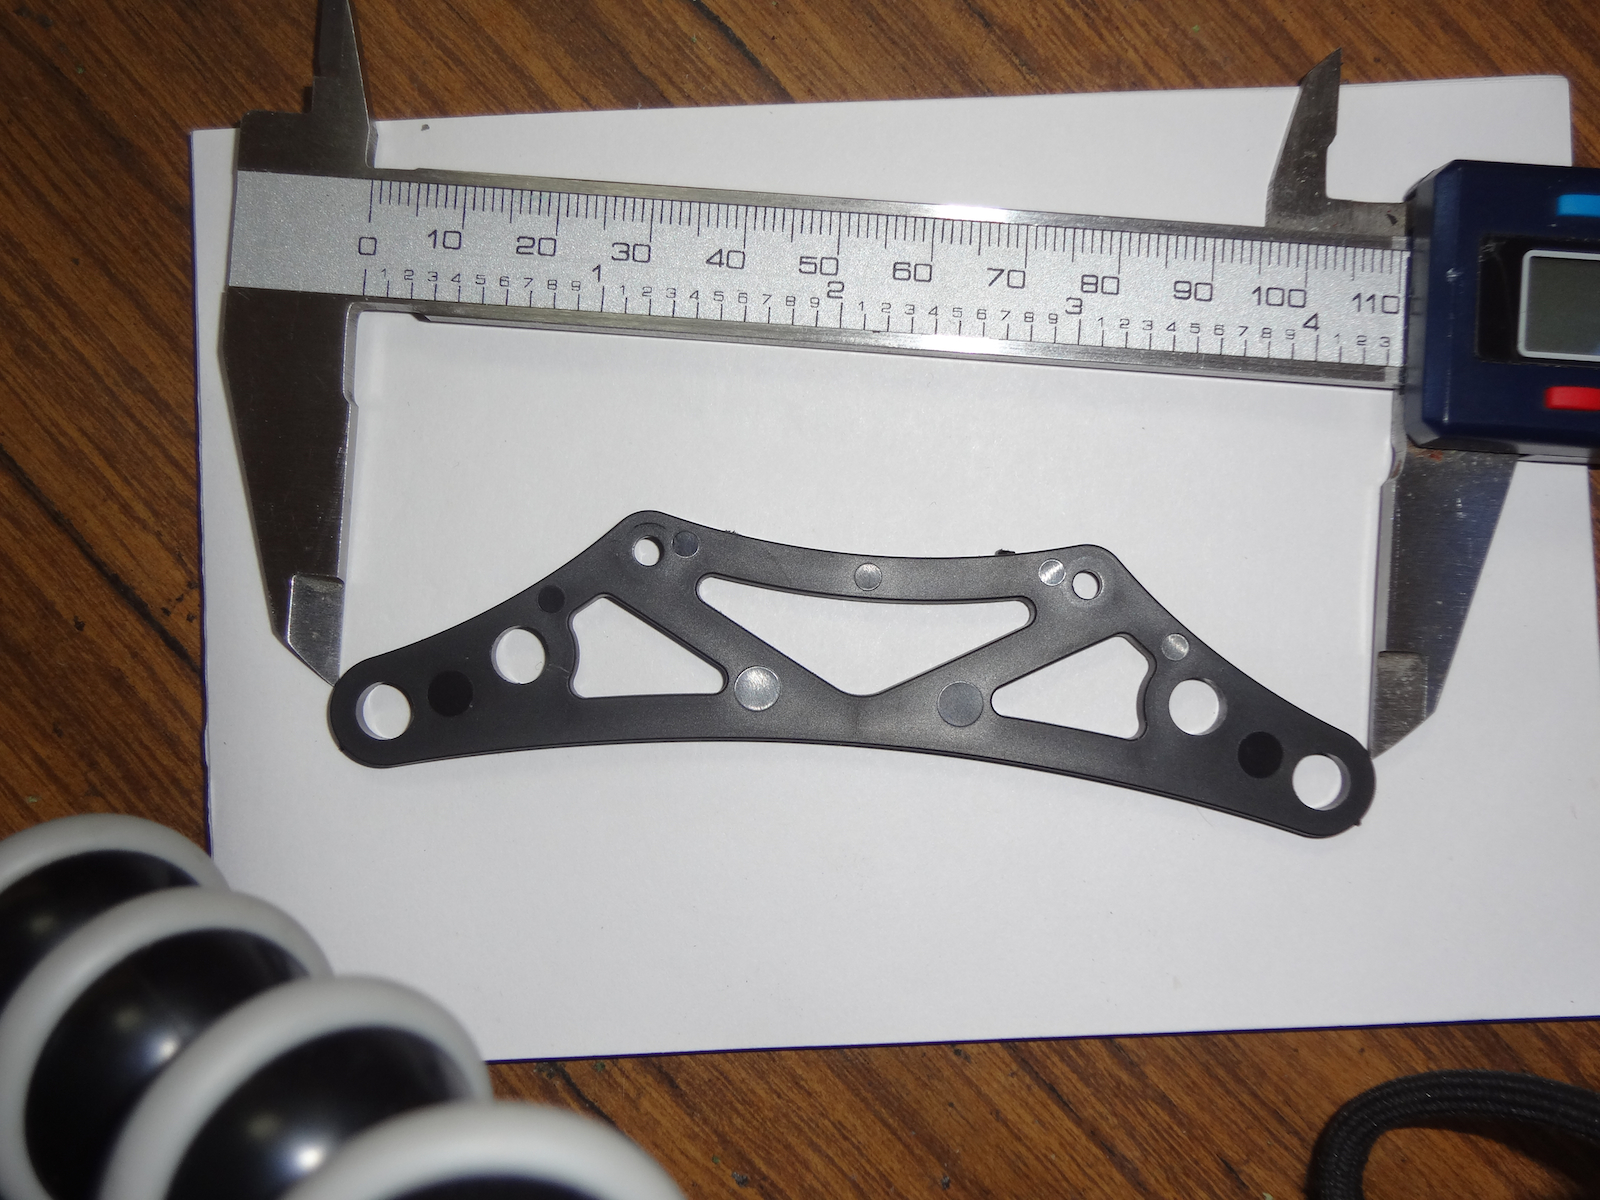
But what if i took the picture again with my callipers in the image set to 111.11mm and used that to scale with instead of trying to get a accurate number from the tape tool?Brilliant or dumb i have no idea ill try it though.
Dave R thanks for the tips. i was also rotating it the wrong way that for sure -
You could photograph the caliper or another ruler right next to the part and use it with the Tape Measure tool to set the size of the image but unless you can photograph the part and the ruler perfectly straight on, I don't think I'd bother. I'd just measure the part in hand and use that to draw the thing.
One thing with splitting the part and only drawing half of it: Watch how you draw the curves so that you don't wind up with a peak or a sharp valley in the middle.
-
yeah its not to hard with tripod and post processing the image to remove the lens deformation. to get it pretty good i managed to my surprise to get it to read my callipers set to 111.11 as 111.121513mm its off a bit... but since i cant measure past that it will do.
for the larger curves that will be at half way cant i make the full length and cut the rest out would that give a better result?
-
Do you have length snapping enabled? If so, disable it. That might make it easier to resize the image accurately. It can be done. Share the image and I'll do it to show you.
You could and probably should draw those long curves full length. You can cut them after you've drawn them. I'd use an odd number of sides (segments) for drawing those long curves.
-
Im not sure how to set the auto snap, but heres the photo again callipers are set to 111.11mm i got my measurement from near the tips.
If it would help i could retake it close and with the very tip of the callipers visible.
-
-
@pilou said:
@unknownuser said:
111.121513mm
Does this for a nuclear Centrral Plant ?
i guess its my drive to make it perfect as possible,and no its not for a nuclear power plant LOL
yeah i did come out to a pretty long decimal point.
im still wanting to know how to turn off auto snap -
Let's see if this helps. It probably would be more accurate if I could see the points but this should at least get the point across.


SketchUp pops up a window asking if you want to resize. Click 'Yes'.")


You might consider measuring along the analog scale on the caliper. I didn't because it doesn't look like you were shooting perfectly straight down. The farther you get from the object of interest, then, the less accurate the measurement will be.
Maybe you can find someone who has a scanner and scan the parts.
-
For this specific piece no need a scanner!
Just draw around and inside with a pencil sharp pointed very well on a transparent tracing paper
Put this paper on your screen!
You can redraw your form under it with sketchup and your mouse!
That's all!
Hello! It looks like you're interested in this conversation, but you don't have an account yet.
Getting fed up of having to scroll through the same posts each visit? When you register for an account, you'll always come back to exactly where you were before, and choose to be notified of new replies (either via email, or push notification). You'll also be able to save bookmarks and upvote posts to show your appreciation to other community members.
With your input, this post could be even better 💗
Register Login


Advertisement