Need help with workflow (Chair Modeling)
-
Hey Guys,
This is going to sound super basic and I almost feel dumb for not finding a faster way on my own, but that's what a community is for. I was trying to model the chair in the link below and I was having a seriously hard time finding a quick and easy way of making all of those curves. My main issue was rounding the corners on the chair seat, and metal frame around the top, and foot rest area.
My first step was to make a square (for the foot rest), offset by my desired amount to make the rails, then use the arc tool to round the corners at the bottom edges. I eventually got it, but I kept running into a plethora of issues.
As for the chair seat itself I made a square followed by a few arcs for the contouring and used loft by spline to make the surface. I joint pushed pulled for thickness afterward. All of this took quite a long time, getting all the measurements correct. I feel like a model like this should not take more than an hour to get the basic shape done. I spent about 4 and ended up with nothing I was happy with.
I would post pictures of my workflow or maybe even a video but I am currently at work. If someone has any tips or plugins that might be helpful, please I am all ears.
-
See the posts by Dave R
-
Thanks Pilou.

I don't really think you need anything in the way of plugins to draw that stool. You might have a look at this to get some ideas about drawing it. I would use essentially the same process. I'll make some quick and rough screen shots when I get a moment.
-
Thanks for the help Dave! I was thinking maybe the Bezier spline tool would work, but it sucks not having sketchup in front of me to try it out.
I really feel like its something super simple that I am missing, either with groupings or just general workflow. I did eventually get it but had a lot of trouble making the stainless rails, as I needed to extrude from the original pieces to make the rails "fit" properly, which then caused an absolute mess of faces.
-
Hey Dave,
Really nice video showing the benefits of the follow me tool. Its a tool I hardly use mainly because I have a hard time visualizing a profile first, and then have the computer finish the drawing for me.
After watching that video I see now how I could easily make the rails that troubled me before quite quickly by just making a series of basic lines and arcs. I will need to pick up that Weld plugin as well, very helpful!
-
Here it is. As I said, it's quick and dirty. You'll have to work out angles and dimensions. I only use the Weld plugin. Otherwise it's all with native tools.

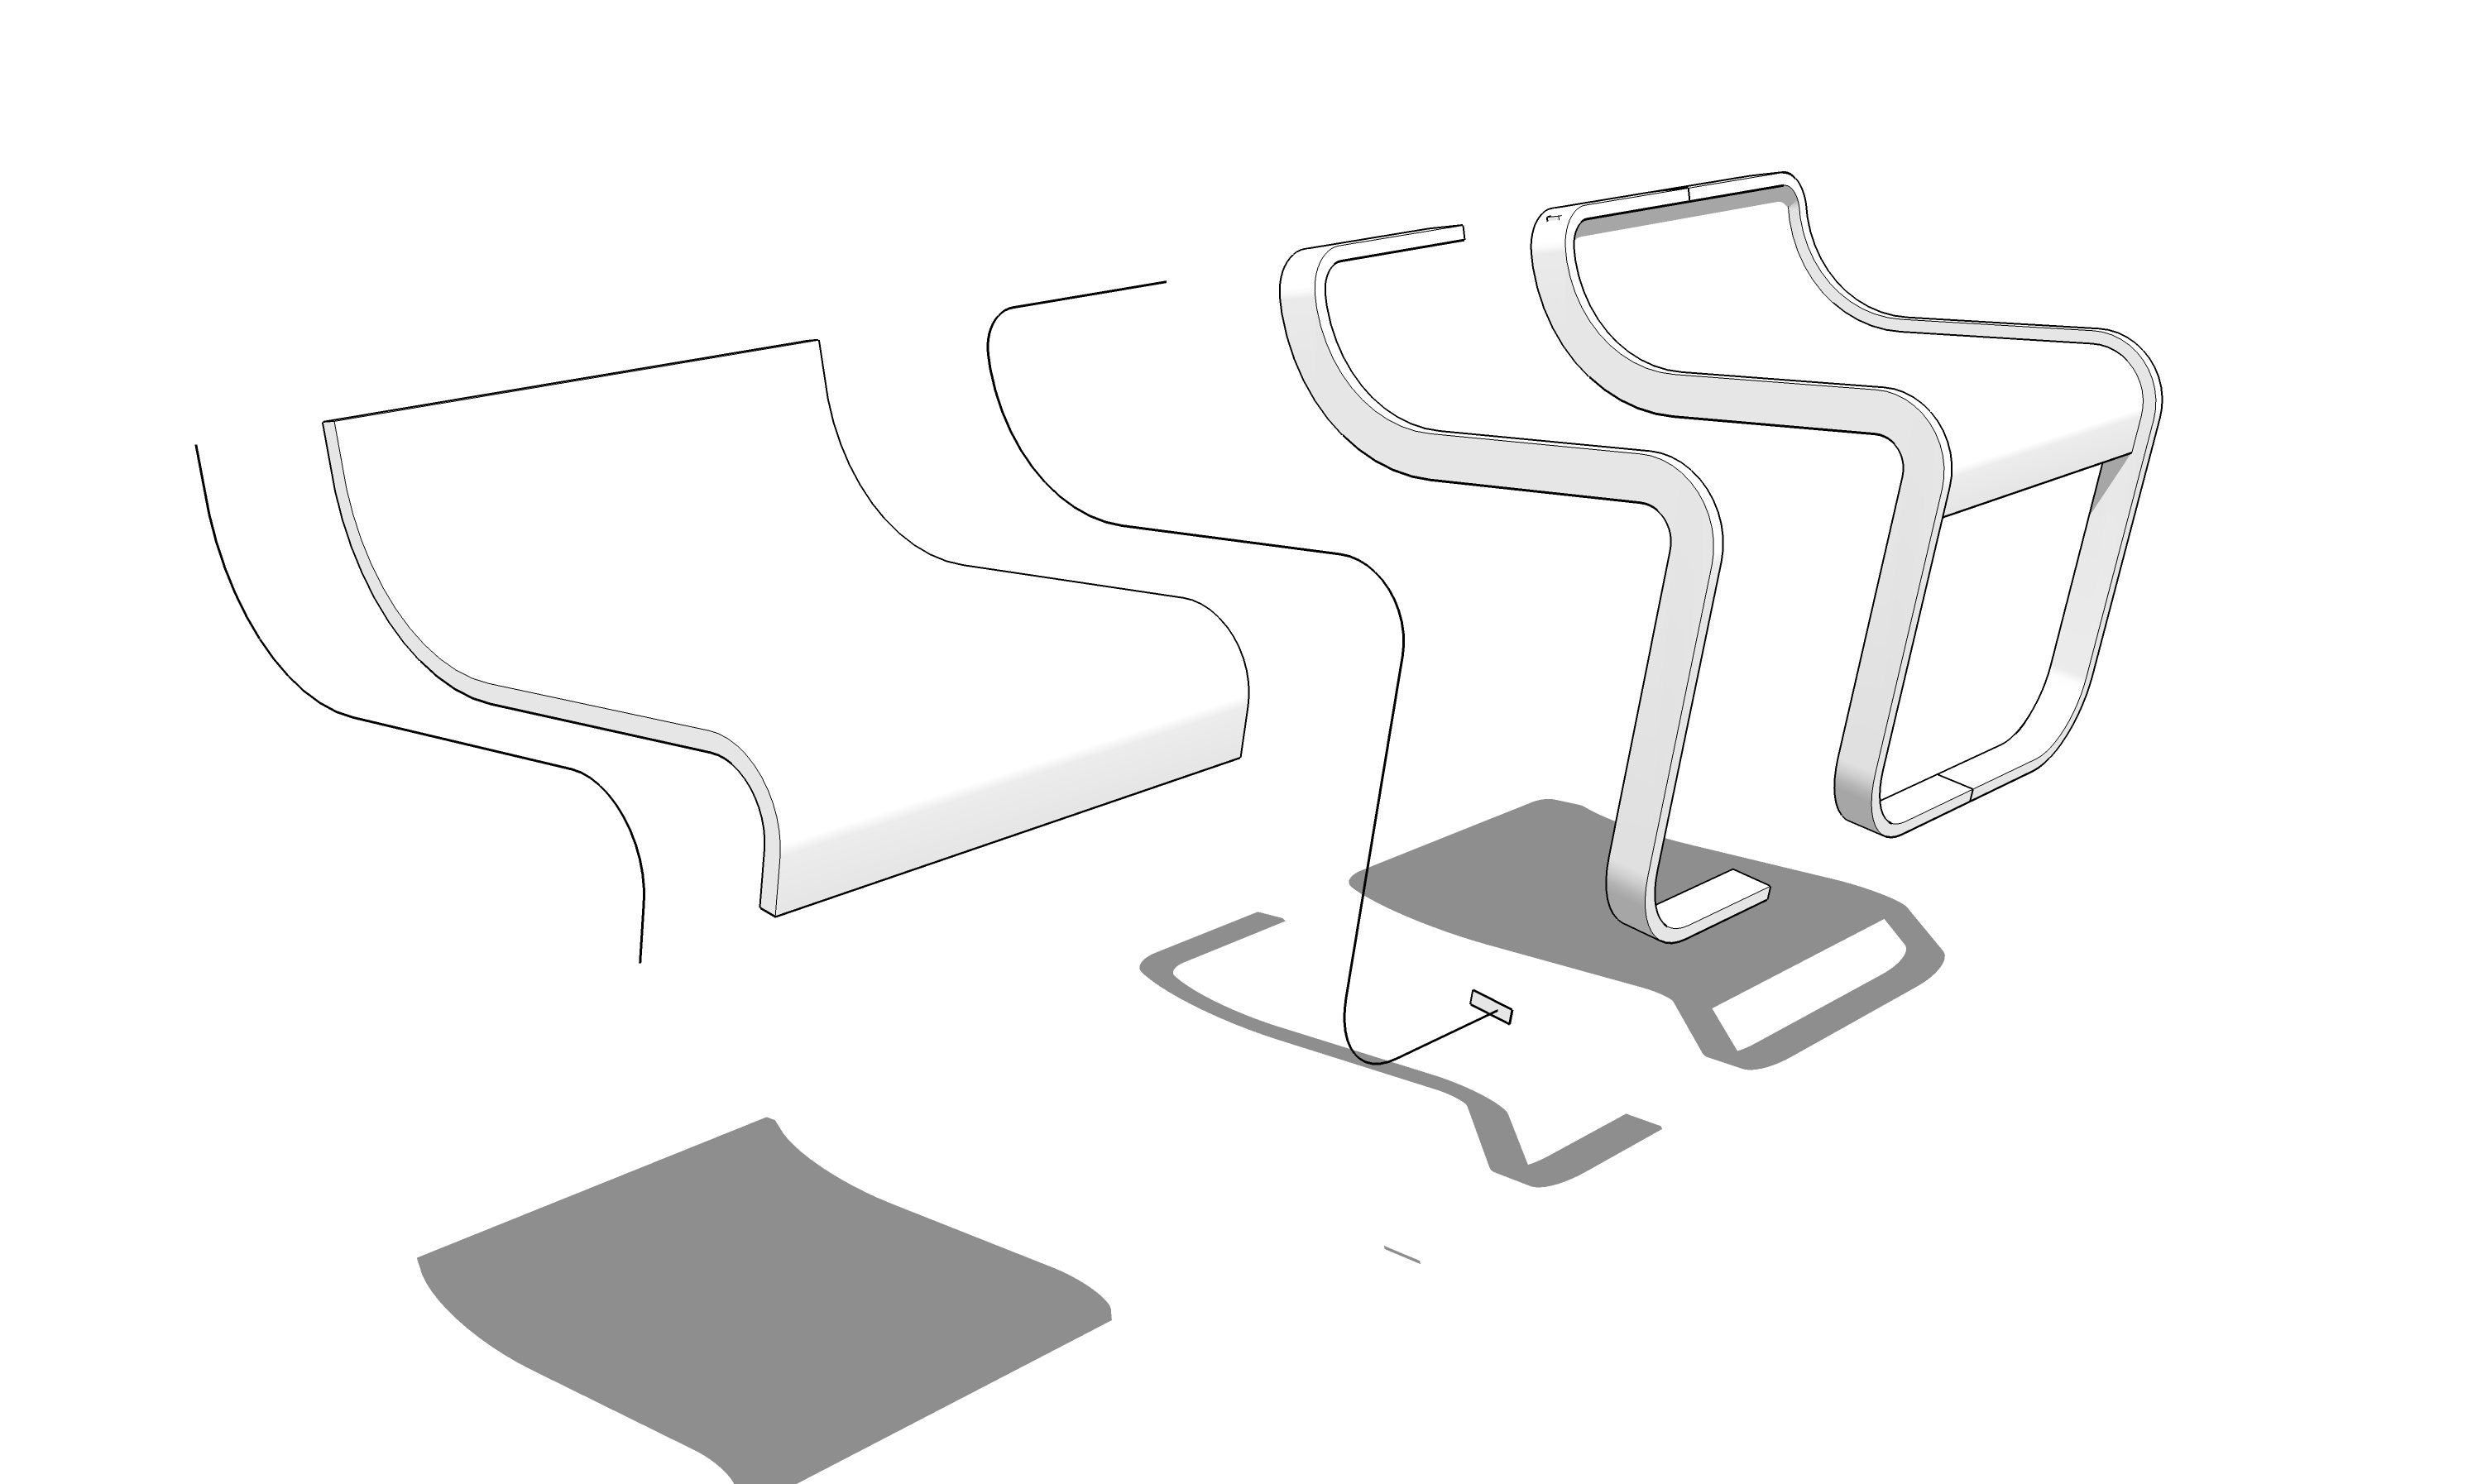
I drew a profile for the top edge of the seat using the Line and Arc tools.
Copy the curve so you have it for later. Offset down to create the thickness for the seat. Connected the ends of the resulting curves with the Line tool to get a face. Push/Pull to the width of the seat. Make the seat a component.
Go fix an anesthesia machine.

Extend the original curve for a Follow Me path for the frame. Just make half of it. Add the profile of the tube at one end. Run Follow Me.
Copy and flip the copy to make the opposite half. (I left the halves as components and didn't hide the seam lines for this example). Move the seat into place as needed.
I didn't do it but the corners of the seat back need to be trimmed to match the radius of the frame bend. That can be done easily with Intersect Faces and the Eraser.
-
@irkie500 said:
Thanks for the help Dave! I was thinking maybe the Bezier spline tool would work, but it sucks not having sketchup in front of me to try it out.
I really feel like its something super simple that I am missing, either with groupings or just general workflow. I did eventually get it but had a lot of trouble making the stainless rails, as I needed to extrude from the original pieces to make the rails "fit" properly, which then caused an absolute mess of faces.
I'm glad the video helped.
You could use the Bezier Spline tool to draw the curves but I think in the case of this chair, circular arcs and straight lines would make more sense. That's not to say BZ Spline wouldn't be useful in some cases, though.
One of the key things about Follow Me that snags folks is the profile needs to be perpendicular to the first leg of the path to work correctly and it will end perpendicular to the last leg of the path.
-
Hey Dave,
I really appreciate you taking the time to outline that for me, it makes a lot more sense now. When I get home I will give it a go and see what happens.
Thanks again!
-
Good luck.
-
Just doodling before deleting the drawing.
[url=https://flic.kr/p/nFgYHf]

Hello! It looks like you're interested in this conversation, but you don't have an account yet.
Getting fed up of having to scroll through the same posts each visit? When you register for an account, you'll always come back to exactly where you were before, and choose to be notified of new replies (either via email, or push notification). You'll also be able to save bookmarks and upvote posts to show your appreciation to other community members.
With your input, this post could be even better 💗
Register LoginAdvertisement


