Fredotools Thrupaint- base texture / colour and PNG
-
Hi All
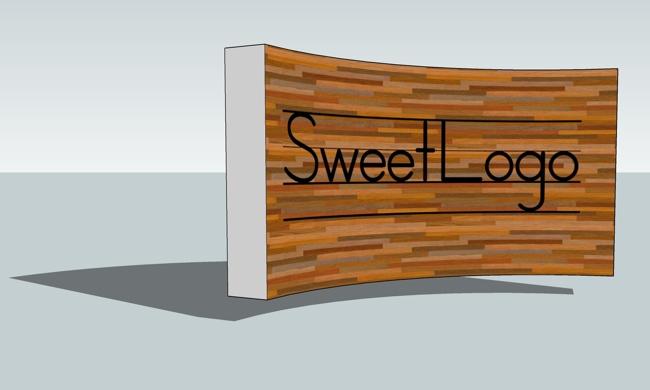
I am using Fredotools Thrupaint plug in for Sketchup to apply textures, and images as textures to both flat and curving surfaces on exhibition stand designs. These are then rendered in Maxwell plug in. So far, so good. One issue I have come across is I have surfaces with existing material applied (just a simple white surface). I want to apply a logo which has been created in Illustrator and saved as a .png, as a decal if you like, whilst retaining the previously textured image underneath (as the png is has no background/ transparent etc.)
Is there a way of being able to do this? I was thinking I may have to assign the RGB value of the colour to use as the 'base' material in Illustrator and save out the image with the logo already applied, but wasn't sure how well the colour value would match in Sketchup..
Has any one encountered this, or have any work arounds? The Thrupaint tool is much more efficient than projecting textures on curves etc in Sketchup!
Many thanks!
Tom
-
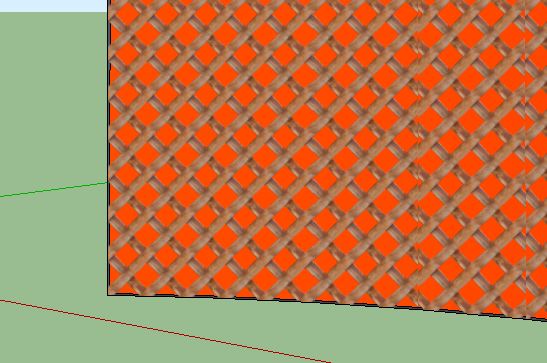
One simple workaround would be to give your surface some thickness or simply place a copy slightly in front and apply your logo png to that. The transparency will allow you to see through to the base colour behind.
-
in maxwell you can theoretically do this with a second UV set with no repeat for the texture in the MXM. But i'm not sure how this should work with the sketchup plugin because sketchup only supports on UV set.
So i would normally also use the way described above and simply copy the face (or the part that is containing the logo) and place it a bit in front of your surface (maybe 0.0001 or 0.0005m)But one other hint concerning the texturing with Thrupaint and Maxwell... you should set the UV coordinates to "Ignore Distortion" (Right Click>Maxwell>UV Coordinates) to avoid getting hundreds of individual textures and materials exported. Only disable it when you get problems with distorted textures - but this should normally not be the case, i use it by default setting for my whole model.
-
have a look at thomthom's quad face tools..
http://sketchucation.com/forums/viewtopic.php?f=323%26amp;t=39442
particularly, the UV unwrapping parts of it..
basically, you'll texture in sketchup with thrupaint, use quadface tools to unwrap then apply the logo in a separate image editor then bring it back into sketchup as one unified texture.
(though you'll still possibly encounter the same problem you've outlined when placing a transparent png onto a not textured surface.. you will possible encounter some color mismatches but you do have some control of this via sketchup's material editing tools.. personally, i'd first try simply saving the png as a jpg which will give it a white background then go from there.)
-
i messed around with this pumalogo.png and quad face tools..
originally did it with the yellow bricks but then deleted the brick layer in my image editor (i use pixelmator fwiw).. deleting that layer essentially does what i was talking about earlier regarding saving a png as a jpg in order to give a white background..
the neat thing about using this method is that once you get the uv mapped image into your photo editor, you can keep making changes and they update in your sketchup file.. so you only have to flatten it once then reapply and after that, it's really simple to make color adjustments.
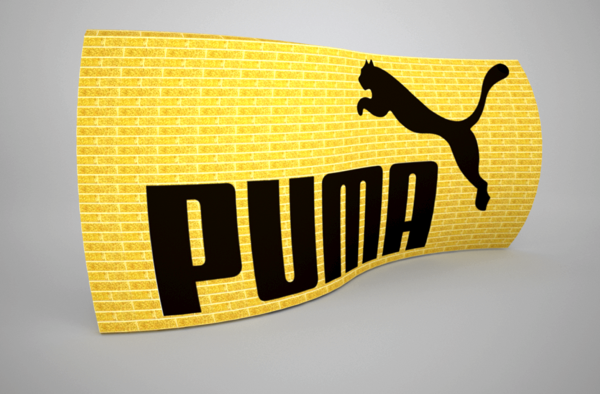
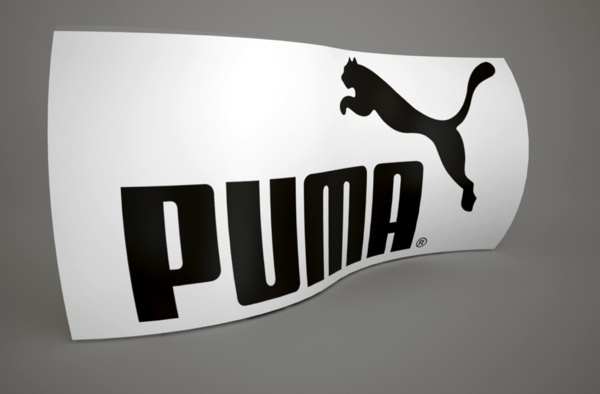
(rendered with indigo)
Hello! It looks like you're interested in this conversation, but you don't have an account yet.
Getting fed up of having to scroll through the same posts each visit? When you register for an account, you'll always come back to exactly where you were before, and choose to be notified of new replies (either via email, or push notification). You'll also be able to save bookmarks and upvote posts to show your appreciation to other community members.
With your input, this post could be even better 💗
Register Login


Advertisement