Looking for a face tool
-
Anyone know of an .rb to draw a grid of lines/edges of a specified size on a selected face?
AH Jolrans hatchface.rb
-
Yeah, that should be pretty much what it does

Feel free to post if there is anything more you like to see in there in future versions or any questions you have regarding the plugin.
-
Else in another way
works plane by TIG (circular one !Then Lines converter by Rick Wilson
or Split tools by Tig
-
I want to select faces and stack the stone.
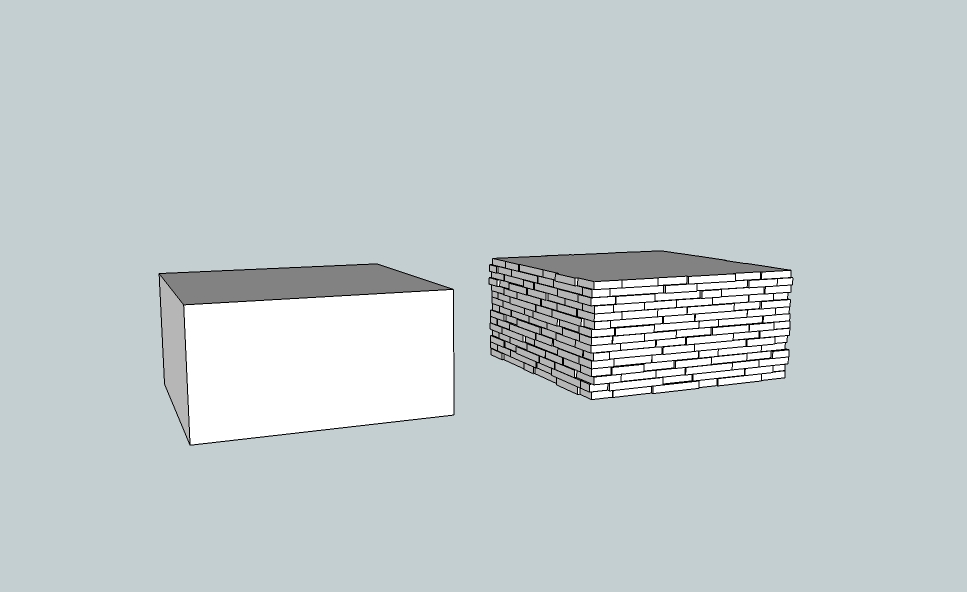
Stacked Stone.skp -
Ahh, I see. That's what you want to do.
Hatchfaces does not tile patterns yet. Will do later.BTW that does look more like displacement though with irregular tiling height.
Maybe should have a look at some Greeble plugin that's around here somewhere.INFODUMP- I'm thinking about including 3d patterns in Hatchfaces but intersections are already slow with 2d geometry. So don't know.
-
Look for 'Greeble' ?
-
Yeah, Greeble 2 actually. Don't know if it does what I think its does.
http://sketchucation.com/forums/viewtopic.php?t=16599
I bet some of your plugin does the trick, TIG. But I'm not sure wich one, so I dared not suggestion one of them.
-
I have a workaround here for Bathroom Tiles. Try out... ( Based on Jim's Toolbar Plugin)
It is not ready yet, but these are working. ( Extract and save in the Plugins Folder )Short explanation:
- Use a flat Geometrie - on Ground, front Colour - as a component with the values of the stone you need.
( Apply a Material to Frontface for better selection later on) - Select a face/wall and use the first array Button. Look for the right component ( Thanks to Sdmitch )
(Because you need the Gaps choose the values for x and y = lenght and hight + Gap) - You can now move the Tiling Group to the desired place.
- In your case, open the Group and select the single components rows to have
the horizontal displacements ( the offset) - Close Group and use the second Button which explode the nested components ( Thanks to TIG)
- Select the Group and the face and use third Button to match and cut the tiles to the wall ( Thanks to Jolran for the 2DBoolean)
- Go inside the Group and select " All with same Material" to use
")
- Fourth Button to push pull all selected faces at once. (Thanks to Ulli Tessel)
(Maybe someone could modify the script to random hights )
)
It sound a bit complicated, but works here really good.
- Use a flat Geometrie - on Ground, front Colour - as a component with the values of the stone you need.
-
Cool solution! Ein bischen translation would be good.
-
You're right. But that's what I do before, in the other direction...I have to set it back.
Maybe when its finished.
-
So seems you want real 3d stones
I will make something like this
Say draw 5 different sizes of rectangular stones with any method
Use the tricky Random Components Placement by Sdmitch on a line
then use the very tricky Align and distribute by Sdmitchthat all!
-
Cool method
Mybe this can help you
Contour lines by Didier Bur for the Horizontal
Random selection by Tig
or Slicer by tig
There is here a Random Stripe Slicing by TIG -
actually...my work flow has been...
set a standard element height in parallel lines on all faces to be covered. In the model shown it was 2 inches...on the stacked stone I wish to model the stone is all the same ( some stone designs are not)
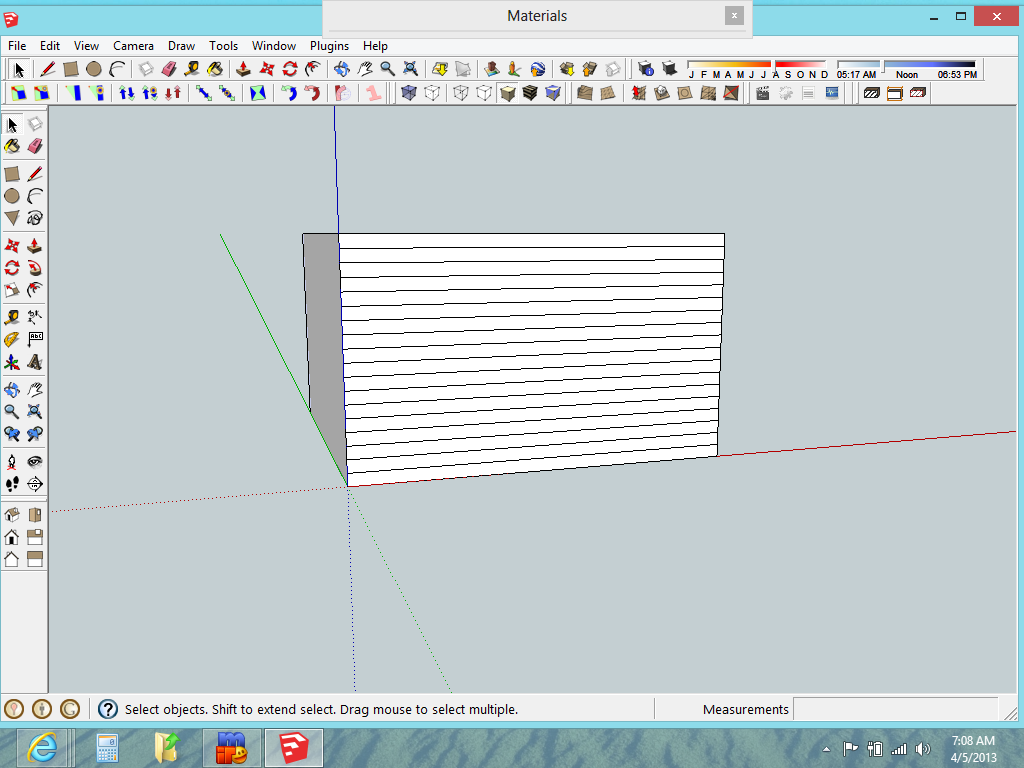
the length of the stone element is random.. ideally to be within a parameter .. 4" to 14"
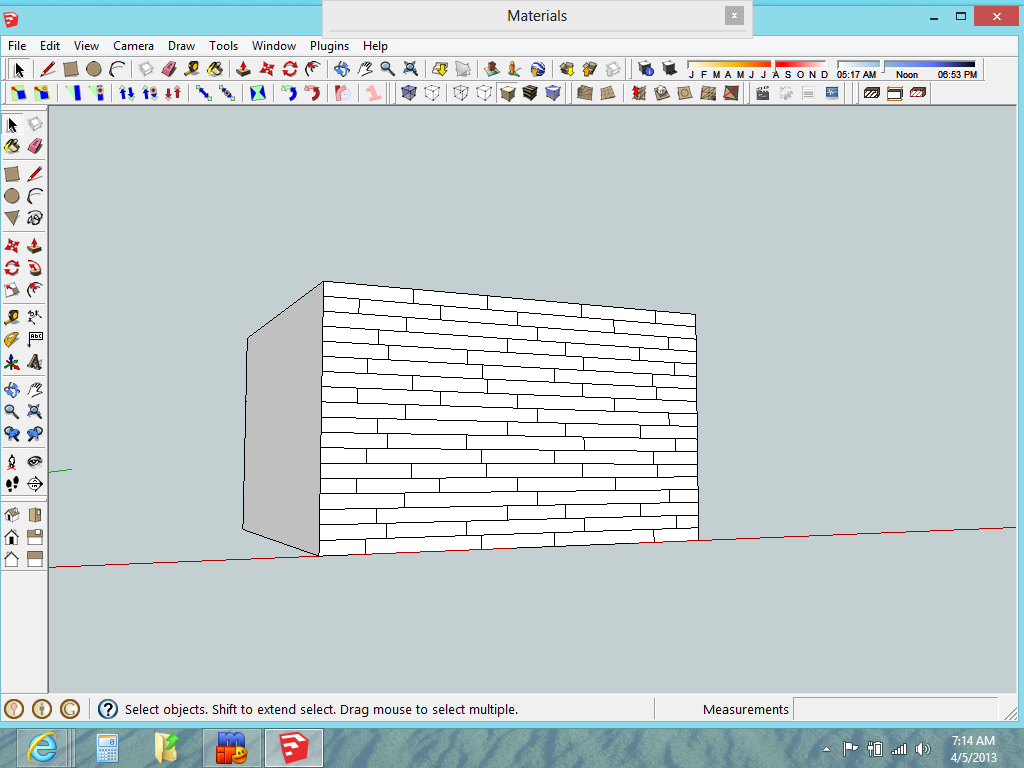
I have been manually placing verticals on about 4 courses and then selecting them all and placing them as a group to finish all the faces to be covered in stone.
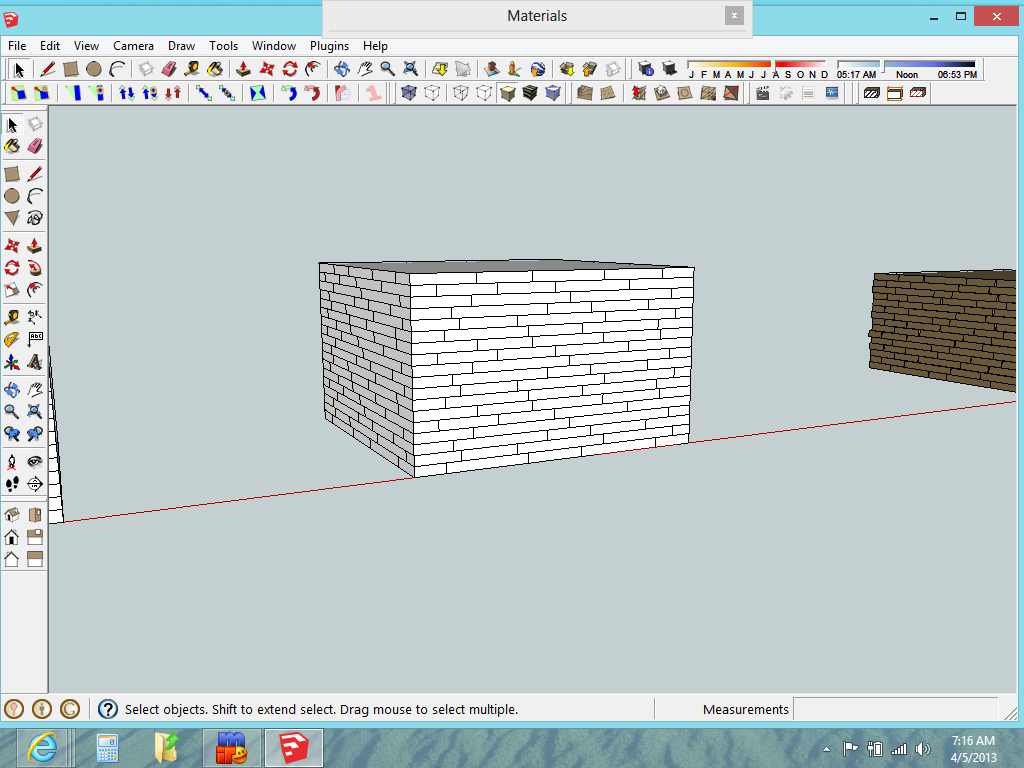
Then I used TIGs RandomPushPull.rb script. and indicated a .5" to 2" limit on one face at a time because it seems to like that better and it's easier to redo on face rather than all of them.
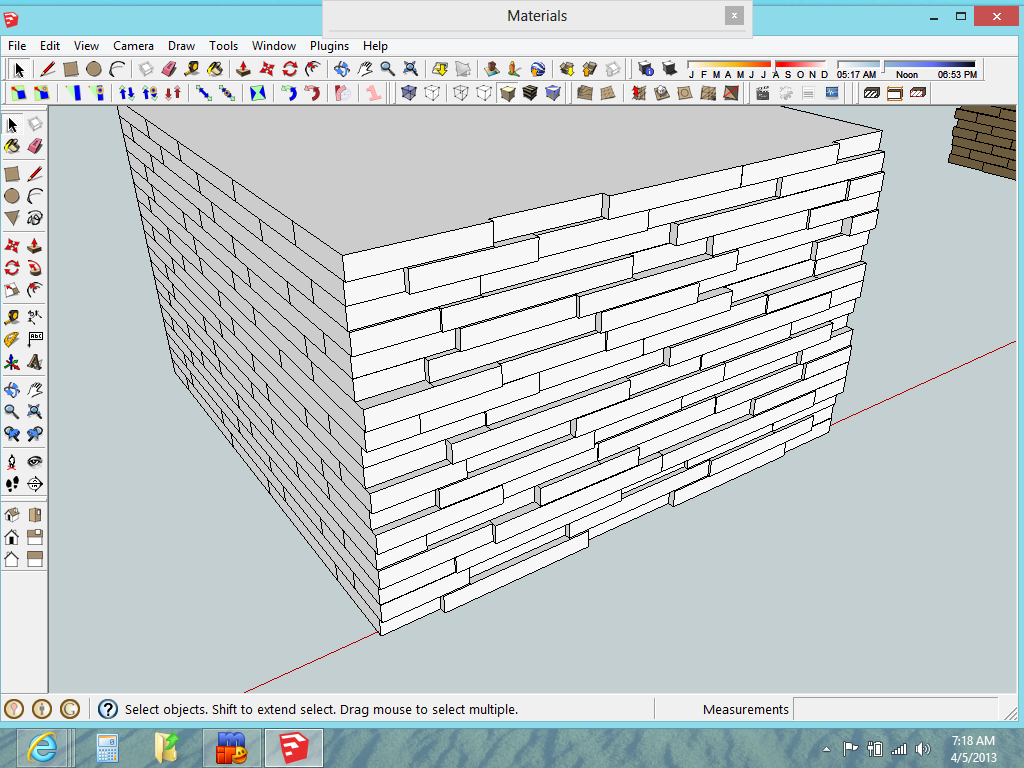
Dry-stacked stone has no grout so there are no spaces between elements.
The difficult part is of course..doing this to many faces of various shapes.
A cube is easy. -
@unknownuser said:
So seems you want real 3d stones
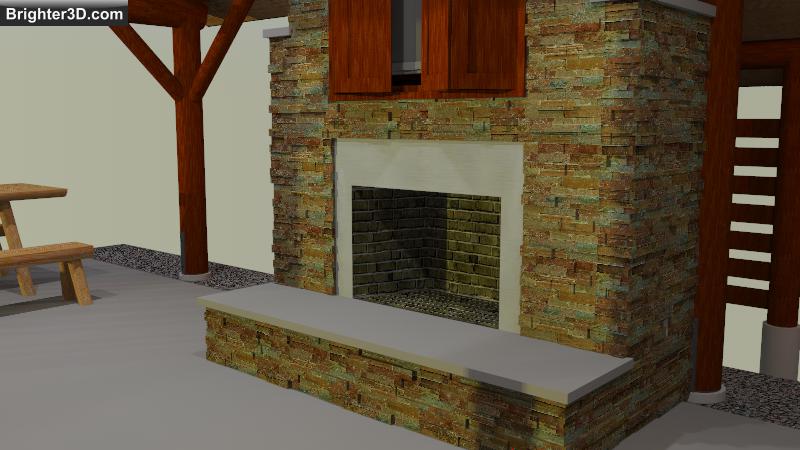
well...not really...I am attempting to illustrate a fairly accurate representation of a manufactured architectural product which is made from real stone...but is applied as a veneer. It's real but it doesn't use "traditional installation techniques".
I will apply it over a steel framed structure, sheathed with cement board.

-
Yep, great to use random push pull. Gives me also a wider range of possibilities than the solution now.
-
It sounds like the very nature of the product gives you the answer.
They must produce standard size sheets. If so then all you need to do is make sheets to match their dimensions and save as components. Then use the components as you would in real life and use intersect to cut them to size. -
the panels are the same size but the stones that make up the panels are random in length and thickness (depth)
-
I'm sure they are, but they will only have a limited randomness. For the purposes of presentation, surely you only need to create three or four standard sheets to give you a hell of a lot of variation.
Or are you saying that they supply the stone as individual veneer sections, Like varying thickness tiles?
-
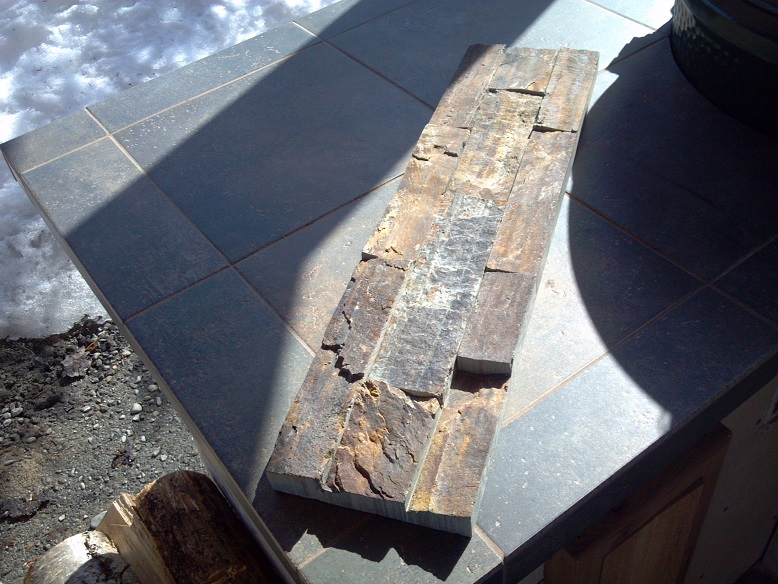
The panels made by the manufacturer are 6x8 6x16 and 6x24 the first two sizes are for outside corners. the 6x24 is for the field. The models I am making are of dimensions that would require modification to 50% of the components. I think a script for segmenting the faces and random push pull is the ticket.
Actual stone panel
Hello! It looks like you're interested in this conversation, but you don't have an account yet.
Getting fed up of having to scroll through the same posts each visit? When you register for an account, you'll always come back to exactly where you were before, and choose to be notified of new replies (either via email, or push notification). You'll also be able to save bookmarks and upvote posts to show your appreciation to other community members.
With your input, this post could be even better 💗
Register Login


Advertisement