Generating relief on top of torus
-
I have been drawing a torus (group) on which I have added some helices (groups). It will be easiest if you look at the screen shot. The red one is a single helix (which wraps around twice); the others are similar helices.
This looks nice, but I want to 3D print it, and the helices (cylinders) are half inside and half outside the torus, so making the whole thing manifold is very complex (at least when done manually). I have tried to "fix" the thing using mesh tools, but that has failed.
A better approach might be to somehow lay lines on the surface of the torus and then raise the surface of the torus along the lines. Note that the original lines that I laid down to make the helices did not lie entirely on the surface of the torus, which could make this difficult, too.
I need some other approaches to doing this, since what I've tried has not worked very well. Any inspirations out there?
Jon
-
If the torus is a solid, and each of the helices are solid, you can use the Outer Shell tool (Tools > Outer Shell) to combine them into one solid. You may have to scale up the model by 1000x first so that all the little faces are formed.
-
Well, I guess that neither the torus nor the helices are "solid", because it refuses to process any of them. They sure look solid to me. Is there a way to tell where the "defects" are so that I can make them solid?
@d12dozr said:
If the torus is a solid, and each of the helices are solid, you can use the Outer Shell tool (Tools > Outer Shell) to combine them into one solid. You may have to scale up the model by 1000x first so that all the little faces are formed.
-
Hi Jon,
You say the helices are individual groups. Right click on one and select "Entity info" from the context menu. It should tell you if it is a "Solid group" or "just" a Group.
Now the same with the torus: note if it is not grouped (yet), you need to group it first.
If one is not a solid, use this tool to inspect the faults:
http://sketchucation.com/forums/viewtopic.php?t=30504
or search for other plugins that even aim to "fix" these defaults.Note that Marcus' advice (to scale your model up before any operation) is probably very important so do not forget about it.
-
-
@jean lemire said:
Hi Jon, hi folks. See this SU file for ideas.
Apart from manually stitching together the rib, is there a mathematical solution to this?
I thought that by increasing the number of sides in the rib, say to 180 or some multiple of the rotations, it would fix this problem and the rib would become a solid, however this didn't seem to be the case. I'm intrigued now.
-
Hi Mick, hi folks.
There is probably one. when I have a few spare minutes, I will investigate this.
In the meantime, I would suggest trying the plugin Follow me and keep to check the concept.
Just ideas.
-
@jean lemire said:
Hi Mick, hi folks.
There is probably one. when I have a few spare minutes, I will investigate this.
In the meantime, I would suggest trying the plugin Follow me and keep to check the concept.
Just ideas.
Thanks Johnny, yes I tried this out first up. Conceptually it is easy (sort of!) to see what is happening, but was expecting that there would be a magic number of facets with allow an exact match of the faces after twisting around the torus. I just can't figure out what that number would be. All I know is that it isn't 180 or 360 or 48 or 16. I didn't try 720 as my machine got bogged down and I needed to get on an do some work.

-
Hi Mick, hi folks.
I though about that helical path that goes around the torus and got these ideas:
1 - As it goes around, the path rotates two full turns around the torus.
2 - As it goes around, the path starts on the top, then goes inside and down and then outside and up. This is done twice. Each of these lateral movements, one from inside to outside and vice versa and the other one up and down, are like sinusoidal curves.
3 - Add to this the fact that, when using the Follow me tool, the path rotates about two axes at the same time, which produces a rotation around the third axis.
4 - I still need to figure out the orientation of the circular facet after it completes its two rotation to see by how much it actually rotates and what is the needed correction to have it register perfectly after two turns.
5 - I will also try the Follow me and keep plugin to see if I can have a solid group without any more interventions.
6 - I will try to set the small circular facet on the midpoint of a sement of the path instead of on an endpoint. This should works.
Just ideas.
-
@sketchymick said:
I thought that by increasing the number of sides in the rib, say to 180 or some multiple of the rotations, it would fix this problem and the rib would become a solid, however this didn't seem to be the case. I'm intrigued now.
i am more_likely_than_not misinterpreting what you're saying here but if the 'rib' your referring to is the smaller 'rope' going twice around the torus -and- by 'solid' you mean a solid group (sketchup solid) then jean has already accomplished that..
it's the path line which remains in the middle of the rib which prevents it from registering as solid.. erase it and the rib will be solid.
-
@unknownuser said:
@sketchymick said:
i am more_likely_than_not misinterpreting what you're saying here but if the 'rib' your referring to is the smaller 'rope' going twice around the torus -and- by 'solid' you mean a solid group (sketchup solid) then jean has already accomplished that..
No you're not misinterpreting it. I was just curious as to whether there was an elegant solution, rather than having to manually stitch up the ends (Johnny's method). Of course the pragmatic way is to spend 30 seconds to stitch it up like this, but the purest in me is searching for the combination of facets that would avoid needing to do this. It's pure curiosity.
-
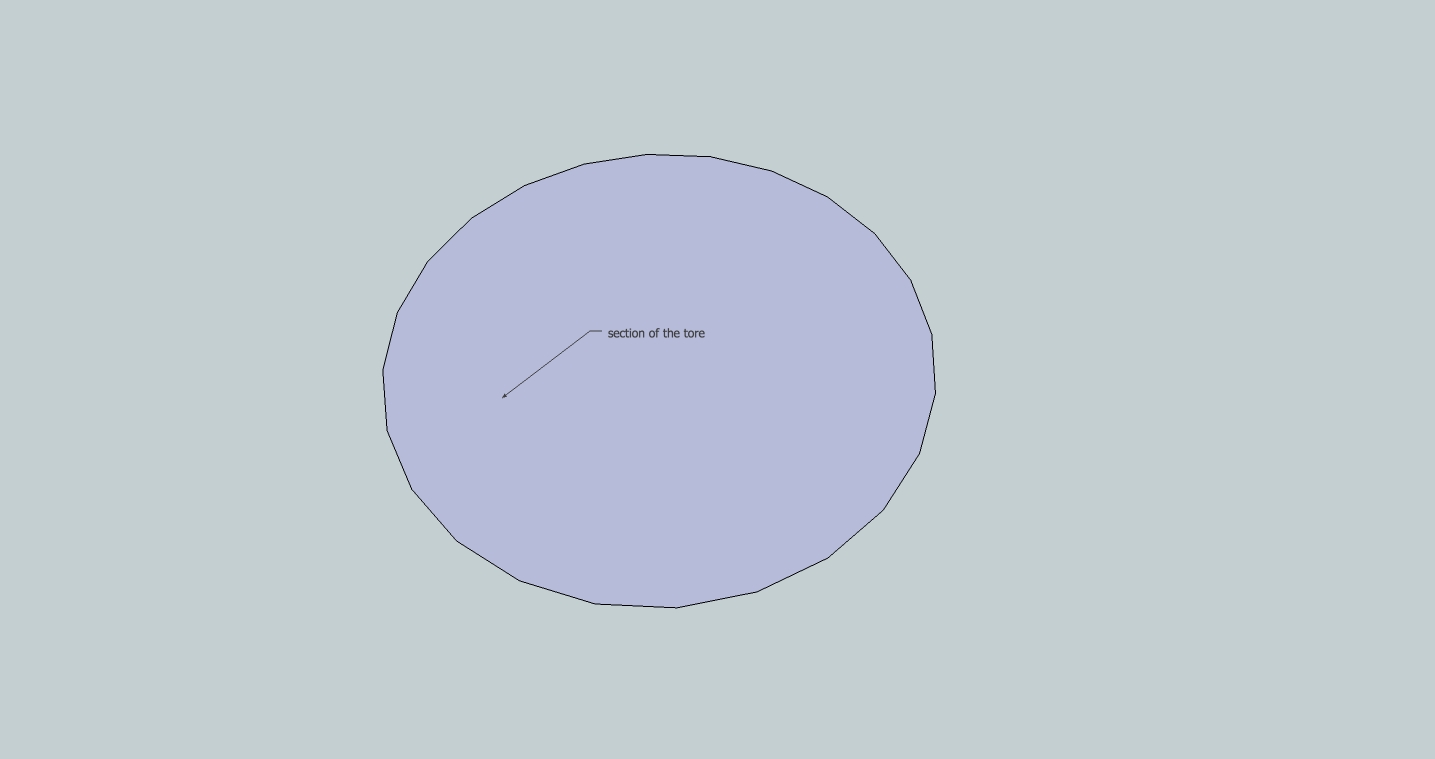
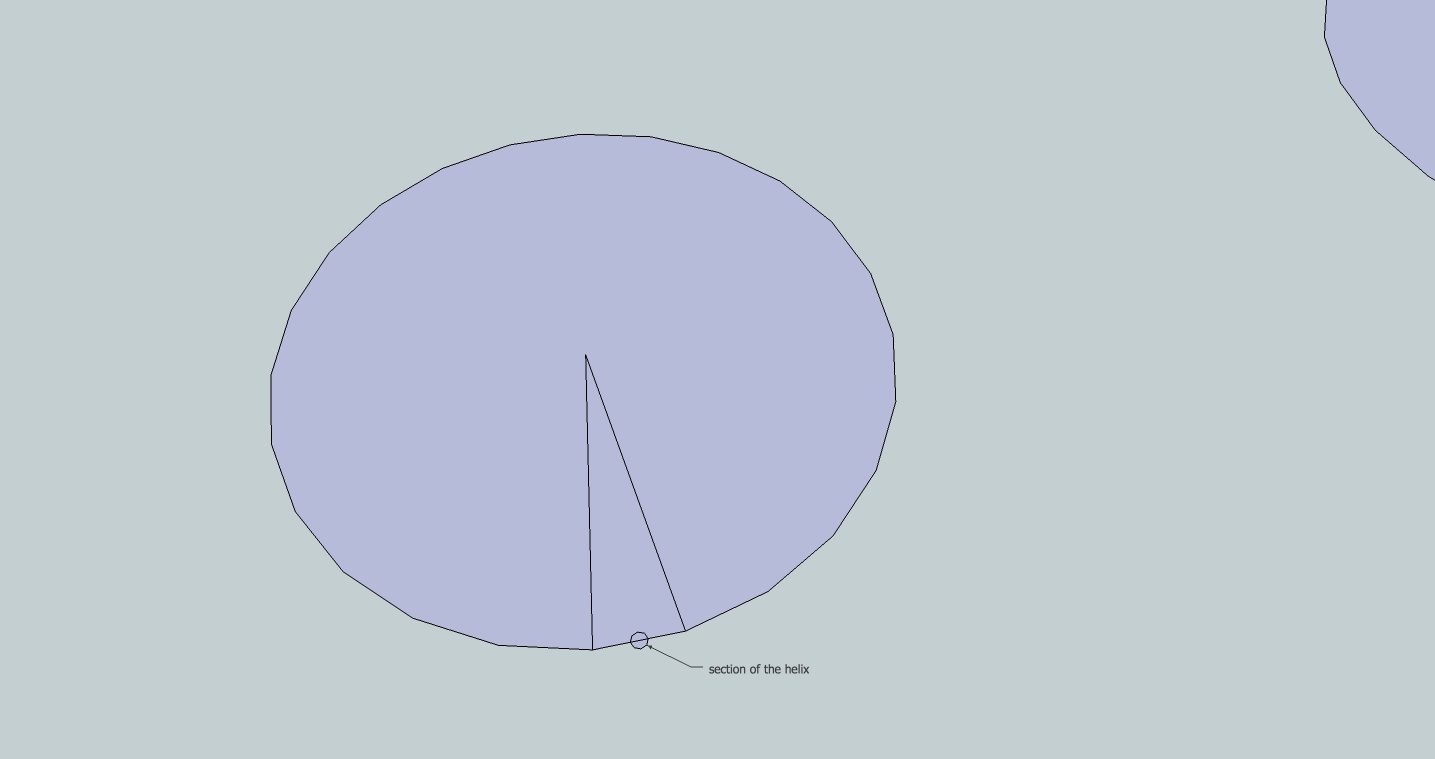
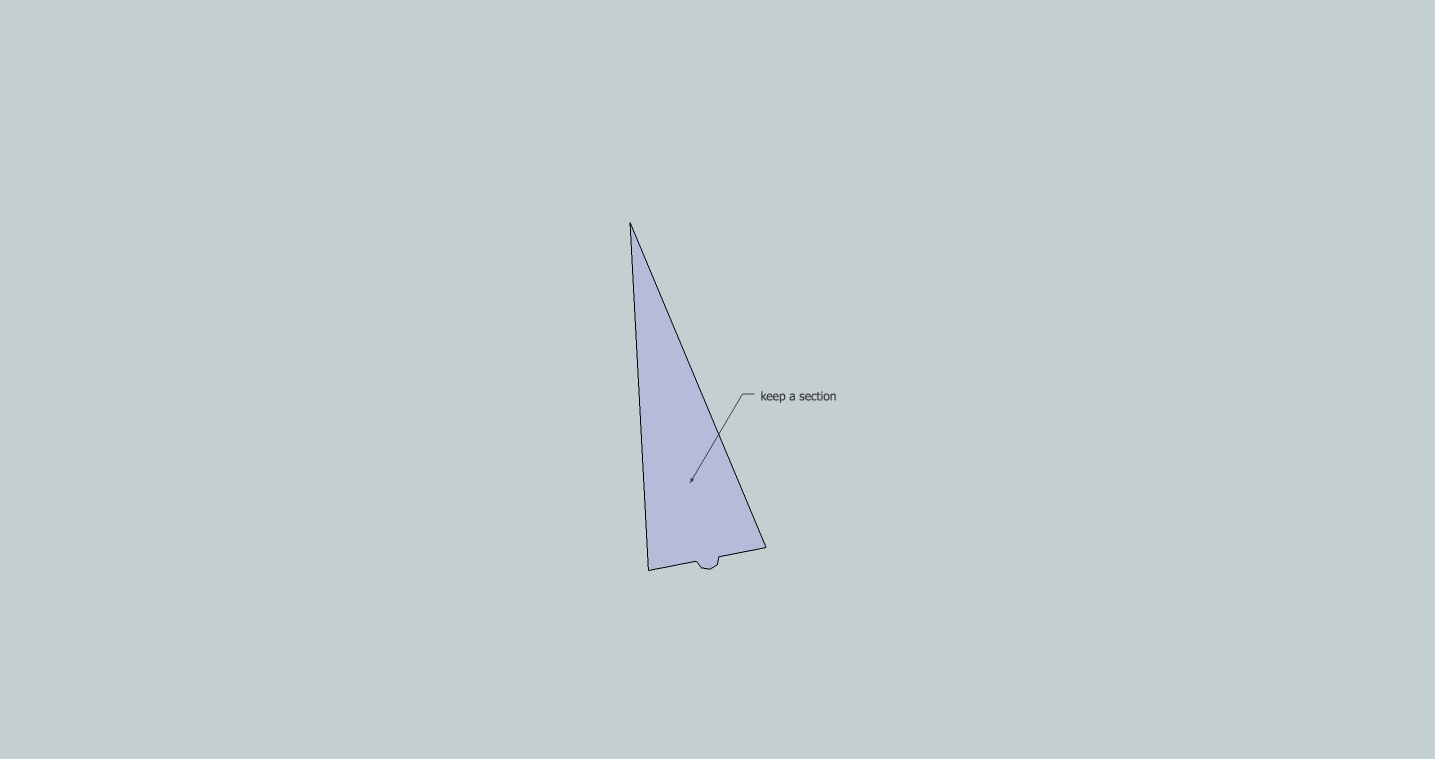
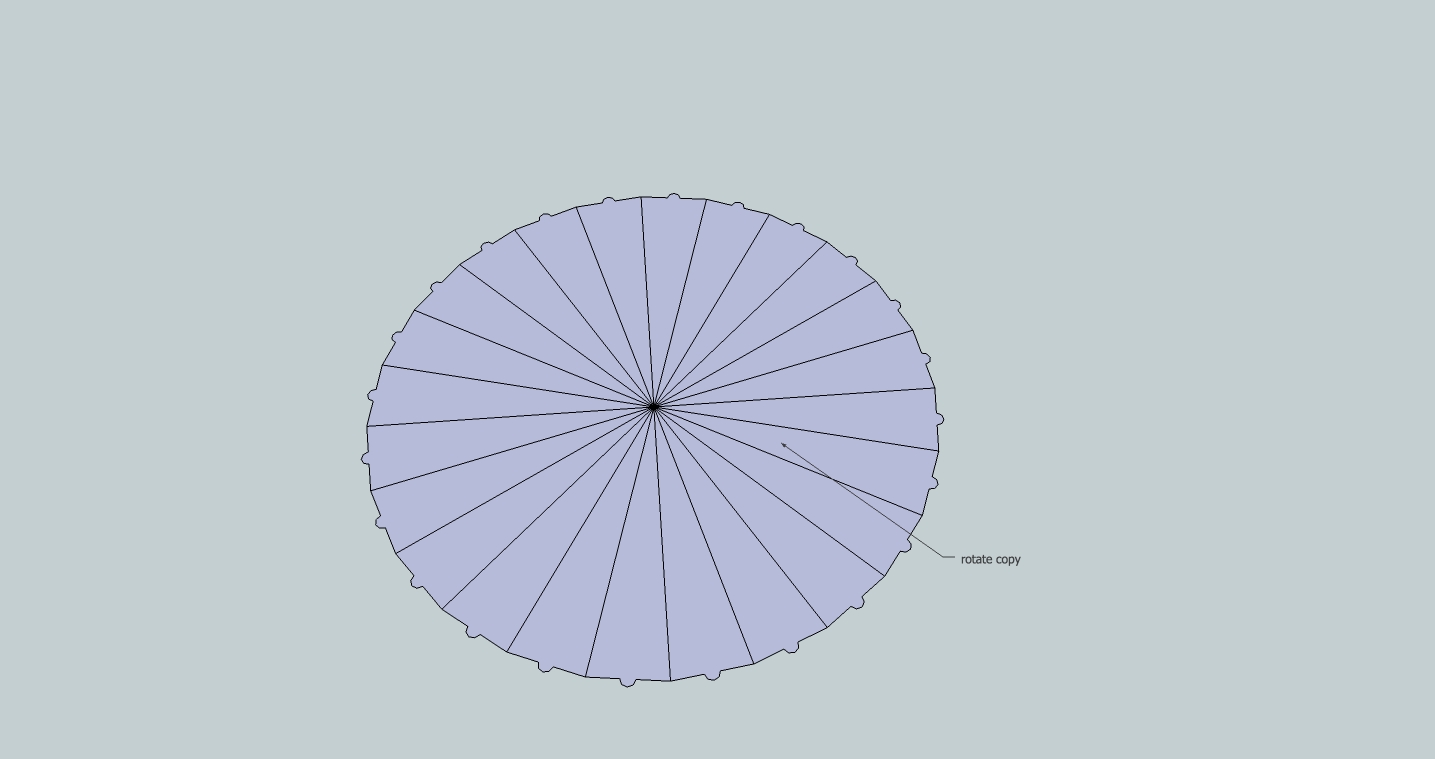
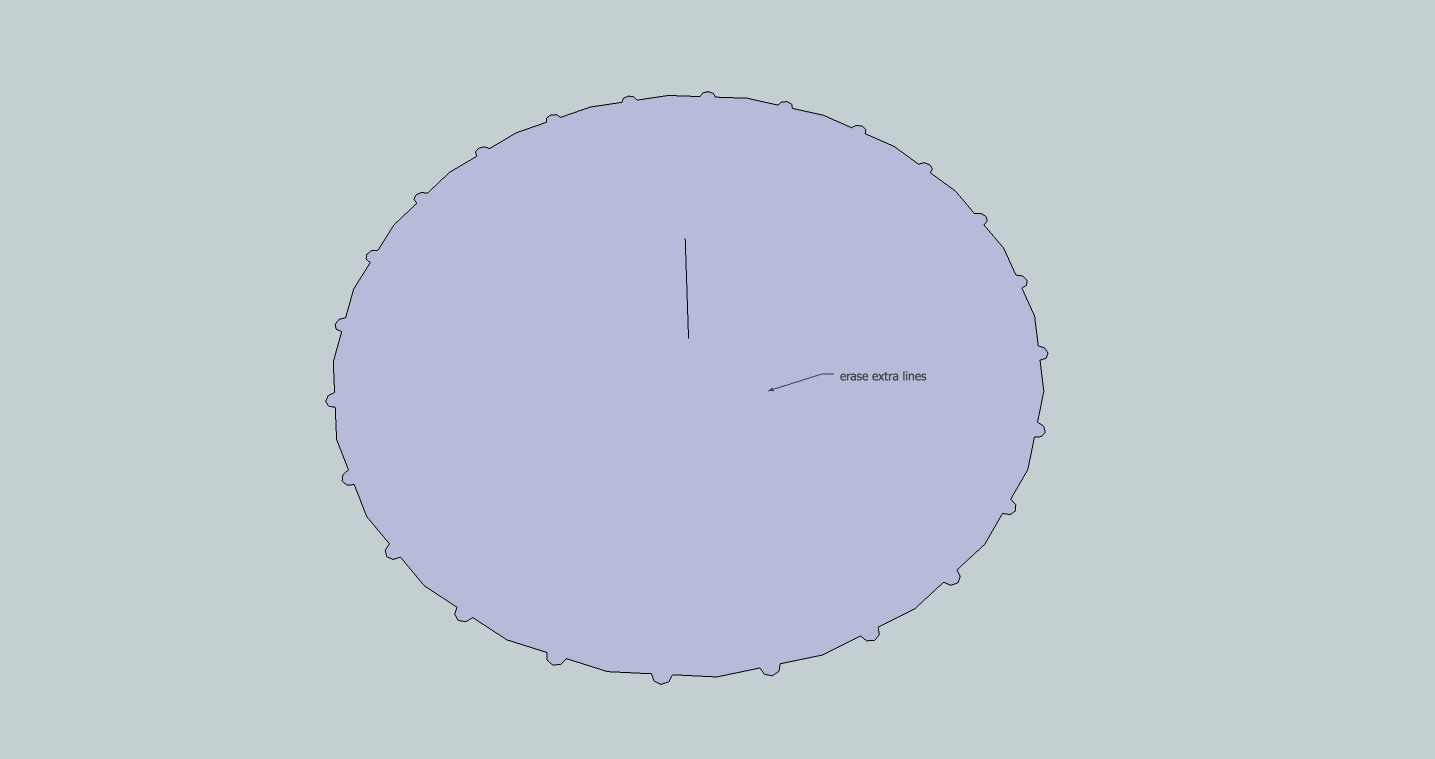
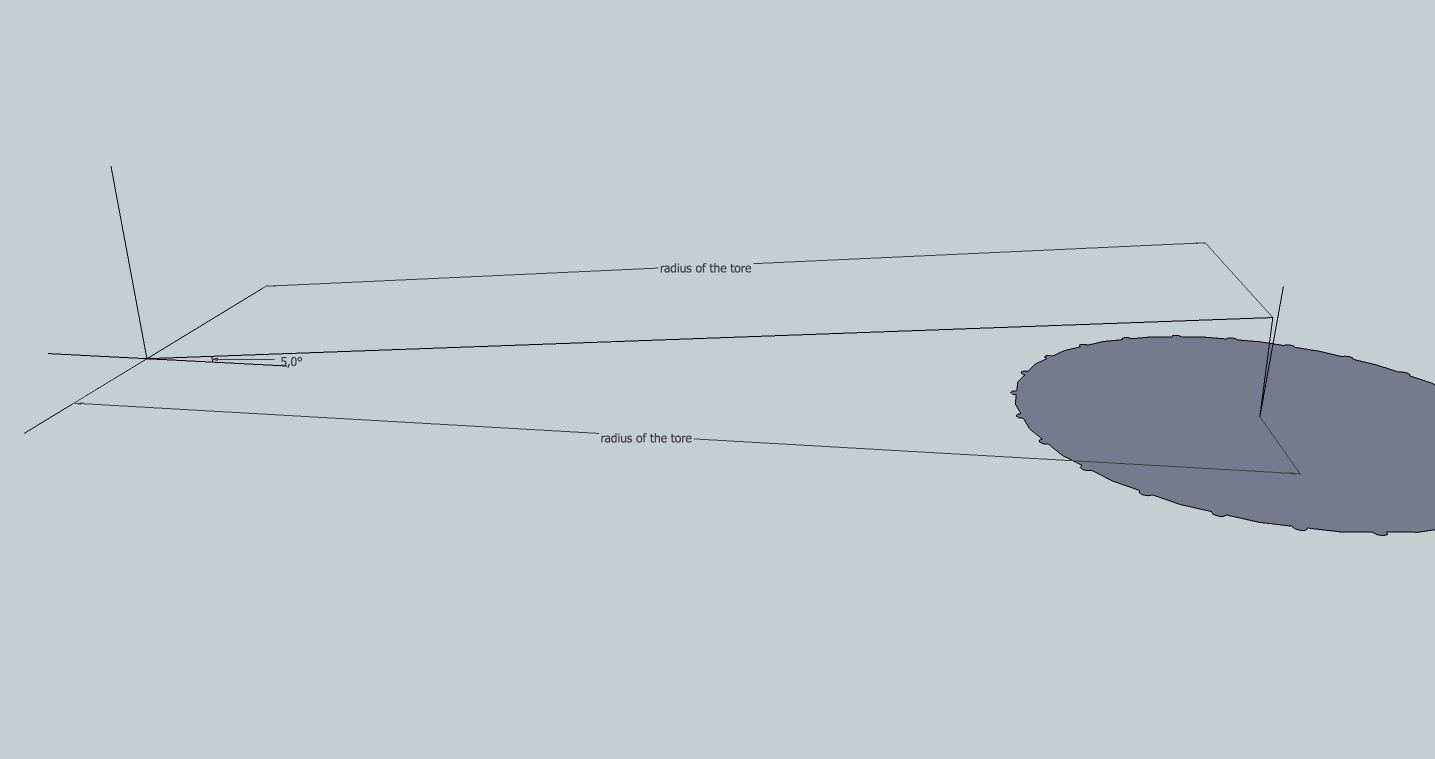
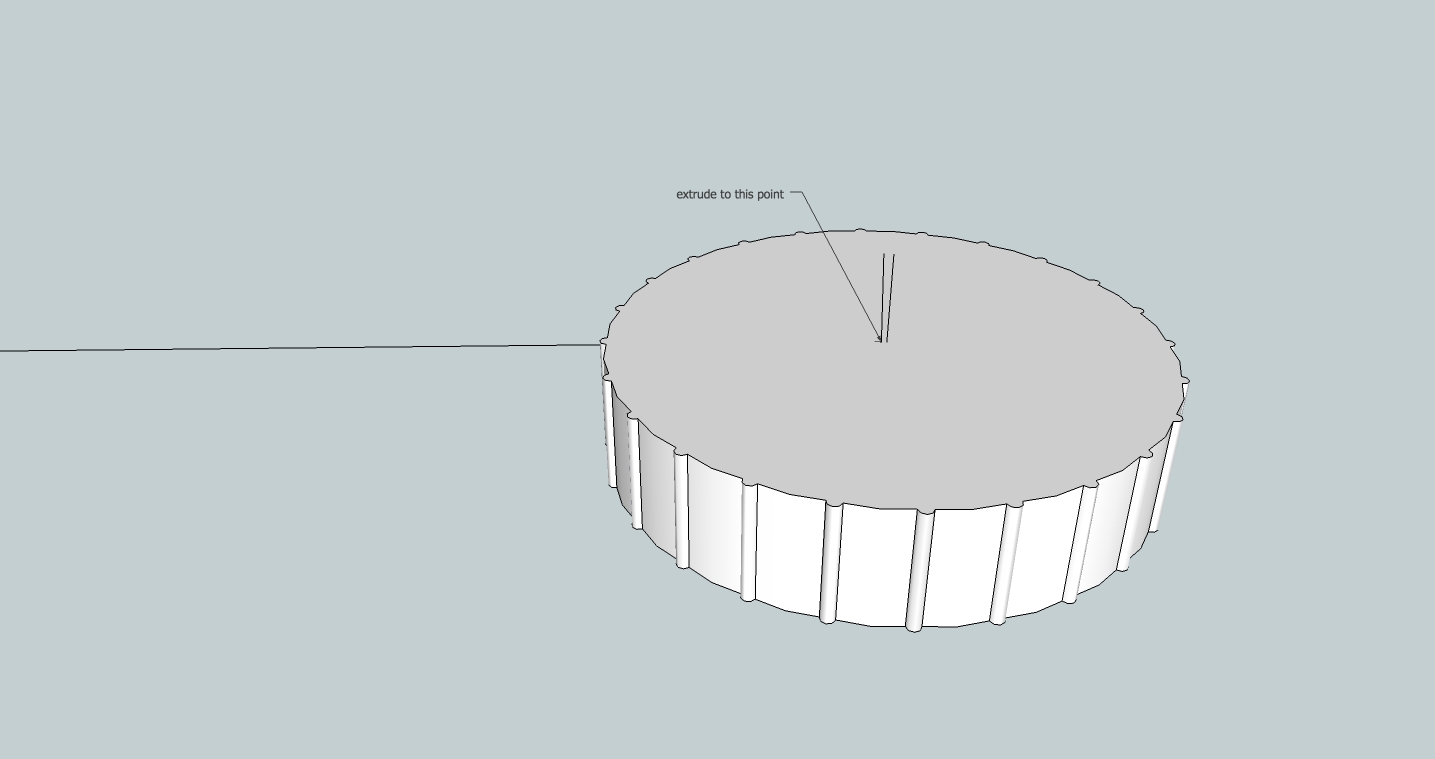
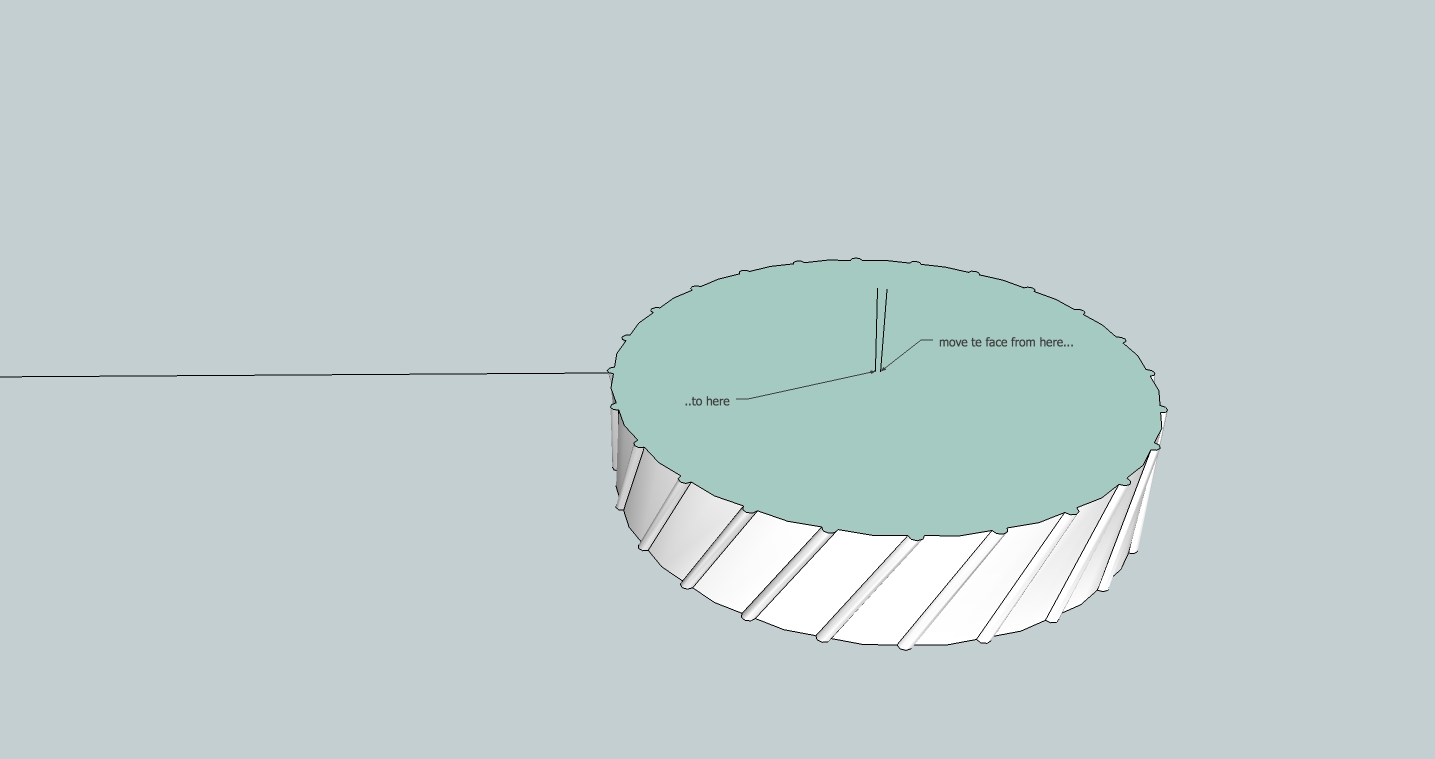
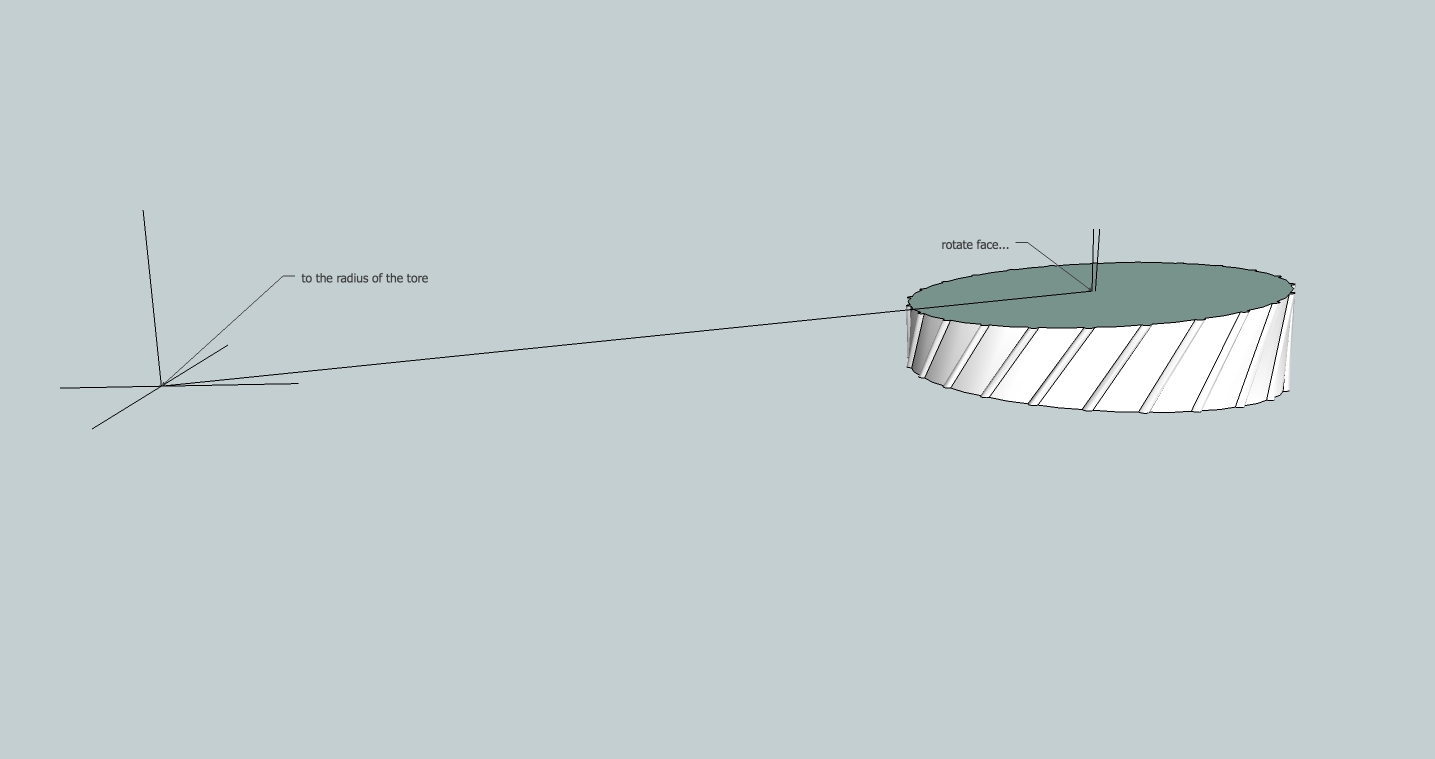
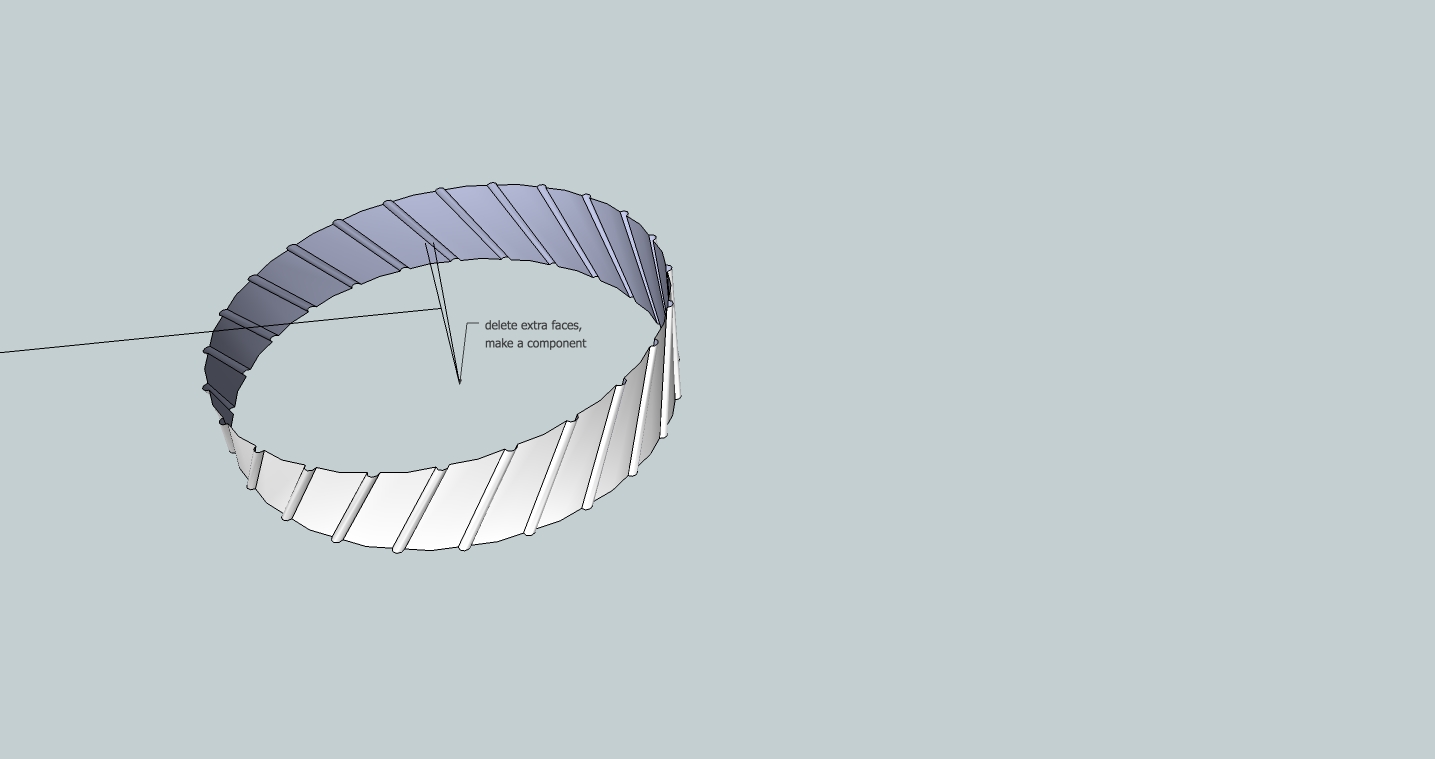
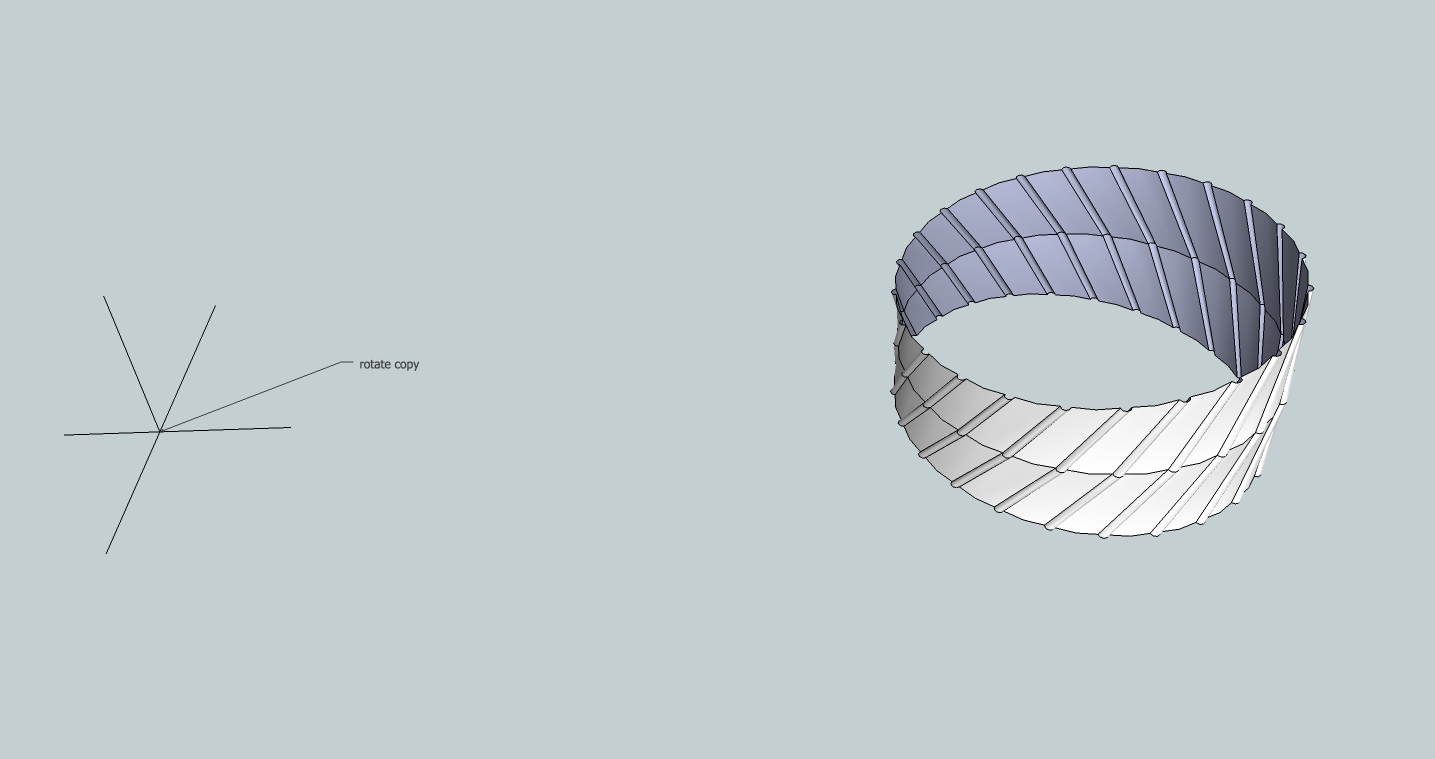
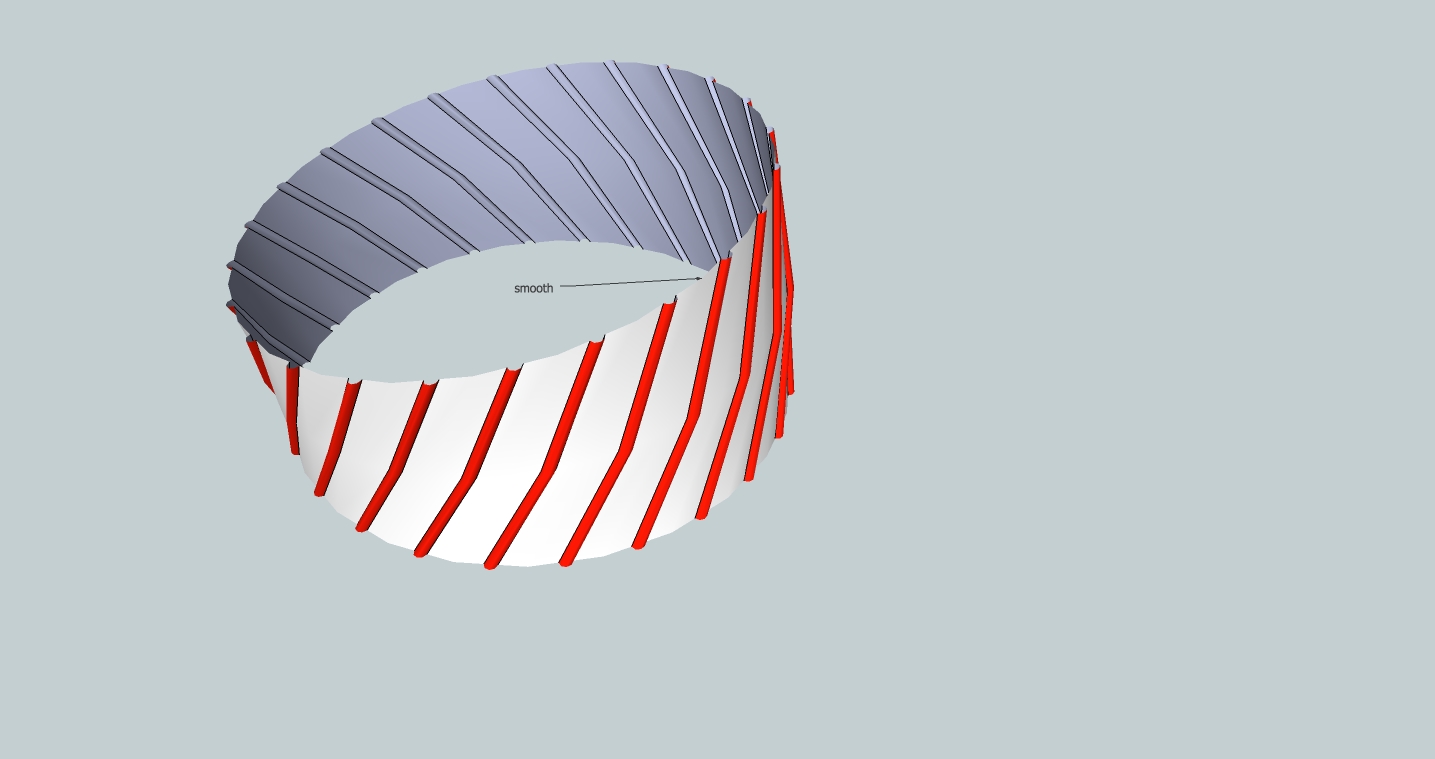
Here is a way:
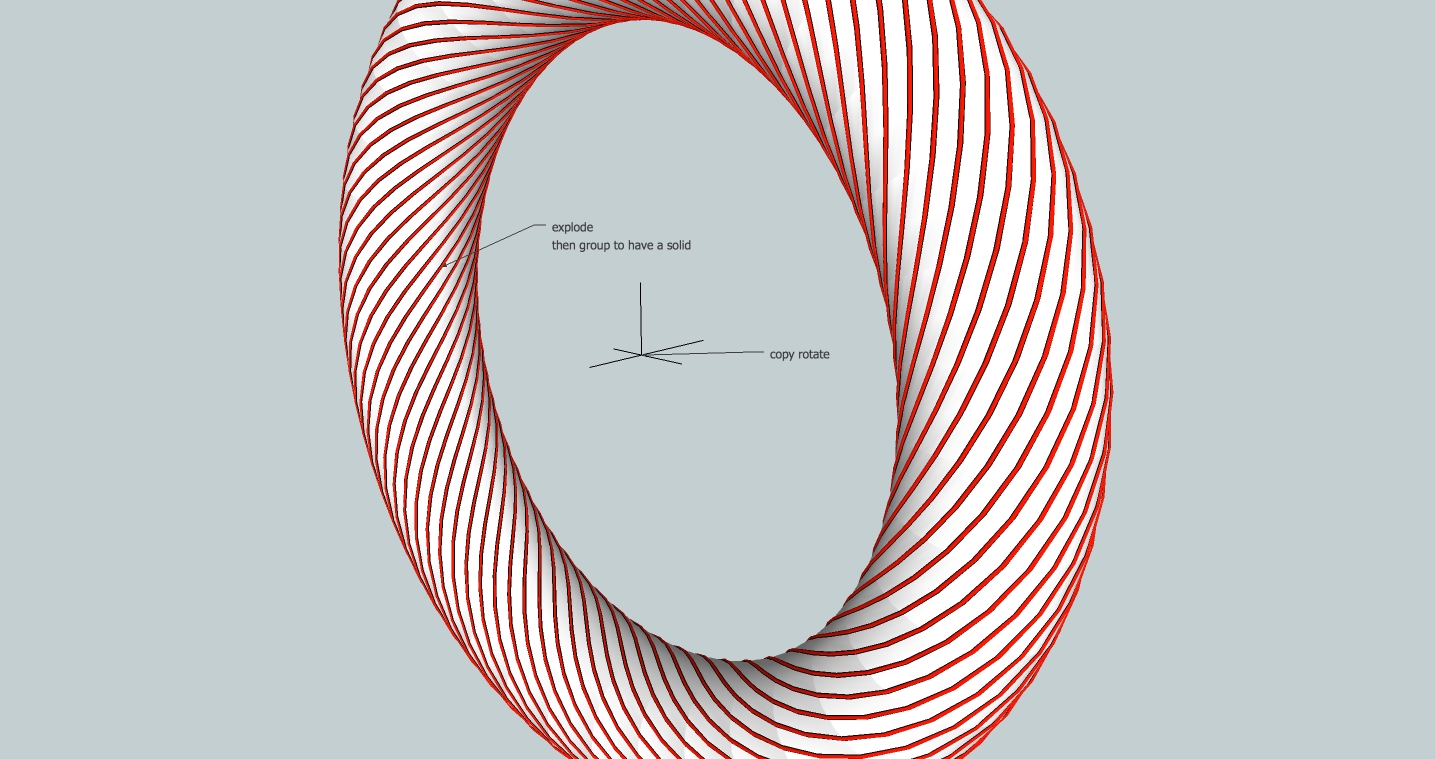
-
Hi Gilles, hi folks.
Very clever.
Best regards.
Brillant.
Salutations.
-
You are right, I forgot one step.
Thanks to clarify.
-
-
-
-
Hello Jeff, had a good night?
-
Seems Follow me and rotate by Wikii make something similar ?

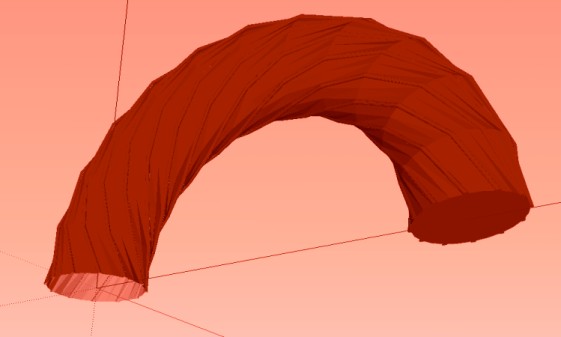
-
@unknownuser said:
Seems Follow me and rotate by Wikii make something similar ?

[attachment=0:26zw3j75]<!-- ia0 -->far.jpg<!-- ia0 -->[/attachment:26zw3j75]
hmm.. maybe component stringer then curviloft can do the trick too?
(can't check right now because I'm on a bus but doesn't component stringer have a rotate option?)
Advertisement


