• Login
sketchucation logo sketchucation
  • Login
πŸ€‘ SketchPlus 1.3 | 44 Tools for $15 until June 20th Buy Now

Snow scape tutorial

Scheduled Pinned Locked Moved SketchUp Tutorials
sketchup
11 Posts 7 Posters 3.8k Views
Loading More Posts
  • Oldest to Newest
  • Newest to Oldest
  • Most Votes
Reply
  • Reply as topic
Log in to reply
This topic has been deleted. Only users with topic management privileges can see it.
  • D Offline
    davidh
    last edited by 11 Nov 2011, 18:56

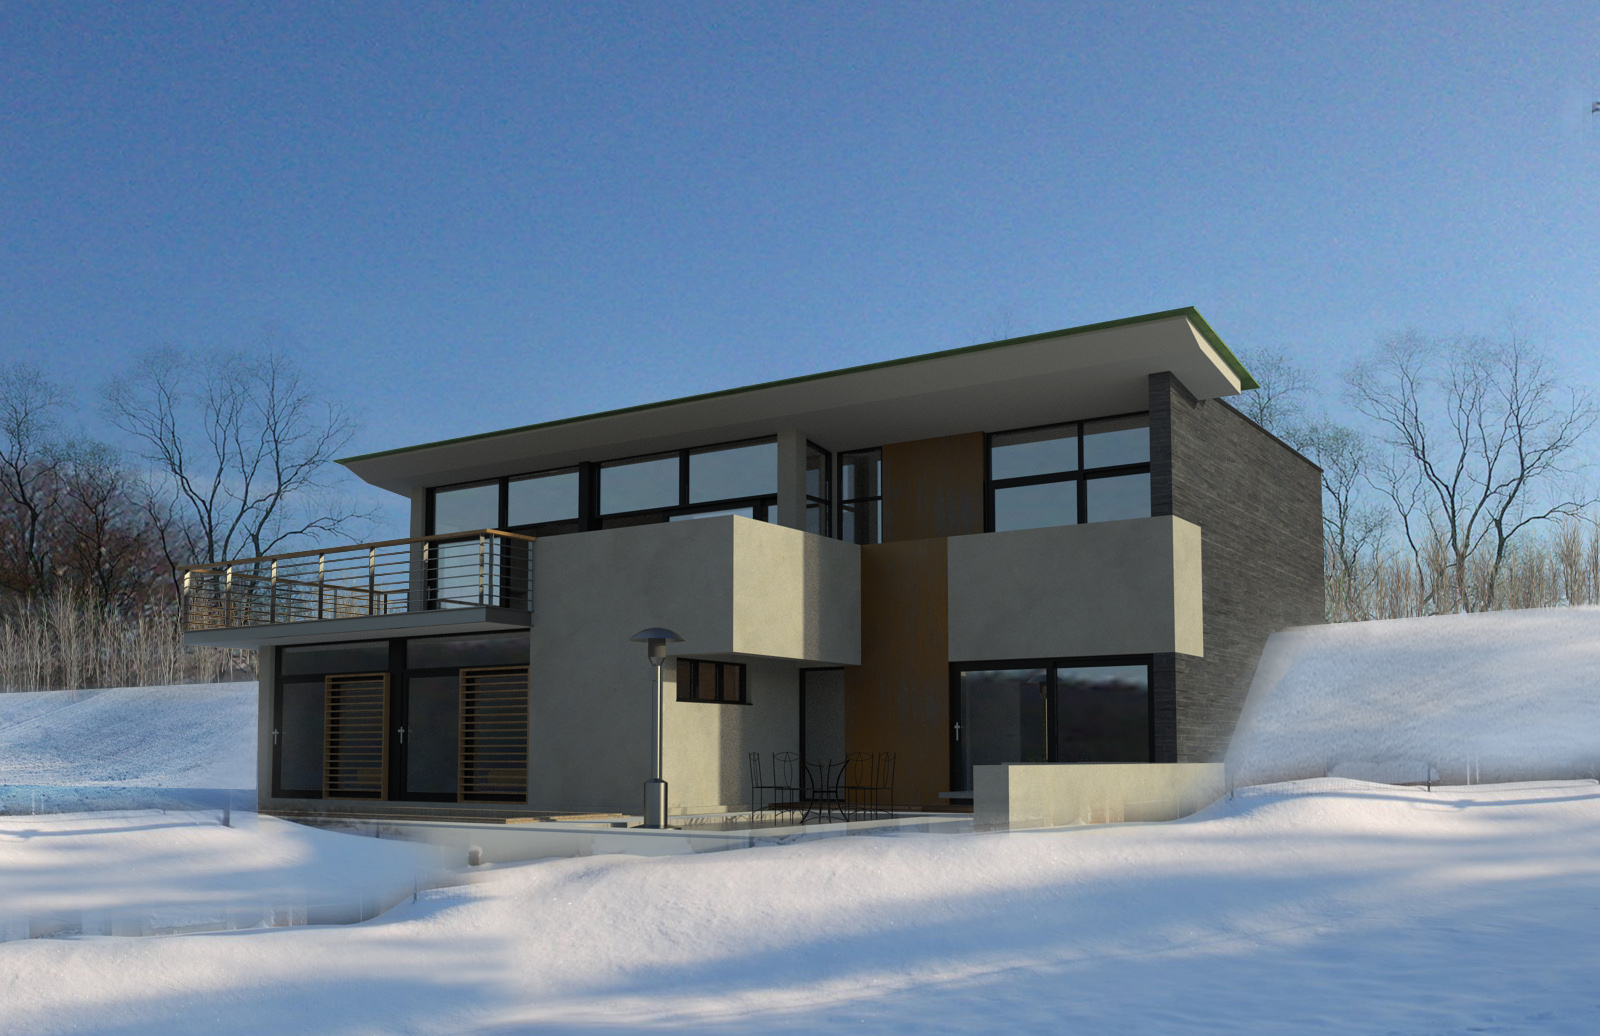
    Attached is a step by step for a snowscape/winter image,Main tip - make sure the ground colour is white,this ensures all bounced light reflects the ground and ensures the lighting works with the image
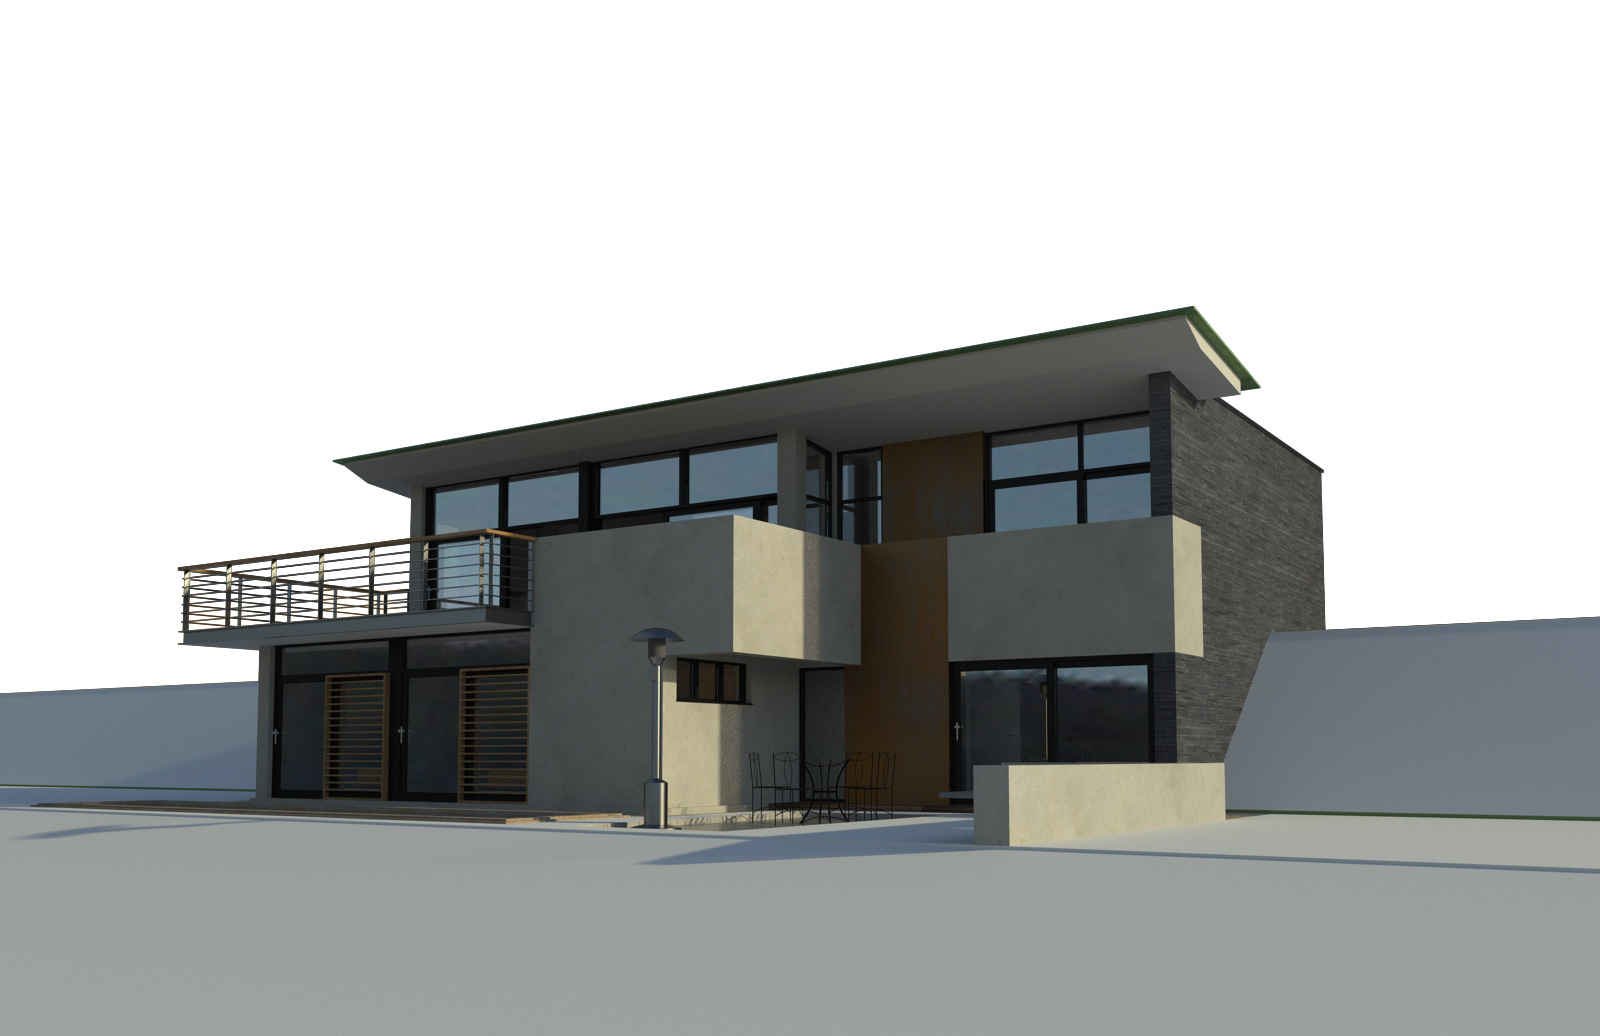
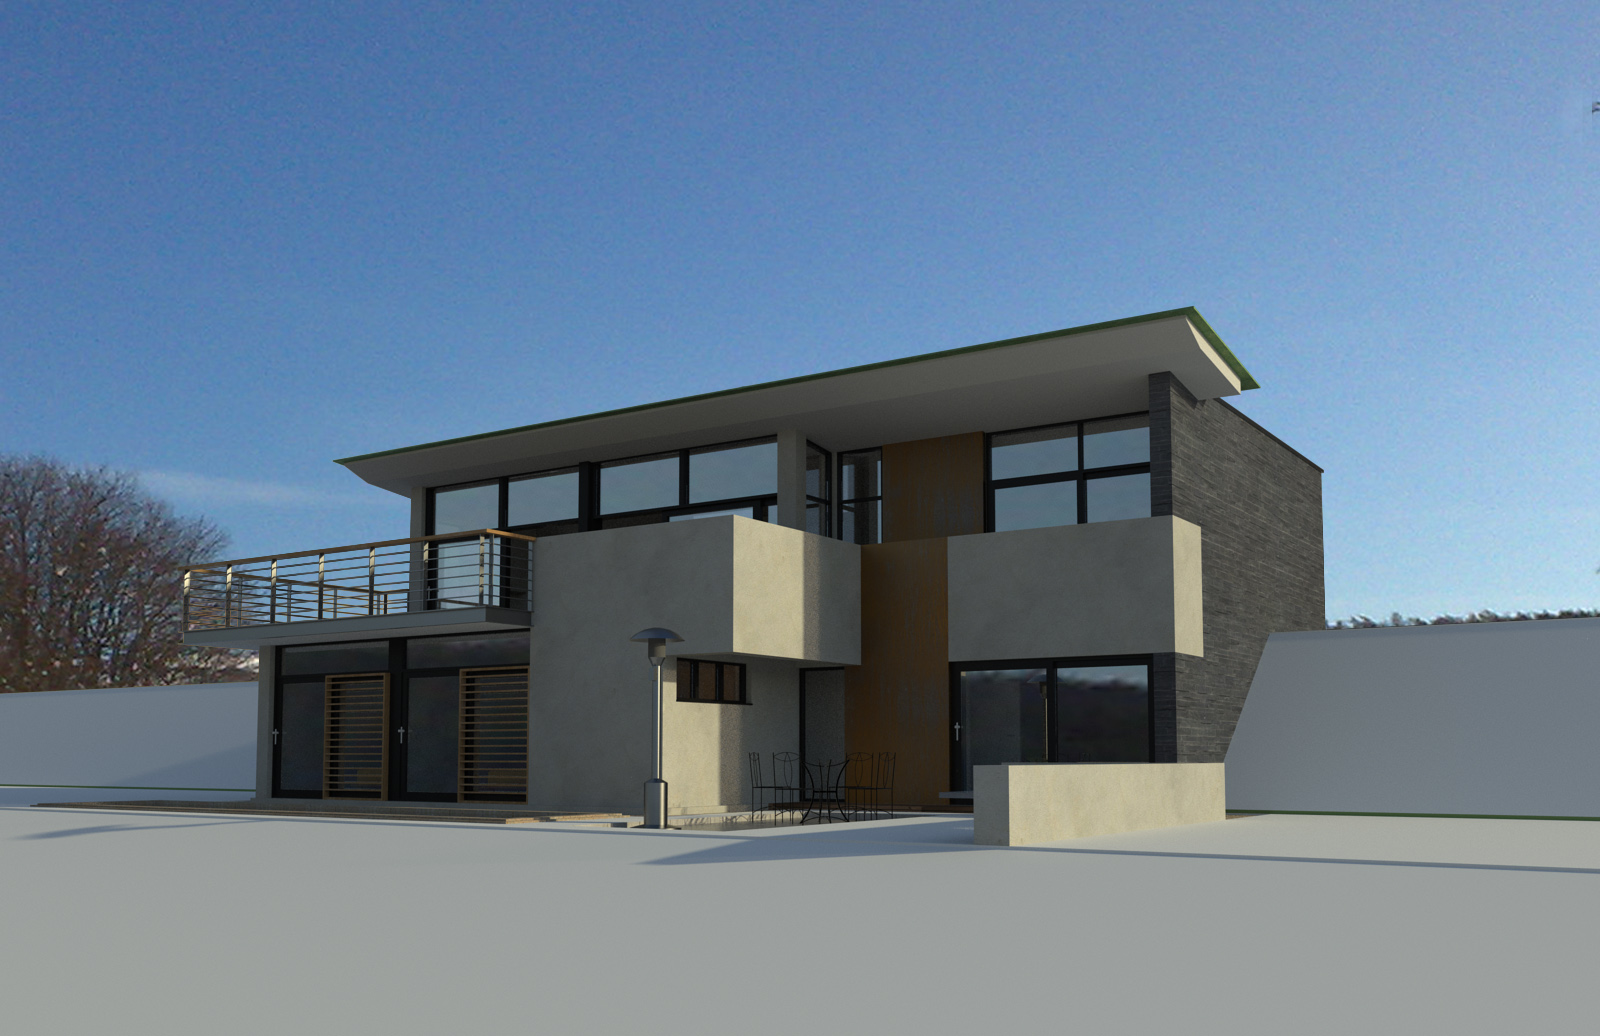
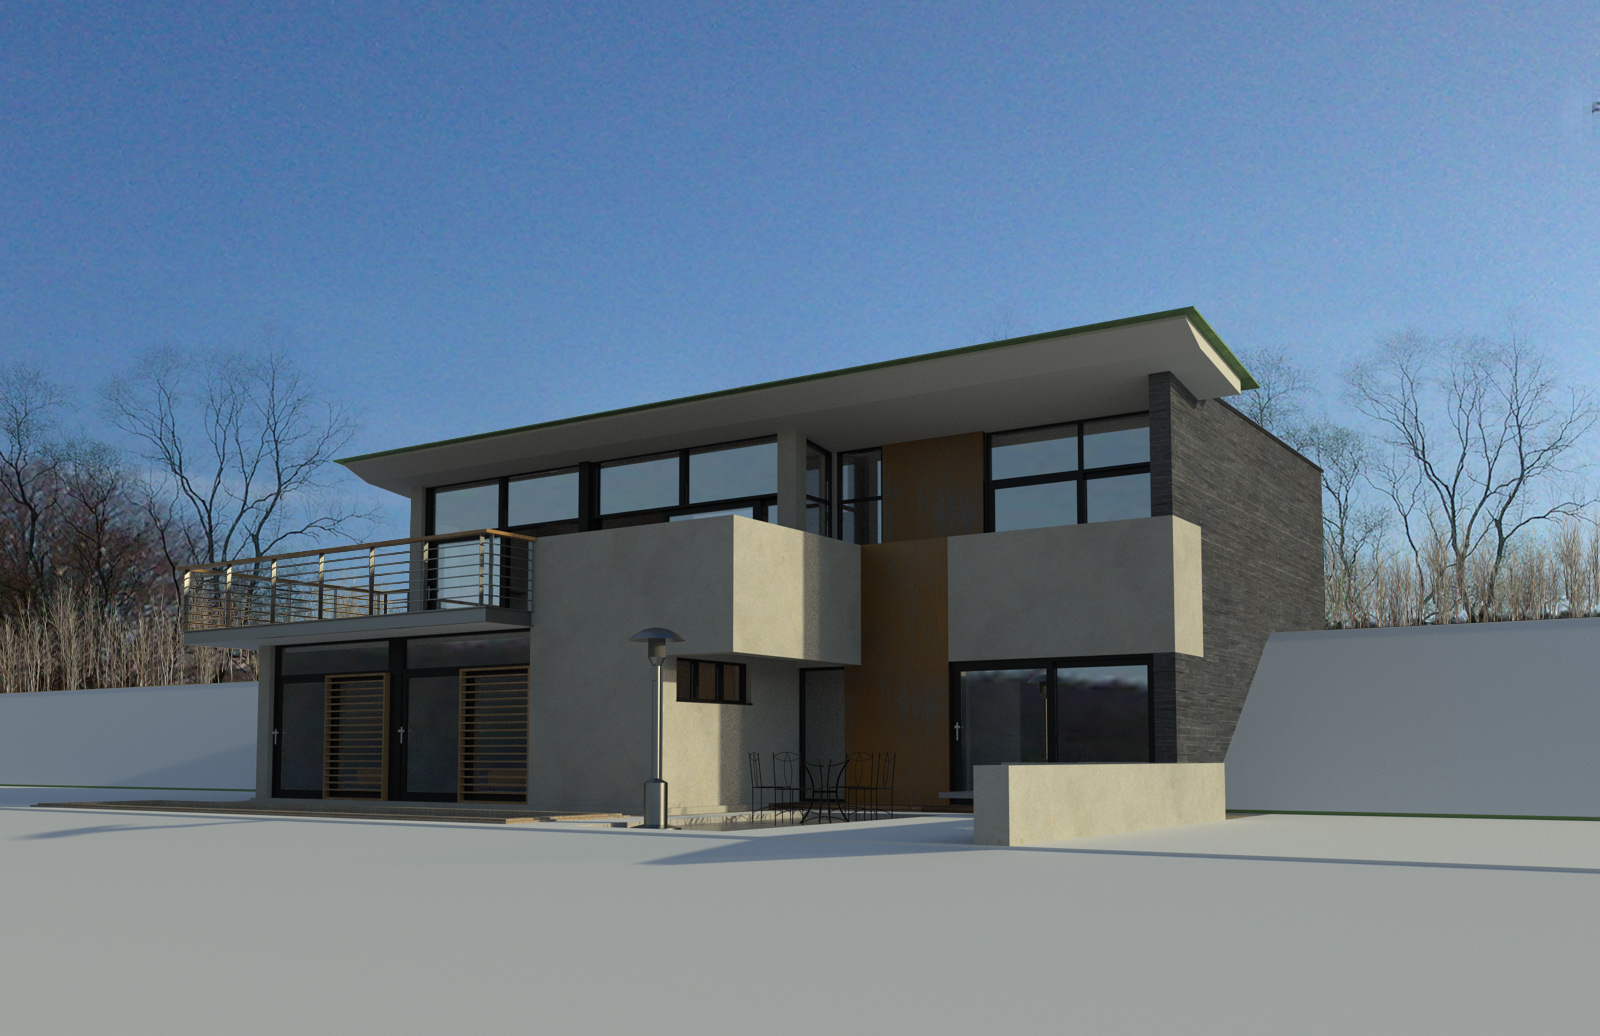
    raw render


    sky and background added


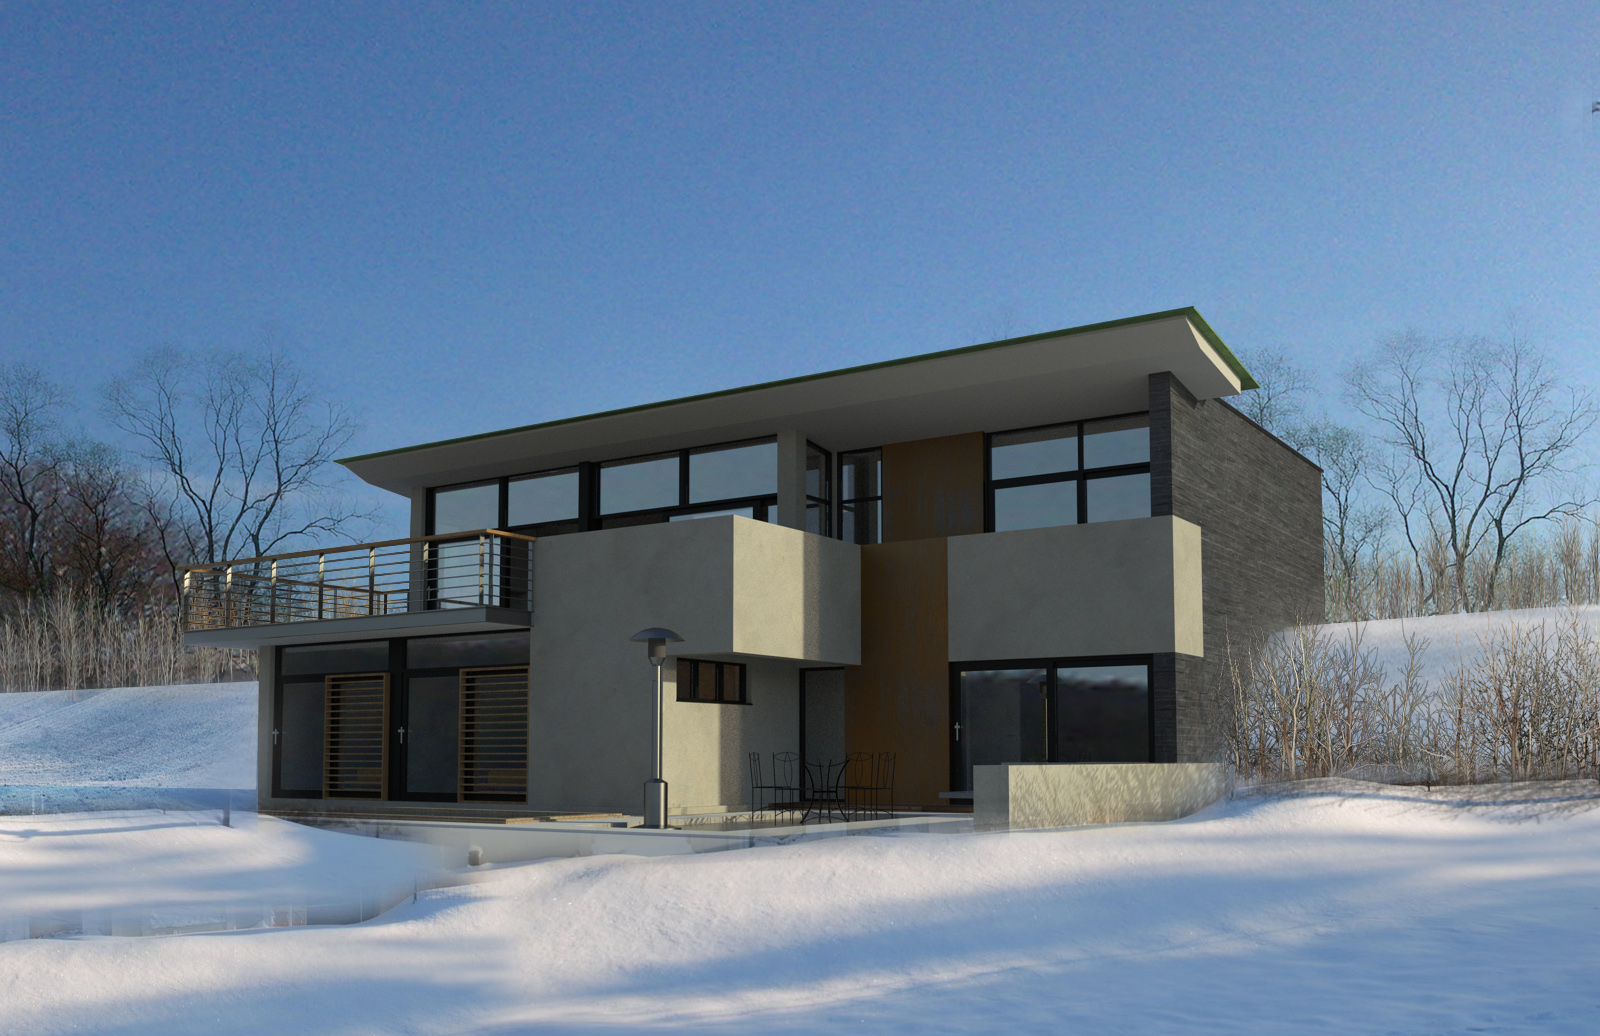
    additional background trees added


    foreground snow added


    middle ground tress added


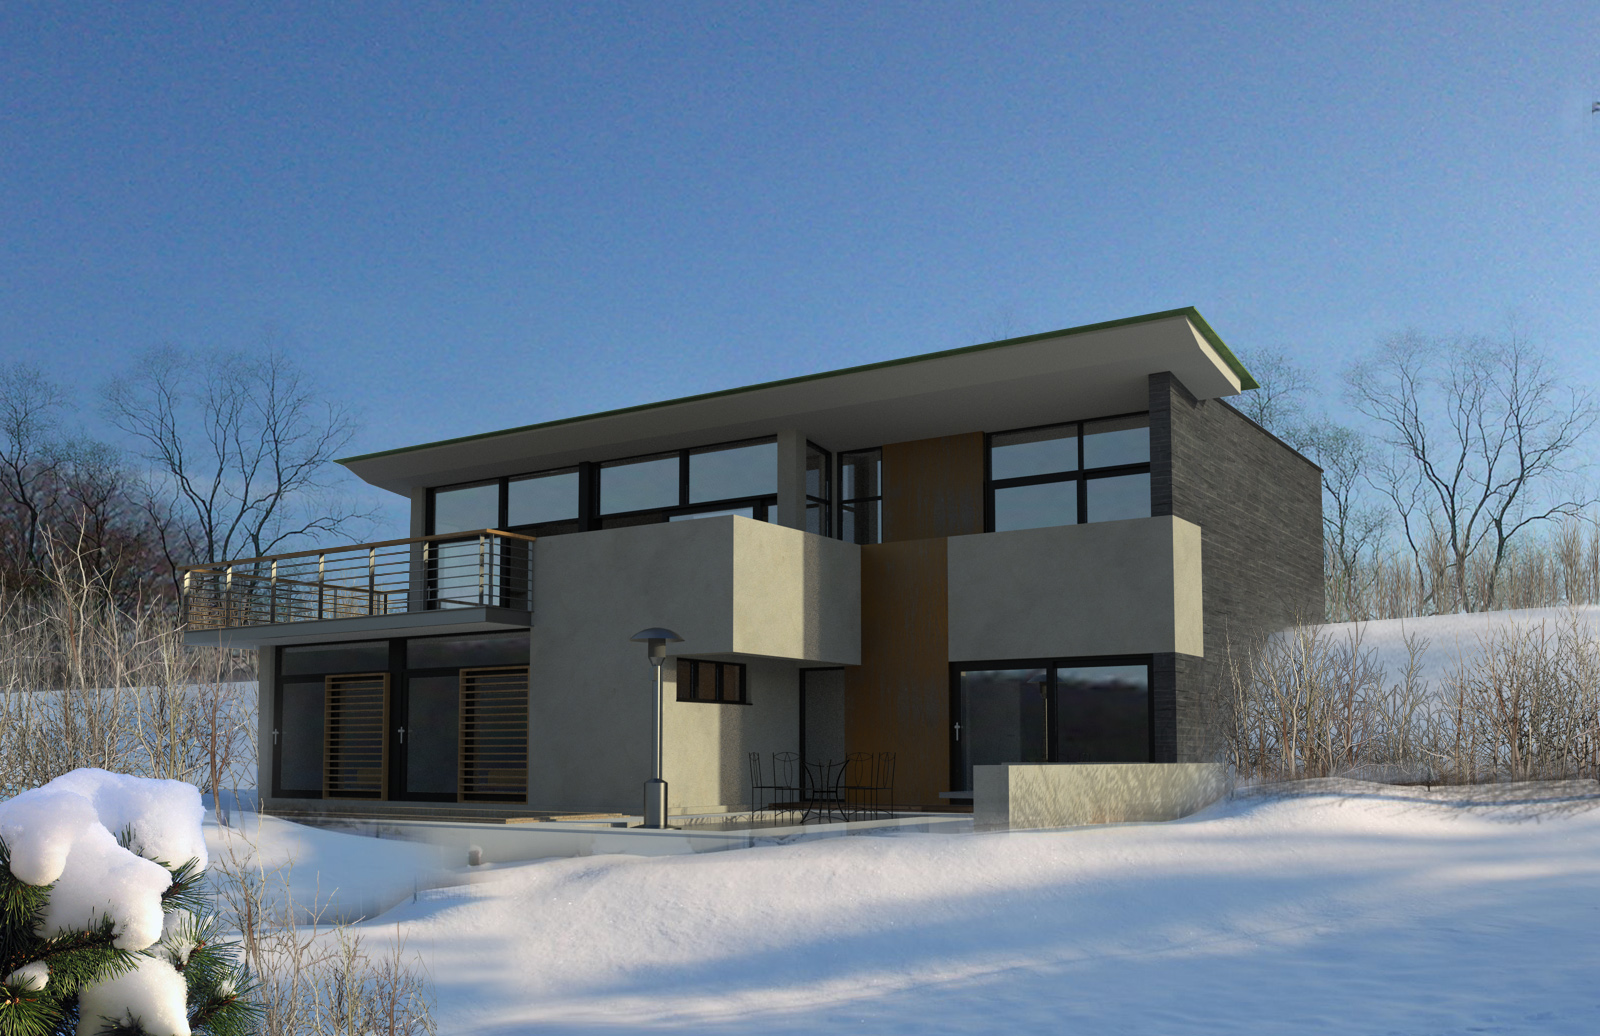
    final foreground added

    1 Reply Last reply Reply Quote 0
    • F Offline
      Frederik
      last edited by 12 Nov 2011, 10:06

      Well done...! πŸ‘

      One question, however...
      Why did you render the model without the sky...?
      Not sure I understand why this needs to be added in post pro...
      Besides... Reflections of the environment is missing from the windows...

      Nonetheless a great shot...! πŸ˜„

      Cheers
      Kim Frederik

      1 Reply Last reply Reply Quote 0
      • D Offline
        davidh
        last edited by 12 Nov 2011, 11:16

        The file was rendered out with a physical sky,just with an alpha channel.This allows me to add different skies to see different moods.The background trees were part of the sky I photoshopped in and were considerably larger and slightly deformed in maxwell as this was a hdri spherically mapped.
        As you can see from the original render,the ground plane was not reflected in the scene .This was to do with the viewpoint taken but If I had taken a view closer to the building,slightly looking down you would have seen it.The trees reflected in the window are the same trees as in the original background sky previously mentioned and would in fact be close to what is visible off camera.
        So,there is always method in the madness,and sometimes madness in the method!

        1 Reply Last reply Reply Quote 0
        • A Offline
          alvis
          last edited by 12 Nov 2011, 11:33

          cool effect πŸ‘

          1 Reply Last reply Reply Quote 0
          • D Offline
            dutchesse
            last edited by 13 Nov 2011, 00:57

            Good looking image but I am not sure if I would call this a tutorial though ...
            You just mention what you added, not how you did it and what programs/software you used

            1 Reply Last reply Reply Quote 0
            • N Offline
              nomeradona
              last edited by 15 Nov 2011, 01:28

              can you elucidate further how you added the trees. DId you add them with transparent background or did you use your usual technique of using photoshop brushes.

              visit my blog: http://www.nomeradona.blogspot.com

              1 Reply Last reply Reply Quote 0
              • D Offline
                davidh
                last edited by 15 Nov 2011, 10:02

                The additional background trees are simple black and white .pngs added with a "multiply" blend,which helps to remove any white edges on the trees.The forground bushes/small trees are also hi res .pngs,inserted and scaled around the image.These were purchased from this website:
                http://www.gardenhose.com/

                1 Reply Last reply Reply Quote 0
                • J Offline
                  jarynzlesa
                  last edited by 15 Nov 2011, 13:23

                  super tut πŸ‘ thx

                  http://www.vizualizaceschodiste.mypage.cz/

                  1 Reply Last reply Reply Quote 0
                  • N Offline
                    nomeradona
                    last edited by 16 Nov 2011, 12:51

                    Cool very nice and thank you.

                    visit my blog: http://www.nomeradona.blogspot.com

                    1 Reply Last reply Reply Quote 0
                    • D Offline
                      dsarchs
                      last edited by 16 Nov 2011, 17:39

                      The "Foreground snow added" step is what I was hoping the whole tutorial would be. Adding background, trees, etc. is normal photoshop work.
                      To add the snow -- getting it to conform to the slope -- did you just take an image of a snowy field and clone map where needed? Did you have to stretch the image or skew perspective?

                      Knowledge is a polite word for dead but not buried imagination.

                      -e.e.cummings

                      1 Reply Last reply Reply Quote 0
                      • D Offline
                        davidh
                        last edited by 16 Nov 2011, 18:47

                        Its pretty much about finding an image with the correct lighting for the snow.After that its a combination of cloning and distorting, copying parts around the image and blending them together.But if you dont have the correct lighting it will become very obvious very quickly.

                        What you need to do is find images that have the same colour sky as the sky in the render.This way,not only will you have the correct lighting,but also the correct radiosity colour on your inserted elements.

                        1 Reply Last reply Reply Quote 0
                        • 1 / 1
                        1 / 1
                        • First post
                          1/11
                          Last post
                        Buy SketchPlus
                        Buy SUbD
                        Buy WrapR
                        Buy eBook
                        Buy Modelur
                        Buy Vertex Tools
                        Buy SketchCuisine
                        Buy FormFonts

                        Advertisement