Model this: tennis ball
-
I know you are thinking it's simple, and it probably is, however what is interesting is how many different ways one can go about this.
So, if you are interested in a small challenge then lets model this:
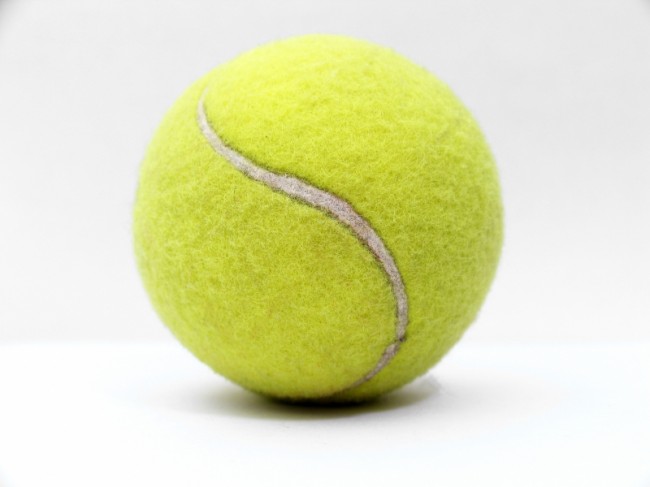
Showing or explaining how you did it.
For those adventurous guys, why not add hair and render your model also.
Have fun.
-
Aaaaaaaaaaaaaaaahhhhhhhhhh!!!!!!!
[flash=600,450:omac64e5]http://www.youtube.com/v/jtnTM5ZbX4g[/flash:omac64e5]
-
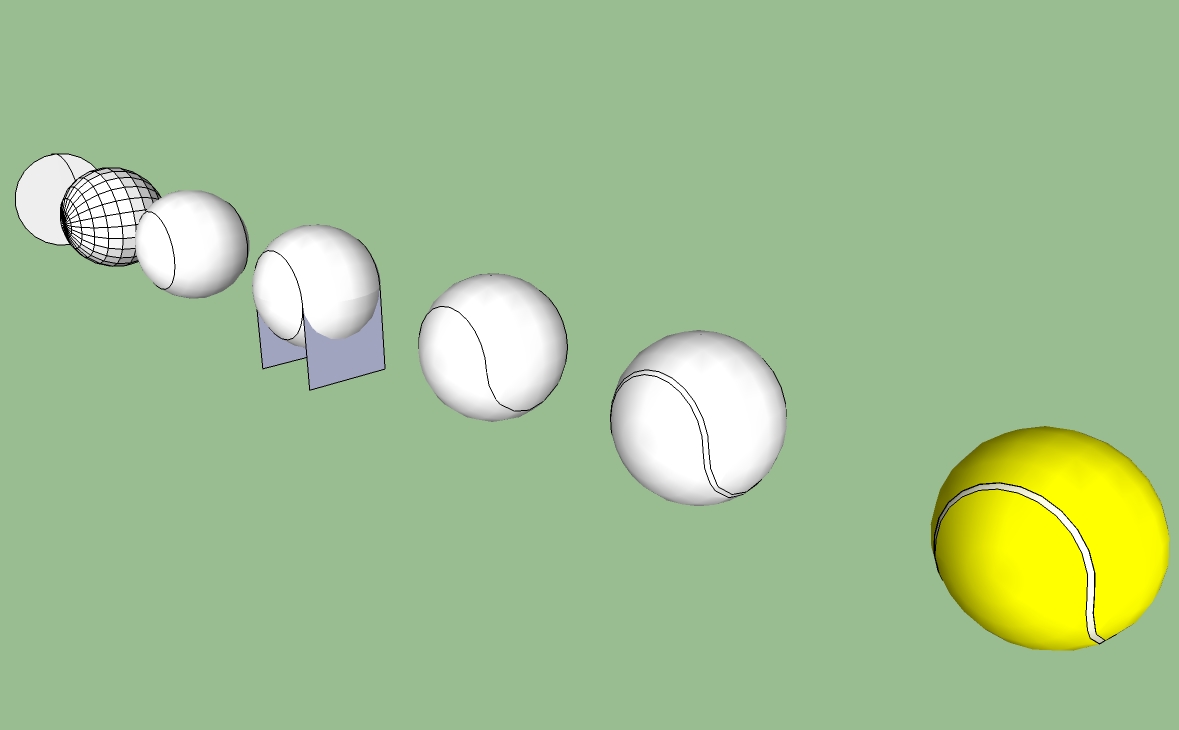
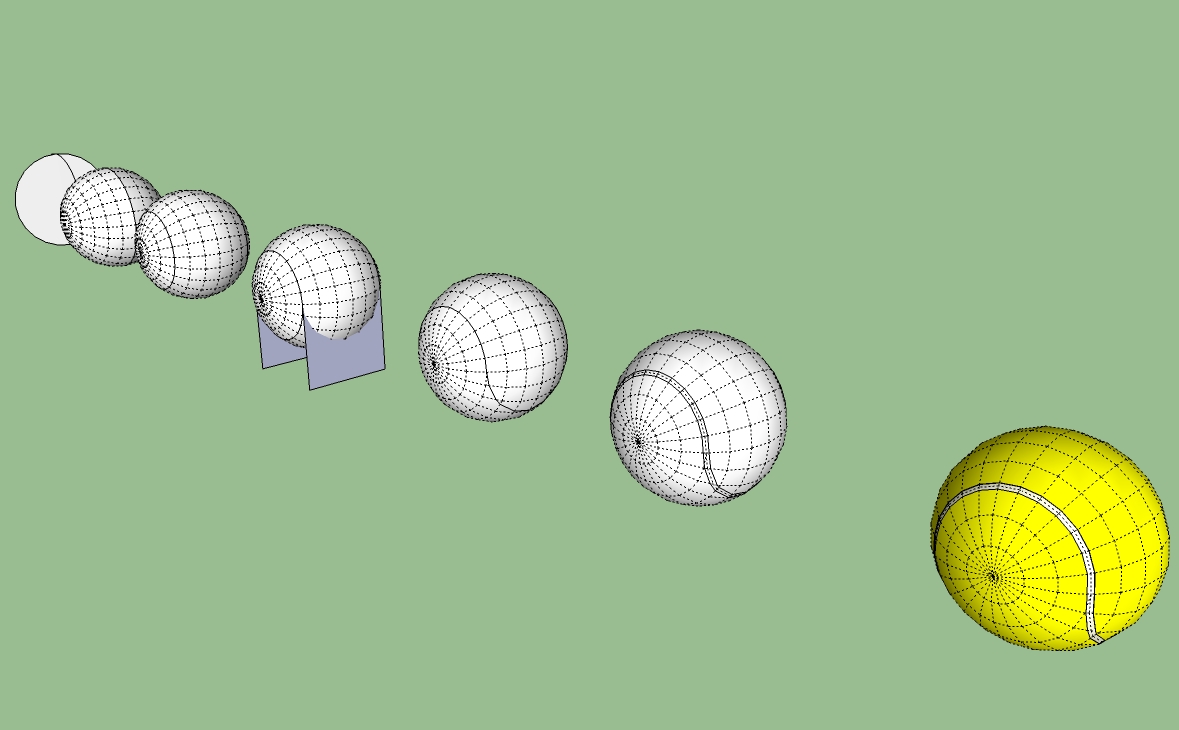
1 Draw 2 concentric circles
2 Use follow me to create sphere
3 Unsoft one of the outer rings
4 Create 2 planes and intersect them with the sphere
5 Clean and smooth the geometry
6 Use Offset from Tools on Surface plugin
7 Use Joint Push&Pull to push down a bit the connection jointend
-
Ely,
That's a clever solution.

-
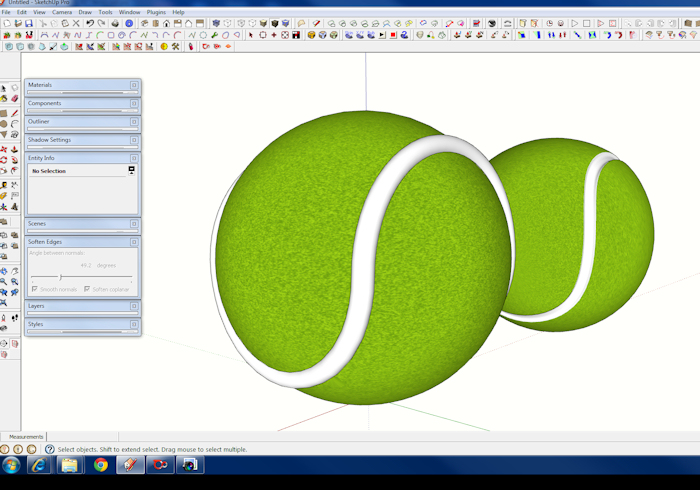
I made mine in halves, used TOC also, but your solution is easier and faster.
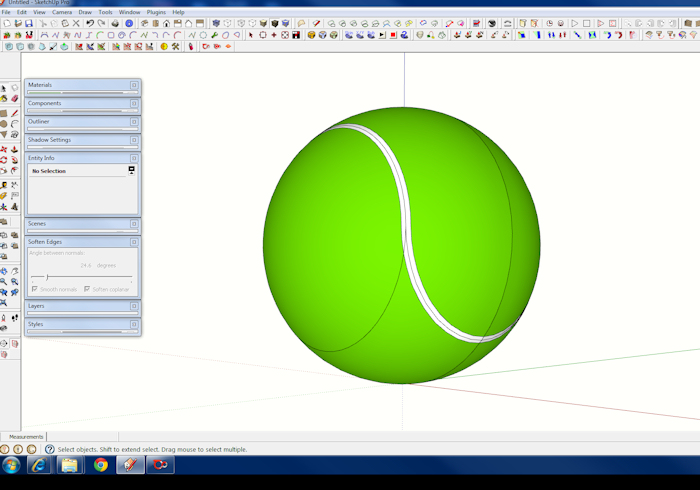
Used follow me and made a tube to cut in groove, solid tools to subtract tube from ball.
-
It took the long way around to get to this but eventually got something close

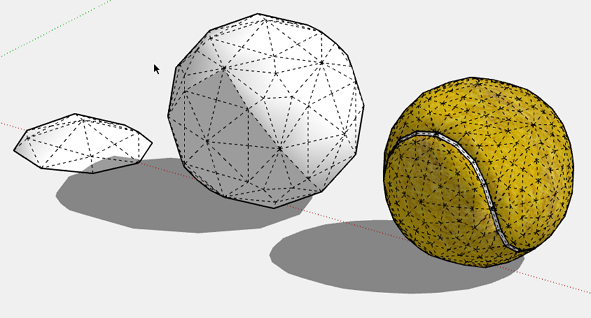
Model_This_Tennis_Ball_SCF.skp -
Rich, you certainly did the hard way, I initially thought of going the Artisan route but after seeing your first video I decided there had to be an easier way.
-
I was more interested in the construction. Though I admit that Ely's is so elegant and simple.
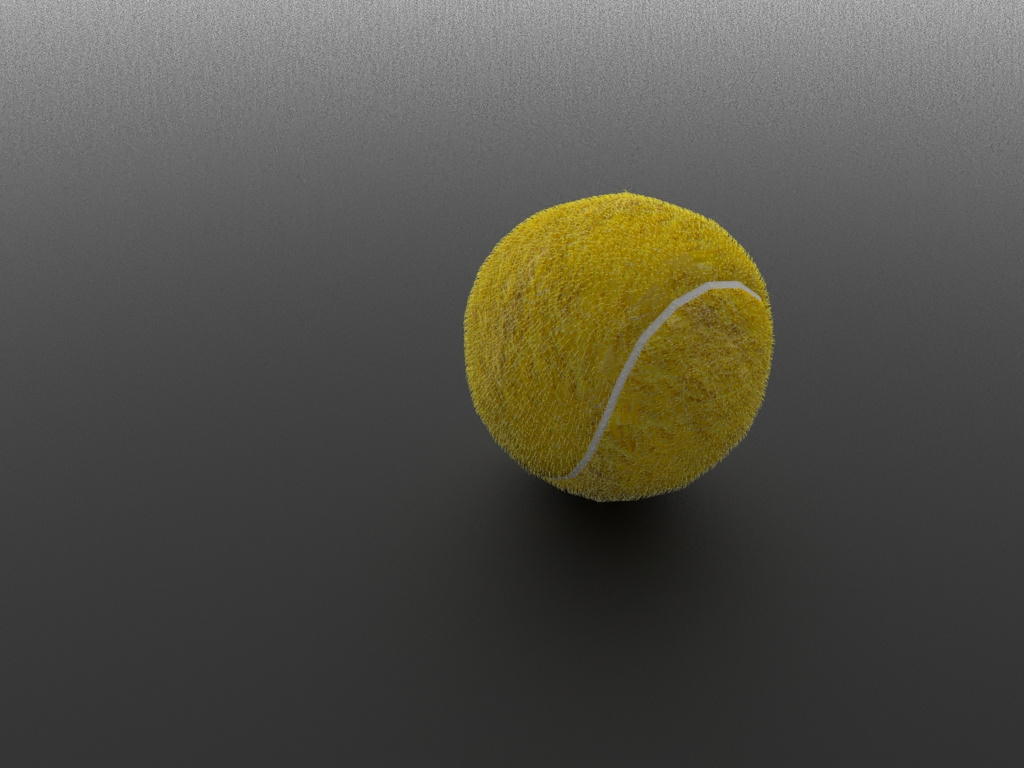
What's worse is i'm failing here too....

-
Rich, I do like your mat for the ball however, what is it? did you use displacement?
-
The material is seamless made from a google search for 'tennis ball texture'. No displacement just a max. intensity bump from PixPlant that I lowered in Thea.
The fur is one hair populated in Thea 20,000 times with various buttons pressed to get some sort of translucency.
I can put the materials here if you want but the texture in the earlier post is same size anyway.
-
Ah, you used instancing, cool. how many poly's?
-
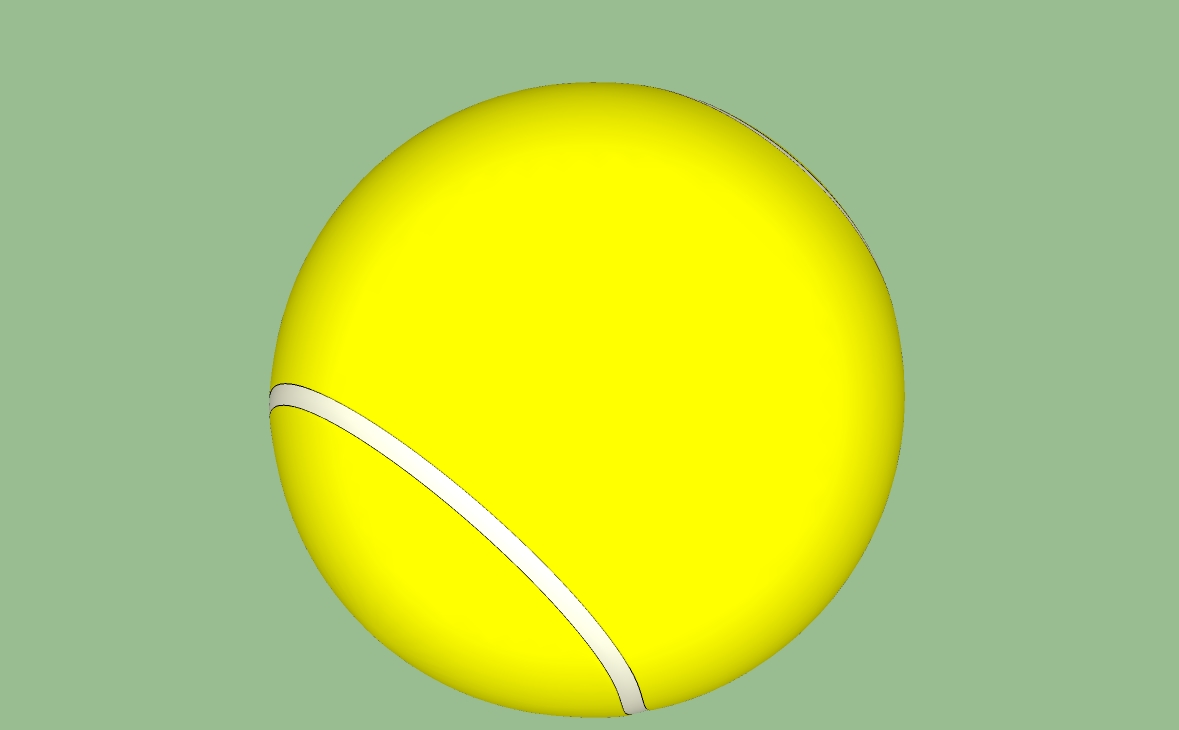
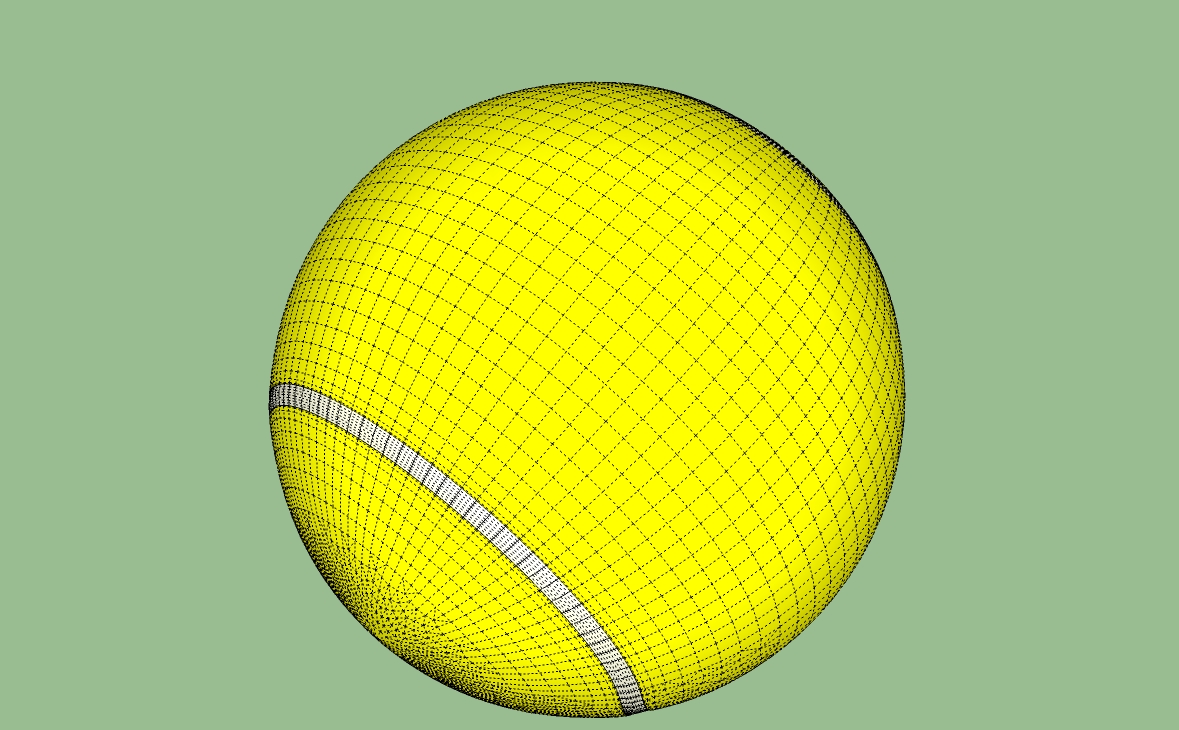
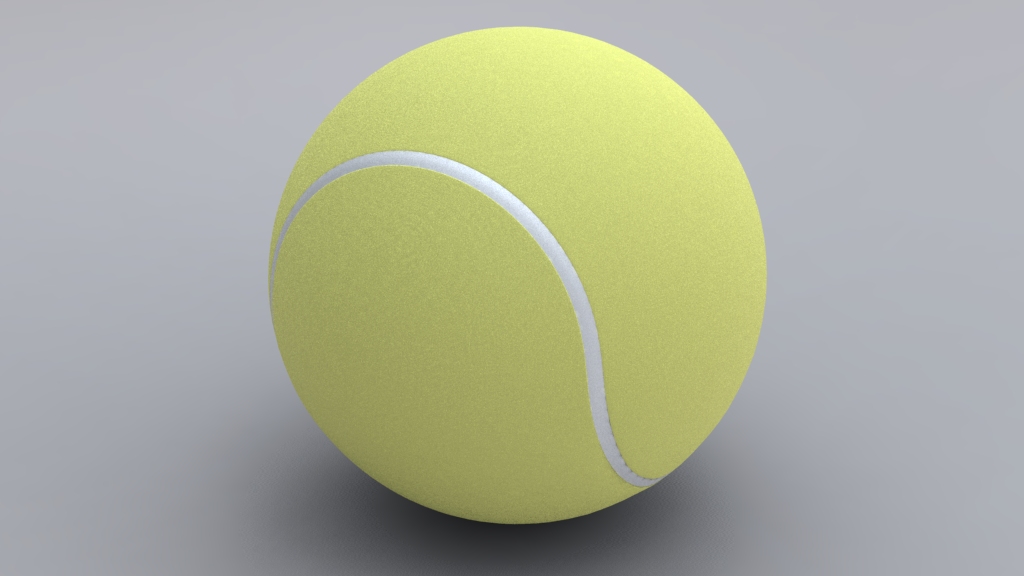
I try not to use artisan or other plugins unless necessary(usually they are much more complicated than native tools ) .
Here i smoothed it a bit in artisan.
-
For the fur? 128,000 I think
The fur was an 8 sided tapered cylinder bent with FredoScale resulting in 64 faces. Then instancing in Thea. I'll be honest it was my first attempt at this and if I show the output now I'd need to delete my account here

-
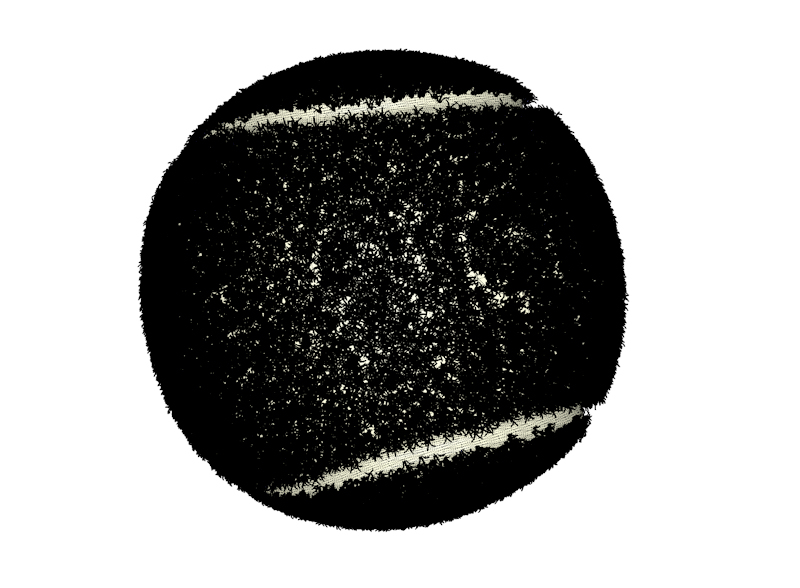
Rich, I decided to challenge SU, and make the hairs using the fur plugin.
Brought SU to it's knees, so slow that even trying to access menus took long.
This is just crazy, I'm gonna try export to Thea now.
-
That was pretty fast, imported in less than 20 seconds, one minute to set up and 5 minute render.

-

How did you do logo?
-
@unknownuser said:
:thumb:
How did you do logo?
Intersected the extruded text with model, then put a different color fur on those selected faces and another color on the rest of ball, in Thea I made the fur on the solo faces dark grey/black and the other yellowish green.
-
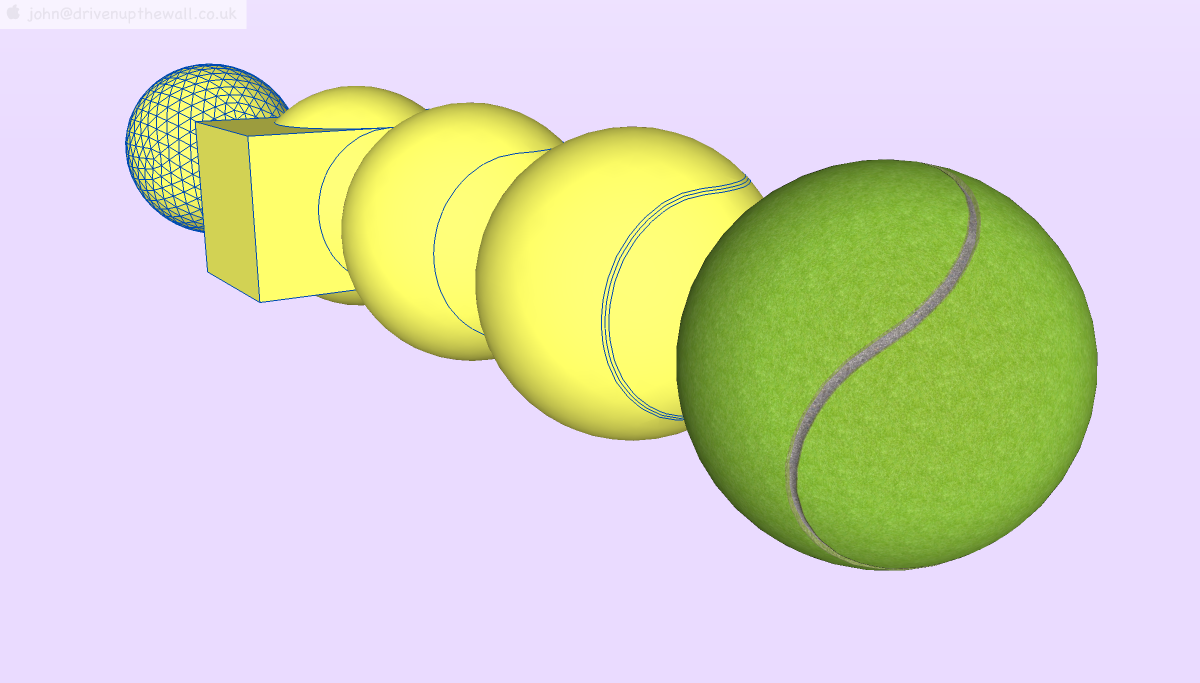
geodesic, intersect with cubiod, TOS [offset], JPP, SU concrete and grass [under translucent lime copy upscaled 1.001]
john
-
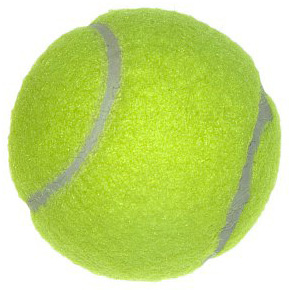
As usual, I probably engaged in over-thinking the geometry. I don't have a tennis ball in front of me, but images online depict arcs that are not parallel.
If the diametrically-opposed arcs are NOT parallel (but are angled, as in a baseball,) then the intersection geometry needs a slight adjustment.
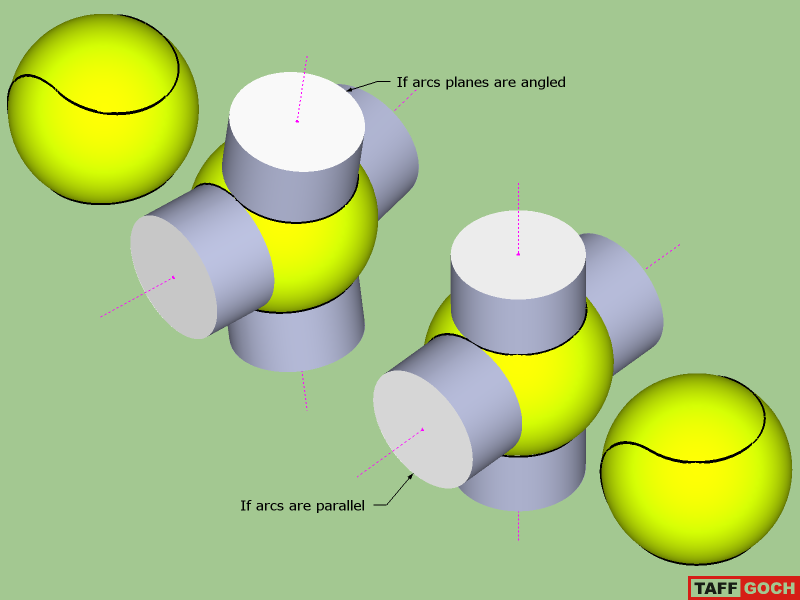
My SketchUp modeling demonstrates how I would build the two options. I originally worked this out while trying to model a baseball, a couple of years ago.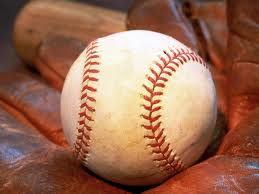
-Taff -
Hello! It looks like you're interested in this conversation, but you don't have an account yet.
Getting fed up of having to scroll through the same posts each visit? When you register for an account, you'll always come back to exactly where you were before, and choose to be notified of new replies (either via email, or push notification). You'll also be able to save bookmarks and upvote posts to show your appreciation to other community members.
With your input, this post could be even better 💗
Register LoginAdvertisement


