Big Problem for Experts
-
Hello guys,
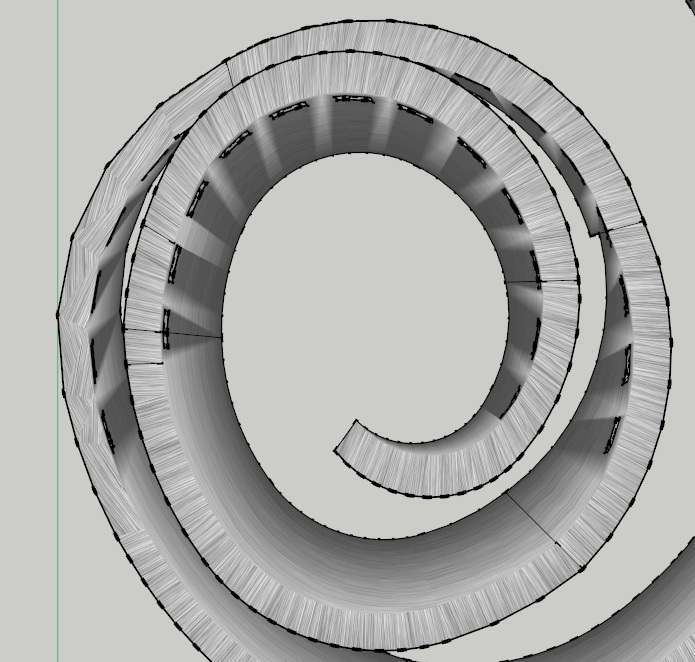
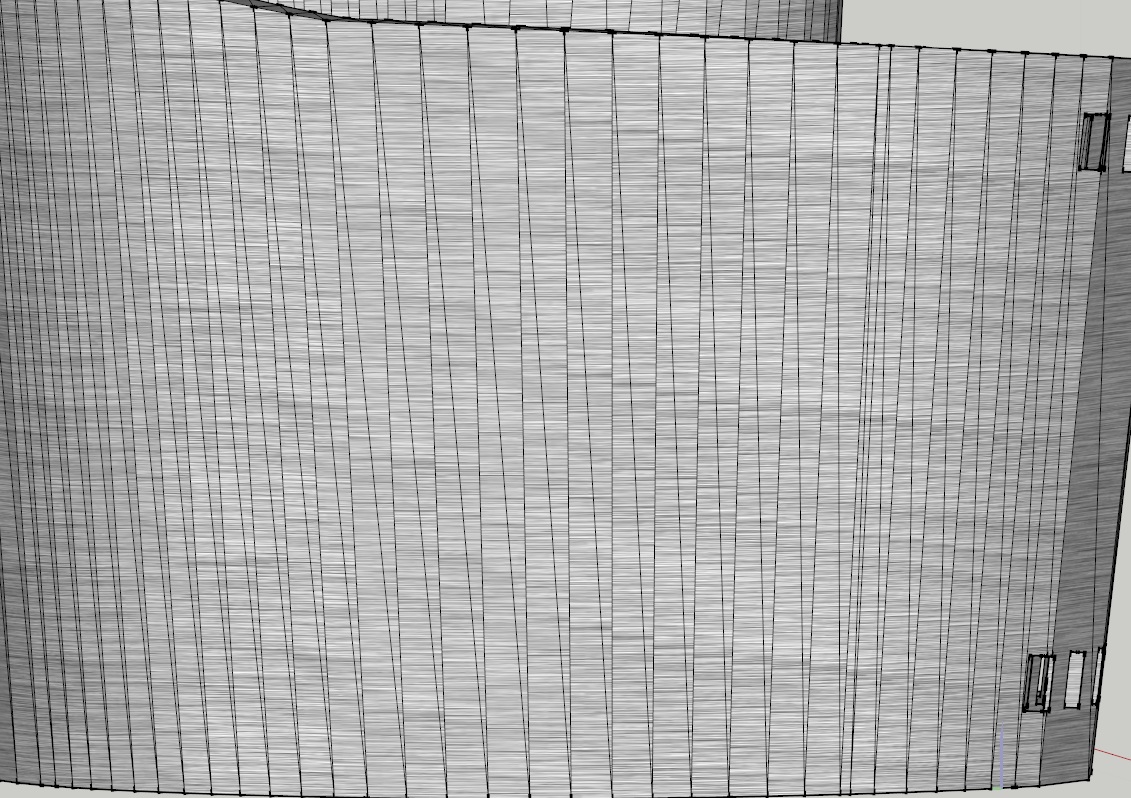
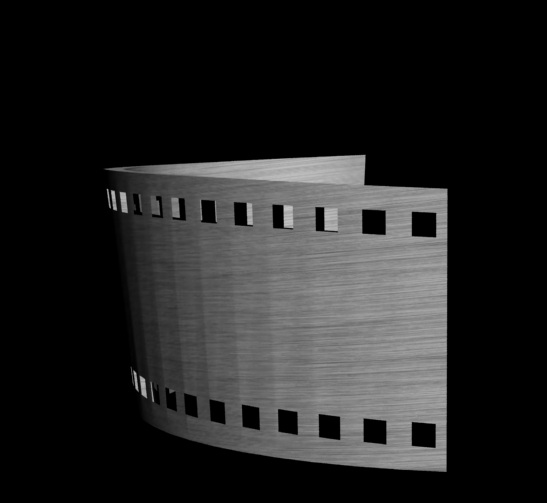
I have really big problem with aplying material to shape that I made with some extrude plugins. When I select the whole model there appears triangular hidden faces which cause problem to material. I have no idea how to solve this, and so far I didn't find any other way to do my model. Perhaps, there are some plugins? In case that upload attachment didn't work I upload 2 photos on speedyshare.
http://www.speedyshare.com/files/28101940/a1.jpg
http://www.speedyshare.com/files/28101944/a2.jpgI hope that you find the answer.
Big Thanks!

-
The way I work this is to turn the object plane on it side and use the select tool to select around a plain (look like a line at 90 deg).
Use edit menu, make a group, then double clip on group.
In view menu turn off hidden geometry
Now open Windows menu and select soften edges
(or context right click soften edges)
a) if flat surface check coplanar
b) if not flat check normal
c) if combination check both.
(the slider at 180 deg is total soften and 0 deg un-soften)
Now paint the group selected surface.Here a plug-in that I also use a lot.
[Plugin] Soften/Unsoften
by CadFather on Thu Oct 23, 2008 11:15 am
http://forums.sketchucation.com/viewtopic.php?t=13645Hint You could also use the eraser tool to fast select, but just before you erase hit spacebar, now the lines are selection ready for a soften tool process.
Enjoy
-
It's difficult to see what's going on there. as you have all the surfaces selected and covered in blue dots. Would I be right in thinking that the model is basically a vertical central core with a conical outer wall?
There actually shouldn't be a problem if the wall is vertical, but it does seem to be what I call "shark-toothing".The first thing to check is whether the mesh actually requires all those diagonals. Try deleting one or two and see if the face disappears. If it doesn't. problem solved. If the diagonals are necessary, then move onto Plan B.
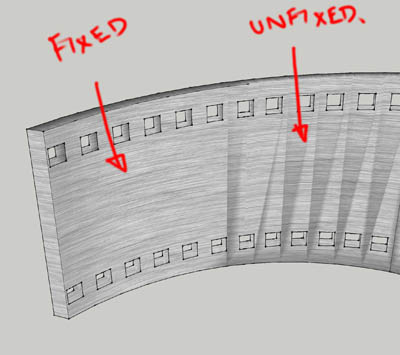
You can probably solve this on both walls by deselecting everything then choosing just a single face (with hidden geometry turned on). Right click the face to get the context menu, then choose Texture > Position...but don't bother to position it...just click done. You can now sample that face (Paint tool + Alt) and paint the face next to it. The texture should now line up.
Unfortunately, you seldom seem able to just paint all the faces with just the one sampling...you'll probably have to repeat the Sample/paint routine right along the wall. -
First, thanks for the reply.
Dukejazz, I was playing with all possible plugins for smooth and the problem does not disappear; in attachments you can find two screens, one from the top view and one with unsmoothed edges.
Alan, it requires all these diagonals due to the fact that shape of this is quite unusual (see at top view), and I am not able to erase it.
Whats more, I've tried to do it with super precision, I divided circle to max segments, but the problem still exists.Thanks in advance!


-
If it is not a perfectly cylindrical shape, a simple wrap around (what Alan also suggested and what's actually available with SU's limited, native texturing tools) will definitely not be enough. Could you also post the model?
-
-
-
Yes Andriy, but the problem is still visible and when you render you will know what Im talking about. There are these unwanted reflection. So the question is, what to do with this unwanted reflections?

-
Problem solved. You've softened the top and bottom edges of the wall segments as well as the verticals and diagonals. Burrow into the group and paint over them with Shift+Ctrl+Eraser in order to unsmooth them.
You will still need to do what I first suggested...in the way of sampling and painting all along the wall...in order to get the material to line up correctly. I just tried it...it works.

-
Thanks a lot! SKP Magicians : )
Hello! It looks like you're interested in this conversation, but you don't have an account yet.
Getting fed up of having to scroll through the same posts each visit? When you register for an account, you'll always come back to exactly where you were before, and choose to be notified of new replies (either via email, or push notification). You'll also be able to save bookmarks and upvote posts to show your appreciation to other community members.
With your input, this post could be even better 💗
Register LoginAdvertisement


