Motocross - CR 250 from first poly-up
-
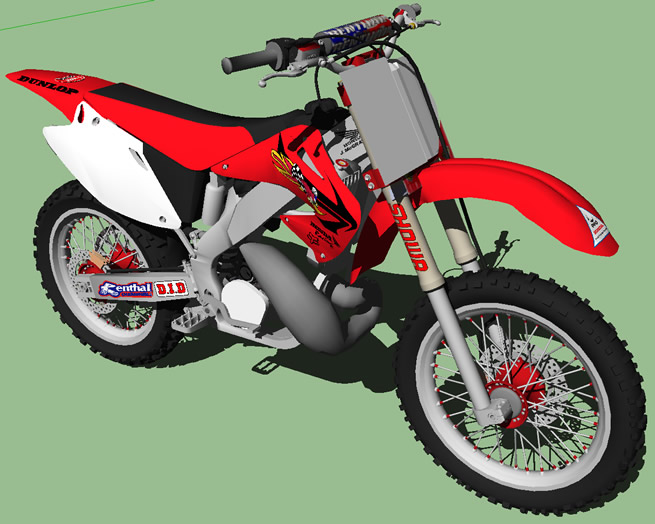
getting closer!
chris<pixelmonkey>:D

-
Looking even better

-
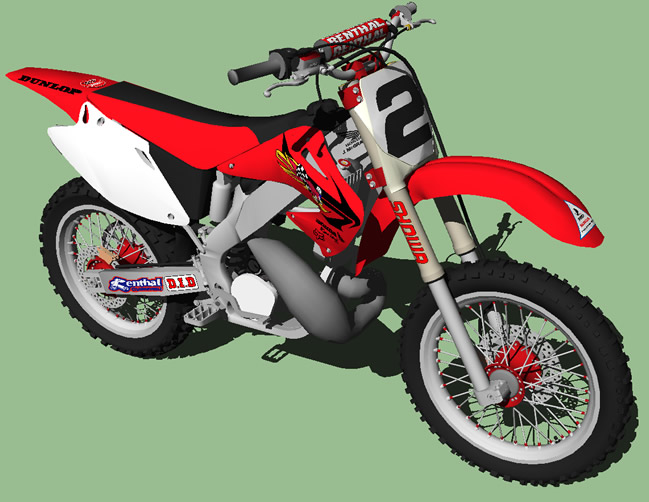
front number plate and re-grouped cross bar pad added
chris<pixelmonkey>:D

-
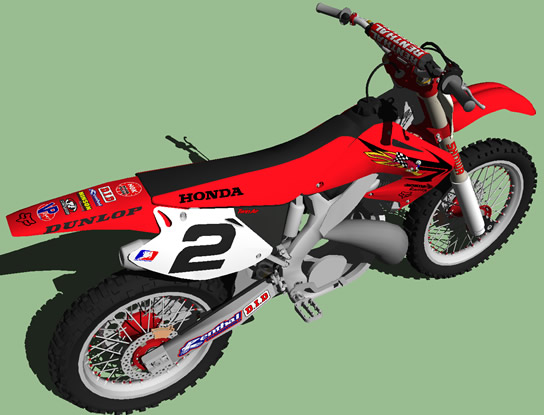
a few more updates. also want to note no image maps are used for the end result. all decals and parts are made via poly.
chris<pixelmonkey>:D

-
@pixelmonkey380 said:
a few more updates. also want to note no image maps are used for the end result. all decals and parts are made via poly.
chris<pixelmonkey>:D
Ouch! Its really a simple process adding the images onto the model,cutting the face has al sorts of implications,or is there a specific reason behind it? Btw nice bike

-
unlocked model on the warehouse
been working on other projects. unlocked this one a few weeks ago.
mostly complete. i fear adding the final few parts will bring it over the 10mb size limit.chris<pixelmonkey>:D
-
Yeow and wow!
How are you making the more complex curved surfaces?
-
The bike looks great nice job. Axeonalias how do you suggest adding decals without creating geometry i had this problem a while back. Intersecting geometry leads to other problems notably smoothing etc.
-
great model !


Please show wireframe detail or explain the poly decals


-
@bryan k said:
Yeow and wow!
How are you making the more complex curved surfaces?
lots of trial and error!
@chedda said:
The bike looks great nice job. Axeonalias how do you suggest adding decals without creating geometry i had this problem a while back. Intersecting geometry leads to other problems notably smoothing etc.
I was having the same problem which is why i created the decal separately.
@pbacot said:
great model !


Please show wireframe detail or explain the poly decals


I've never been able to get an image map to stay in the correct location, or have the color correct. It's just been easier to create the decal and have the clean edge and colors. Most of the decals, excluding the radiator shrouds, were made flat and then turned or laid to the next flat surface after being broken apart.
The decals on the Radiator shrouds were made with a duplicate of the shroud, sliced, then re-colored. From that point, the position was moved 1/32" from the surface of the shroud and adjusted as needed.
feel free to look around the models i've posted on the warehouse. Over the last year or so, i've gotten a much better grasp of the application.
pixelmonkey380 models on the warehousechris<pixelmonkey>:D
Advertisement


