Locking yellow pins for automated texture positioning
-
Hello good people,
Does anyone know if I can lock the yellow pins for texture position? I still can't find an option to fix the texture coordinates of a shape, in case I want to change a texture without going through the hassle of messing with them yellow pins. I know it sounds akward, so:
You have n number of planes of different size and shape, and you want to apply one same texture to all of them, according to their respective size and shape. Normally, this is easy by un-fixing the positioning pins and adjusting the texture manually. However, if I want to be changing a plane's shape, and keeping the UV coordinates, in the long run this method becomes a pain in the a**-
Any light to shed on this, please?
Thanks...
-
You want to stretch a texture across a bunch of faces? Maybe this could help: http://forums.sketchucation.com/viewtopic.php?f=323&t=18992&p=155759
I'm not quite sure what you are asking for. Screenshot of desired result perhaps?
-
I'm new to advanced SU functions, but I can already see some use for your Rubies, so thanks a lot.
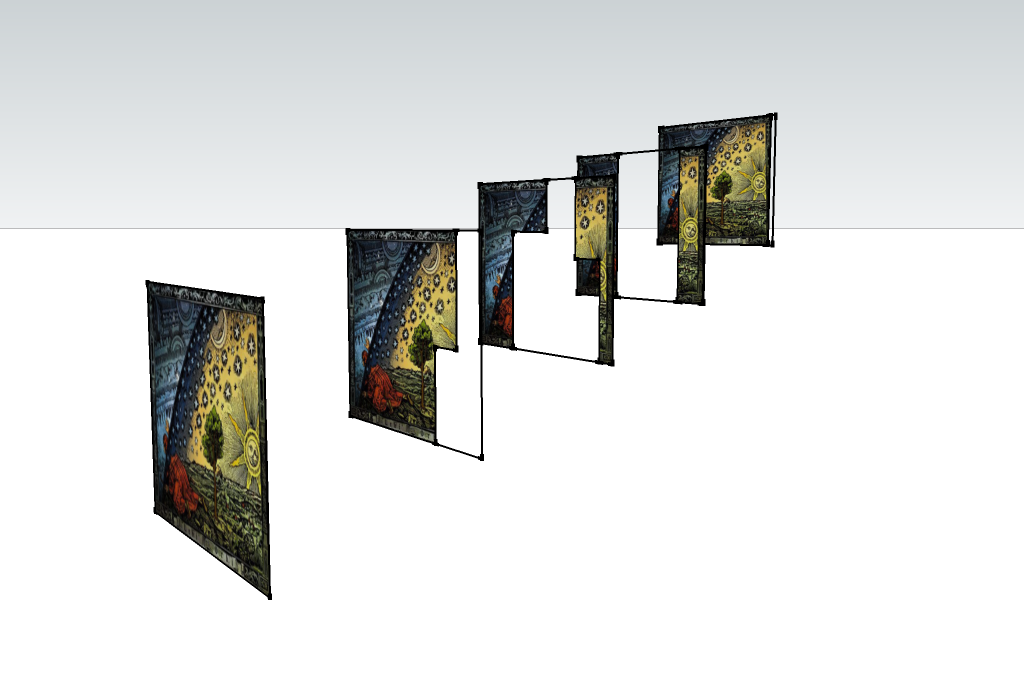
Now, my main issue isn't yet solved, so I attached a .PNG for illustration purposes.
As you can see, I'm trying to break these different rectangles into smaller shapes, keeping the original structure in order to fit the textures as if it were complete.
I just would like to be able to save the UV coordinates of these primordial (complete) rectangles so that at any time I want to make a change, I don't have to go through the hassle of playing with the yellow pins on both sides of each rectangle. It's like your "Fit texture to Quad-faces" function, but keeping the original UV rectangle coordinates instead of adjusting to a new inner shape.
I hope this makes things more clear.
Thanks a lot!
-
I am not exactly sure what you are after. Is this the whole image just different parts positioned on different faces or are these different images (different parts of the same image)?
If you want to "slice" an image up with SU (and make individual textures keeping the UV's), right click on a face and "Make texture unique". If the other way round, you want to unite several images into one (also keeping the UV's), select the faces, right click and "Combine textures".
This is at least with version 7.1 (I cannot remember now when it was introduced; v.7.0 or 7.1).
Also, for rectangular faces, Thom's above plugin is just perfect.
-
Hmmm... If you see for the picture, you will notice that every shape's texture corresponds to it's enveloping rectangle. In other words: every shape that is sliced from a rectangle is keeping the texture coordinates that are relative to the full rectangle surface (made with the yellow pins).
I'm already pissed to be having to manually fit the texture to each rectangle, but at least that is solved now because of the abovementioned script. Now I'd like to store the texture coordinates that fit the original rectangle, so that every new slice I do to it automatically produces a texture that corresponds to the original rectangle, and not the new shape's surface.
This is all clear in the image, I think. It's just that it is an awkward task to be thought "outside the box". Then, it is not a matter of having different unique textures, because I may change any shape in the future and I don't want to manually fit them. It is also not a matter of combining images because sometimes there is only one slice from the original rectangle, and it won't have anything to be combined with.
I just want to keep those damn UV's and not having to manually fit that stuff...
Thank you very much for your time and patience.
-
OK, I may understand now. So you once apply a texture to a bigger rectangle (OK, first you need to position it of course; right click > texture > position).
Then no matter how you slice the rectangle up, the texture will remain positioned and "fixed" on the individual pieces.
-
That's exactly what I mean!
I don't mind adjusting the texture position once or twice, but every time I make a slice, it's a pain in the arse.Do you know if this is actually possible to do in SU7 or any other version?
Thanks for keeping up with this!
-
Sure, I tried before posting (not to make a fool of myself)

Best is however to group these faces one-by-one after you position the texture once and create them second (of course this may be up to your goal).
Oncea texture is positioned, it is positioned. Try this:
- make two rectangles
- paint them with some easy SU material (image texture)
- right click on ONE of the faces > texture > position - and without even doing any positioning, hit Enter (or right click > done).
- Now try to move the faces here and there on the same plane and see how differently the texture behaves on each.
-
Now it's me who doesn't understand!
Lately I've just been leaving a small fraction of surface to unite any shapes that are sliced within a rectangle. This has been my improvised solution in order to no loose a texture position.
Below, a picture is better than a hundred words.I don't understand your example, is it this?
- Make a plane rectangle shape R and fill both faces with a given material X, position the texture as desired with the unfix yellow pins.
- Make two separated rectangle shapes within this R rectangle, paint them with any material other than material X.
- Right click on one of the faces of these rectangles, select position and then done.
- Move the faces? Like switching faces, or Frontface to Backface, or what?
Please post a picture, and hello to Hungary,

-
No, I did not say anything like that. Instead, here is an example file. On Shape A the material is positioned (it does not matter how or with which pins) while on Shape B it is not.
Try to move both and notice that if you once position a material (again, no matter how), the material will be fixed (UV mapped) to the face but until then it is just "floating" in model space.
Hello! It looks like you're interested in this conversation, but you don't have an account yet.
Getting fed up of having to scroll through the same posts each visit? When you register for an account, you'll always come back to exactly where you were before, and choose to be notified of new replies (either via email, or push notification). You'll also be able to save bookmarks and upvote posts to show your appreciation to other community members.
With your input, this post could be even better 💗
Register Login


Advertisement