Bump Maping Textures in SU/Podium
-
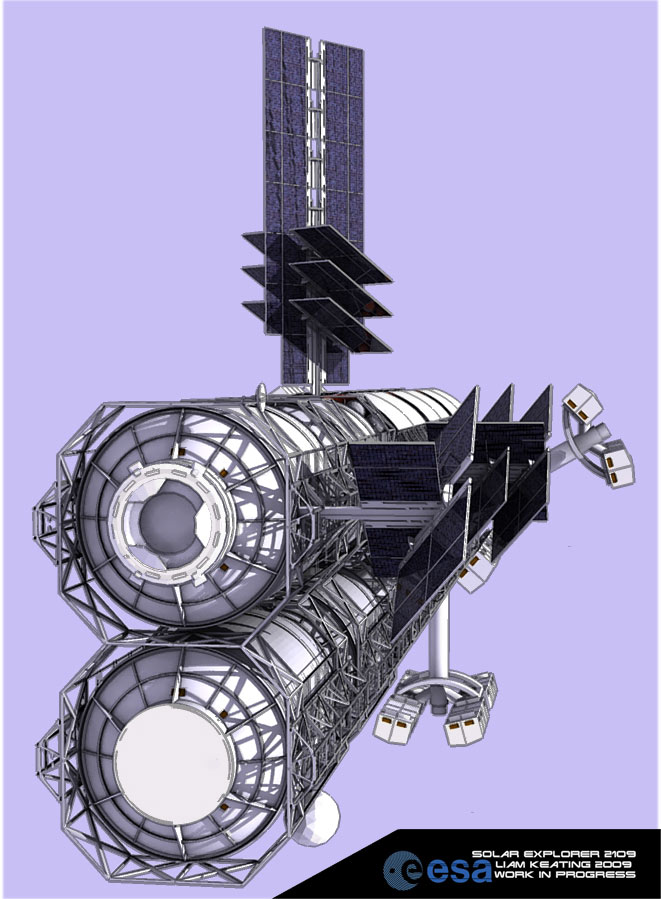
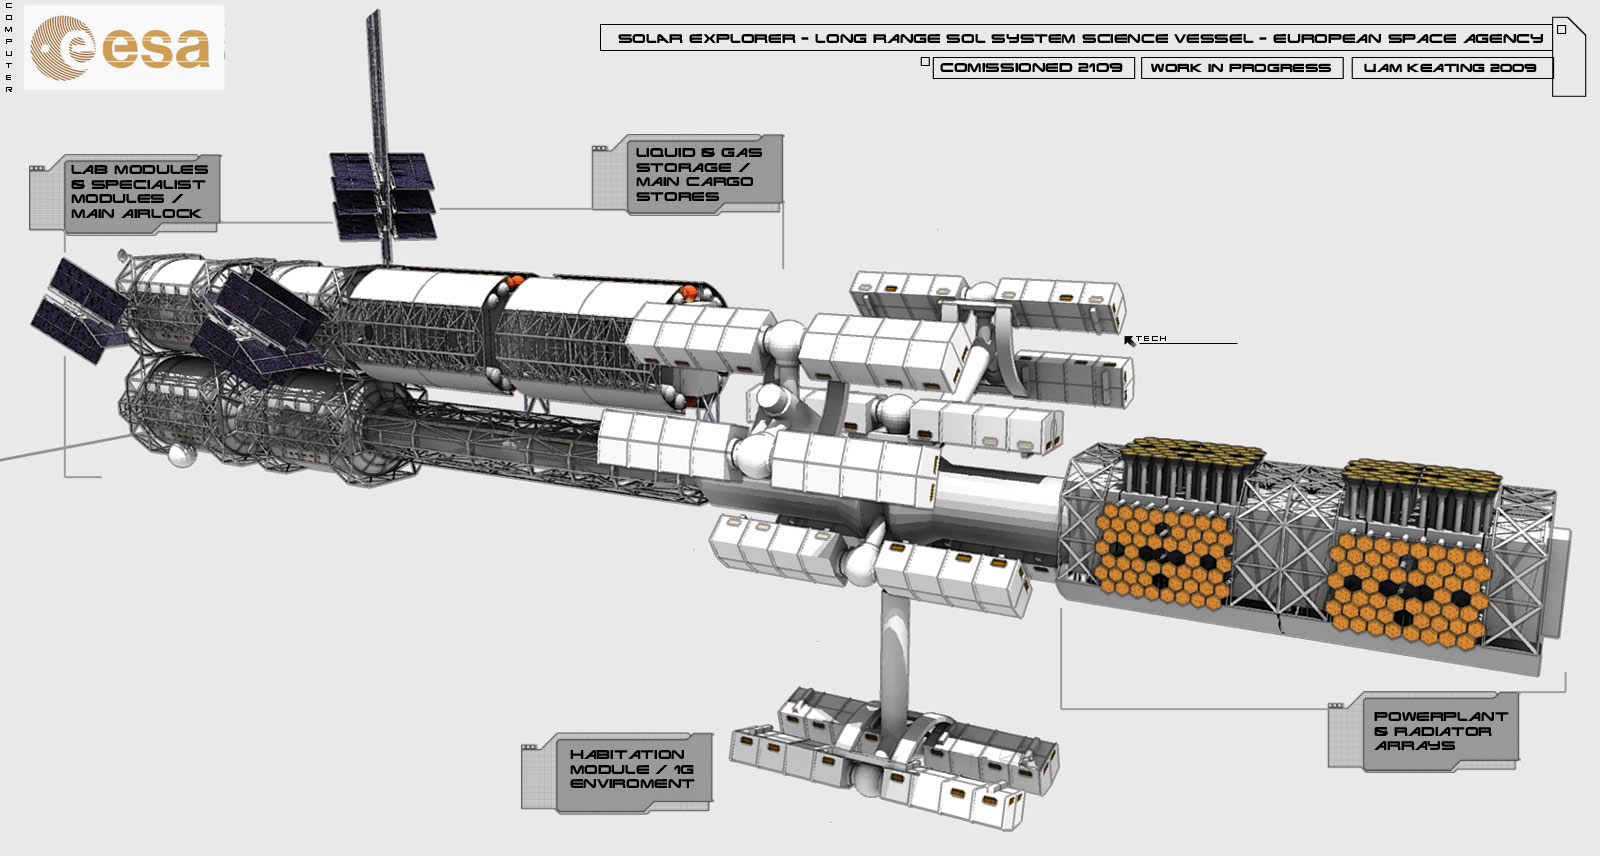
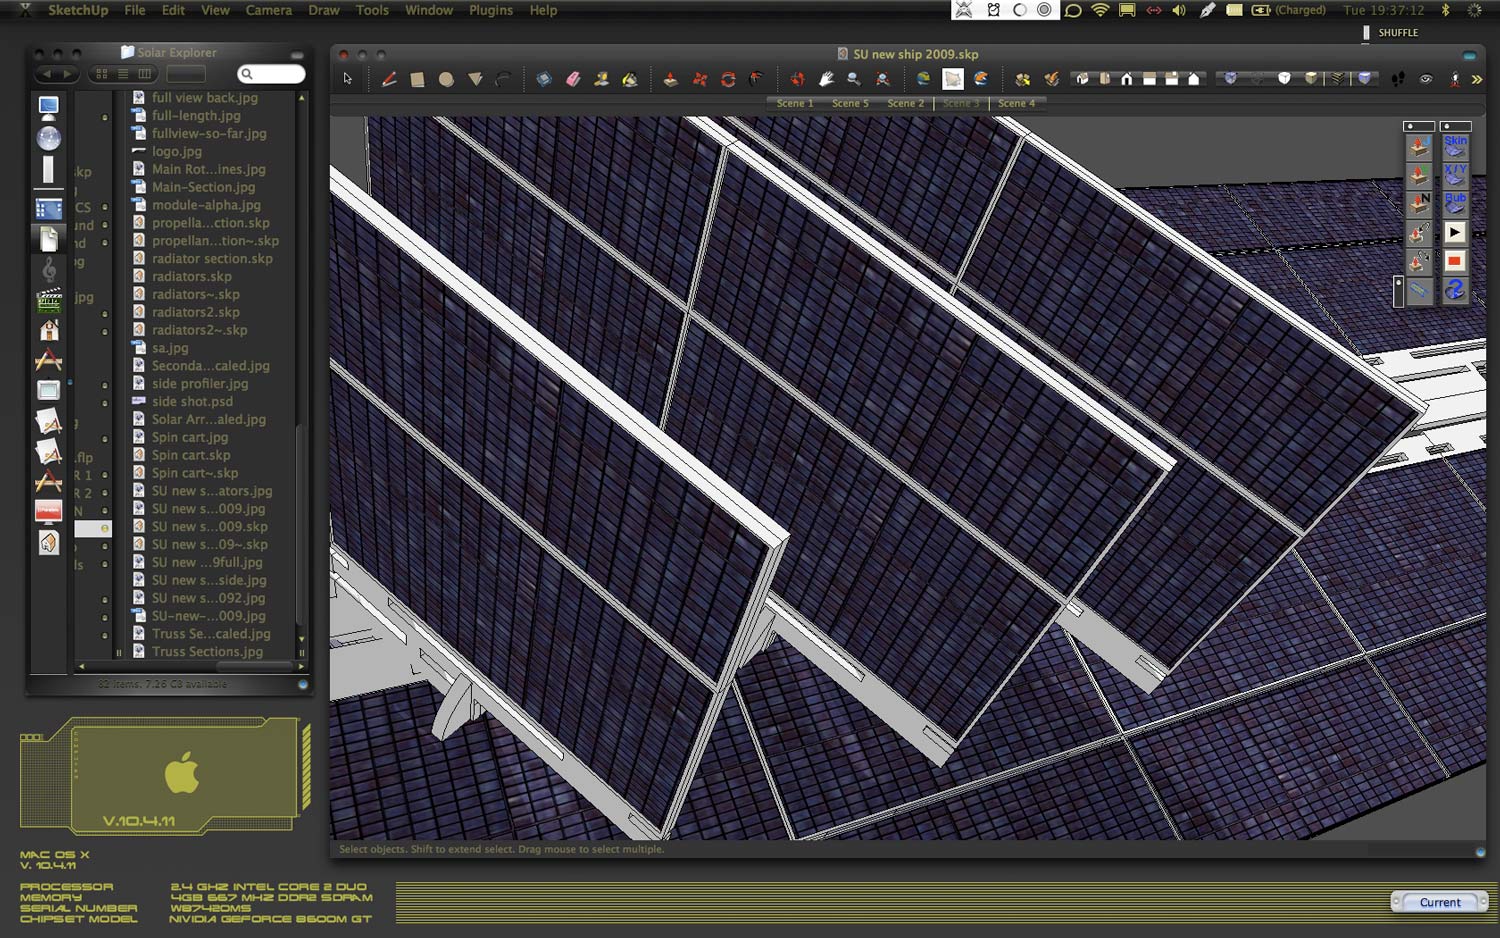
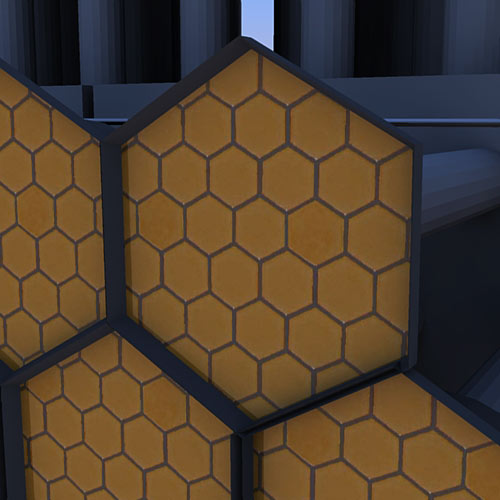
Hi Ive got a texture and made a bump map but no idea how to incorporate them into the model. Im using SU6 & Podium to render. Here is the model I want the texture for and a screenshot of it in SU. Its the texture for the solar panels and the radiators. Please anybody who can help let me know and talk me through it as if im a complete idiot lol.

-
Liam887
I am not a Podium Guru by any means, but hasve found the Podium forum and help pages are good sources for how to do these sort of procedures. Below is a copy of the text from the Podium help page indexed bump maps. If you go to their help you will find these instructions, step by step illustrations and some sample bumpmaps to download. Hope this helps!
BumpMaps
The simplest way to use bumpmaps, is to paint a SketchUp native texture to a face and rename the texture in the Material browser to xxxx_bumpX.The final X should be a value between 1 and 5.
For example:
Create a face in SketchUp.
Go to the SketchUp Material browser and find Brick_Tumbled texture in the Bricks and Cladding category.
Paint this texture on to the face.
Go back to the material browser and select the In Model icon.
Click on the Brick_Tumbled image and change the name of the image to Brick_Tumbled_bump5 (make sure you change the name in the top of the material browser – see Fig below)Render the face. After rendering, change the name of the Brick_Tumbled_bump5 to Brick_Tumbled_bump1. Render and notice the difference between the two.
Another good example of this is in the bump.skp file located in the Clipmaps.zip file.
-
Open the bump.skp file.
-
Go to the SketchUp Material browser. Notice how the name of the texture is leather_bump3.
-
Render the scene.
-
Change the name of the texture to leather_bump
-
Render and see the difference.
A more effective way to create bumpmap textures for Podium renderings is to create a new file called xxx_bumpmap.jpg. The xxx equates the original name of the texture file.For example, for the texture file leather.jpg, you must create a file called leather_bumpmap.jpg.
- Place a texture jpg file in the podiumtexture folder.
For example, if you rendered the Brick_Tumbled or Leather examples above, Podium will automatically save Brick_Tumbled.jpg and Leather.jpg to the podiumtexture folder.Use these files as our texture files.
Note: If you want to use a SketchUp native texture file, first paint the texture on a face, then open your Material Browser, click InModel icon, right click on the texture you want to use and Export Texture Image.This will create a jpg of your SketchUp texture.Save it to your podiumtexture folder.
Make a copy of the original texture file and rename it to xxx_bumpmap.jpg, i.e. – leather_bumpmap.jpg or brick_tumbled_bumpmap.jpg.
Open the xxx_bumpmap.jpg file in Photoshop or another image editing program.Create a B&W version of the image and/ or invert it.In the below example, I used Fireworks to find the edges of the leather image and saved this.Save the edited xxx_bumpmap.jpg file.Make sure it is in the podiumtexture folder with your orginal texture file.
Open SketchUp and import the original texture file as a texture and paint it to a face. As before, change the name of the image in the material browser to xxx_bump5 (i.e. leather_bump5 or Brick_Tumbled5). Render it.Notice how the rendered image looks different than previous examples.The trick is getting an effective xxx_bumpmap.jpg image using your favorite image editing program. Please look at the forum to get better examples than these from the several experienced users contributing to the forum.
Download Sample Bumpmap library.
In this library are several texture files and their corresponding xxx_bumpmap.jpg files. Download the zip file and freely use these bumpmap images. There are two files for each bumpmap. One is the original texture image in .jpg format. The other is the corresponding xxx_bumpmap.jpg file. Keep in mind the xxx_bumpmap.jpg files and their corresponding texture .jpg files must be stored in the /podium/texture/ folder.
Download Here. (4MB)
-
-
Ahh thanks ill go check it out, I am a member of those forums but forgot all about them! I think Sepo will be able to help if im still stuck after looking at the podium help thread.
Hello! It looks like you're interested in this conversation, but you don't have an account yet.
Getting fed up of having to scroll through the same posts each visit? When you register for an account, you'll always come back to exactly where you were before, and choose to be notified of new replies (either via email, or push notification). You'll also be able to save bookmarks and upvote posts to show your appreciation to other community members.
With your input, this post could be even better 💗
Register Login


Advertisement