Internal Kitchen Render - Twilight Easy Low+
-
I see - thanks. Here we are using melamine faced boards and also send cutlists to the big guys to cut the panels for us. But we need detailed models of the furniture to have exact dimensions of all the parts.
-
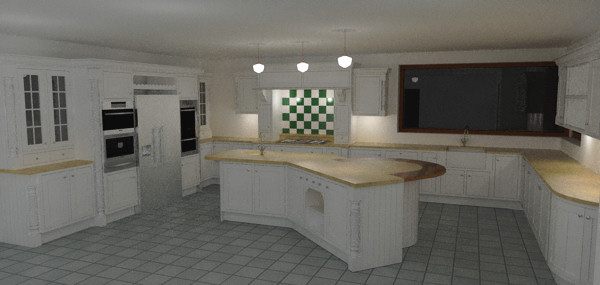
Dermot, I did a very fast and dirty test, I added lights to the cabinets and kept the dark exterior. I think the cabinet lighting creates interest,
I did a few texture changes, I hope this helps.Oh, I have a very feint line overlay.
-
Hi Dermot,
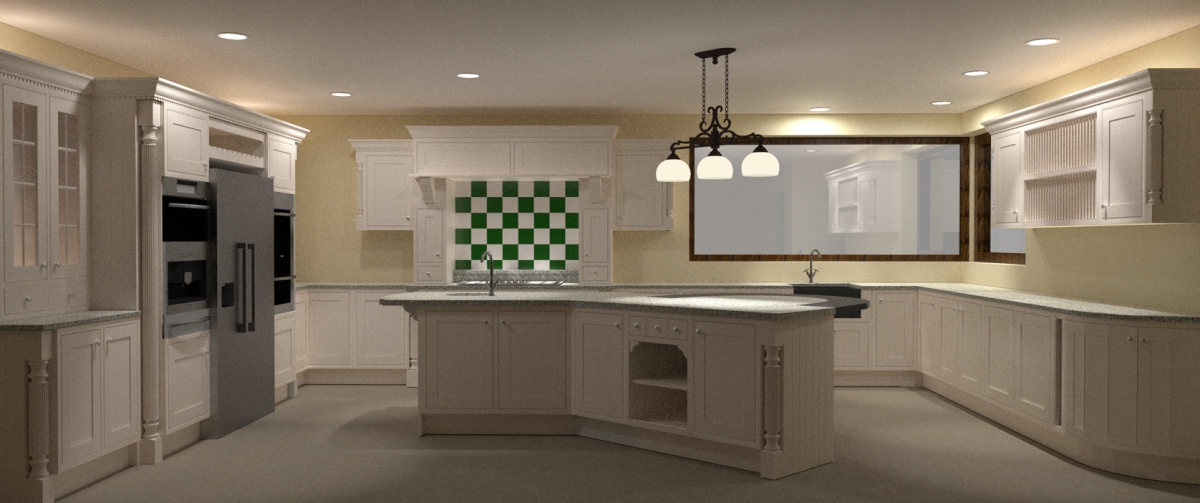
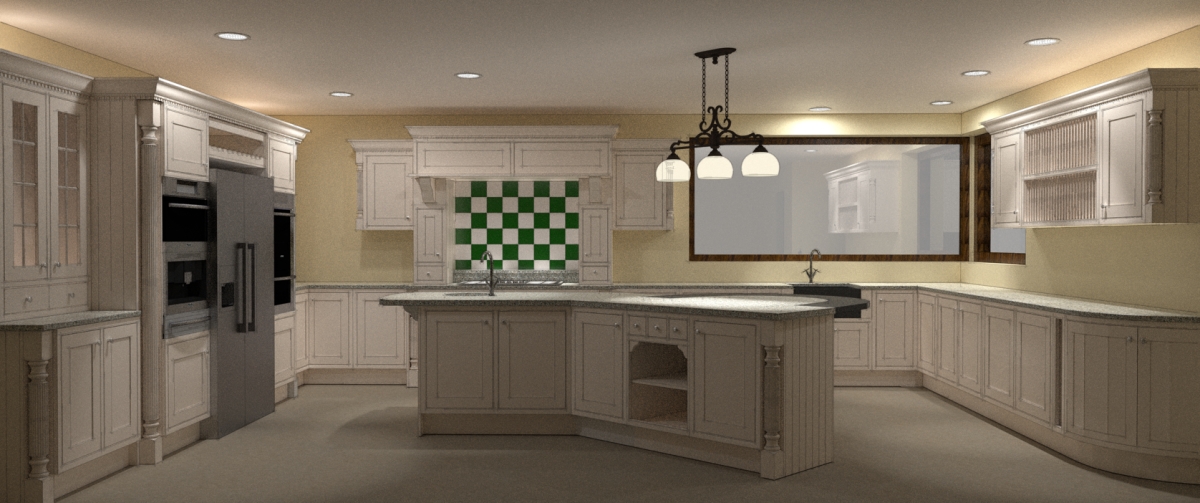
Just want to say again what wondefully detailed models the cabinets are. Here is both the unaltered render I left in the cooker overnight and while at work today (17.5 hrs total). Also - a second with a slight line overlay - I think it really punches out the details in the cabinetry. Finished model is on it's way via email - too big to post here. Let me know if you have any questions with what I did.
Thanks,
Bytor
-
Dean, that looks great.
-
Thanks Pete! I really love Twilight and how easy it has made using the Kerky engine right inside SU.

-
Dean
That is fantastic. Really love the line overlay - Pete did something similar on his. How do you go about applying this overlay. Is it done in Photoshop or within the rendering package?
-
Dermot
Just export a line style of the model (turn shadows off) and in your image editor overlap the line export with the rendered image. I normally put the lines on top with a transparency (play around 'till you happy)
Make sure to export the line at same aspect ratio as render (I normally render to my screen ratio then export the lines 2x that amount and reduce in PS to the same size as render as that will give sharper lines)
-
Hi Pete
Like all things that involve rendering I am very, very new to Photoshop having previously used it to remove redeye from family pictures!!! Is there a tutorial for doing this available online or in the forum archives? Again I apologise for my lack of knowledge!


-
Here is a good one.
-
Slainte!! I'll get there yet!
-
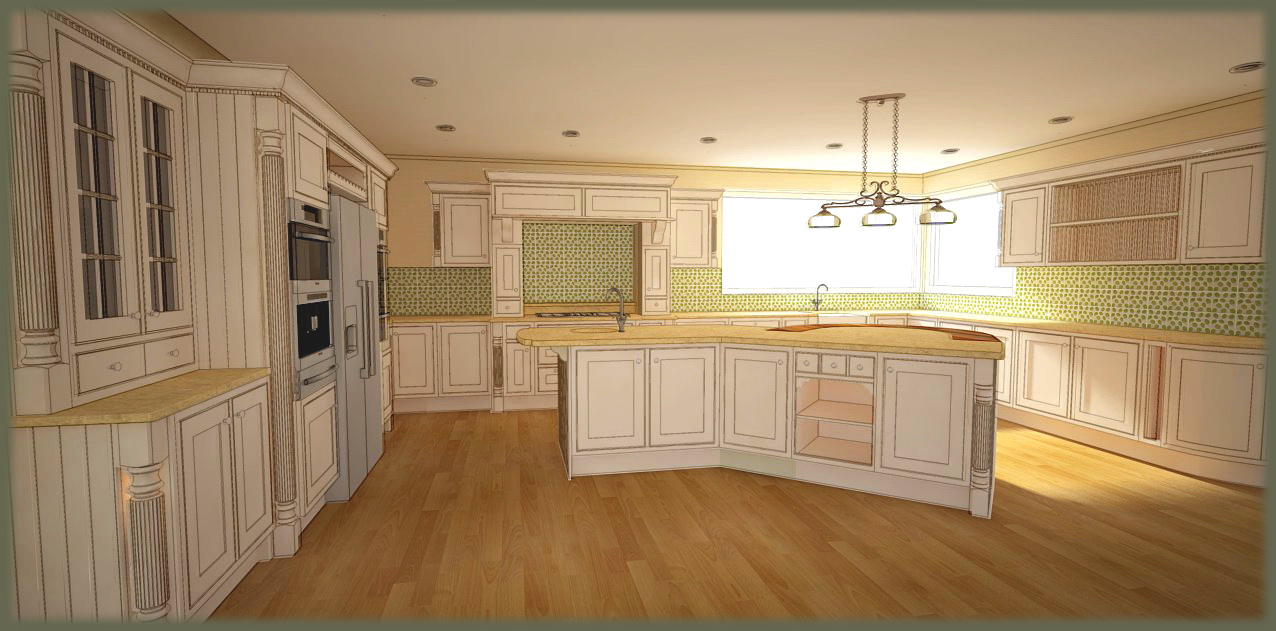
I just make a test with TL end a bit PP with PS, hope you like it...

Ps: Your team was the best last night...
-
@dermotcoll said:
Hi Pete
Like all things that involve rendering I am very, very new to Photoshop having previously used it to remove redeye from family pictures!!! Is there a tutorial for doing this available online or in the forum archives? Again I apologise for my lack of knowledge!


Dermot - mate we ALL start somewhere. Yet the best thing for chaps our vintage, we still learn every day! It's always heartening to see the skills of others develop through the sharing of knowledge!!
-
@fymoro said:
I just make a test with TL end a bit PP with PS, hope you like it...

Ps: Your team was the best last night...
Wow!! I'm not normally a lover of blended PR and NPR images but mate that is stunning!
-
I agree, I really like Fymoro's render

-
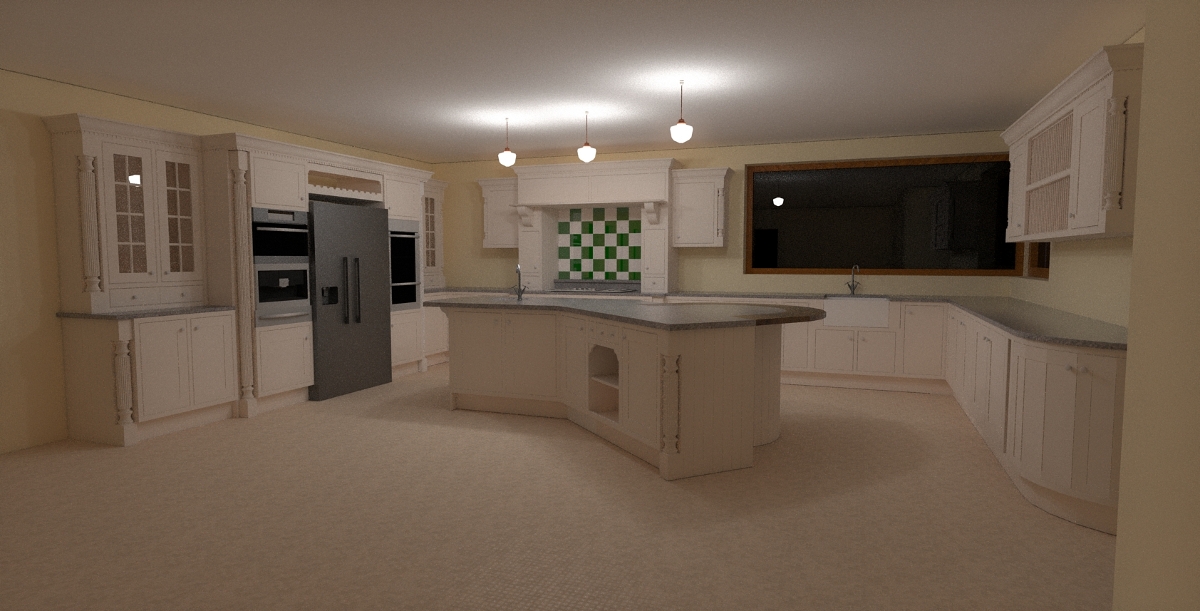
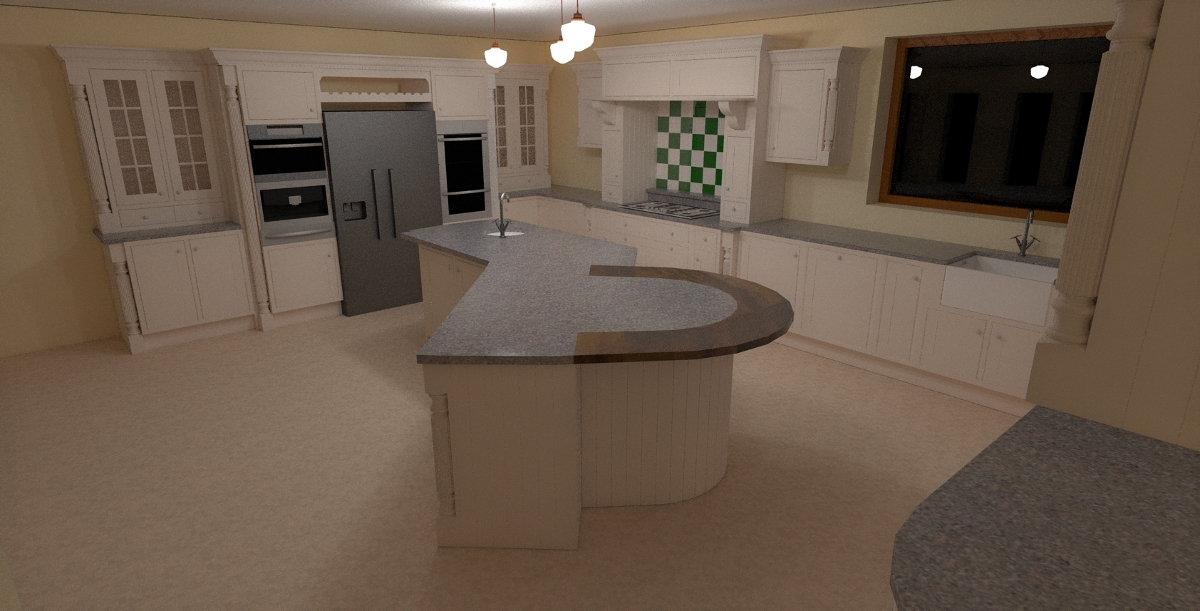
Hi,
Your model is brimey, couldn't resist trying a render... So here's my attempt of Kerkythea render using ready-made textures.
Lights a bit too close from the ceiling also...
-
Fred - stunning render - I really love that NPR look - thats why I bought Piranesi - still havent got rowund to using it in anger yet as I keep getting drawn into the PR world - maybe I need counselling!!??
leminilab - again great render and loved the other set up - you are the only one who has used a different view point and it looks really good.
Richard - I am so appreciative of the kind words of support and guidance from you and all the other forum members. I am learning so much from all of you and the tips and tricks that you give to all the newbies is very much appreciated by us all. It does take a while to realise that you have all gone through the pain we are experiencing now. Thanks again.
-
Oh BTW Fred,
We were the best team yes but I think everyone has to wise up and realise that the game finished last night, a mistake was made by the officials in allowing the goal but the playoff was won / lost on the pitch and that is were football should be played -not in court or a committee room. I really admire Thierry Henry as a player and when you see him sitting on a pitch with his head bowed you know he is devastated by what has happened - I think he wishes the referee had seen it and disallowed the goal but thats life - I don't think any less of him - he is still a great player.
-
fymoro! That is absolutely lovely! great work!
Any client should be thrilled with it! -
Thanks for the comments, for me the model is really good...

-
Hi Fred
Thanks for the kind words - it spurs me on to do even better models in the future.
Hello! It looks like you're interested in this conversation, but you don't have an account yet.
Getting fed up of having to scroll through the same posts each visit? When you register for an account, you'll always come back to exactly where you were before, and choose to be notified of new replies (either via email, or push notification). You'll also be able to save bookmarks and upvote posts to show your appreciation to other community members.
With your input, this post could be even better 💗
Register LoginAdvertisement


