Twilight render...
-
Interesting product Frederik. It seems like you've taken Kerkythea and streamlined it for sketchup users. I guess I couldn't ask for more! Kerkythea has fascinated my since the first release with "the new" studio interface, but I never got the workflow down. And with the introductory price it's a good replacement for my former skindigo workflow.
Is there any difference bewteen the portable version (zip archive) and the installer version?
Spændende app, Frederik. Det lader til i virkelig har stømlinet Kerkythea til sketchup brugere. Jeg har virkelig ledt efter en erstatning for min tidligere skindigo eksporter, så du kan godt regne med mig som kunde
 Jeg har altid været fascineret af Kerkythea, men fik aldrig helt styr på programmets nuancer.
Er der nogen forskel mellem installer versionen og den alternative zip version?
-
Paul, incredible rendering! 15mins set up time should make any architect happy.

Can't wait to see more from you!

and to the very off topic:
@2kemon said:
... taken Kerkythea and streamlined it for sketchup users. I guess I couldn't ask for more! ...
exactly.

@2kemon said:
Is there any difference bewteen the portable version (zip archive) and the installer version?
The Zip archive is for anyone that for some reason has troubles with the installer... otherwise... no, no difference.
Looking forward to seeing your work. -
Paul, WOW, absolutely wow. I hope to see that image on the TwilightRender.com gallery!
-
@2kemon said:
Interesting product Frederik. It seems like you've taken Kerkythea and streamlined it for sketchup users. I guess I couldn't ask for more! Kerkythea has fascinated my since the first release with "the new" studio interface, but I never got the workflow down. And with the introductory price it's a good replacement for my former skindigo workflow.
Is there any difference bewteen the portable version (zip archive) and the installer version?
Hi,
Great to see another Dane here...

No - there's no difference in the zip-archive vs. the installer version...@unknownuser said:
If you are having issues with the self extracting installer, download the zip file and extract the contents to Google Sketchup 7 / Plugins, or Google Sketchup 6 / Plugins.
Looking forward to see you as a future Twilight render user...

-
Come on, Majid,
You know all ins and outs of Kerkythea - Twilight should of course be easy for you!

-
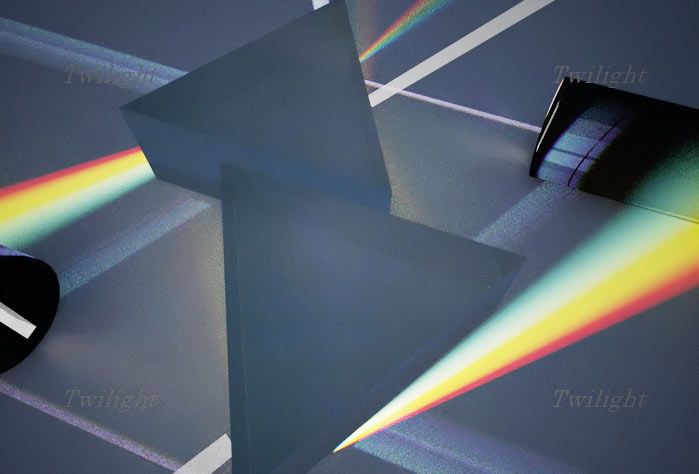
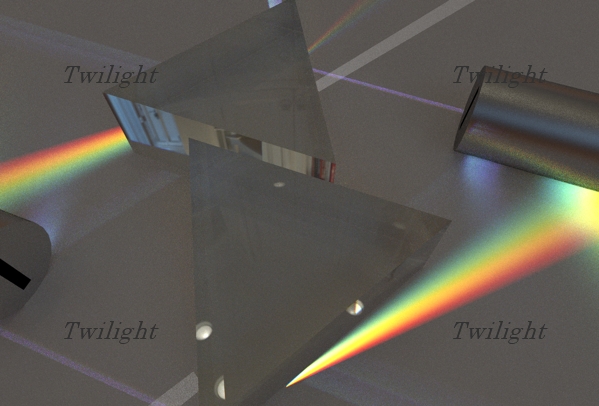
this is my first play with twilight....amzing

this one is lighened using a HDRI too
-
tanx Gai
 I am still in shock with the twillight, and not too completely familiar with Twi... even now I made the glass material inside the kt ..
  but hope that soon , be more familiar with the Twi.. ... I have lots of dream about it
-
That's cool, Majid!!

-
that is really cool , man...

I've experienced that adding an interior light source will reduce the noise efficiently.. -
Bruce,
Thanks for that, I'm going to do a couple more setups/test over the next few nights, I'll post um as I do um. -
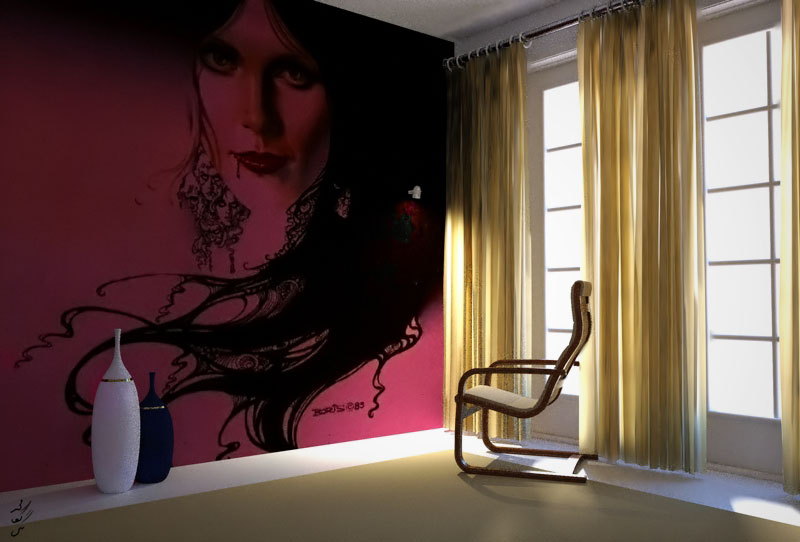
my 5th try on Twi, less post pro as possible (just noise reduction) :

-
very nice mood on this render, where the curtain come from ?
 Fred
Fred -
so far all I've been able to render with it is bugsplats...
open Twilight render splat
-
Wow, Majid!
-
Paul, setting skyportals should give some benefit in a scene like the this.
-
@khai said:
so far all I've been able to render with it is bugsplats...
open Twilight render splat
Cant remember when I have got a bugsplat and I use this daily. Maybe some other ryby does not like it... sorry no clues. Did you try 1.0.6 that was just released? If so, better post a bug report
-
@notareal said:
@khai said:
so far all I've been able to render with it is bugsplats...
open Twilight render splat
Cant remember when I have got a bugsplat and I use this daily. Maybe some other ryby does not like it... sorry no clues. Did you try 1.0.6 that was just released? If so, better post a bug report
yup it's 1.0.6. load SU, press 'Open Twilight Render' bugsplat
edit :
ok it's actually install twilght. try to do anything bugplat
remove twilight, everything works fine again. -
This a try of my Bucklen theater with Twilight demo
I dont have touched anything. No lights, nor textures
Made with the Prelim setup

Made with the Low+ setup

Made with the Medium+ setup

Is it good enough?

-
@fymoro said:
very nice mood on this render, where the curtain come from ?
 Fred
Fredthanx mate
 , curtains are shared over here : http://forums.sketchucation.com/viewtopic.php?f=81&t=21516
 -
Khai,
are you the one who was running an old version of XP INSIDE OF VMWARE on a Mac?
if not, at least give us some specs one what you are running it in... as we've tested this thing for over a year and a splat is very rare indeed. There's obviously something different about your setup than the 'average joe'.
Hello! It looks like you're interested in this conversation, but you don't have an account yet.
Getting fed up of having to scroll through the same posts each visit? When you register for an account, you'll always come back to exactly where you were before, and choose to be notified of new replies (either via email, or push notification). You'll also be able to save bookmarks and upvote posts to show your appreciation to other community members.
With your input, this post could be even better 💗
Register LoginAdvertisement


