Wood textures and orientation, scenes
-
I'm fairly new to sketchup, and this is my first post. I have 2 questions. First, where do you go to get more wood textures than show up in the paintbucket tool, and how do you get the grain to orient properly on a given component?
Second, I saw a model for an adirondack chair in 3d warehouse, http://sketchup.google.com/3dwarehouse/details?mid=da681e51b69352a872f8ff3c650e385a&prevstart=12 from which I borrowed heavily. His model has tabs at the top, some of which show assembly details, and some of which show individual components which initially appear in perspective, then rotate into plan view with dimensions. I believe this feature is "scenes," but nothing I've looked at shows it being used in this way. Is there a video showing how this is done?
Thanks
Tom
-
Hi wootton,
and welcome here; a very nice place to visit.
For your first question you can have a look herehttp://forums.sketchucation.com/viewtopic.php?f=40&t=486 and find a lot of nice wood textures. But you can also create your owns.For the second question it's nothing else than creating scenes and layers. On each scene you hide what you won't have visible. I know one video (in french) made by Bertrand Lisée a very nice canadian guy using this technique. http://www.viddler.com/explore/Blisee/videos/20/ The video is self explaining but in case just ask your questions. I'm sure Bertrand will anwser in your language.
Hope it helps. -
Tom,
Jean-Franco's first link will get you a lot of wood grain textures. As to orienting them correctly, first make sure you're applying the materials to faces and not to components or groups. If the grain orientation isn't as you wish, right click on a single face and choose Texture>Position. You can then adjust the orientation by dragging the green push pin. Typically you'll want to rotate the material 90° so instead of dragging the push pin, just right click on the material again. Choose rotate>90° and it'll be done. You can use the eye dropper to sample the rotated material when applying it to other faces.
Keep in mind that the orientation of the component's axes has an impact on the orientation of the material. You'll want to make sure you have the axis orientation set properly. If you're using groups instead of components, you don't get the option to change axis alignment since groups don't have their own axes. See this link.
As to using scenes, take a look at this link as well.
-
Thank you both, the texture problem is solved, and I'm pretty sure I can figure out how to use scenes and layers to show the parts from the links you provided. Next problem: shadows don't display correctly (sub problem: I don't know how to post my model here so you can advise me.)
-
Maybe you can describe the shadow problem? There's an Upload Attachment tab below the line where the Save, Preview and Submit buttons are. You can either upload images or the SKP file.
Glad you got the texture thing sorted out.
-
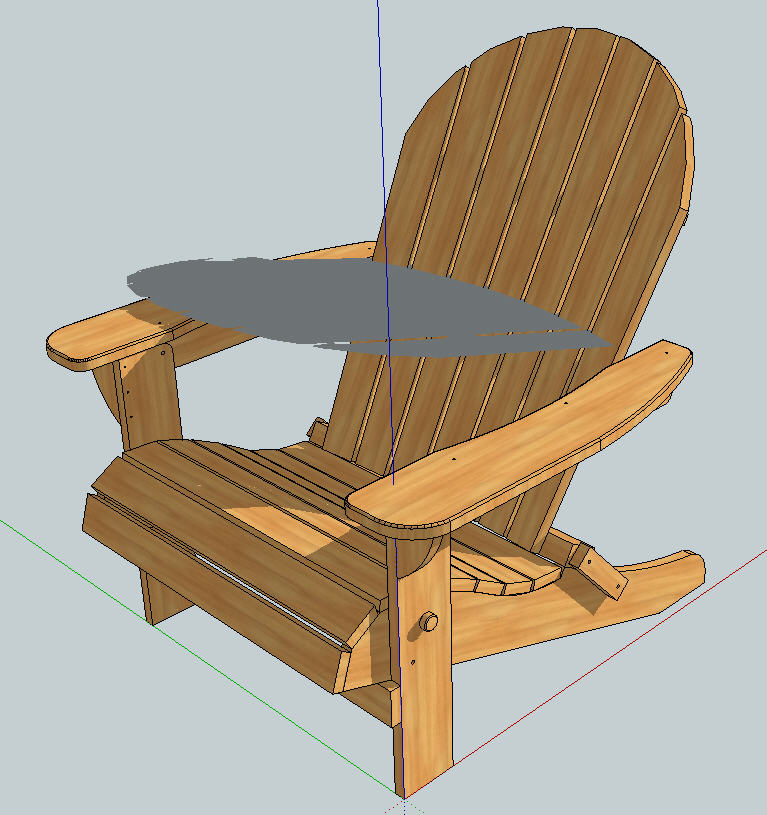
Dave, thanks for the info, here's the model. As you can see, the shadow of the chairback seems to be falling on a nonexistent ground plane.
-
A possibly related problem: try as I might, I can't change the main axis so that the "front" camera view shows the front of the chair.
-
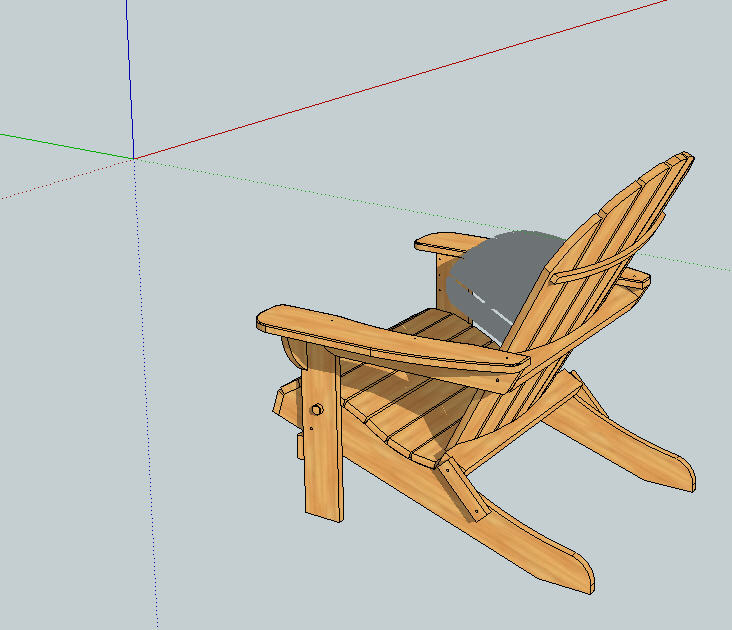
Looks to me as if you've drawn the chair mostly under the ground plane and then moved the axes which didn't move the ground plane. Here are some screen grabs.
Here's what you were seeing.

After resetting the axes. (I moved the chair slightly to gain access to the origin)

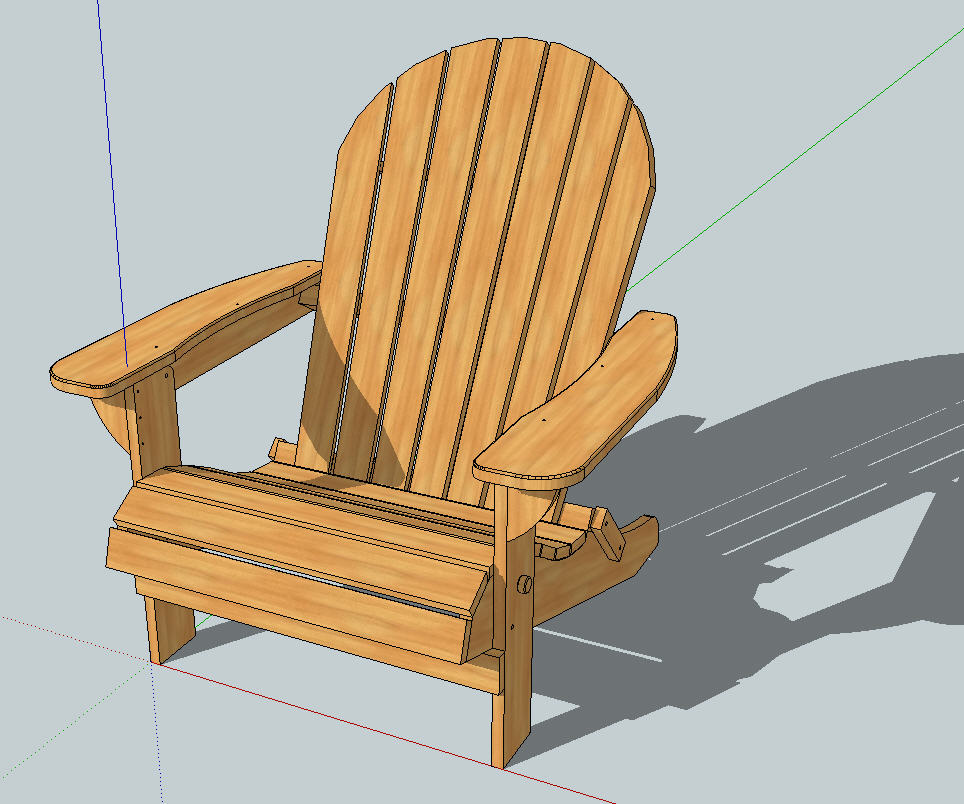
After resetting the axes, moving the chair and rotating it so that if the front view was chosen, it shows the front of the chair.

Saw your next post about getting the front view. You need to move the chair and not the axes. The axes start out in the right place naturally. Moving them doesn't move the ground plane nor change the direction of the standard views.
-
Here's your model after the fix.
Notice the file size reduction. I purged the unused stuff from it. Got rid of a lot of components as well as some other things.
-
Thanks again, Dave. I'm a little baffled about how it happened. I started with the chair back components, at ground level, but then set it aside and built the seat from the axis, starting with the vertical leg, finally moving the assembled chair back into place. Oh well, it's fixed now; thanks again for all your help.
Tom
-
Just out of curiosity, start a new model. Draw a box about 4 feet tall and turn on shadows. Do you get the same result with the shadow?
-
No, it works fine. I must have done something along the way, probably while creating the back.
-
Yeah, I guess so. Well, it was easily fixed.
Happy sketching.
-
Thanks again to all who responded. To anyone else who wants to learn about layers and scenes in woodworking design, I recommend Joe Zeh's Beginner's SketchUp Tutorial Series http://www.srww.com/google-sketchup.htm and especially his "Rules for 3D Drawing Using SketchUp," found in Part 1. There's also a good description of converting JPG files to textures, and orienting and aligning them to components properly, in Part 8.
Advertisement


