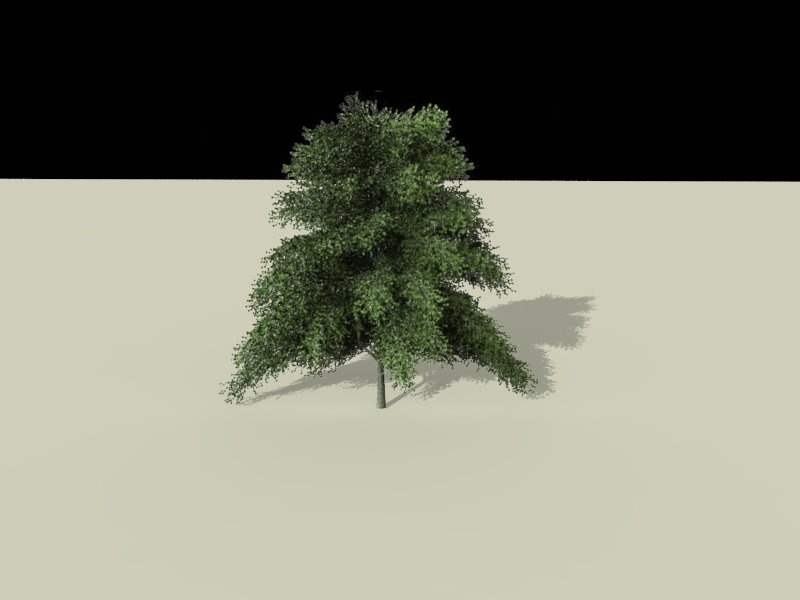
Has anyone had any success with RPtreemaker & V-ray?
-
I download this plugin and Im not having any like using the trees with vray. I tried using transparancy mapping with these textures (i tried using both trans. maps but I couldnt get any results with either) and they still wouldnt work right in v-ray. Anyone think they could get these working? Cause im not having any luck. Any help is greatley appreciated.
-Steelers05


-
-
Andyriy,
Might be best to let him know how you did it and not just an example.
Scott
-
Do you have to explode the image into textured geometry (a face) in order to get it to work?
-
You need to create a new V-Ray material...either linked or just new. You can use the existing png file for the Diffuse map, but need to specify the alpha image as the transparency map. This latter needs to be reversed in V-Ray (Just check reverse or reverse alpha, not both...that's a double negative). Then just apply it to your imported Face Me. You may need to select the actual face of the component, not just select its bounding box, before you apply the material. Needless to say, both images have to be exported out of your Material browser before they can be specified as maps.
-
@unknownuser said:
Andyriy,
Might be best to let him know how you did it and not just an example.
Scott
I just was not sure if that was what he meant. I did not want to sound like a smart a$$ explaining something unrelated

Alan did explain it well, except I think he is using an older version of v-ray. They did change the way v-ray handles the materials.
my workflow was like this:- Drag or Import Picture into Sketchup. (it will create face automaticly)
- Rotate, scale, and then explode it
- Turn it into a face me component (optional)
- Go to v-ray material tab, locate name of my imported picture
- Choose "Diffuse" and then click on "m" next to "Transparency"
- In a new window under common change Type to Bitmap
- Assign your cutout (sometimes need to be inverted)
- Render
-
Thanks for the explainations guys. I was actually following the same steps, but it just was not working for me, but then I remembered that I was running a past version of v-ray so I am assuming that was the problem since it did work for me at work which has the latest version of v-ray. One thing though, when I got up close to the tree, it still had a bit of a white halo around the edges... I am assuming it is because the maps arent perfect, right? Im not photoshop expert, but would anyone have any ideas of how to improve edges?
-
It probably is because the transparency map isn't perfect.
If I haven't got this back to front, it would be because the transparency map was too big for the diffuse map. One possible way of improving it would be to make the tree silhouette in the alpha image slightly smaller. Assuming a white tree on a black background, select the white with the Magic wand tool set to a suitable sensitivity then go to the Select menu > Modify and try shrinking the area of selection by 1 pixel. You could then invert the selection and paint over the entire image with a big black brush. This ought to have the effect of shaving a single pixel off all the edges of the tree...which just might be enough to solve the problem.Or...you could take the opposite approach and make the diffuse map bigger. Add another layer, then pull it underneath the layer with the tree image on...then flood fill it in leaf green. You may want to paint the trunk area in grey. Go to the layer menu and flatten the image. You can save it as a png again...or a jpeg, it doesn't matter.
You'll still have a slight border, but it'll be the same colour as the tree, so it shouldn't be as noticeable.
A more exacting way is to duplicate the tree image layer then, working on the underneath copy, use the smudge tool to smear it outwards enough to cover the border before, again, flattening and saving.
-
Great help guys, I got them working now. This is a pretty good ap. considering how SU can barely handle 3D vegetation. I know xfrog can work but that still kills most computers. THanks again
Hello! It looks like you're interested in this conversation, but you don't have an account yet.
Getting fed up of having to scroll through the same posts each visit? When you register for an account, you'll always come back to exactly where you were before, and choose to be notified of new replies (either via email, or push notification). You'll also be able to save bookmarks and upvote posts to show your appreciation to other community members.
With your input, this post could be even better 💗
Register LoginAdvertisement


