Slice Through Cylinder
-
Hi, I am very new to SU!
I wish to construct a wedge shaped slice through a cylinder.
For example a cylinderical tapering wedge with say 5 degrees sides.
Is this possible?
Squeaky
-
I'm not sure what you exactly mean. Would it be something like this?
-
Thanks for speedy reply ... No not like you show
If I knew how to post images, to this forum, I would show exactly what I need.
Squeaky
-
Under the text area where you type your post, there are two tabs: Options and Upload attachment.
-
Thanks I will have a go now
-
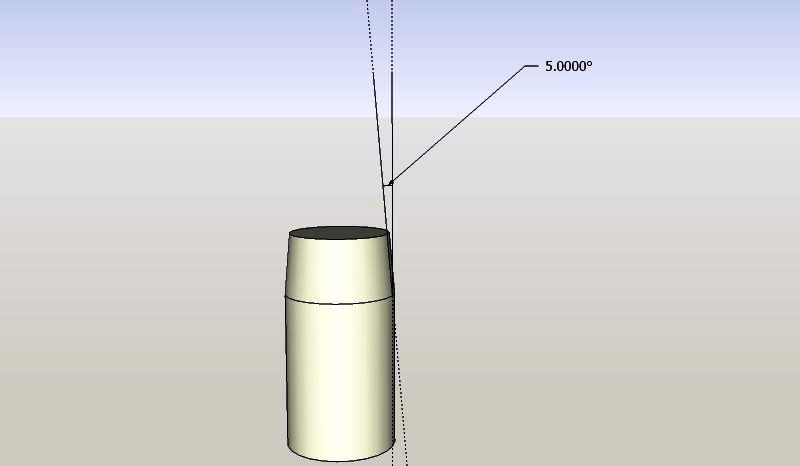
Sketch of Required slice
-
Create cutting planes, then select the planes and the cylinder and then right-click>Intersect>Selected. Delete unwanted geometry.
The cylinder and cutting planes in the attached have been grouped. Explode them first before intersecting.
-
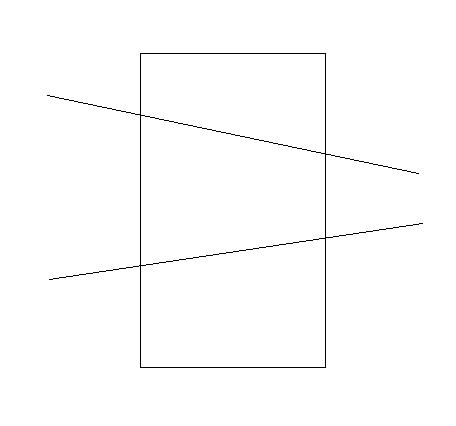
OK, this is easy.
- draw a circle and push/pull it up to the desired height.
- draw a big rectangle on the same plane you have your circle (the edges shouldn't touch the circle)
- move it up to the desired height (select it then press the up arrow key and you can only move it along the blue axis)
- still the rectangle selected, place the rotate tool on one edge, click on it but don't release the mouse button yet. Start pulling the rotate tool along the edge. When it turns red or green (depending which edge you chose) release the left button and pick another part of the rectangle and start rotating it in the desired direction.
- Now type 5 and hit enter.
- Do the same (steps 2-5) for the other plane
- Now select everything (the cylinder as well as both rectangles)
- right click on the selection > Intersect > with model
- the intersection lines will appear on the cylinder and you can delete the rectangles and all unwanted geometry of the cylinder
- you will probably end up with one of the newly created faces being blue - right click on it and reverse faces in order to keep your model clean and tidy.
 Bob! You beat me!
-
Thanks to both of you .... very kind!
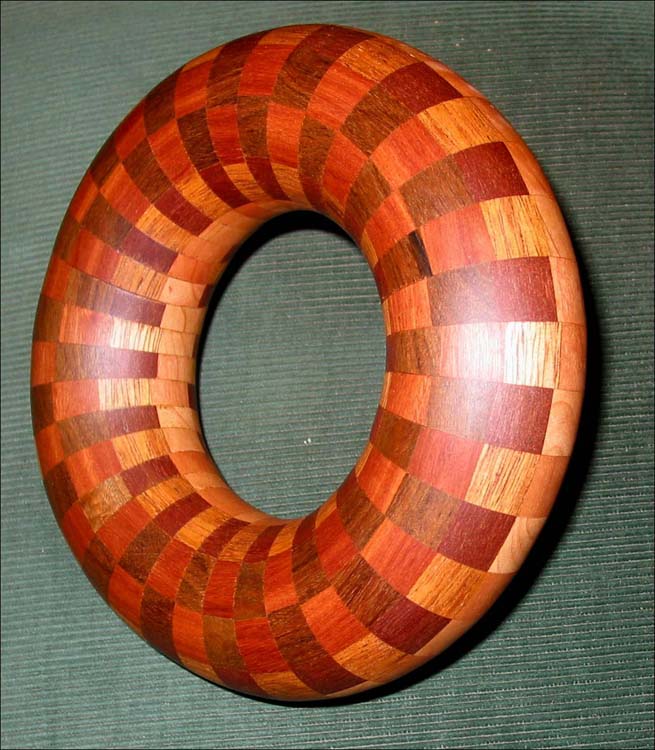
If you are at all interested I am teaching myself to use SU to assist me in constructing wooden models of various mathematical models
I am making a torus, similar to the attachment, but I now wish to model it in a twisted form.
Squeaky
-
What twisted form?
-
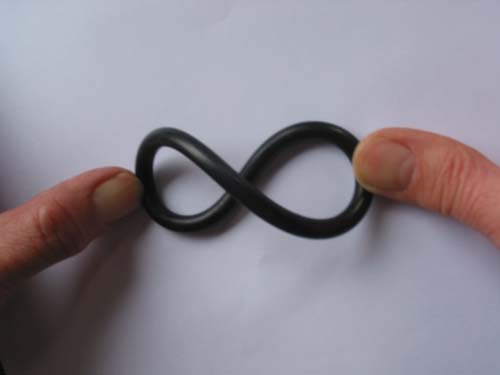
Twisted like a figure of eight
-
You practically make this just like the simple torus - just set up the follow me path accordingly.
-
Thanks ..... My problem is not actually doing a drawing of a twisted torus .... although I am still very low on the SU learning curve .... but I am only wanting SU as another tool to aid construction of a wood model.
What I wish to do is to make a 'component' that has precise measurements .... then arrange these components in SU to give me a 'twisted torus'.
I am expecting to have to do a great deal of experimentation, on paper, with SU, in order to achieve what I want .... However, I do feel that this is a more better method than actually making the componts (in wood) and then experimenting.
The model torus, shown earlier in this forum, was made up from 36 X 10 degree slices from wood that was glued together as shown in this attachment.
I would imagine that I will have to rotate each slice, by a number of degrees, to achieve the wanted results.
If you have any ideas on the above method please tell me
Squeaky

-
Yes, I guess that's exactly what the method should be. You can do it in an automated way with the "Radial array" (read about halfway through the page):
http://download.sketchup.com/OnlineDoc/gsu6_win/Content/D-Modification_Tools/ModTool-Rotate.htmYou can also define how many segments of the circle you want in different ways (they apply to polygons as well):
- after creating the circle, right click on its edge and go to Entity info then change the segment count there
- or after drawing the circle, just type the desired number of segments followed by the letter s (for segment) and hit enter.
-
Hi Watkins, and anyone else who knows
It may a very dumb question .... How do I do an section plane at an angle
Similar to the one you showed earlier.
Squeaky
-
If you want to create a section plane at a given angle then first create a surface with the desired angle. Let's call this the angle plane. Select the section tool and place it on the angle plane. Hold down the shift key and move the section plane to the object you are trying to section. Click on the object and then release the shift key. Select the section plane and move it with the move tool.
If you want to section only the object, then make the object a group or component first; then, double click on it to edit it, select the section tool and repeat the last bit of the above.
Regards,
Bob
-
Squeaky Again !...... with more problems .... sorry!
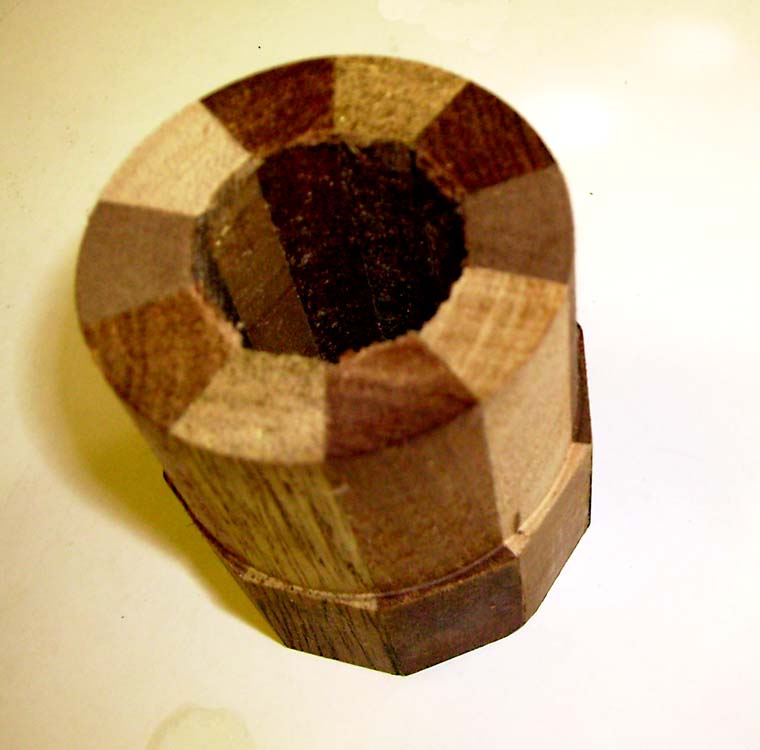
O.K. I have managed to cut a slice through the cylinder... thanks to a lot of help! See attachment
My next question is ...... How do I use multiple copies of this slice?
My idea is to build up a model with a number of these slices glued together
-
You can only have one section plane active in a given context (i.e. without groups/components or within a component/group). So what you need to do is to group your section plane with your model then insert another section plane, now group this with the previous group etc.
This way you can even create animated section planes. Search the Tutorial forum below and you will find some nice examples.
-
Thanks....
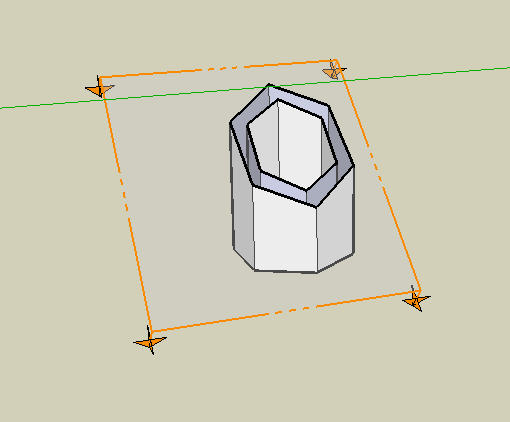
As seen in attached... I have done a very rough drawing of what I need .... Now how do I get rid of the clutter like 'section planes' and use multiple copies of the component?

-
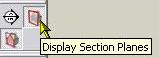
There is a Toggle section planes button in the toolbar which "hides" the section planes (see image). Also available menu iten in the View menu.
If you have made a component of the geometry and the section planes, it should appear in your component browser. From there you can insert as many instances as you like as well as you can copy it with the Ctrl+Move tool.
Hello! It looks like you're interested in this conversation, but you don't have an account yet.
Getting fed up of having to scroll through the same posts each visit? When you register for an account, you'll always come back to exactly where you were before, and choose to be notified of new replies (either via email, or push notification). You'll also be able to save bookmarks and upvote posts to show your appreciation to other community members.
With your input, this post could be even better 💗
Register Login


Advertisement