Roof Art
-
-
Dear Tom,
An excellent link. Many thanks for that.
Regards,
Bob -
Tom
I don't know if this is what you are looking for. I modelled a section of roof (40deg) with a hip and hip tile. I insert this into my model and modify it insitu to suit.
David
-
David,
Cheers. That's just what I have in mind. I'm going to try to build up a library of different types of roof detail, e.g. Welsh Slate, red tiles, etc.
Thanks,
Tom -
Dear Tom,
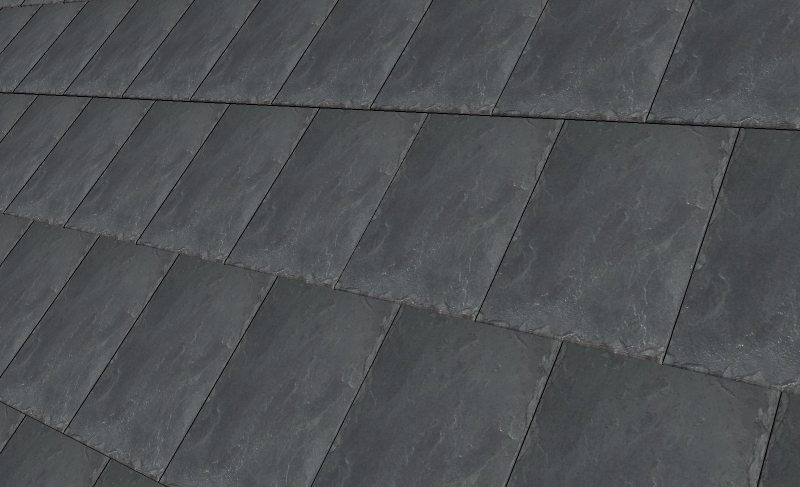
Please find attached one side of a slate roof made up of individual slates.
I made the skippy by browsing Google for images of single slates, and then using Paint to crop and stretch the image so that it looked about right. I saved the image as .jpg and then used it as the texture for a model of single slate. The slate roof is not much bigger than the model size for a single slate, and so quite acceptable. The individual slate is a 500 x 300 by 6 mm thick.
To get a better and more realistic model I suggest you do the following. Go down to your local builders merchants with a digital camera and photograph individual slates in plan view. I'm sure they won't mind if you explain why you want the images. Of course, you could also say that you are taking the photos for the purpose of matching to those existing, obviating the need for an explanation. Use a large piece of white card under the slate to give a neutral background. I suggest that you photograph several slates to get a mix of textures and shades.
Hope this helps.
Bob

-
To expand on watkins' idea a bit, (although im not sure if it would work, its an untested idea) you could try using didiers component spray script to randomly place the tiles along a line, this would give you a more naturaul look than any array and would be a lot faser thna placing each on by hand.
-
-
The PDF manual does a better job than i could of explaining what it does.
-
@remus said:
To expand on watkins' idea a bit, (although im not sure if it would work, its an untested idea) you could try using didiers component spray script to randomly place the tiles along a line, this would give you a more naturaul look than any array and would be a lot faser thna placing each on by hand.
A slate roof is a regular array Remus, otherwise it would leak.
-
Indeed it is. What i was tryign to say was that if you had a selection of slate tile components that you wanted to use to tile a roof it would either take you a long time doing it by hand or you would likely introduce some sort of pattern if you tried to use SU array features.
-
-
David,
I've also been thinking about gutters. Since I make my models with GE in mind, I tend to see them from above or at least at an angle from a high view point. So, I've sometimes put the gutters on the same plane as the roof material itself. Sometimes this looks OK; other times it looks silly. I've attached a recent model of a church tower with the gutters incorporated in the roof plane. This one seems OK.
But in the real roof on this tower, there are mold and stains on the hips of the roof. This is one of those that I had in mind wwhen I posed the question in the first place.
I've been thinking about an excursion to Malvern to photograph different roofs from above: good hill in the town.
Tom
-
David,
Thaks for the Texture site. This is wonderful and I can use a lot of the samples here.
Tom
-
Tom
Ah yes - 'infinity and beyond'. I see where you are coming from now.
On the other hand a day out in Malvern would be very pleasant!
My need is for photomatching the model, so the low level appearance of a roof is important to me, hence modelling the steps in the roof plane.
David
-
Nice tower Tom.
There was a discussion a while back about achieving realistic looking textures. The best results were got when people had actually modelled the detail of the texture and then applied a material to each part. Like in Bob's slate roof, the tiles themselves are 3d entities. And also David's roof to some extent. I really think this is the way to go if one has the time of course.
-
Tom
Thanks for the lower poly model, it will look good from higher viewpoints.
Its horses for courses.
1 Very close in - model individual tiles/slates
2 Low angle (medium distance) - use modelled roof (ie mine)
3 higher angle (medium distance to infinity (and beyond!)) - use material onlyThis has got me re-thinking roofs, as you have now modelled the eaves boxing etc. why not take another step and also model the gutter. I keep adding gutters seperately and modelling them into this component will save time (I may also model the brackets while I'm at it!)
David
Advertisement


