BEST landscape boulders ?
-
I use lots of boulders and stone in my landscape projects.
Yet I have been disappointed in the 3D boulders I have created or found from other sources for my SU models.
I can model the shapes pretty well with modifying spheres and creating angular, asymmetric forms.
The problem seems to be the textures and colors.
Applying stone textures just ends up with very unconvincing looking stuff.Any boulder components out there that you like?
Thanks,
Danty -
-
Try to use as large a sample image as you can...one that shows some variation of surface that will add to the form of the boulder. If you just use a low-res, seamless texture it's going to look pretty unconvincing.
-
Very nice, Joe. Thanks for the samples.
Alan, the rock is spinning so fast it is hard to see the details of it.
Did you create it all in SU?
Are you making this and others like it for Form Fonts?Is there a tutorial or more data you can provide on how to make boulders such as this one?
Thanks,
Danty -
Yes, there are a few such boulders on FF
http://www.formfonts.com/search.php?area=1&site=&query=bouldersBecause of copyright reasons, I tend to go and photograph rock textures myself, but if you don't have any handy, then typing rockface into a Google image search will probably yield some larger format images. I project them onto the main apects of the boulder, then turn on hidden geometry and repaint all those faces where the image has been streaked unrealistically because of the angle of projection.
Firstly, I'll try to sample a nearby acceptable face and see what that looks like when painted onto the streaky one. If I can't get any satisfaction by that route, I bring the exploded image round, adjust its position and take another sample of that. It's not a perfect method and you do get seams, but if you are careful enough it generally works quite well.
For the boulders on the FF, I mostly used a freebie mesh generator called Bantam3D Grass, which also had a facility to generate irregular blob meshes in obj format, but you can get pretty much the same effect by generally kicking around the higher-res standard SU sphere...pushing and pulling vertices here and there.
BTW. Bantam Grass is a piece of abandonware, the working links to which grow scarcer by the day. If anyone tracks a copy down it might be as well posting it here for posterity. I've already done that with a freebie 3D file converter called Crossroads 3D, over in the Software forum.
Bantam had already virtually disappeared over a year ago on this thread.
http://groups.google.com/group/Ruby-API/browse_thread/thread/671b5c299e51c7ce
and the working links I posted then are now dead, but it is posted in 2 zip files towards the bottom of the thread. I have got it on a CD somewhere, but it might be easier if some kind soul were to port it over here before it disappears altogether. -
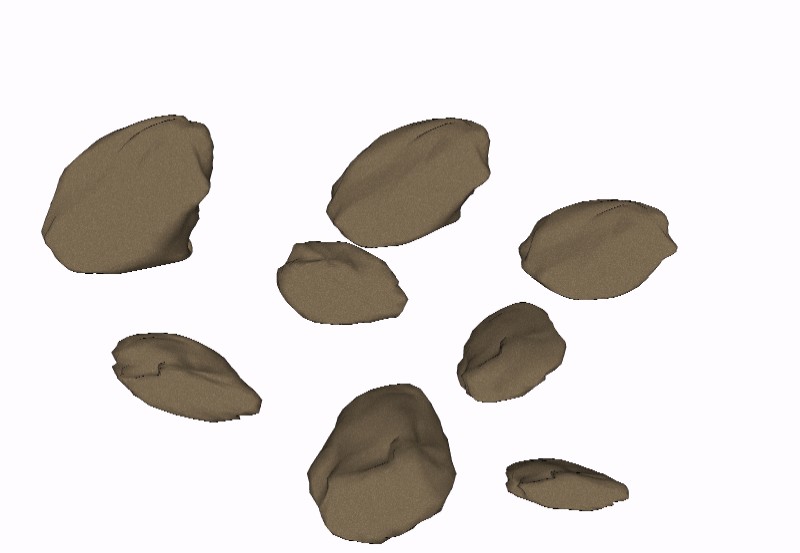
here are a few that i have created and used
mike d
-
Here's the Bantam Grass 3D program that Alan mentioned below. To keep under the 2Mb limit I've separated out the Help files (there is an html file and images - Bantam doesn't link to it directly so you can put it anywhere convenient).
Bob
-
It really is pretty easy to create them in SU.

manipulate a sphere's mesh to a general free form looking shape.

Texture using two different axis (I used a seamless texture found online and made seamless in PSP)

Unless it's for a close up shot this result should suffice in most cases. -
Solo, that's realy neat.
One questin though: could you explain the bit about texturing using 2 different axis?
How do you use that? Is there a way to both instances of the texture simultaniously or do you texture seperate hemispheres with the appropriate texture? -
Really nice, Solo...
I'm interested to learn more about how you've managed to apply the texture in SU (or perhaps you've used another application for this purpose..?? )
)Also - would you mind sharing the two boulders - now that you've made them...

-
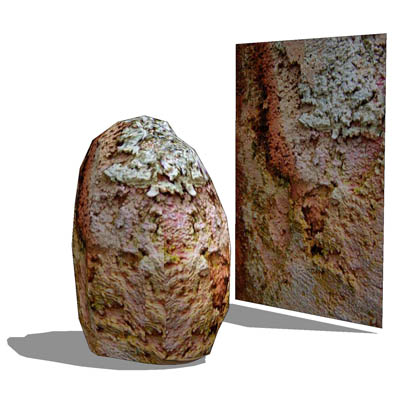
Okay, firstly the example above I never saved (made it as a referance only) and the texture was oversized in kb's anyway.
I made a lower poly one with a lower res texture on it attached below.The textures are applied in SU, infact they are nothing special, nor any unique way of application. I use two axis for projection and sometimes even 3 axis (getting them to blend is normally more tricky especially on a freeform shape)
If you go close up you will notice they are not smoothly blended actually, but from a distance with vegetation around and shadows they will be fine.

-
Thanks for sharing and taking your time to explain this, Pete!
Much appreciated!
When it comes to applying textures to spheric shapes, I always seem to have difficulties...
(and maybe you had used another application to apply the textures - like Deep Exploration... ) -
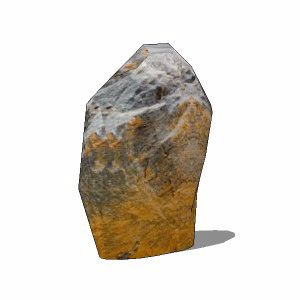
By moving the image around and sampling different bits, it's possible to map even a non-tiling image like this one I just pulled off the Net onto a boulder without too many seams being evident. This was done in SU.
-
Alan -- Your last boulder model just blew me away. Now THAT is what I have had in mind as the type of boulder I would like to be turning out.
Would you please clarify a couple of points:Sampling: By that do you mean the technique of holding down SHIFT while clicking on the Paint Tool which then turns into an eyedropper -- "sampling" the color or texture of a face? Projection: Are you doing what Solo seems to be doing? -- projecting the textures with different axes? I just don't get how that works. My experience with applying colors and textures seems to simply involve selecting a face and applying the color/texture. What step am I missing? So it seems your method is to create a spherical shape then explode the modified sphere so it can be edited. Then you project a large format texture onto portions of the shape. You keep turning it round to locate "streaks" in the texture and then use sampling to even them out. Is that more or less what it consists of?Thanks for your patience on this subject.
It is definitely a skill I would like to master.Danty
-
Yes, by sampling I mean sampling the image with the Paint tool (except you hold down Alt, not Shift...I'm sure that's what you meant.)
What I did with the boulder above was to line it up alongside the flatter sides of the boulder, sample it (after first making sure it was stretched big enough to overlap the extents of the rock), then paint the entire boulder. The flattish sides were obviously ok, but that technique leaves some nasty streaky bits on the sharper sides and the top.
These were fixed by simply moving the image around, first by rotating it 90 degrees horizontally and lining up the pattern on it so it would blend reasonably with what was already there, then just resampling the image in its new position and painting the streaked faces. Obviously you need to turn hidden geometry on first, or you'll repaint the entire boulder instead of a single face.
Lastly, I pulled the image up, rotated it and floated it above the boulder, positioning it so I got that lichen or efflorescent texture in the right position to project down and extend the stuff that was already there. It's not perfect and it takes a bit of trial and error, but the end result is good enough to pass muster.
-
-
-
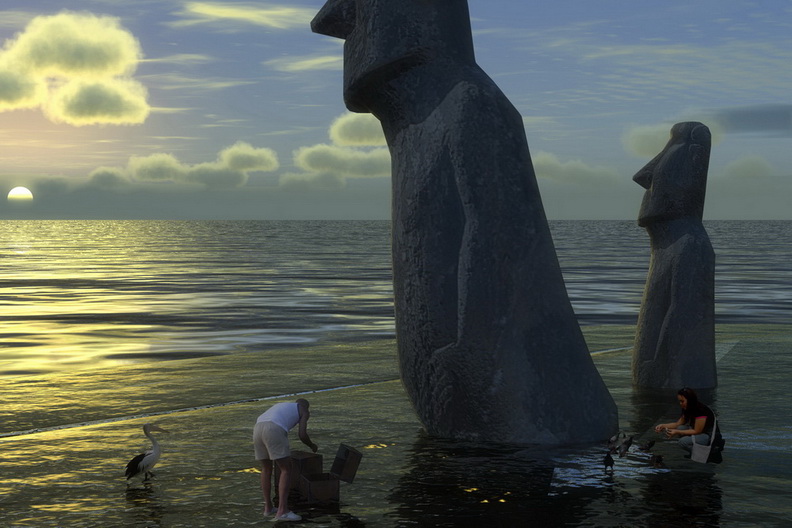
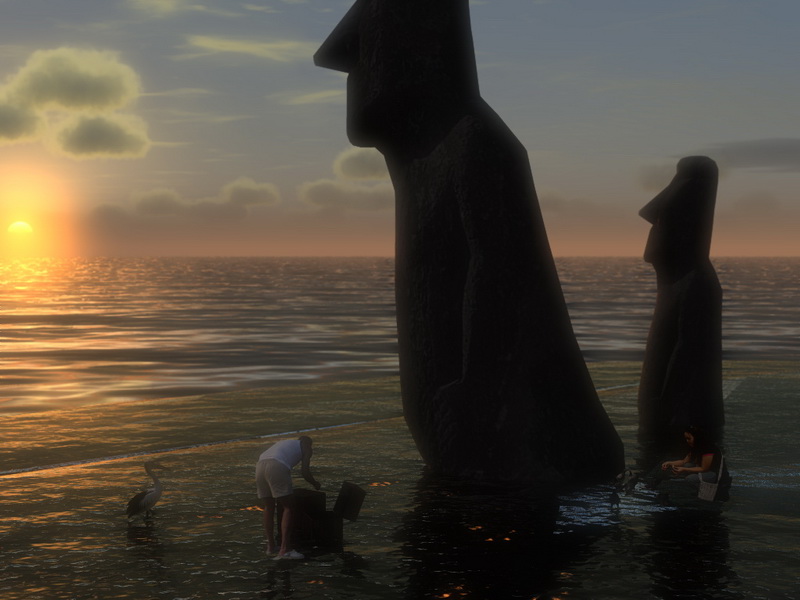
by urgen, moai.skp+Artlantis Studio 2.0.2.1


-
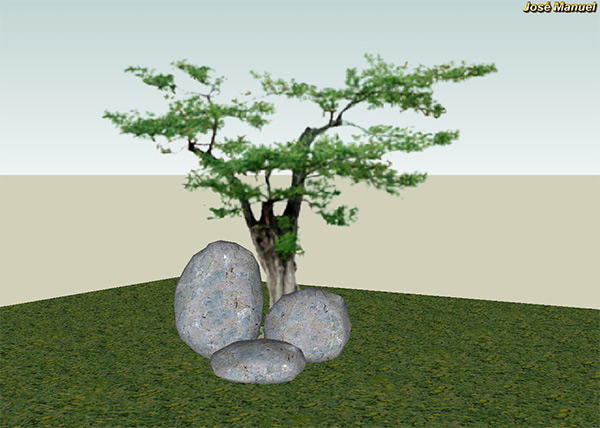
Hello, here you are three boulders one tree and seamless Asturian grass texture.
The rock texture is seamless. It is made of a photograph near the Cantabrian sea, near my home.
Ejoy
-
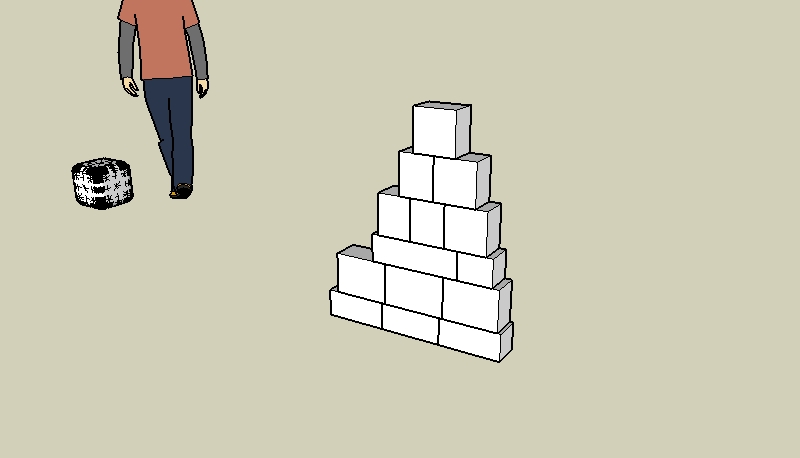
Looking for a good workflow for creating a stacked limestone wall. Any ideas would be helpful. I started off with basic shape as rectangle. Is there a ruby script to select and make square somewhat irregular at the edges?
Stone in background was done by fillet block ruby and then subdivided for editing by scaling.

 Silently...

Hello! It looks like you're interested in this conversation, but you don't have an account yet.
Getting fed up of having to scroll through the same posts each visit? When you register for an account, you'll always come back to exactly where you were before, and choose to be notified of new replies (either via email, or push notification). You'll also be able to save bookmarks and upvote posts to show your appreciation to other community members.
With your input, this post could be even better 💗
Register Login


Advertisement